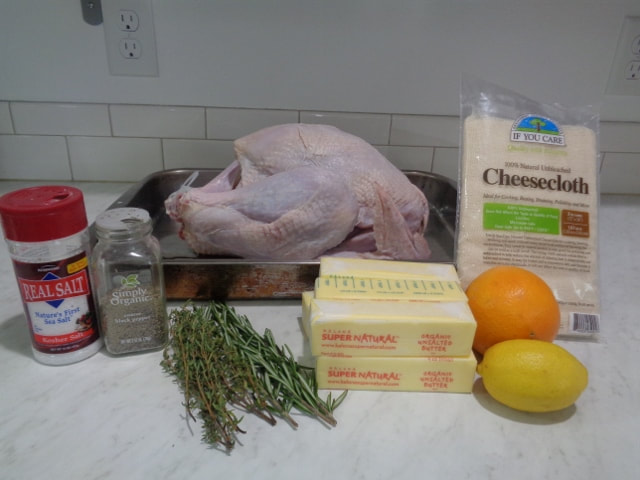
I was intrigued.
A turkey roasted with 2 lbs. of butter!!!
Who wouldn't be intrigued??
A turkey roasted with 2 lbs. of butter!!!
Who wouldn't be intrigued??
It was the moistest turkey I've ever made.
The recipe is
from the
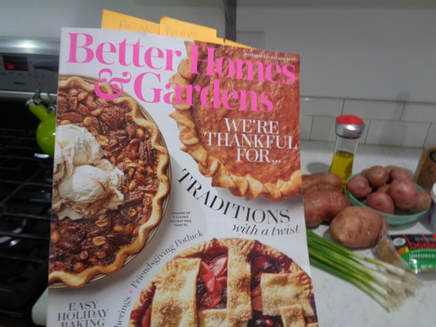
November 2017 Better Homes
& Garden
magazine.
There are no herbs spread on or under the skin other than salt and pepper.
This is a subtle turkey. There are no huge flavors to make you go KAPOW!
This makes just a nice, subtle, buttery flavor with a
silky texture.
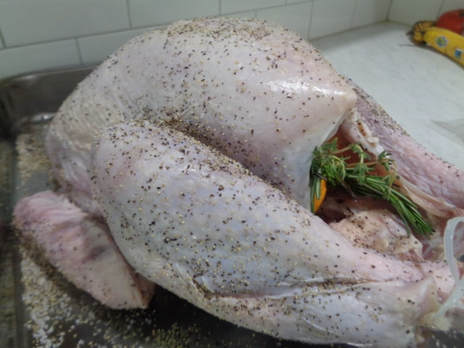
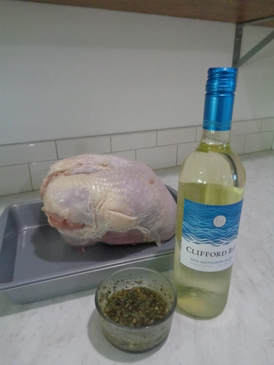
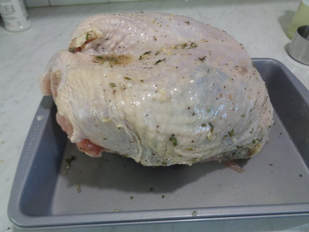
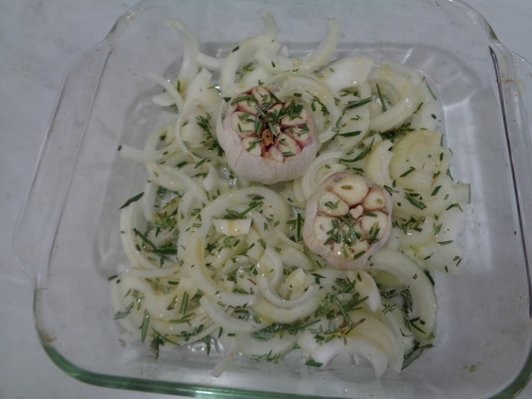
Salt and pepper this baby up
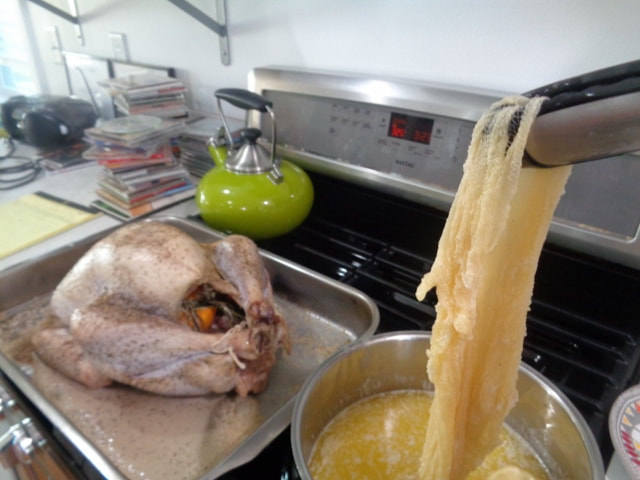
inside and out and stuff the turkey with the orange halves and rosemary and thyme.
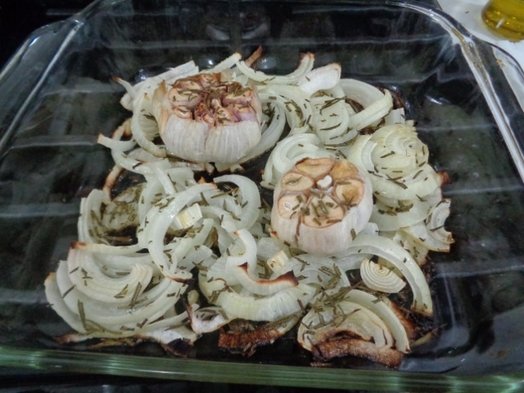
Throw it in the oven for
half an hour.
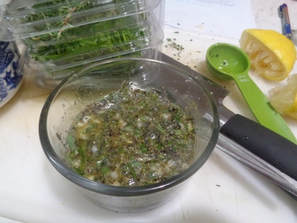
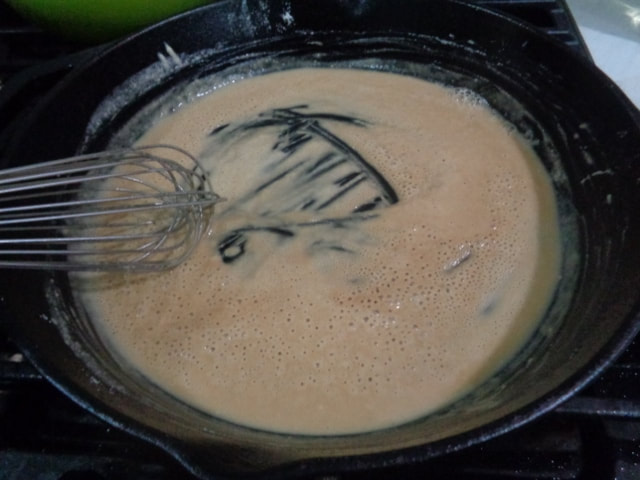
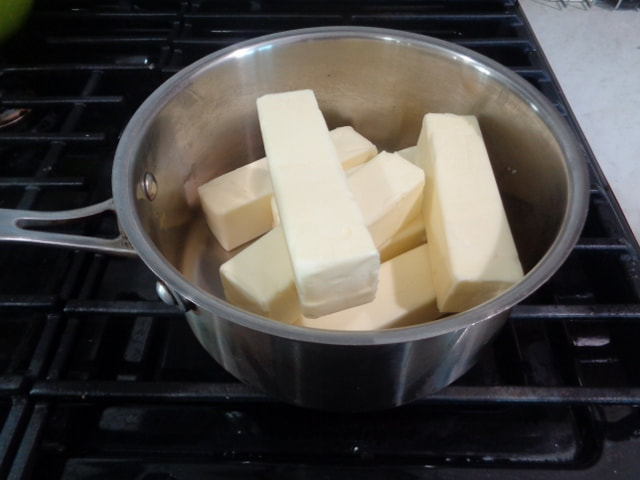
Melt the butter and lemon.
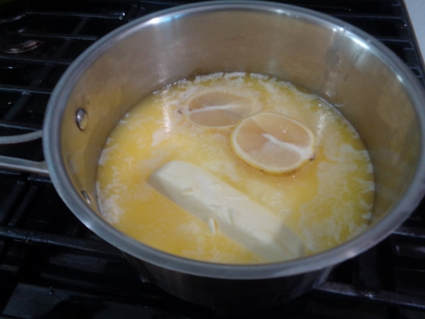
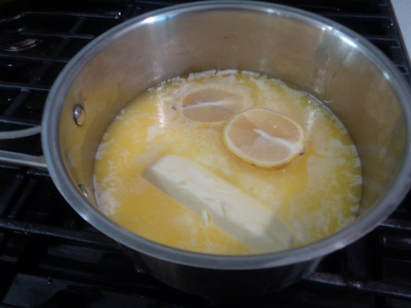
I just had to show this picture twice,
because,
2 lbs. butter.
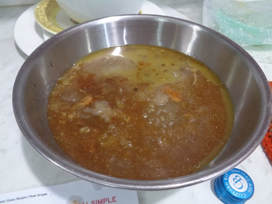
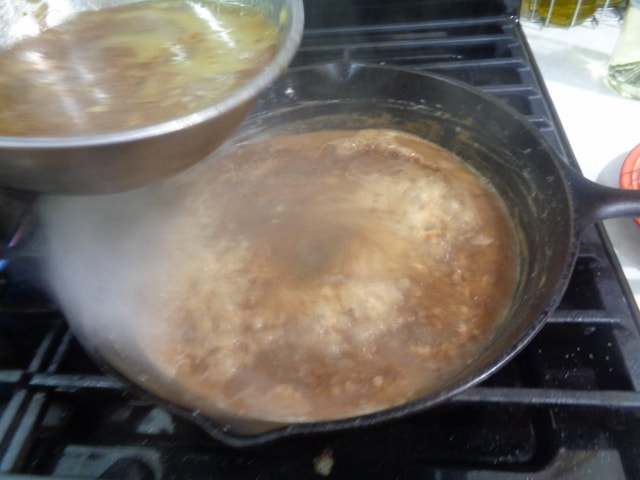
After a half hour, bring the turkey out of the oven and soak the cheesecloth into the butter and
spread over the breasts.
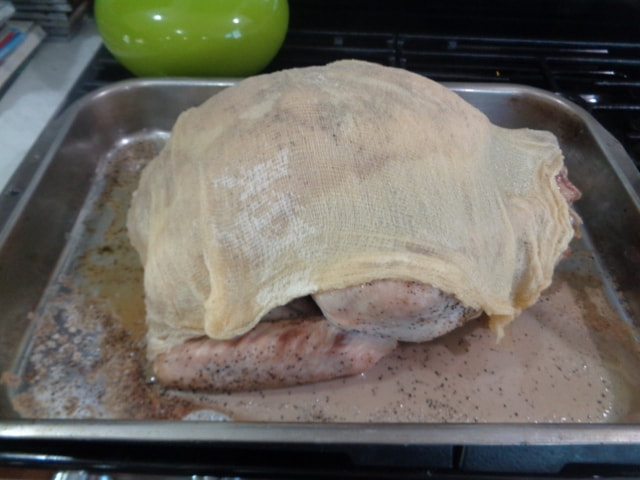
Throw back in the oven and cook according to poundage.
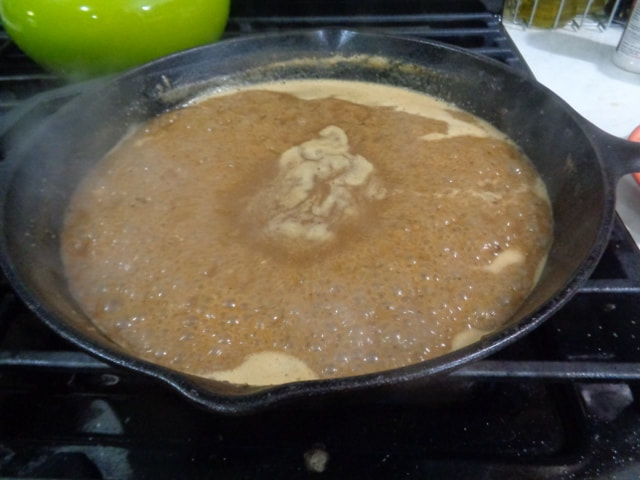
Every half hour ladle the butter generously over the cheesecloth.
Every half hour ladle the butter generously over the cheesecloth.
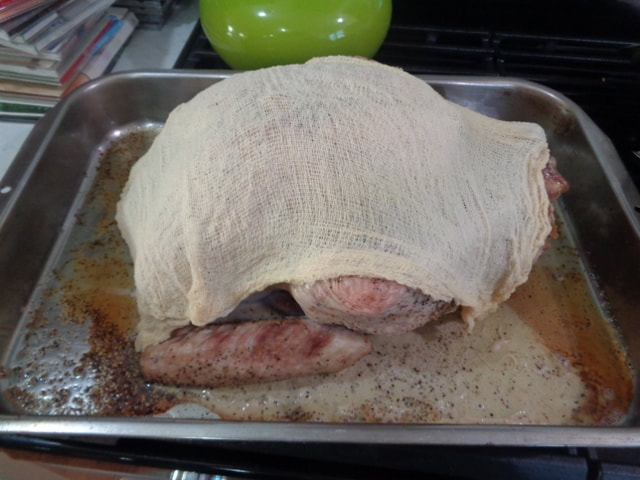
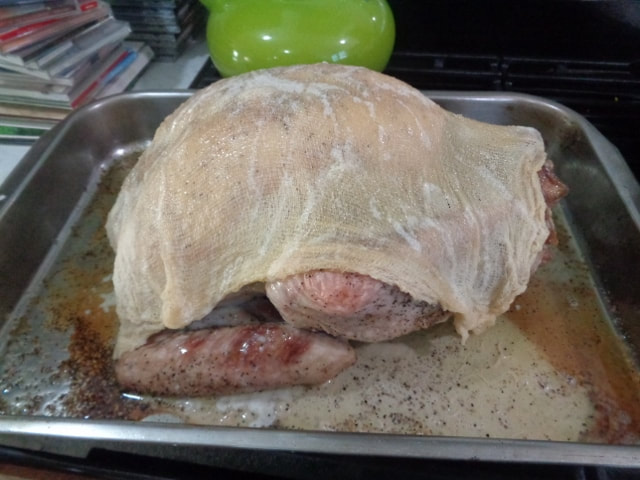
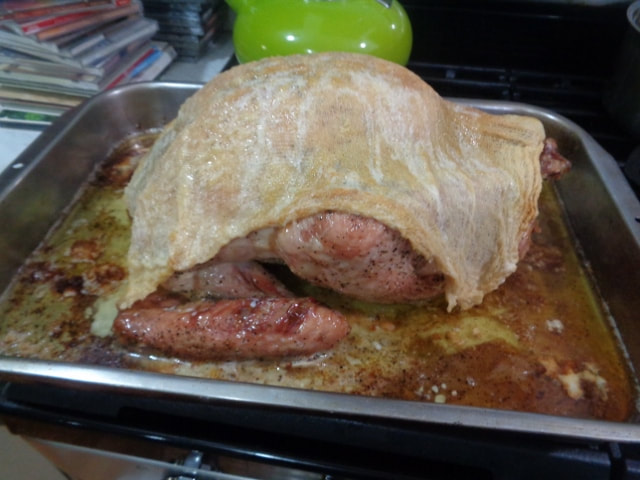
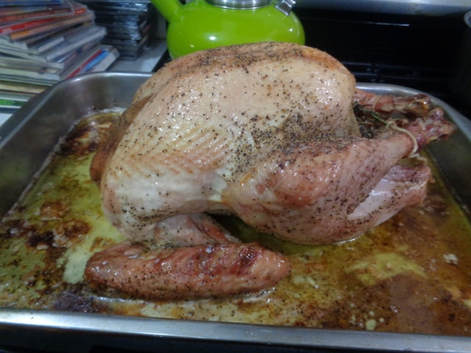
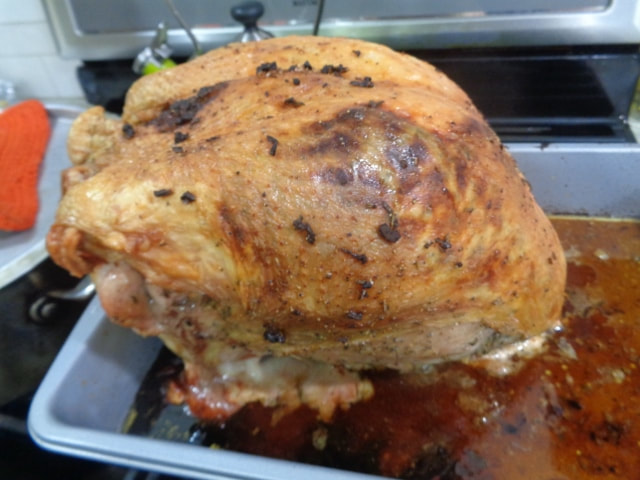
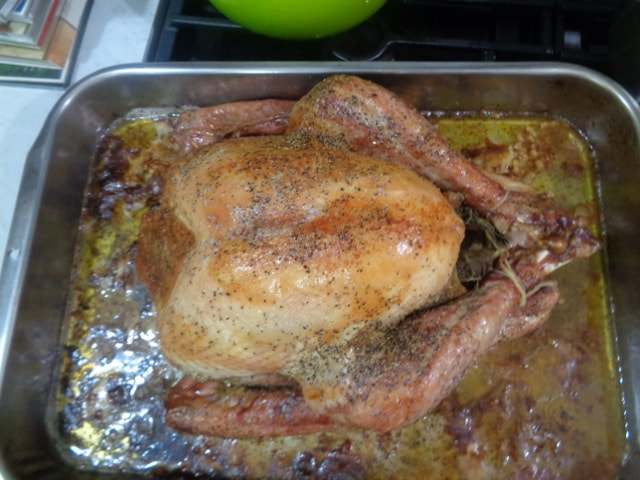
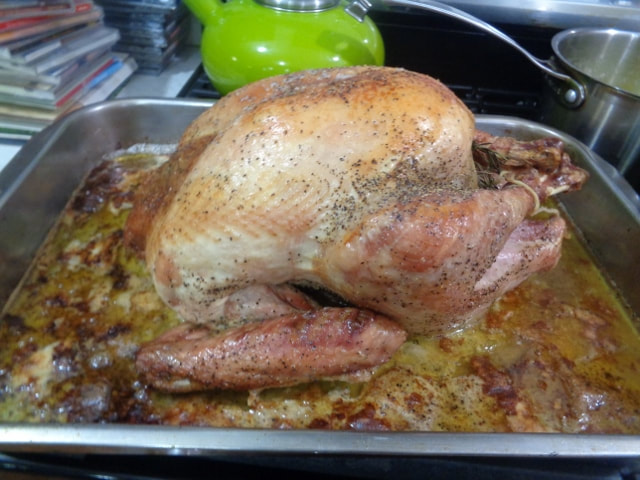
Remove cheesecloth for the final 30 minutes and then throw back in oven.
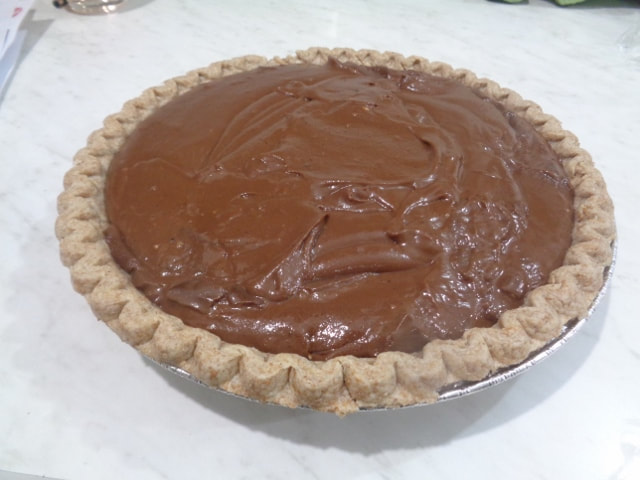
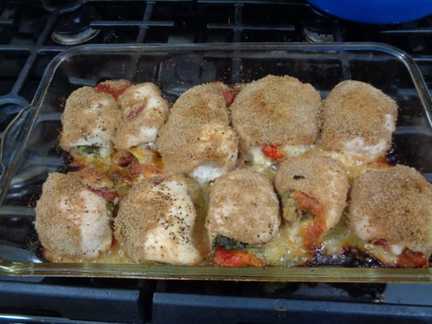
Thirty minutes later, this is what you have.
Flavored crusty skin on the outside....

...and buttery turkey flavor on the inside.
Apparently I was multi-tasking the night I made this turkey.
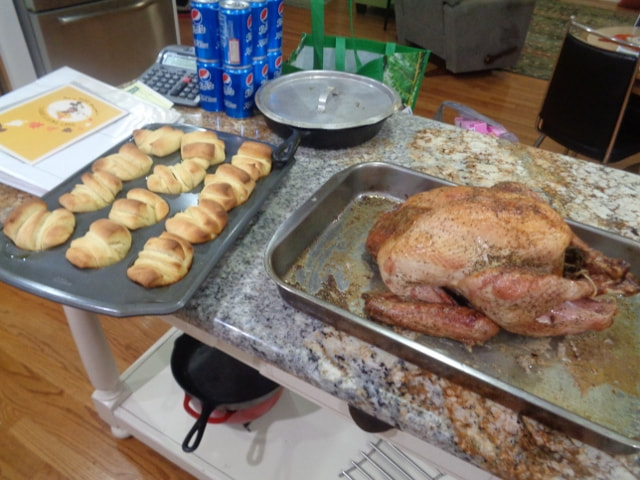
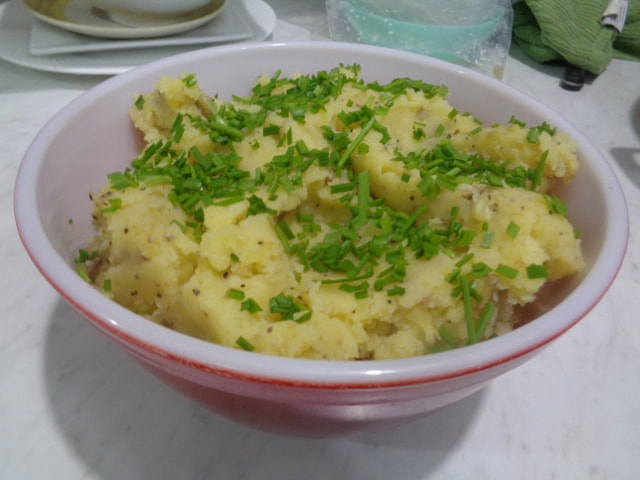
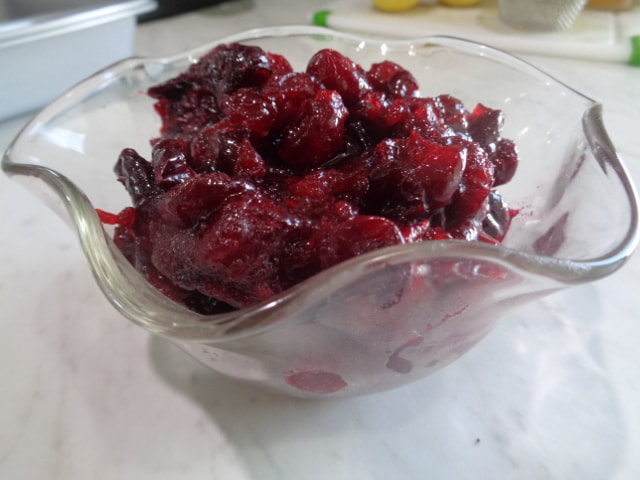
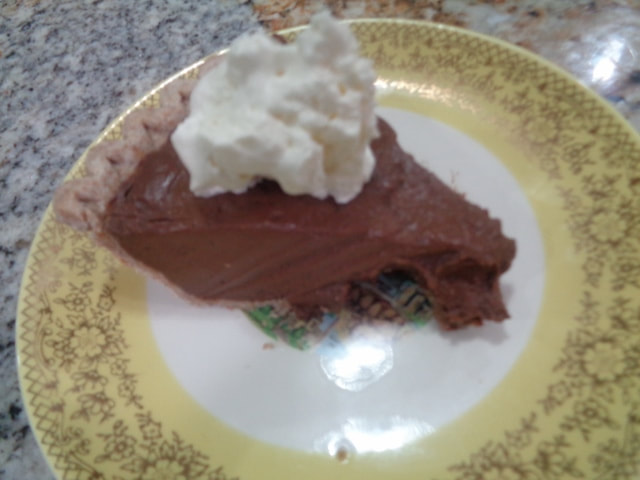
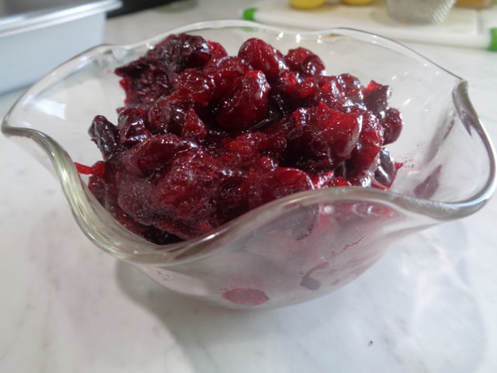
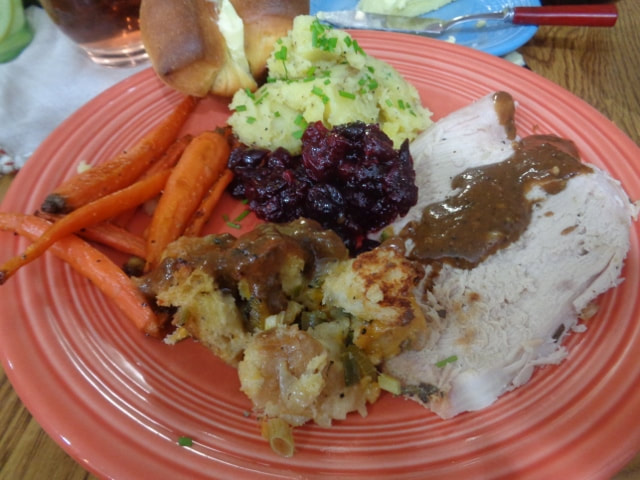
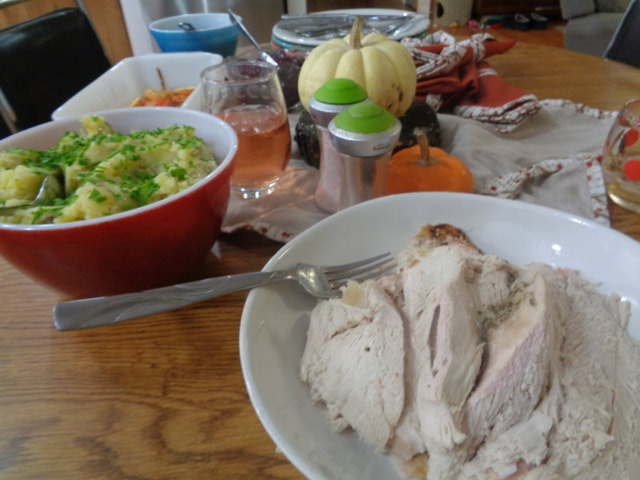
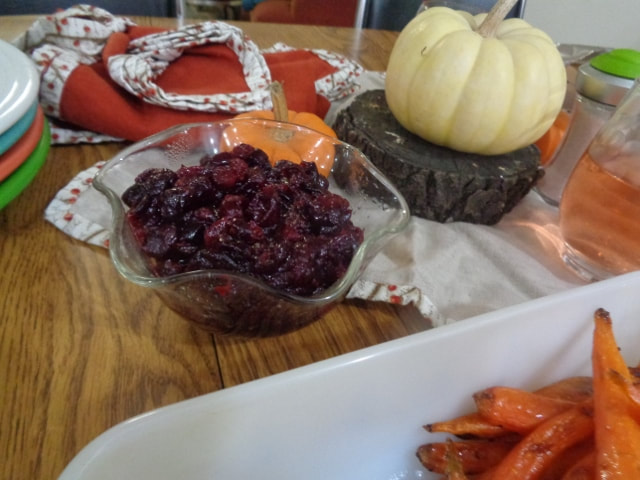
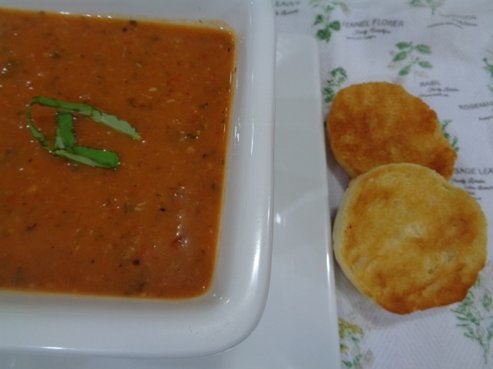
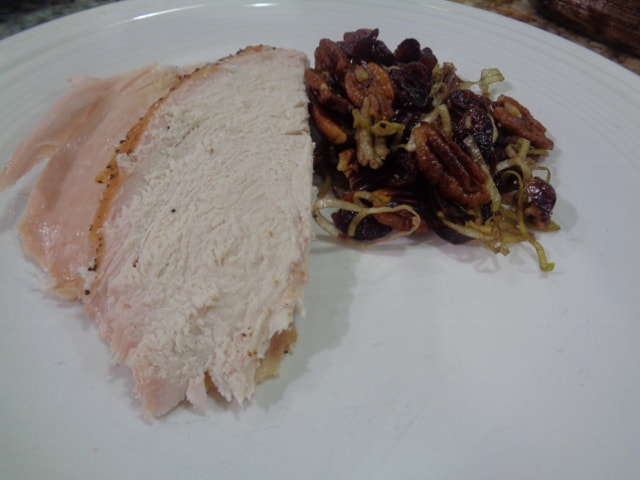
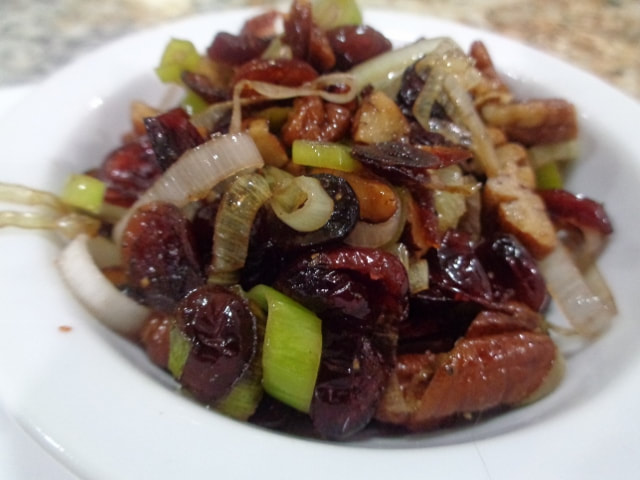
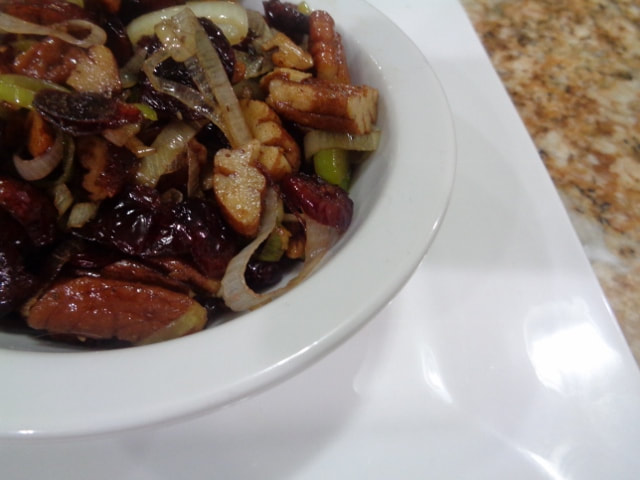
I plated the turkey slices up with Pecan-Cranberry Relish out of the same magazine.

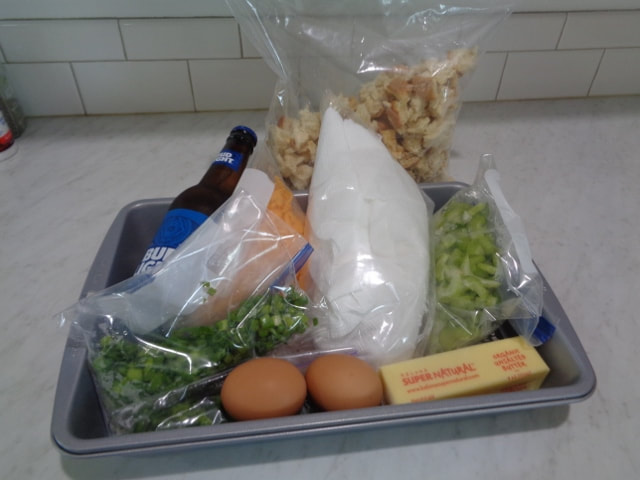
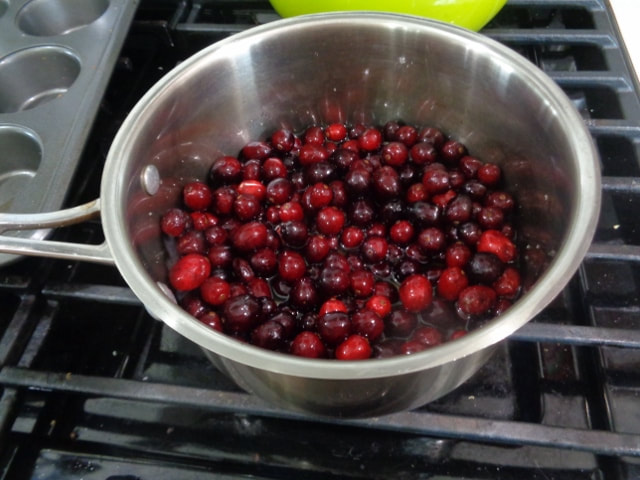
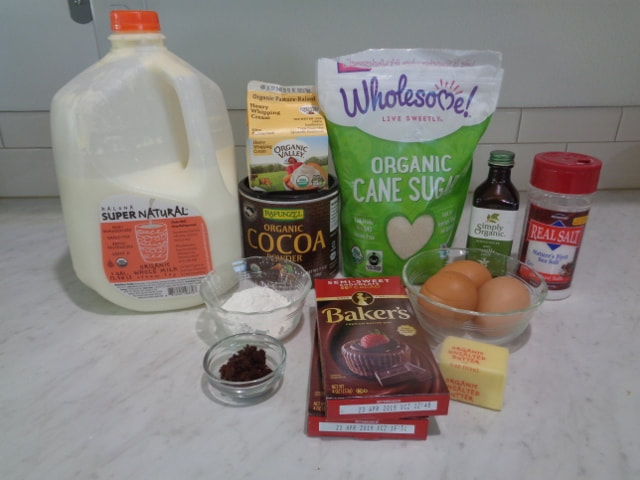
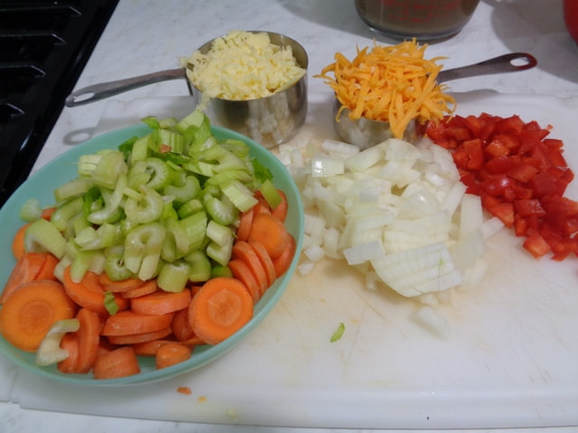
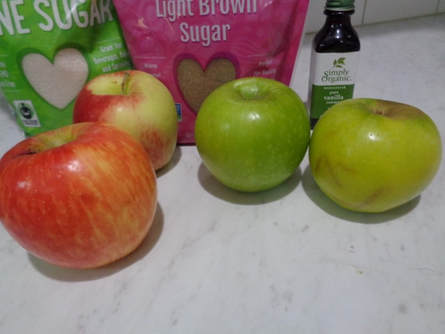
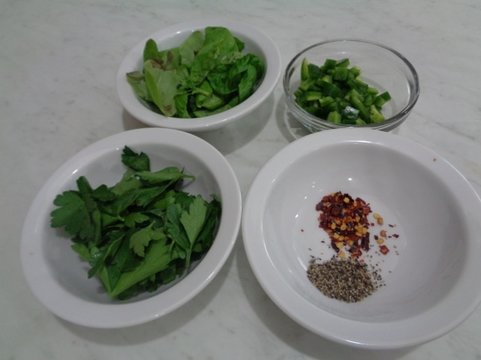
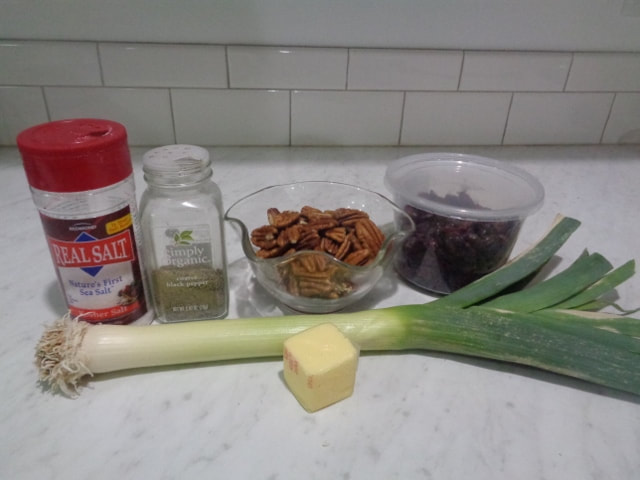
These are the fixins for the Pecan-Cranberry Relish.
This is not a traditional saucy relish, this is really quite different, pairs very nicely with this buttery turkey and is just as good five days later as the day you made it up.
However, this is not a traditional saucy cranberry relish.
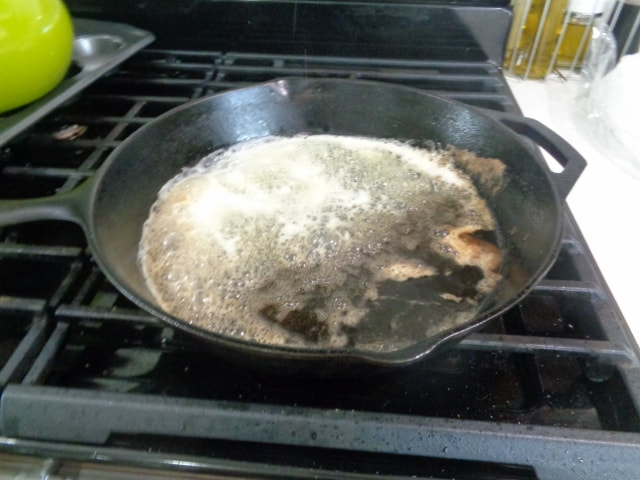
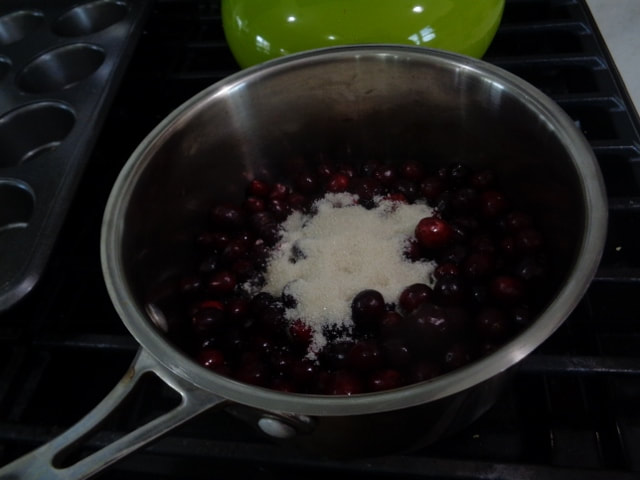
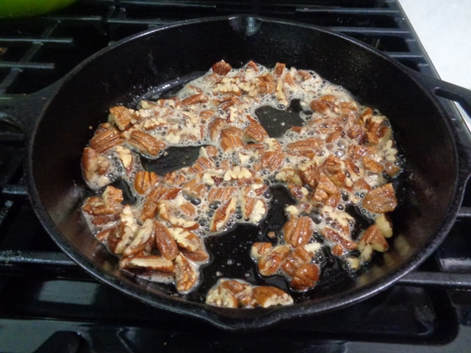
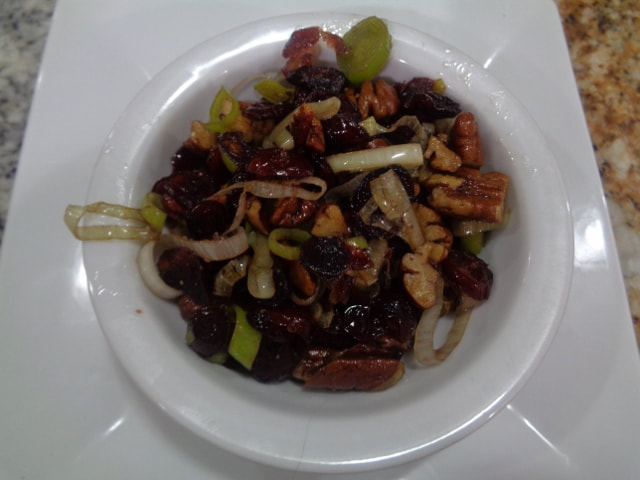
Okay, pay attention, this just takes a few minutes to whip up. Cook pecans in butter for a couple minutes.
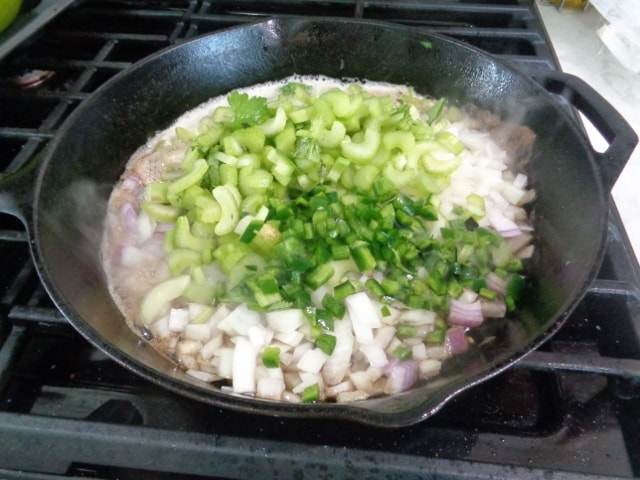
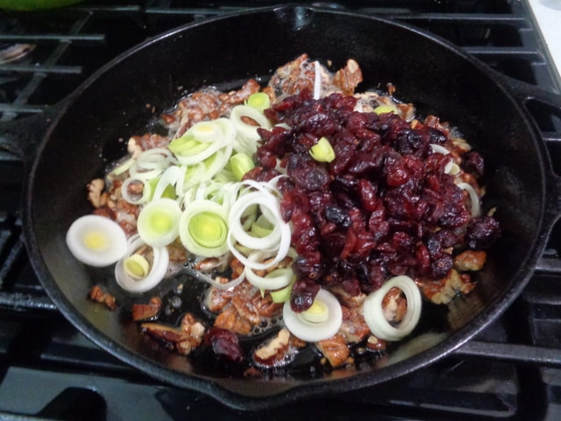
Throw the leeks and cranberries and salt & pepper in and cook and stir a couple minutes.
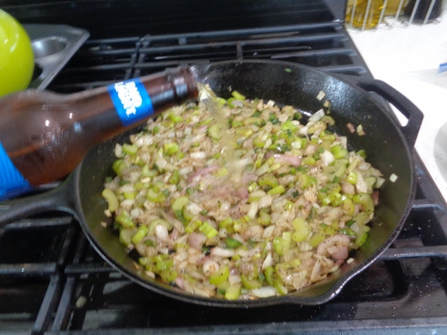
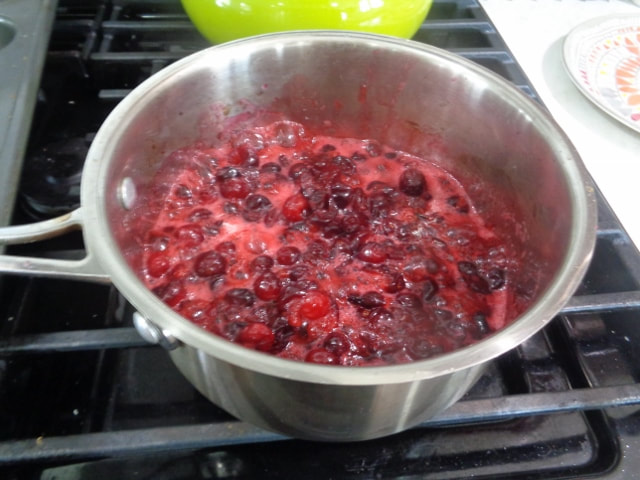
Bingo! That's it!

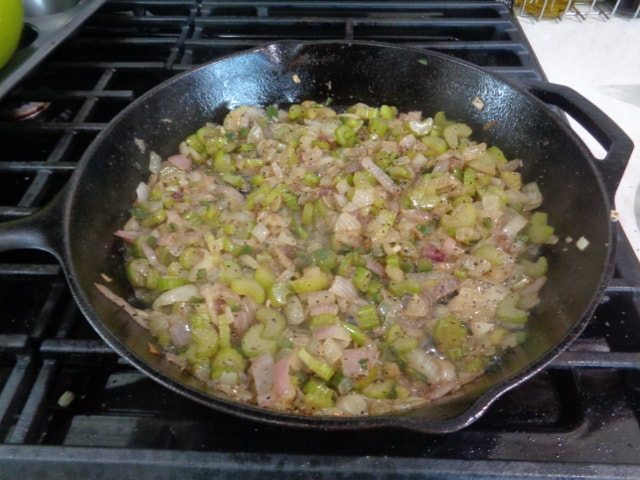
Sweet and salty and buttery and nutty, that leek really brings ties in all the flavors, do not leave it out!
This is deeee-licious and it keeps for many days in the fridge without losing it's texture of flavor. Fantastic!


The recipe for Chef Vivian Howard's
Butter-Roasted Turkey
is here.
By the way, I made the sorghum sauce listed at the link too, ummmmm, didn't care for it but you may like it.
This is the recipe for the
Pecan-Cranberry Relish
from BH&G November 2017 issue.
This is Chef Vivian Howard's recipe but there are so many variations of this all over internet, I am posting the recipe exactly as it is listed in the magazine.
Pecan-Cranberry Relish
Chef Vivian Howard’s recipe out of the November 2017 Better Homes & Garden magazine
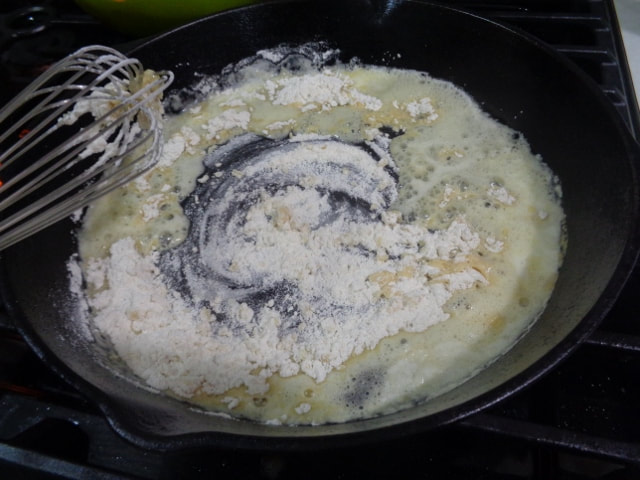
In a 10-inch skillet, melt 2 Tbsp. butter.
Add 1 cup chopped pecans, cook 3-4 minutes, stirring often to prevent burning.
Add 2/3 cup dried cranberries, 2/3 cup cup sliced leeks, ¼ tsp. salt, and 1/8 tsp. black pepper.
Cook and stir for 2 minutes.
Cover. Keep warm. Makes about 2 cups.
Angie’s note: Do not overcook this relish, just cook and stir 2 minutes max.
This doesn’t make a ton, keep that in mind.
Also, this is not a typical saucy relish.
Chef Vivian Howard’s recipe out of the November 2017 Better Homes & Garden magazine
In a 10-inch skillet, melt 2 Tbsp. butter.
Add 1 cup chopped pecans, cook 3-4 minutes, stirring often to prevent burning.
Add 2/3 cup dried cranberries, 2/3 cup cup sliced leeks, ¼ tsp. salt, and 1/8 tsp. black pepper.
Cook and stir for 2 minutes.
Cover. Keep warm. Makes about 2 cups.
Angie’s note: Do not overcook this relish, just cook and stir 2 minutes max.
This doesn’t make a ton, keep that in mind.
Also, this is not a typical saucy relish.
| pecan-cranberry_relish_vivian_howard_bhg.docx |
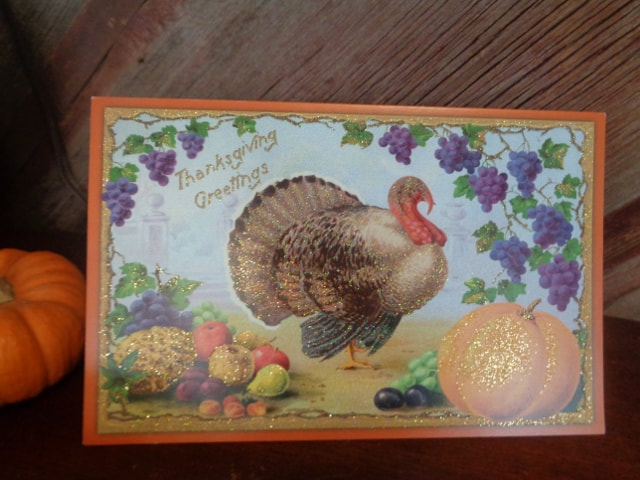
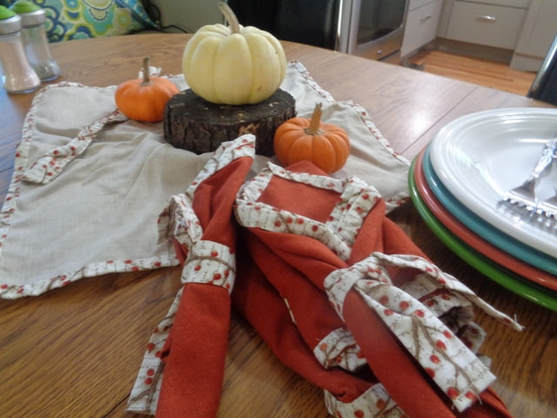
Okay y'all, thanks for checking in!!
Have a glorious Thanksgiving
full of food, family, friends
and great memories.
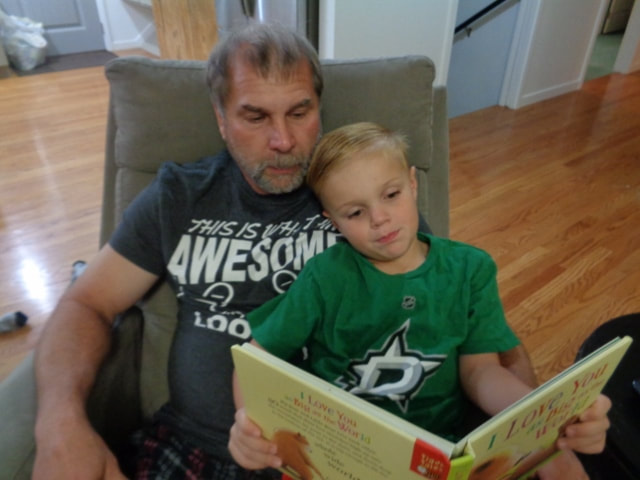
And may the day be filled with the wonder of pillow forts and the comfort of snuggy jammies and a good book.

Oh! Just a quick one, here's a link to a post I did a few years ago on Mozzarella Stuffed Meatballs but at the end of the post, there is some interesting historical pictures and info on the Macy's Thanksgiving Day Parade.
Take care, folks!
Check back in sometime, and we'll talk at
ya soon!!
Check back in sometime, and we'll talk at
ya soon!!