My Aunt Mary Ann always made this
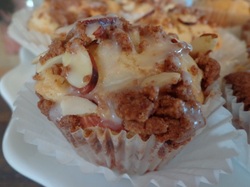
Cake 'n Cheesecake
for family holiday meals growing up.
Cake 'n Cheesecake
for family holiday meals growing up.
I have not had this cake for at least 20 years!!!
When I found the recipe and made it the other night, it tasted exactly like I remembered!
It was delish!
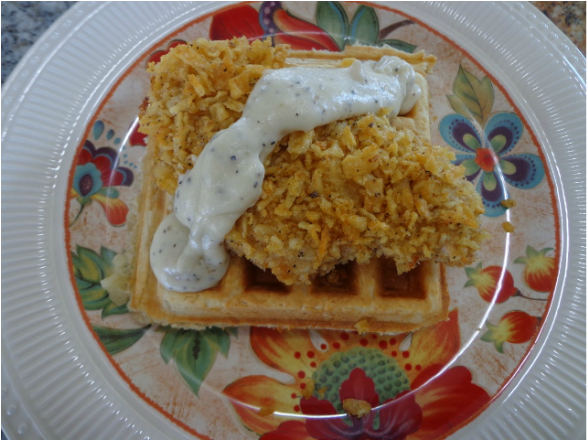
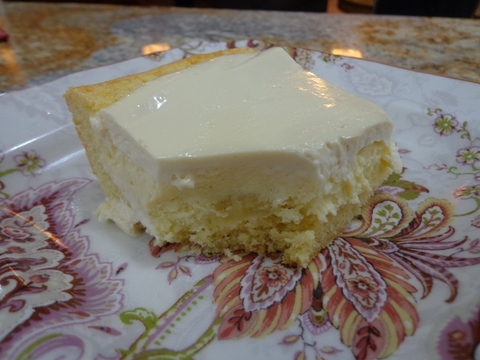
That creamy, tangy
sour cream topping,
the sweet
cream cheese filling,
all nestled on a yellow homemade cake.
QUICK STORY:
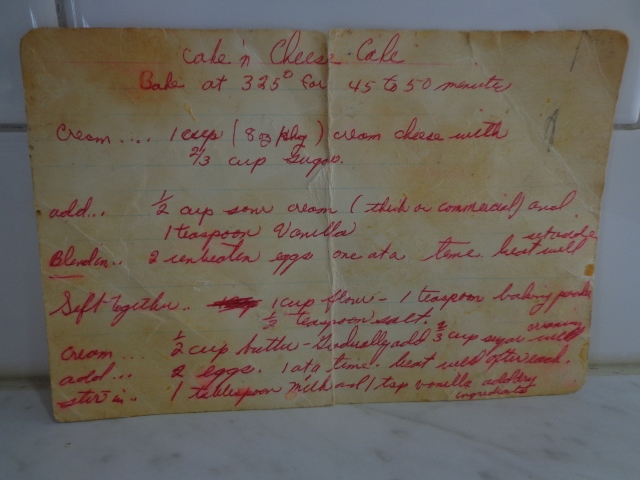
After my Aunt Mary Ann passed, I begged my cousin Jonnie that if he found the recipe card to this cheesecake or a cookbook with the recipe in it, to make a copy for me.
Jonnie eventually found the beloved handwritten recipe card in his mom's kitchen cookbooks and graciously GAVE IT TO ME!! HOW AWESOME IS THAT??!! He and his girlfriend had found it!! And gave it to me!! Can you believe??!!
Being a good Auntie is important to me
because of my Aunt Mary Ann.
Just like being a good Uncle has been important to Tim.
Tim and I have always loved our nieces and nephews as if they're our own.
Even if they lived far, far away like Arizona :)
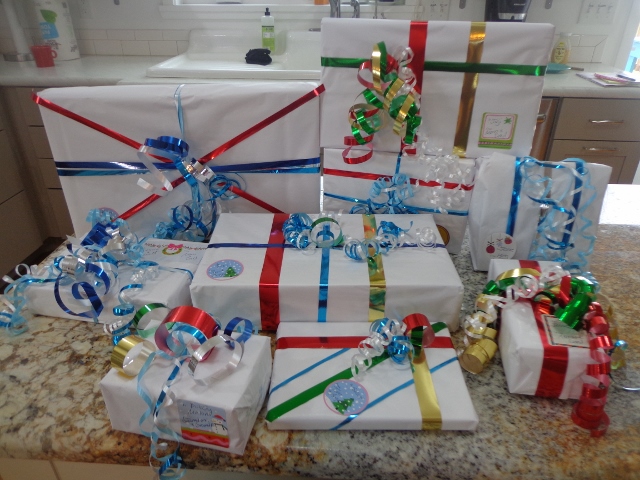
And now we love our great nieces and nephews just as much as we do their moms and dads. Even the kiddos we haven't met in person yet :)


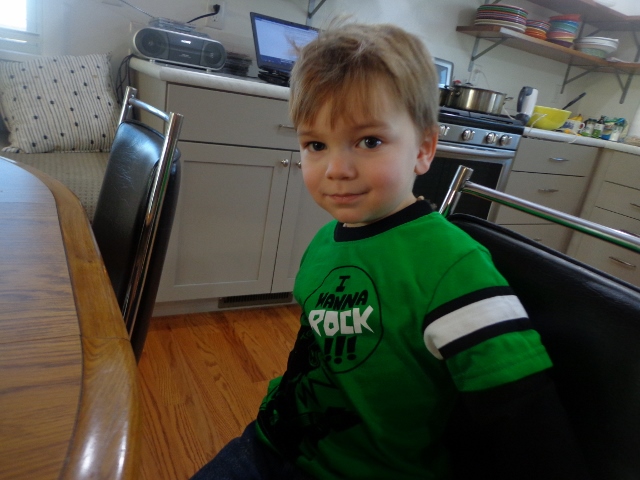
Cutie patooties! AND there are many more adorable kiddos not even pictured!
We love every-single-one.
We love every-single-one.
This is my Aunt Mary Ann c1970s.
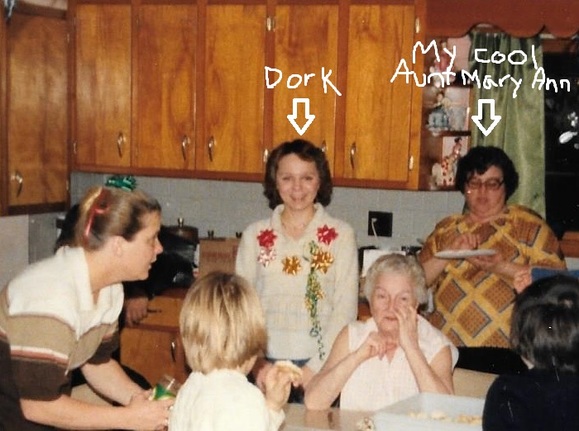
No comments from the peanut gallery on my exceptionally large head. You'll be happy to know I finally grew into it.
Aunt Mary Ann rocked!!
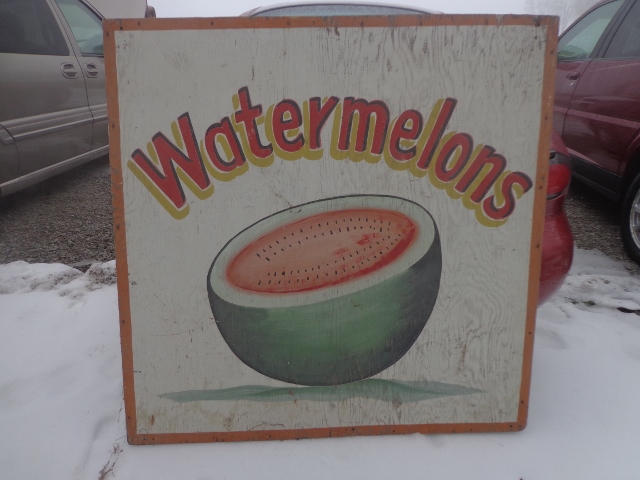
Aunt Mary Ann operated a fruit stand on the island in Muscatine for decades...Mary Ann's Market!
I worked and played (mostly played) many a summer there and it was A BLAST hanging out with my sister and cousin!!!!!!
It was like a Kid Wonderland, almost exactly how you would want to remember your childhood...playing outside, laughing, running, getting dirty, getting into a little bit of trouble and always begging for more candy.
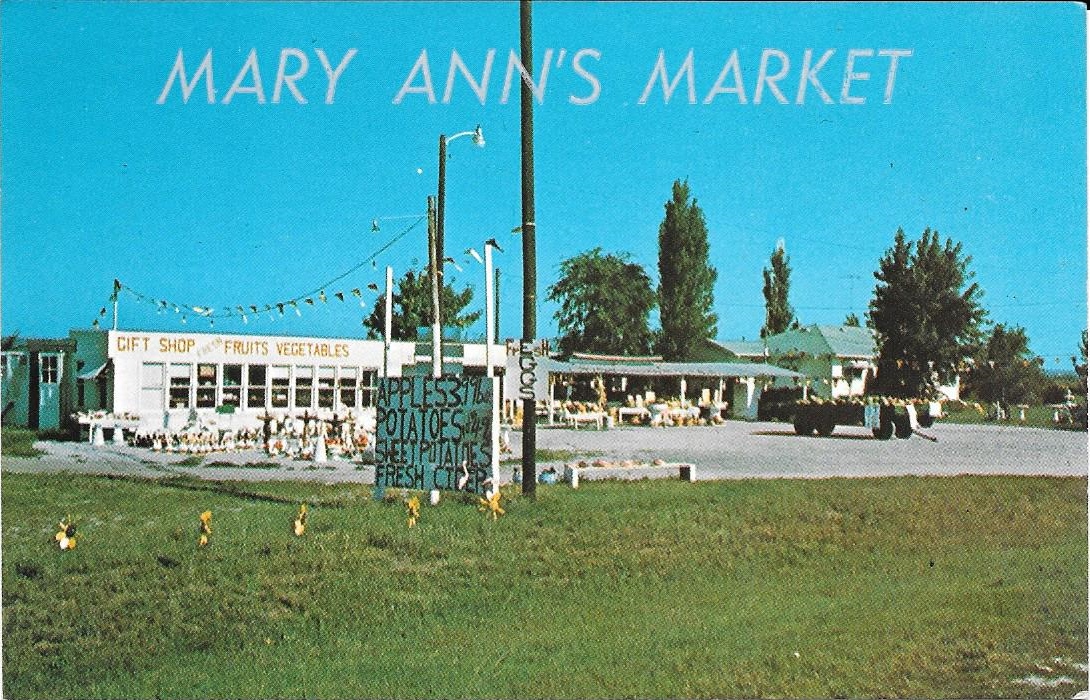
The picture above is an actual postcard from her original market thanks to
my cousin Jonnie.
There was always a ton of customers milling about
and there were always so many fun and interesting and quirky things to do.
That is EXACTLY how I would describe Aunt Mary Ann.
Fun and Interesting and Quirky!
She believed kids should have fun.
Looking back, I can see now, she knew she was providing more than a summer of fun experiences for her nieces,
she was also orchestrating a lifetime of memories for us.
Okay,
so let's get back to this
Cake 'n Cheesecake recipe,
shall we?
so let's get back to this
Cake 'n Cheesecake recipe,
shall we?
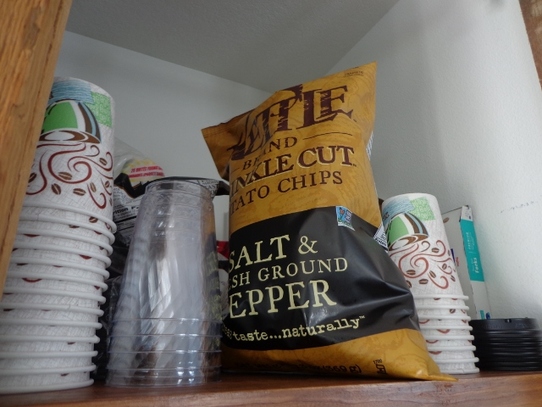
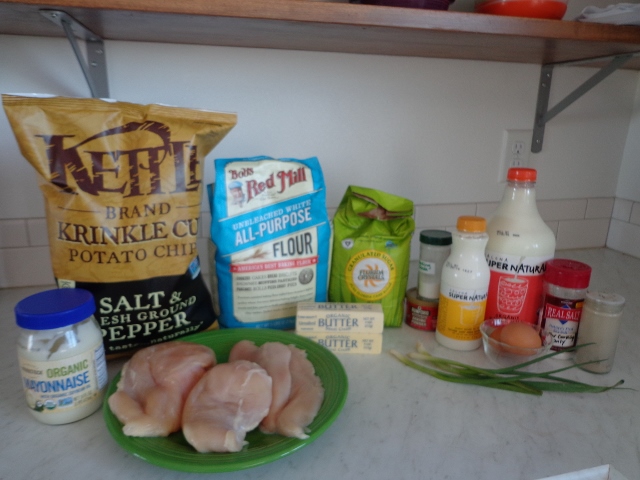
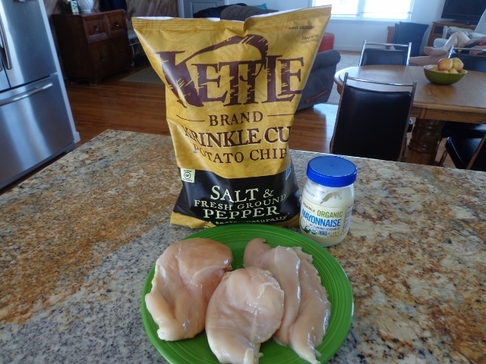
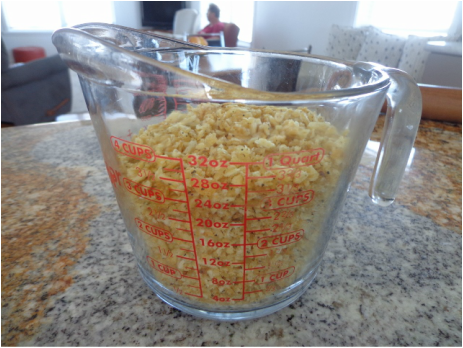
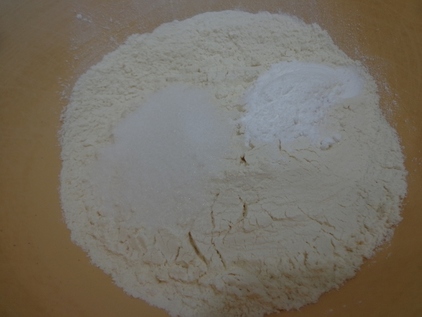
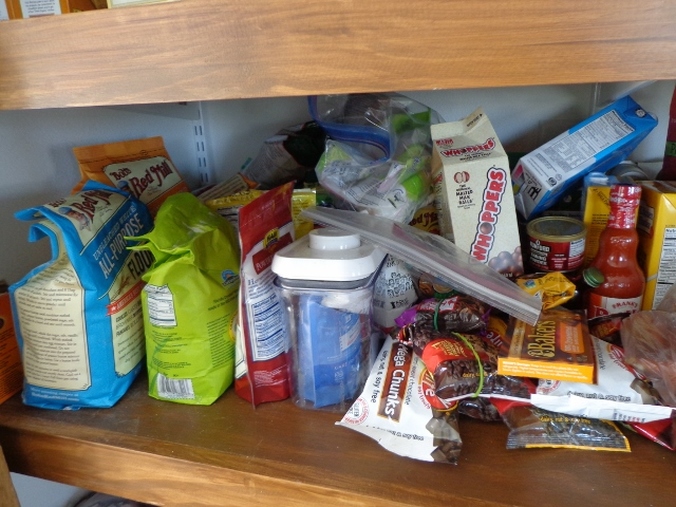
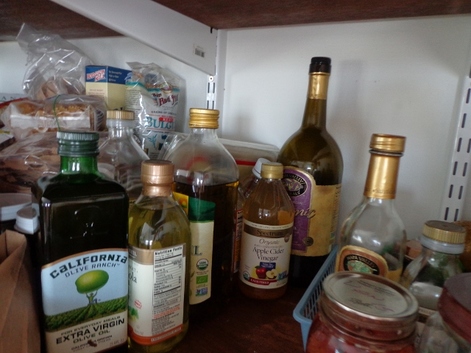
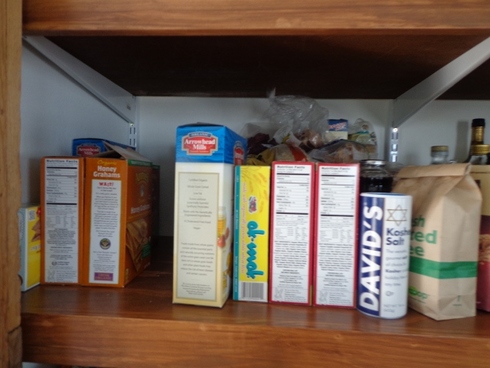
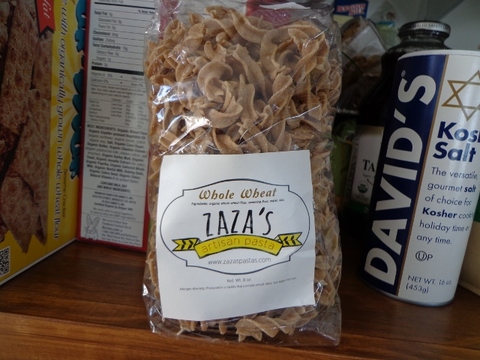
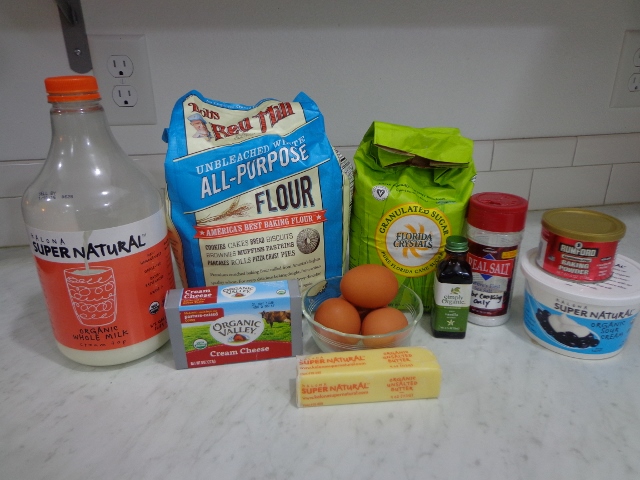
These are the fixins for this yummy, fun dessert...
Now I googled Cake 'n Cheesecake and actually found the exact recipe online on Food.com.
Here's the direct link, where you can go and print out the recipe.
Food.com Cake 'n Cheesecake.
Cake 'n Cheesecake
From my Aunt Mary Ann's kitchen but also posted by Nancy1954 on Food.com
Ingredients
Cheesecake topping
8 ounces cream cheese
2/3 cup sugar
1/2 cup sour cream
1 teaspoon pure vanilla extract
2 large eggs
Cake Batter
1 cup sifted all-purpose flour ( 4 oz.)
1 teaspoon baking powder
1/2 teaspoon salt
4 ounces unsalted butter
2/3 cup sugar
2 large eggs
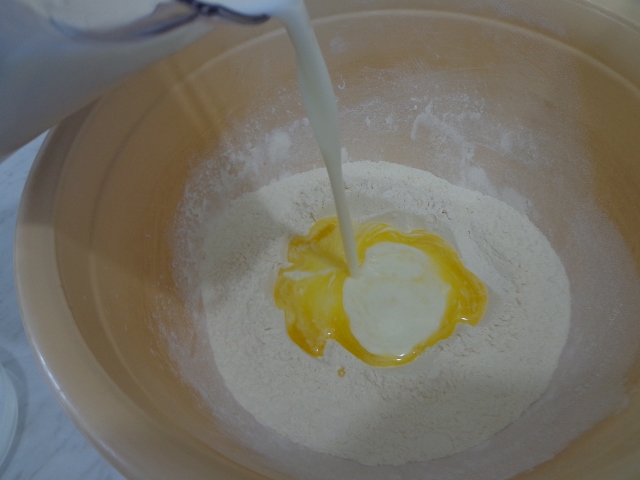
1 tablespoon milk
1 teaspoon pure vanilla extract
Sour cream topping
1 cup sour cream
2 tablespoons sugar
1 teaspoon pure vanilla extract
Directions
From my Aunt Mary Ann's kitchen but also posted by Nancy1954 on Food.com
Ingredients
Cheesecake topping
8 ounces cream cheese
2/3 cup sugar
1/2 cup sour cream
1 teaspoon pure vanilla extract
2 large eggs
Cake Batter
1 cup sifted all-purpose flour ( 4 oz.)
1 teaspoon baking powder
1/2 teaspoon salt
4 ounces unsalted butter
2/3 cup sugar
2 large eggs
1 tablespoon milk
1 teaspoon pure vanilla extract
Sour cream topping
1 cup sour cream
2 tablespoons sugar
1 teaspoon pure vanilla extract
Directions
- Cheesecake topping:.
- Beat cream cheese and sugar together until well blended, then mix in sour cream and vanilla. Beat in eggs one at a time, then set aside.
- Cake batter:.
- Sift dry ingredients together. Cream butter and sugar, then beat in eggs, then milk and vanilla. Stir in dry ingredients.
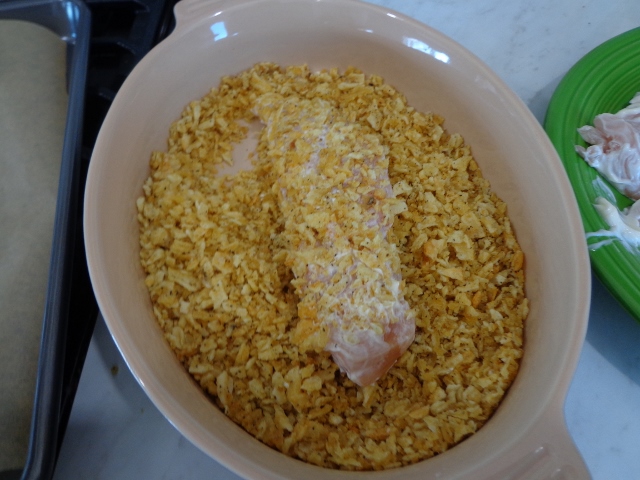
- Grease and flour a deep 9-inch Pyrex pie plate, or a 9 x 9-inch square pan. Spread cake batter over bottom and sides, spreading much thinner on sides. Spoon cheesecake mixture over batter.
- Bake at 325° for 40-45 minutes, until cheesecake is set. Spread with sour cream topping, then return to oven for another 5 minutes. Cool, then refrigerate at least 4 hours.
WARNING!! Super exciting picture ahead!
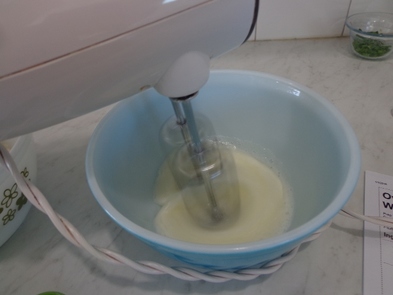
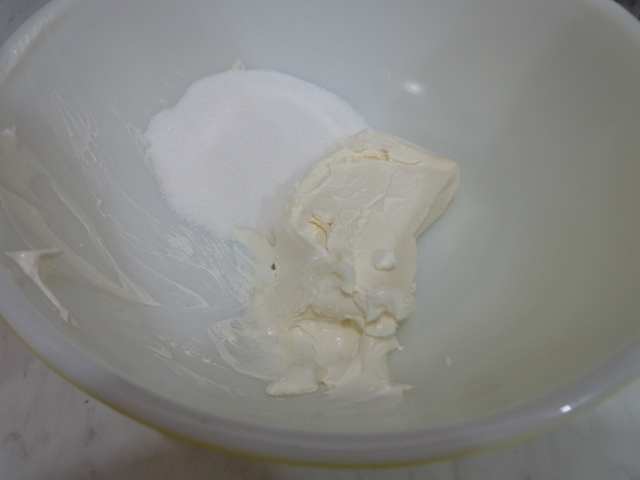
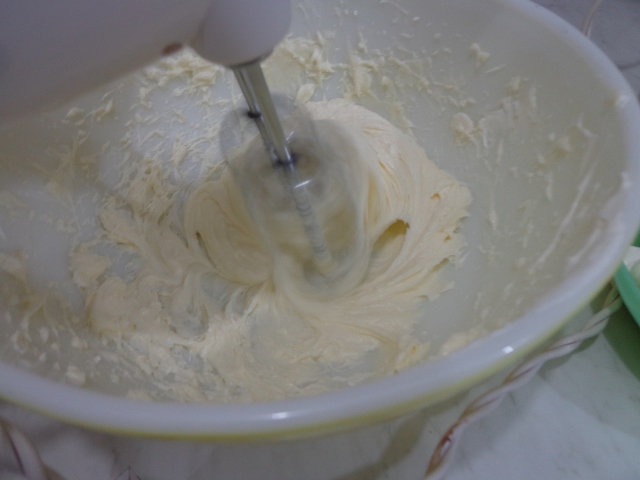
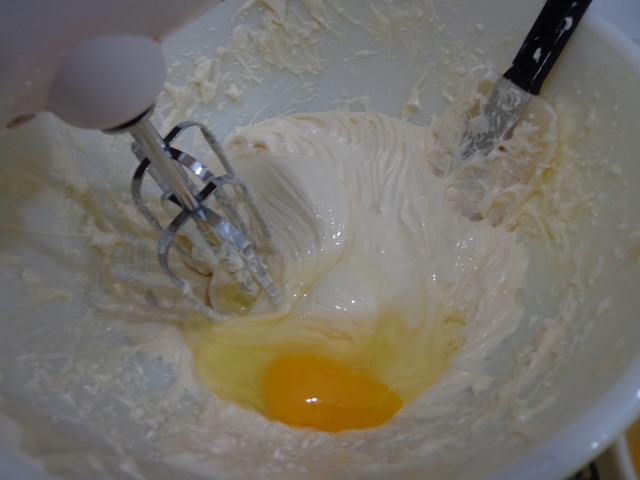
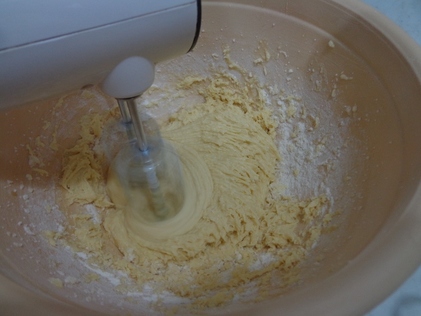
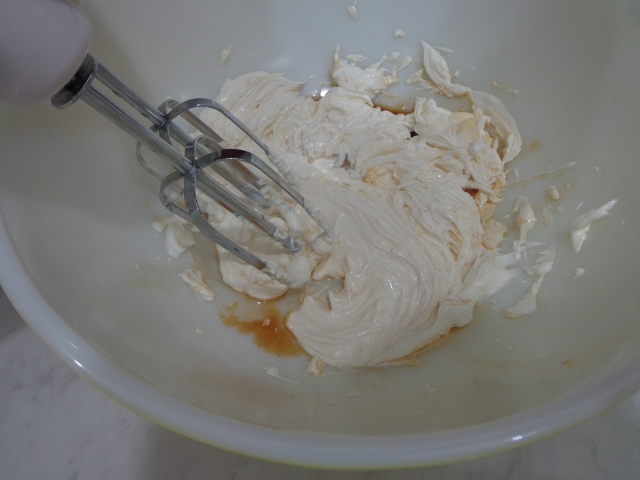
So we'll start the cheesecake by beating the spectacular cream cheese and that splendid sugar together...
So we'll start the cheesecake by beating the spectacular cream cheese and that splendid sugar together...
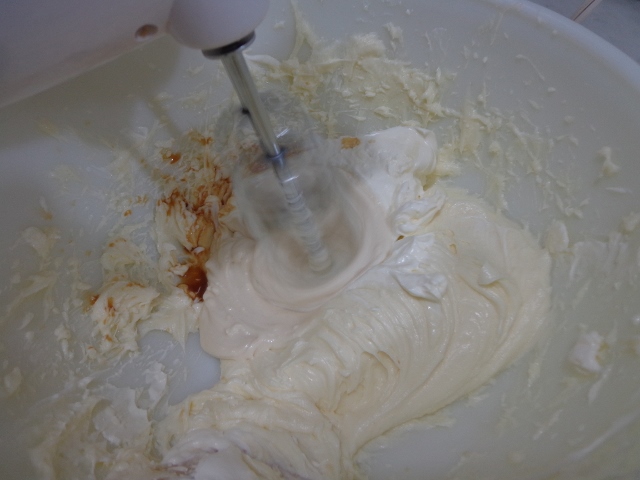
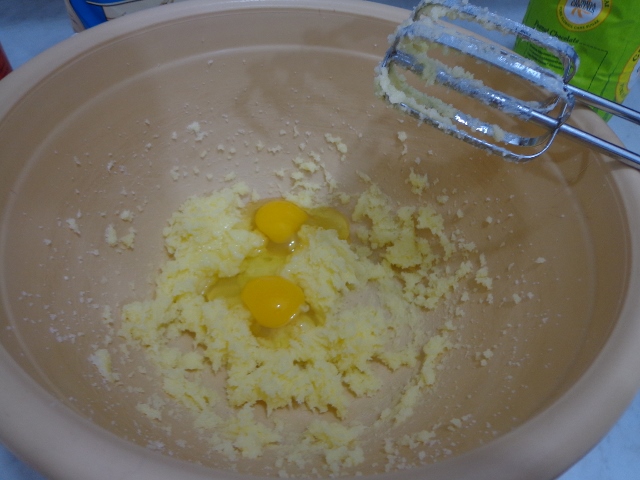
Next, beat in the wild and wacky vanilla extract,
those crazy eggs,
and the effervescent sour cream.
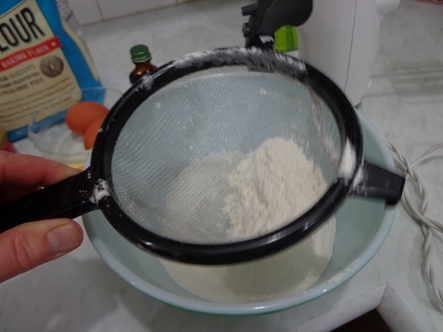
Sift up
the sparkly dry ingredients
enthusiastically.
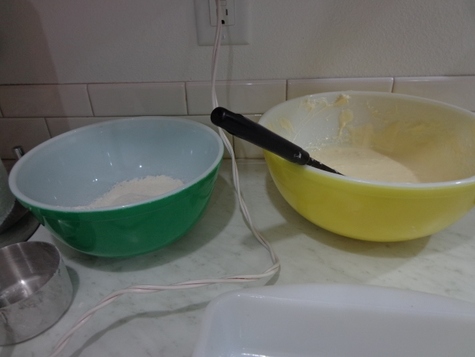
Now set those two gleaming bowls aside.
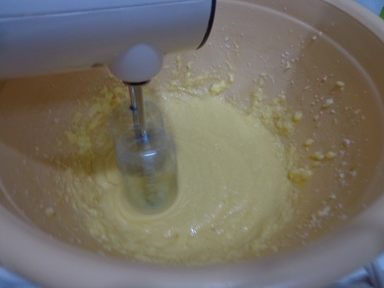
With unbridled anticipation, let's pull together that cake batter!! C'mon kids, you can do it!!
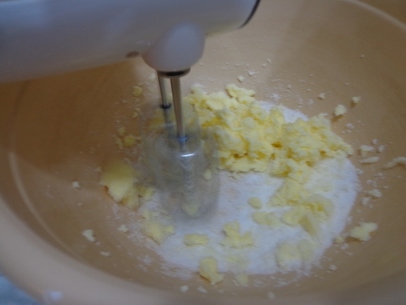
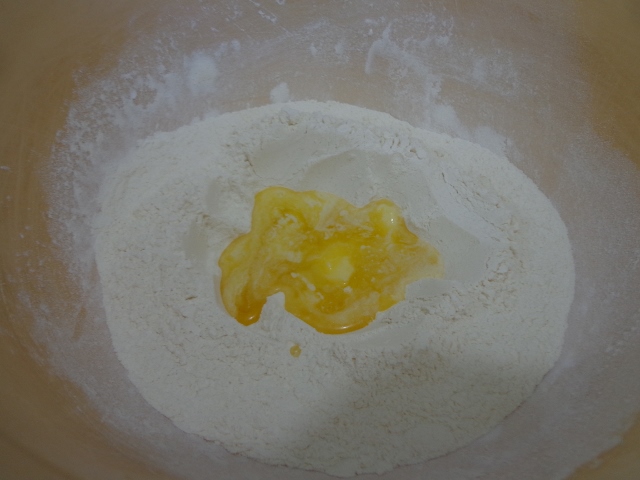
First
cream up the
splendid butter and sugar!
Don't forget those crazy eggs, the wild and wacky vanilla and the impressive tablespoon of milk!
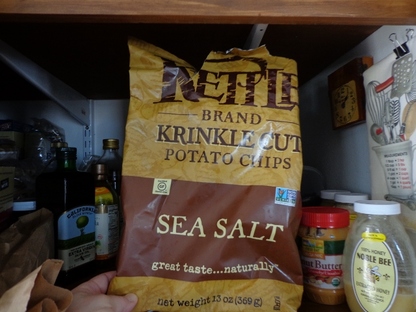
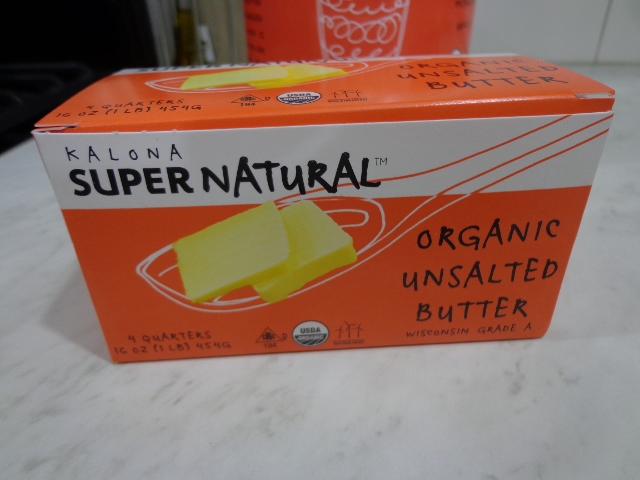
I now take a break and bring you a recommendation for the following product.
Kalona Supernatural. Dairy. Organic. Made just a few miles from my house. Look for it. Buy it. They should pay me for this promotion. It's worth 2 lbs of butter at least, isn't it? Or a carton of half and half. Or buttermilk. Anyway, here's the link to their website.
Kalona Supernatural. They reeeeeeally do have fantastic products and I enthusiastically support them.

Now back to the amazing colorful, fascinating brilliance of my picture taking...
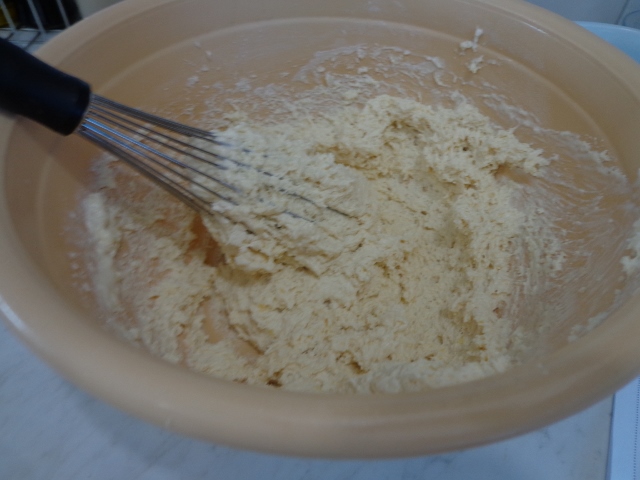
Um,
mix in the dry ingredients.
I mean the RADIANT
dry ingredients.
mix in the dry ingredients.
I mean the RADIANT
dry ingredients.
Keep that impressive mixing up...
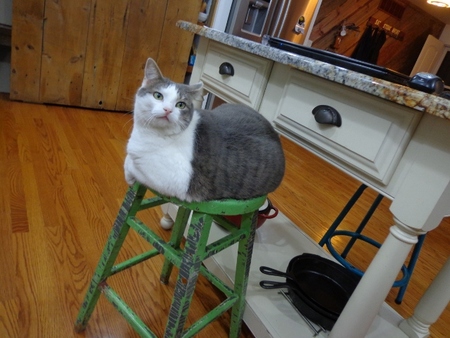
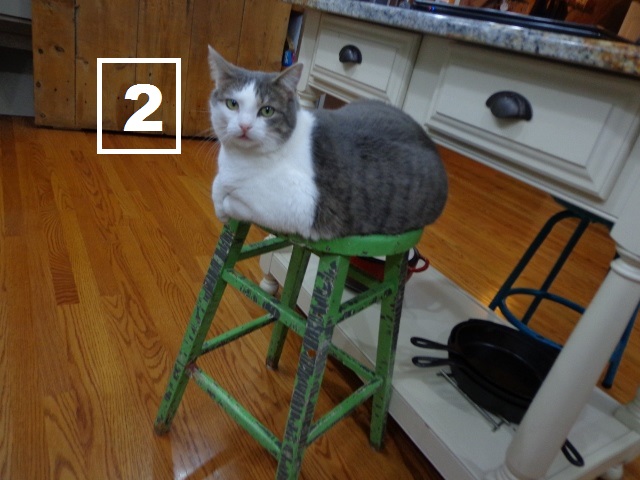
Stop to gander over at Gibby who has decided to snootily sit and judge your baking skills.
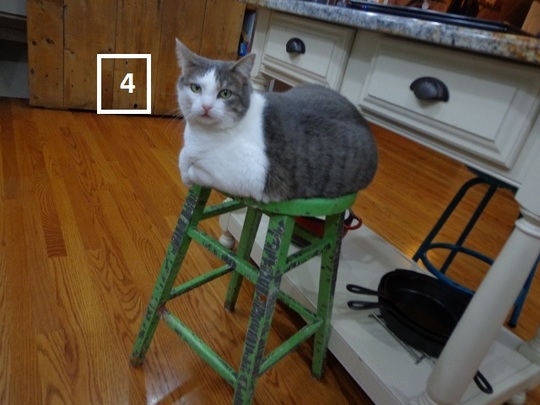
WHAT????
Only a 4???????
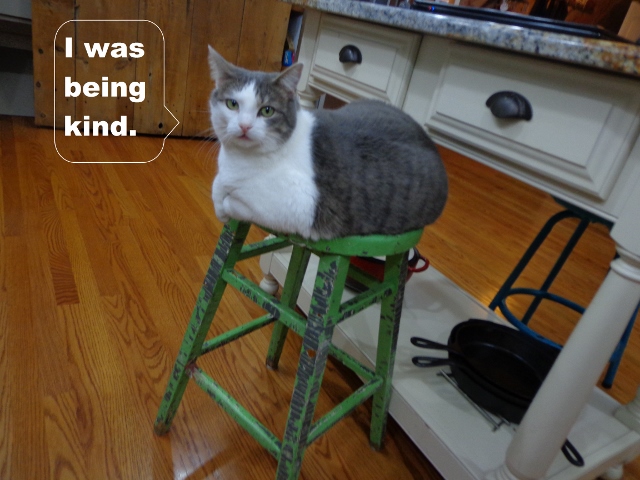
Grrrrrrr, anyway
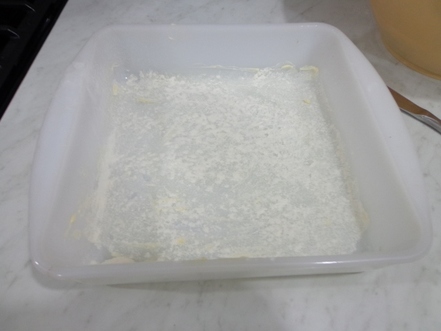
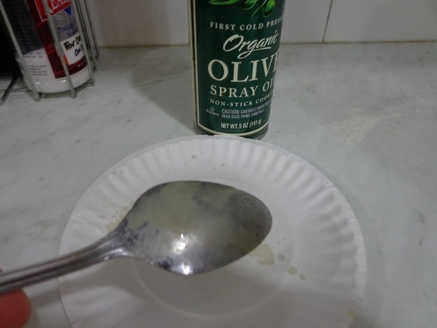
grease and dust up that bright shiny pan!
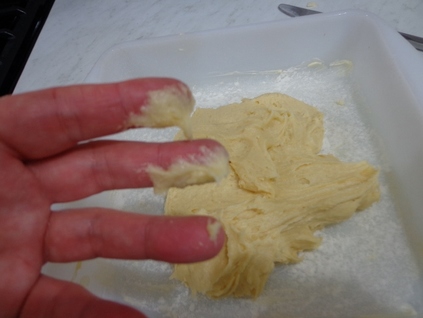
DO NOT,
I repeat, DO NOT
spread the cake batter into the dish with your fingers.
It Won't Work.
No matter how determined
you are.
Or how many times you try.
I repeat, DO NOT
spread the cake batter into the dish with your fingers.
It Won't Work.
No matter how determined
you are.
Or how many times you try.
SHADDUP!!!!!!!!!!
Use the back of a greased spoon to spread the cake batter in the pan.
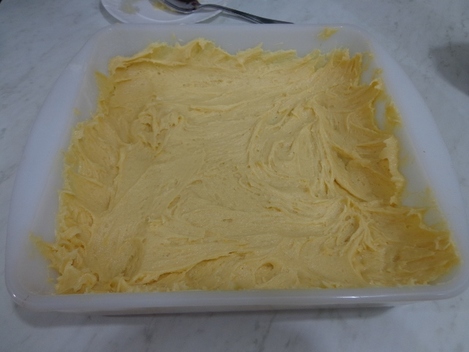
Ta Daaaaa!!!!!!
Make sure the cake batter is spread up the sides too, just a bit thinner.
Make sure the cake batter is spread up the sides too, just a bit thinner.
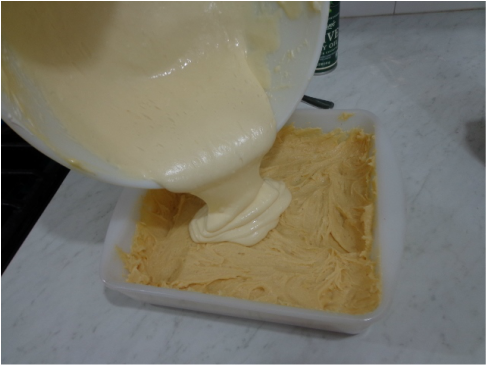
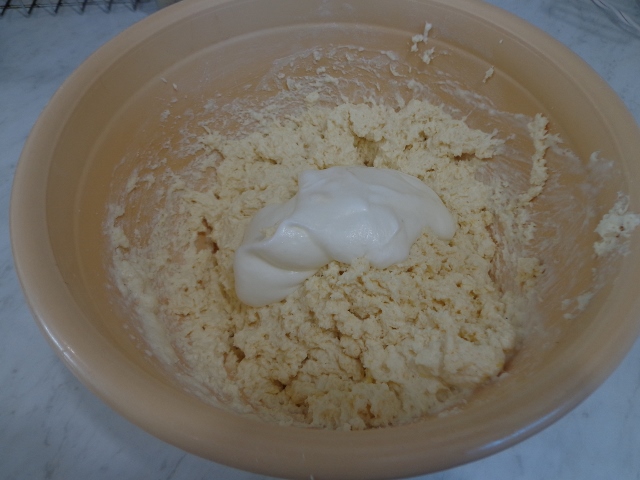
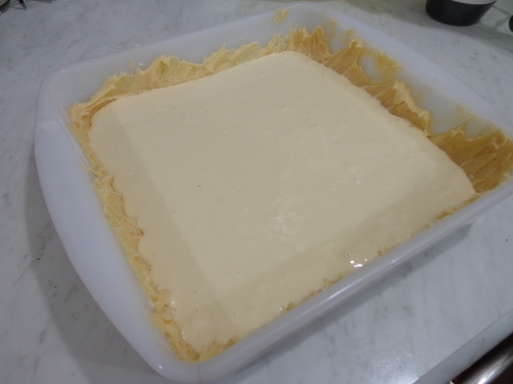
Now
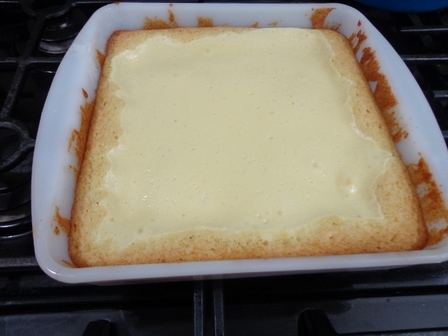
pour that creamy, lovely cream cheese mixture over the cake batter.
pour that creamy, lovely cream cheese mixture over the cake batter.
Keep your fingers out of the cream cheese batter,
(lick the bowl and beaters instead :)
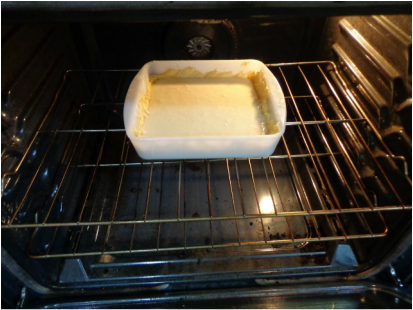
and throw that baby into the oven for 40-45 minutes.
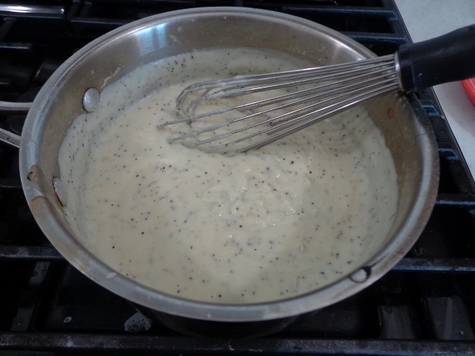
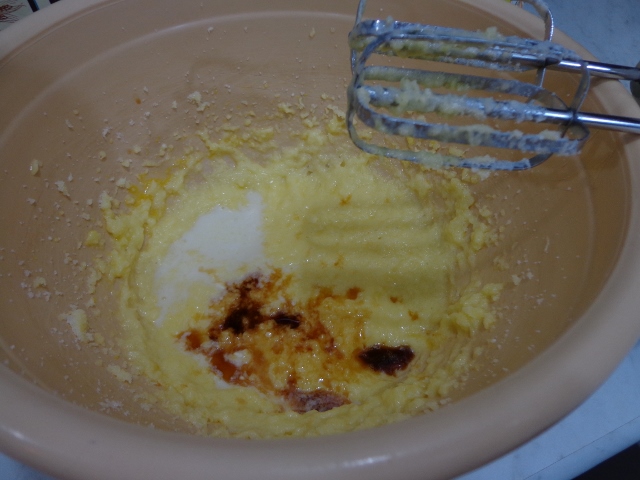
In the meantime, that tangy sour cream topping needs made up...mix up the sour cream, sugar and vanilla...

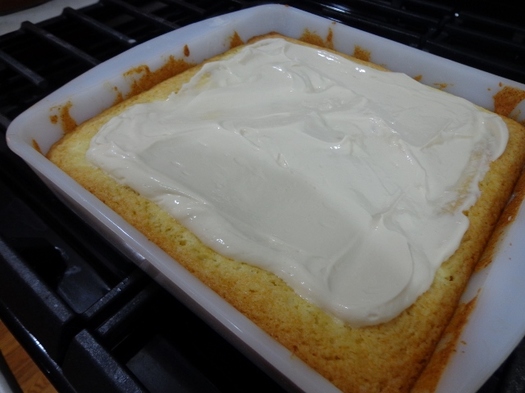
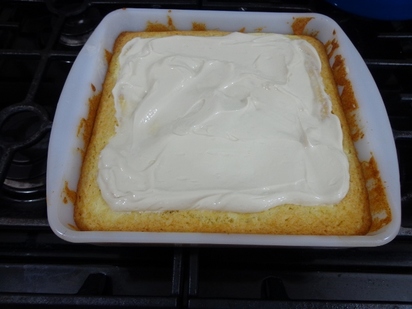
Now I took this out of the oven at the 40 minute mark.
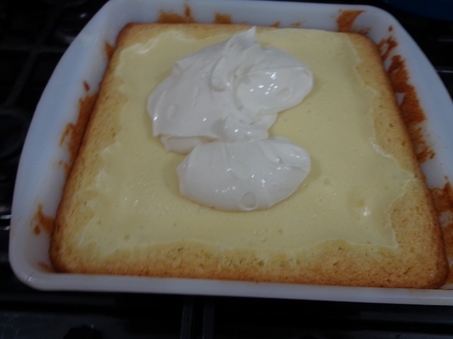
Slather on
that tangy topping...
no need to let it cool first.
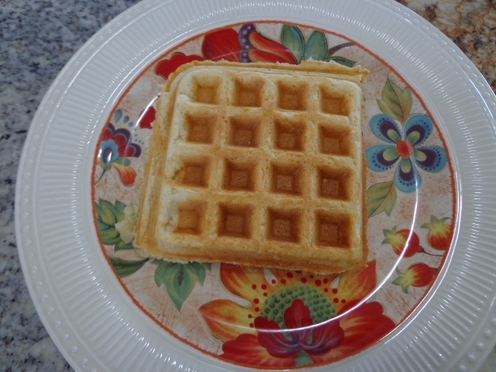
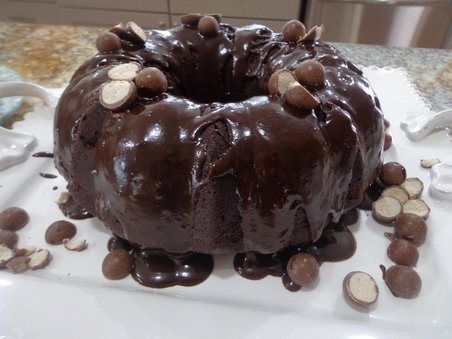
Helllooooo beautiful Cake 'n Cheesecake!!!!
I was so excited to try a piece and see if it tasted just like it did when I was a kid!!!

And
YES
IT
DID
!!!!!!!!
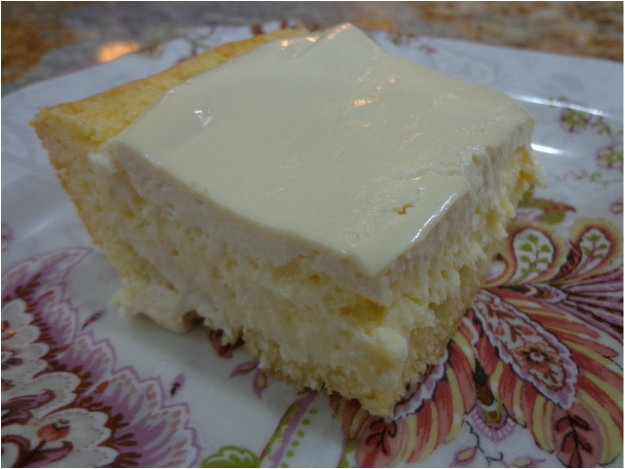
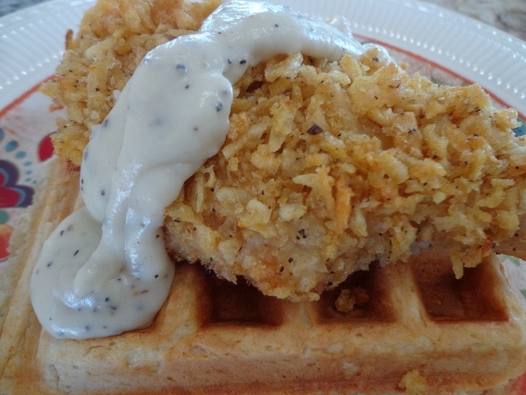
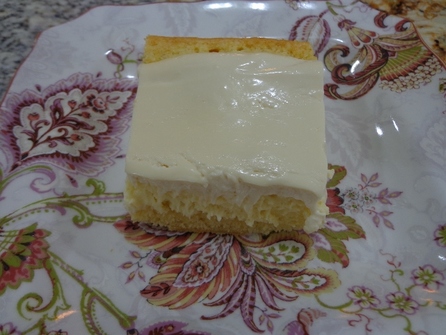
The first thing you taste is the sweetness of the cream cheese contrasting with the tangy freshness of the sour cream frosting. And then you dig into the
buttery yellow cake.
Now this cake layer is a denser cake, it isn't light and floofy,
this cake means business!!
buttery yellow cake.
Now this cake layer is a denser cake, it isn't light and floofy,
this cake means business!!
And I certainly got down to business and ate a piece.
And then ate another piece to make sure every piece tasted the same.
It did.
Found that out after the third piece.
And then ate another piece to make sure every piece tasted the same.
It did.
Found that out after the third piece.
Okay...
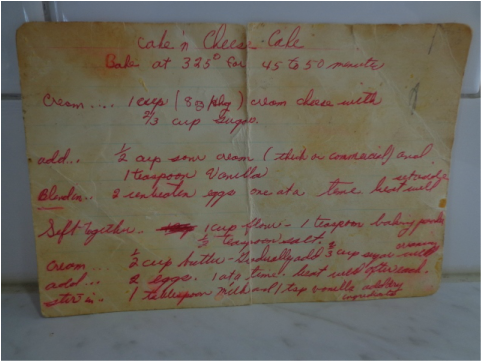
So remember when I talked about my cousin Jonnie finding and giving me Aunt Mary Ann's original recipe card?
Well,
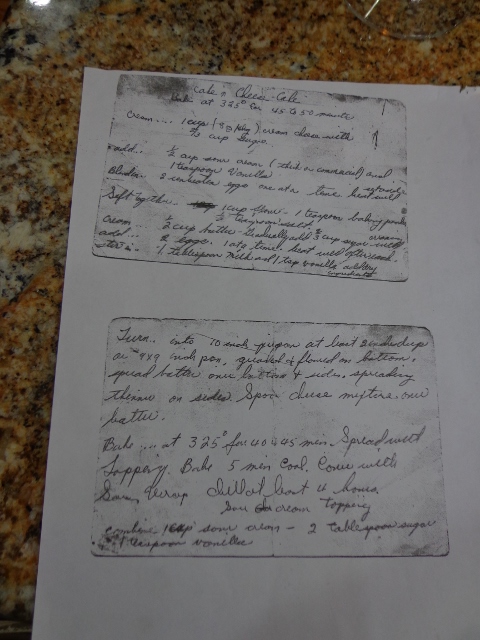
I made several photocopies of it just in case I lost it.
And then I lost it.
I knew I hid the original recipe card in a special place and I knew that I would remember where that special place was when I wanted to find the original written in my
Aunt's handwriting.
And then I lost it.
I knew I hid the original recipe card in a special place and I knew that I would remember where that special place was when I wanted to find the original written in my
Aunt's handwriting.
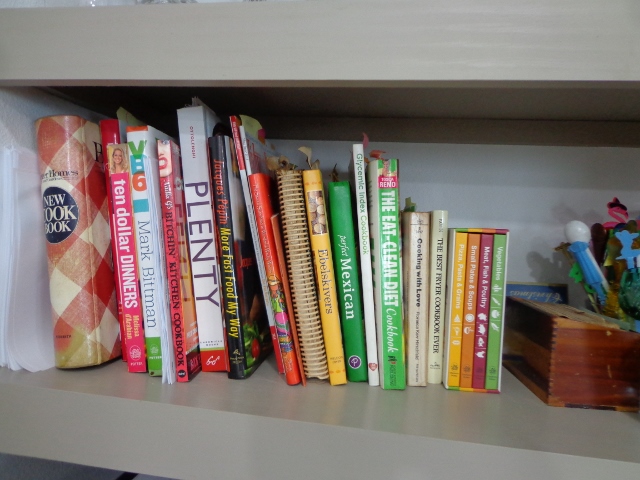
I scoured through each of my cookbooks, seemed the most obvious place to hide a cherished recipe card.
Nope. Not there.
Okay fine.
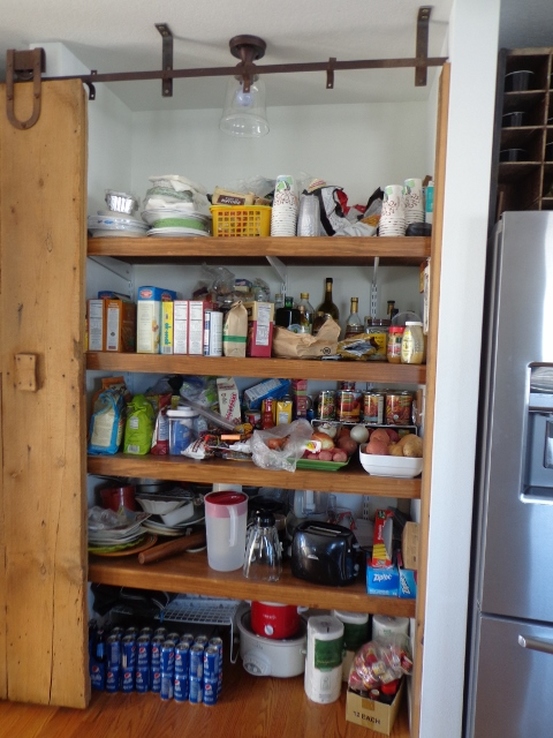
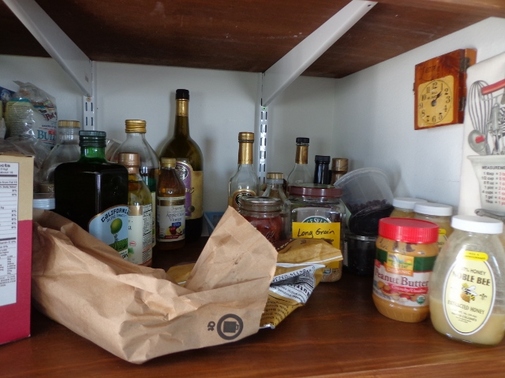
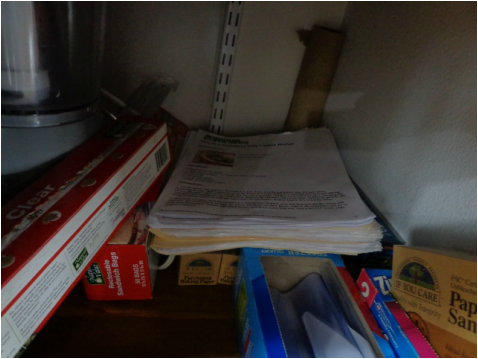
I bet I stuck it in the pantry by the internet recipes I pull off.
I bet I stuck it in the pantry by the internet recipes I pull off.
Yeah no. Not there.
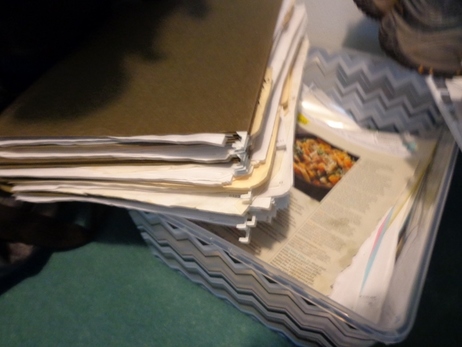
I run into my bedroom closet where I have a small tub of collected recipes and magazines over the years and went through every single piece of paper.
Sighhhhhhhhhhh.
All day, I mean ALL DAY I kept thinking if I was a cherished recipe, where would Angie put me??
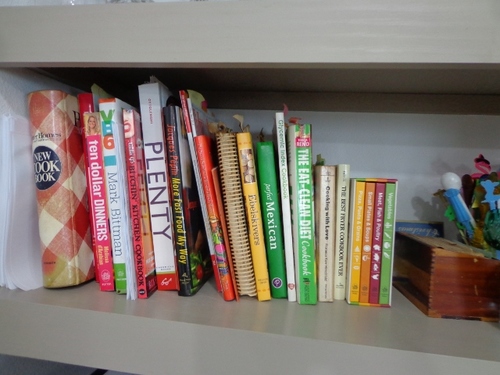
I kept
going back to the cookbooks, that is where I would have put a cherished recipe, but there is no recipe card stuck in ANY cookbook!
going back to the cookbooks, that is where I would have put a cherished recipe, but there is no recipe card stuck in ANY cookbook!
I Suck!!!!!!
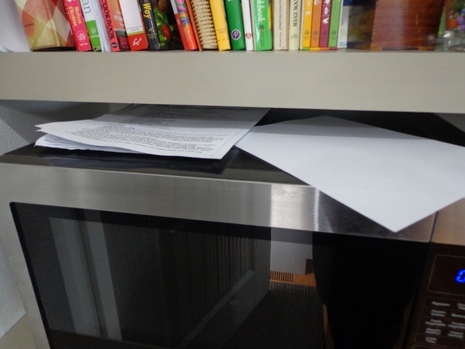
I look through the four papers on the microwave, knowing it isn't there,
but gosh darnit, WHERE IS IT???!!!
but gosh darnit, WHERE IS IT???!!!
Ding Ding Ding Ding Ding!!!!!
I remembered Tim threw a whole bunch of my recipes in this stereo one day!!!!!
So I open the bottom door, YES!! It has to be there!!!!! I just KNOW it is!!!!
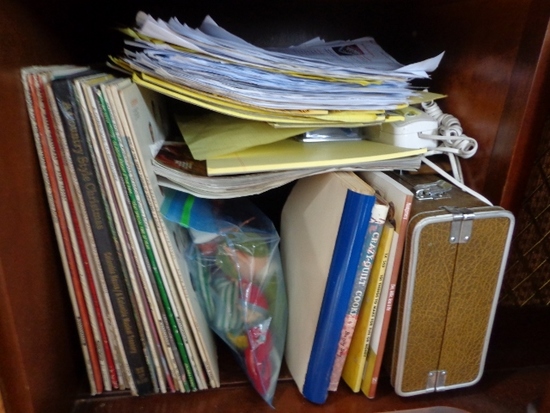
But it wasn't.
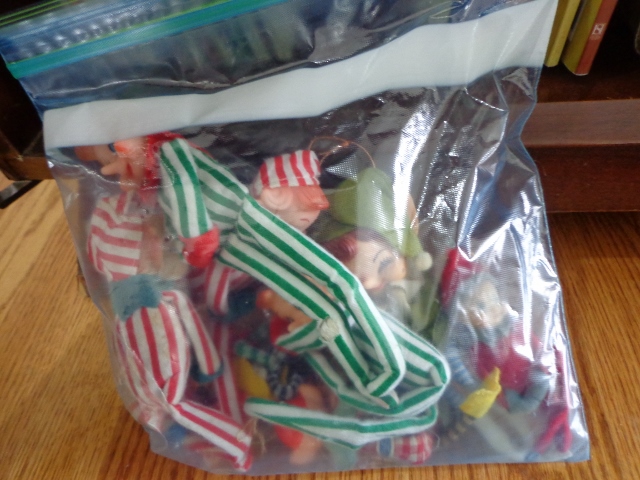
However, a bag full of vintage Christmas elfins and cookbooks that I was supposed to send to my mom and an old-school plug-in land line phone was.

Later in the day, when I was less....hmmm...angry....I went back to the books.
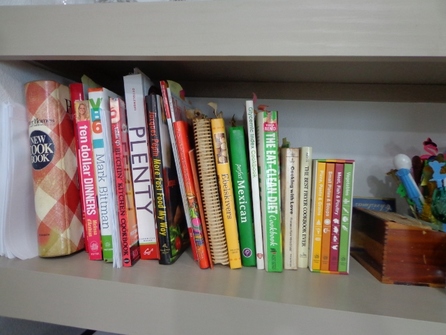
C'mon you suckahs!
I know one of you has this recipe card stuck in it!!
Which one???
Fess up!!!
I will not be foiled by food stained books.
I know one of you has this recipe card stuck in it!!
Which one???
Fess up!!!
I will not be foiled by food stained books.
And yes, that is EXACTLY what I sneered to the books. PINKY SWEAR!!
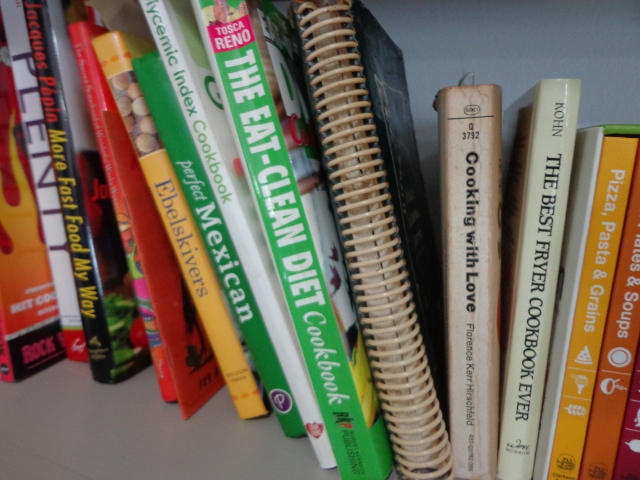
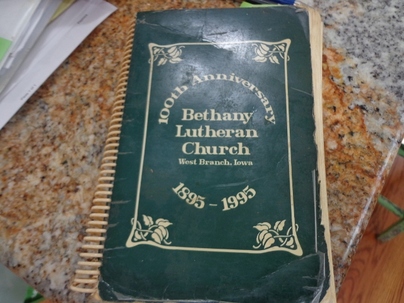
I pull my all time favorite cookbook out, a church cookbook from our old church in West Branch, and I SLAM it on the island and I meticulously go through
every
single
page.
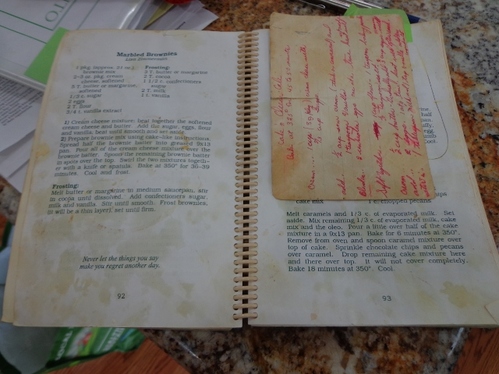
Bingo.
And there it was...
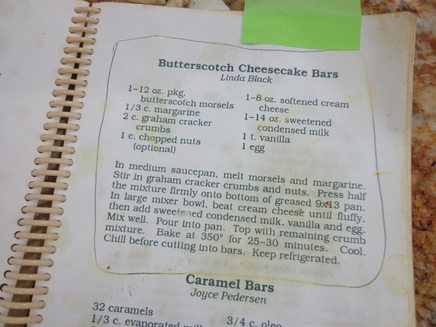
On top of one of my favorite desserts ever.
So kids, if there is a lesson to be learned in all of this,
let it be
1. Always be a good Auntie.
2. Always trust your instincts when you hide crap.
Mary Ann Hatfield 1937-2013.