TurnKey Auto Call: 319-683-2850 Text: 319-331-8796
  • Home
  • Inventory
  • Recently Sold
  • About Us
  • Contact
  • Angie's Blog/Recipes

1 Day Prep-Ahead Small Thanksgiving Time Saver Meal

11/5/2017

 
Greetings, All!!!
Picture
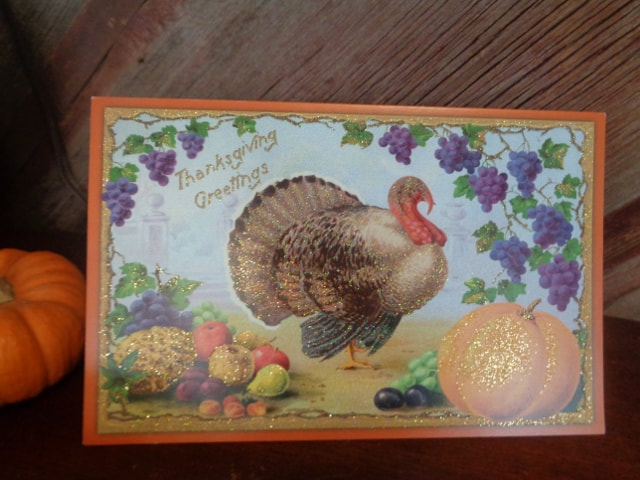
*Thanksgiving* 
A day of food, family & friends or just hanging out in your pajamas! AmIRight :)

So I was on a mission to find time saver recipes for traditional Thanksgiving dishes, 
when it occurred to me it's really the prep work that takes the most time, NOT the actual cooking.
 

So I found recipes that could be made up (rolls, pie, cranberries!) or prepped up
(stuffing, turkey, carrots, potatoes!) the day before and assembled and cooked quite nicely
​and efficiently the following day.
Now this menu is for a small gathering: 2-6 people.

~~~~~~~~~~~~~~~~~~~~~~~~~~~~~~
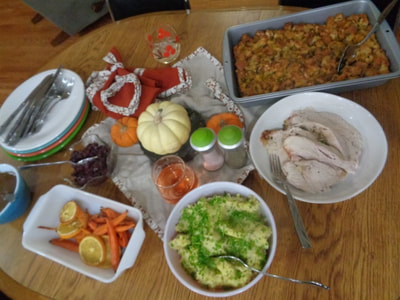
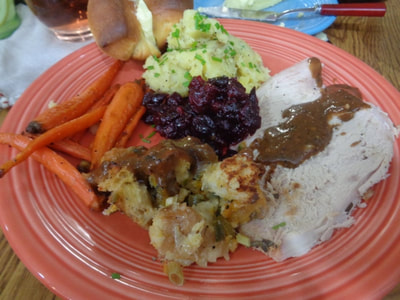
Angie's 1 Day Prep-Ahead
Thanksgiving Menu

Links to ALL recipes at the bottom of this page!
​Herb-Roasted Turnkey Breast with Basic Gravy
Cheddar and Jalapeno Stufing
The Best Damn Vegan Mashed Potatoes
Honeyed Carrots and Oranges
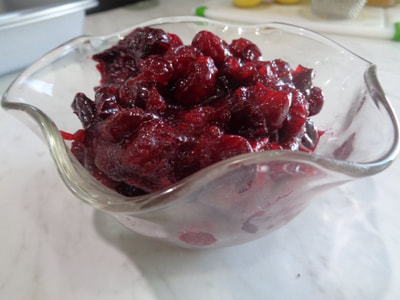
Bourbon-Cranberry Compote
Homemade Butter Flake Pull Apart Rolls
Chocolate Cream Pie

~~~~~~~~~~~~~~~~~~~~~~~~~~~~~~~
​
I'll take you through some steps here with some brief commentary on each dish.
​


​Herb-Roasted
​Turnkey Breast  

Ina Garten's recipe
Picture
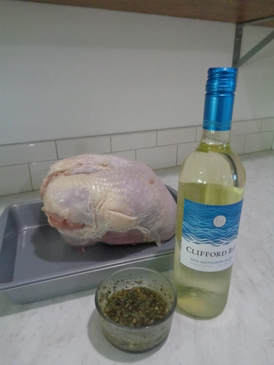
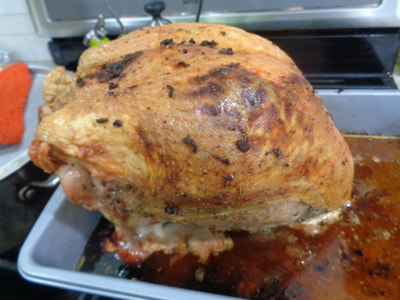
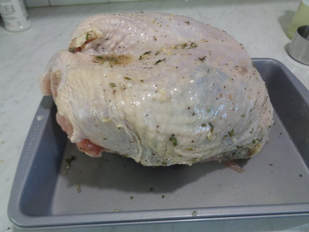
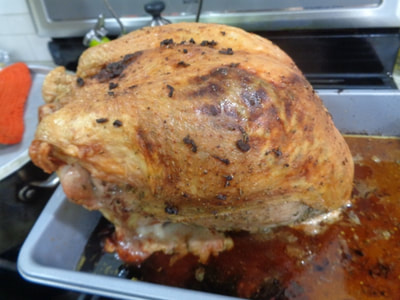
Let's start with the 7.3 lb turkey breast that cooked in two hours.
​ TWO hours!


Prep Day Ahead!
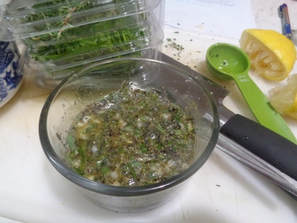
​I made the herby olive oil paste up the night before, coated the turkey and put it back in fridge.

Picture
Picture

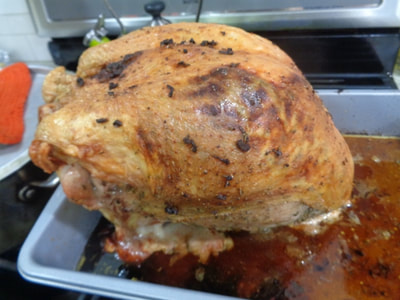
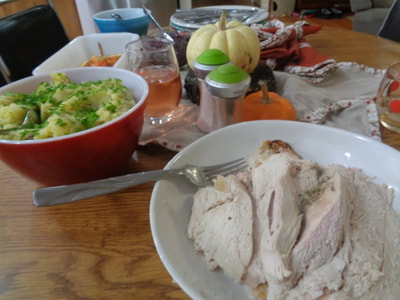
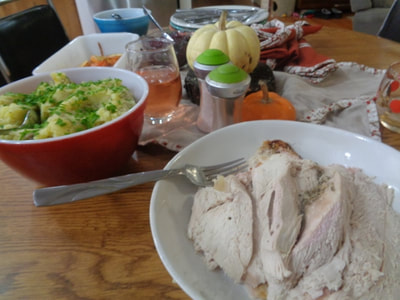
​Cooks up beautifully and slices up nicely.
The herbed paste rubbed directly on the meat and on top of skin was fantastic!!
Juices were added to the Basic Gravy.


​​
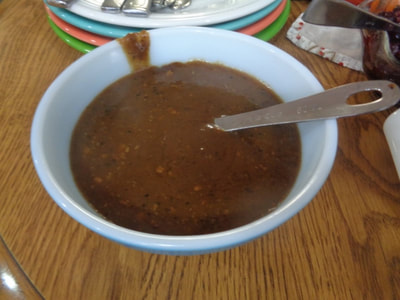
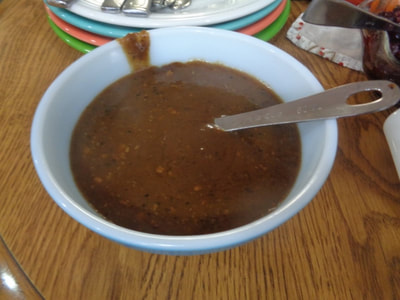
Let's move along to the Basic Gravy.

No prep-ahead of this. Day of only.
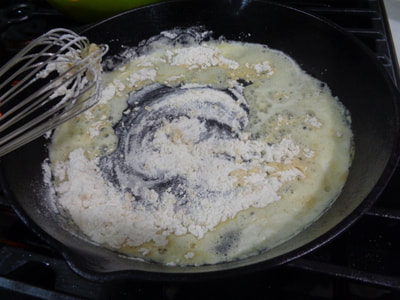
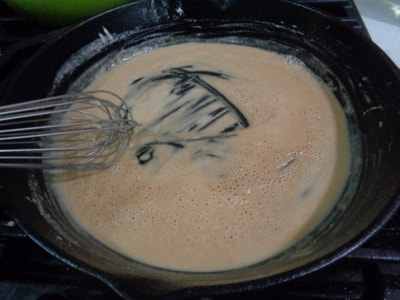
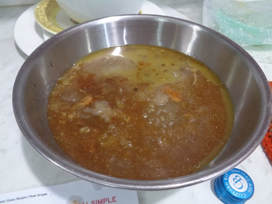
I made a roux.
Picture

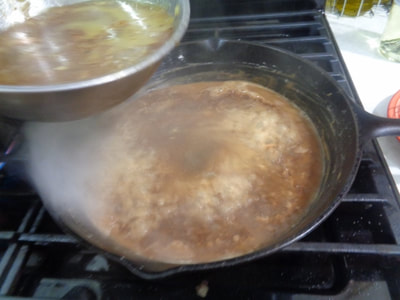
Add the drippings from the turkey roasting pan into the chicken broth.
 
I used
​homemade chicken broth.


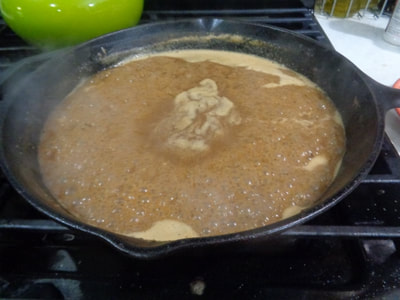
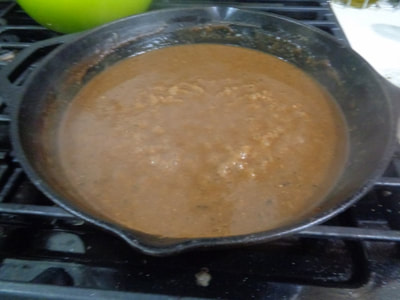
​Whisk the broth and drippings into the skillet and bring to boil then simmer until thickened.


This gravy was hands down the star of the show.
*STAR OF THE SHOW*

​I think the key is homemade chicken broth but I don't know that for sure. If you don't have homemade, buy the absolute best kind of broth you can.


​Let's move along to the PREP AHEAD
Cheddar and
​Jalapeno Stuffing.

By the way, I believe this recipe could be assembled and cooked day ahead and just add some extra chicken broth when heating up next day.

Note: I could not taste the jalapeno really, add more jalapeno if you like heat.
Picture

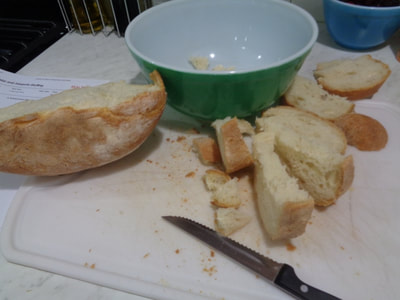
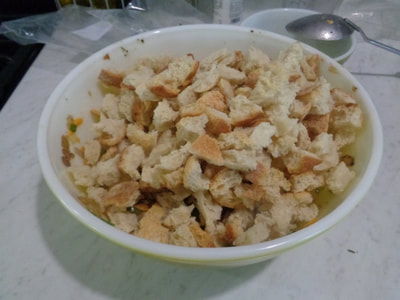
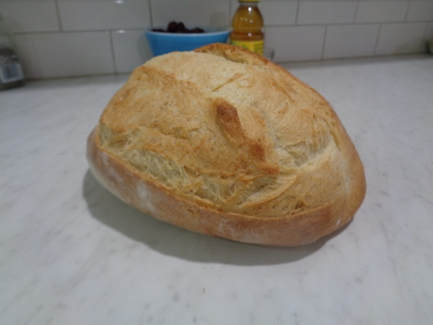
​The recipe called for Italian bread so that's what I got was Italian bread.

By the way y'all, I do not know how to cook without a recipe.

Completely serious. So I tend to stay true to the recipe ingredients and amounts.


​The day before...
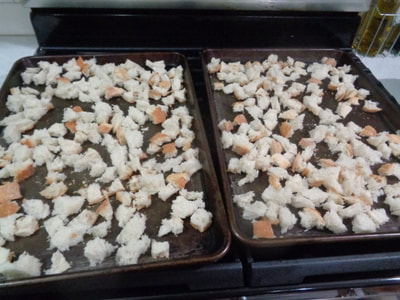
​cut or tear the bread up and bake in a 375 oven for 12 minutes, until dried out.

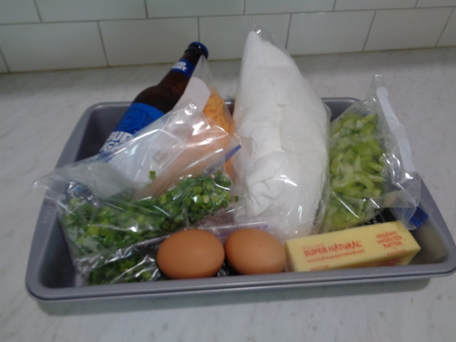
Cut up all the vegetables, grate up the cheese and deposit all ingredients into the pan you will use to bake the stuffing in tomorrow and
​stick in the fridge.
Picture

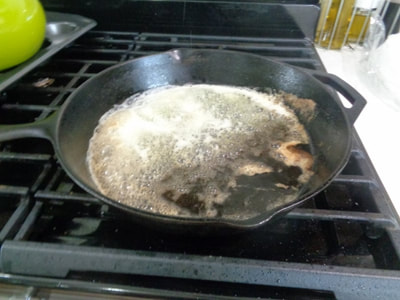
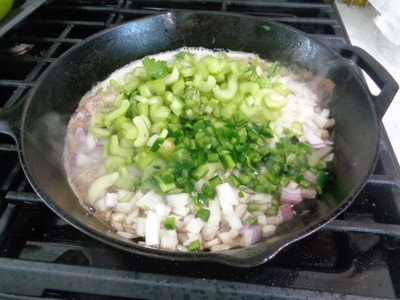
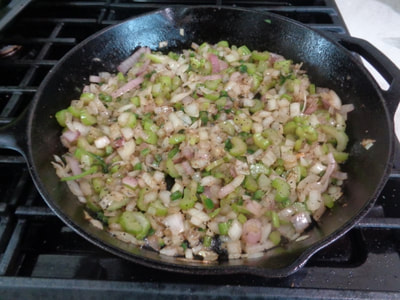
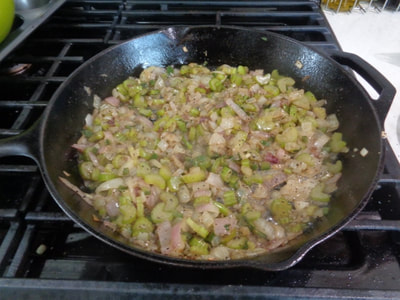
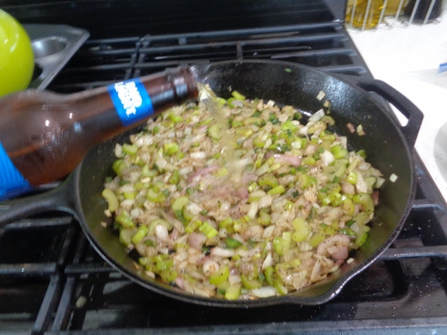
​Day of, melt butter and saute the vegetables.
Picture


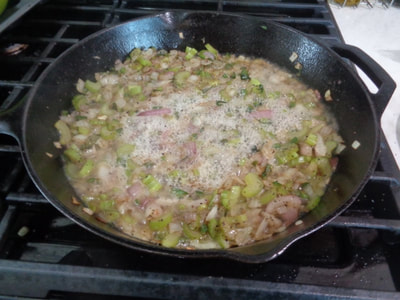
This recipe calls for a half cup beer.

It can also be left out completely.

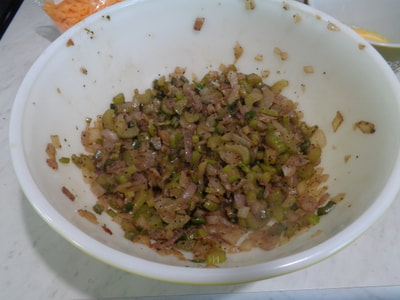
Cook until beer evaporates, then transfer mixture to a large bowl. 

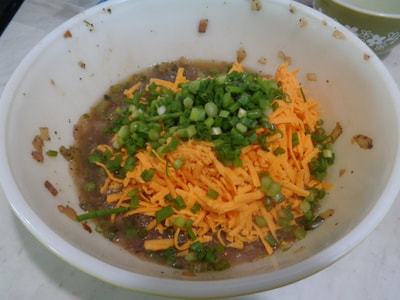
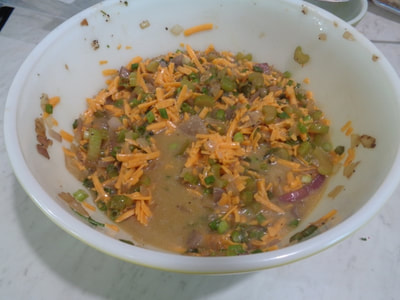
Add scallions, broth, eggs and cheddar to mixture and and toss in bread crumbs.
Picture

​Okay,

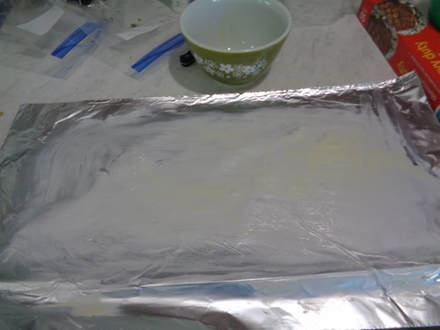
I have this super exciting picture of buttered up aluminum foil to remind you to, you know, butter up your aluminum foil.

Cause if you don't,
all the good browned bits of stuffing will stick to the foil and you'll be sad.


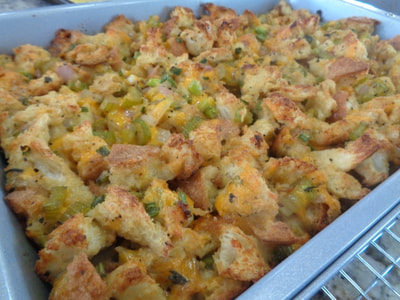
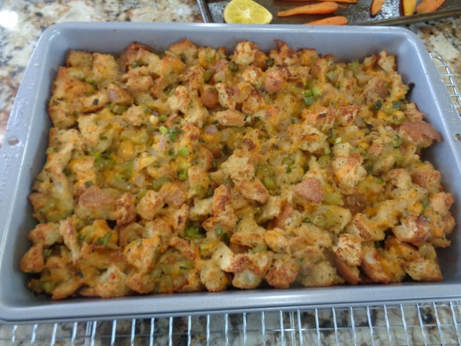
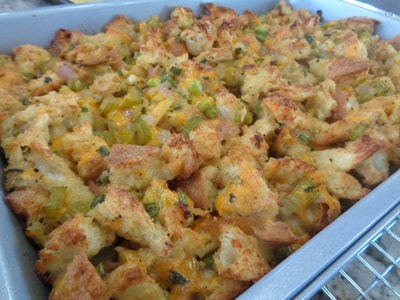
Pour stuffing into prepared pan and bake covered with foil, then remove foil and continue baking. I let mine stay in 10-15 minutes longer to get more browned.
Picture
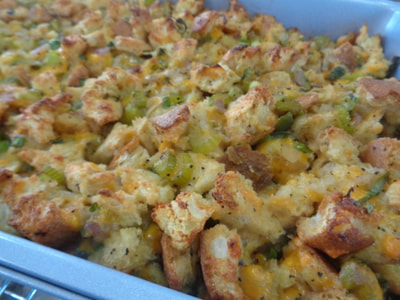
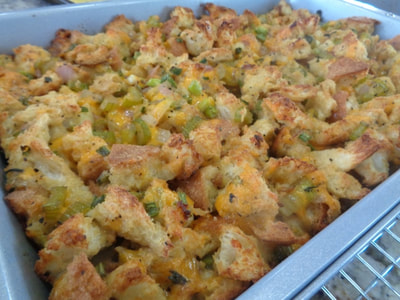
This stuffing dish really could be prepped, assembled and cooked the day before and just reheated day of with some extra chicken broth. I made this up in the morning, stuck it in fridge until dinner and then just reheated it in oven. This is why I used a metal pan too.
Another note with this dish: You can NOT taste the heat from the jalapenos. I used two seeded jalapenos just as the recipe states and there was no heat. Probably added flavor but there was no heat so it's safe for little kiddies.


​
​O
kay, let's get these
Best Damn Vegan
​Mashed Potatoes
made.

Disclaimer: I had full intentions of using vegan butter but I didn't, I used real butter. 
Note: I wanted a mashed potato recipe that was different than the same old, same old, that's why I made these.
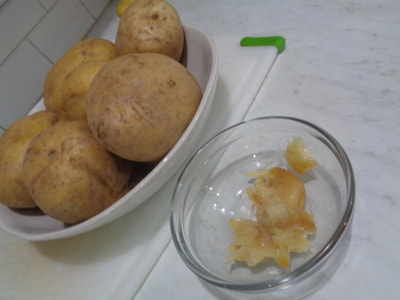
​Also, Yukon gold potatoes are so naturally delicious buttery anyway.
Picture
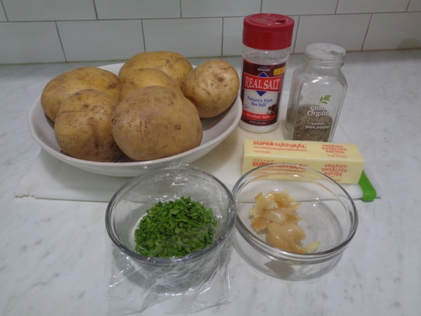
By the way, these CAN BE MADE DAY AHEAD but I just prepped everything the night before and made day of.
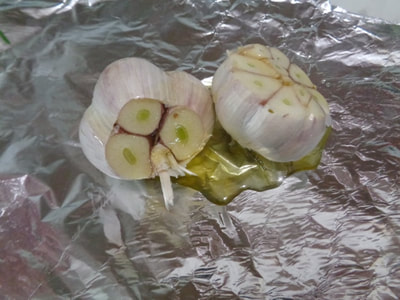
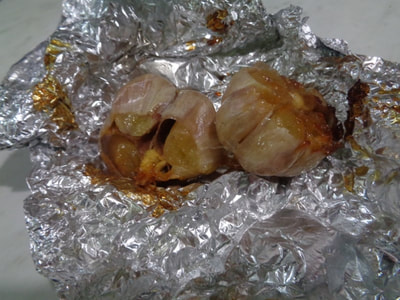
I washed all the potatoes and set them aside. I then roasted the garlic by cutting off the top third, rubbed the cloves with olive oil, wrapped up in foil and roasted for 50 minutes. Mmmmmmm, always smells awesome. Also, chop up those chives and store everything but potatoes in the fridge until next day.

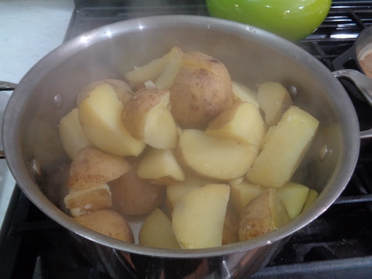
Before the meal, I threw the cut Yukon golds into boiling salted water and cooked until soft.
Picture
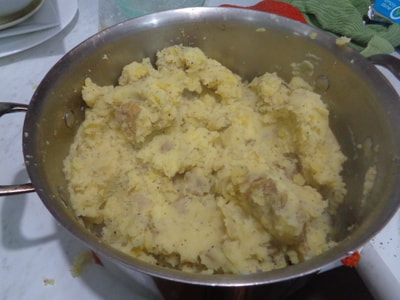
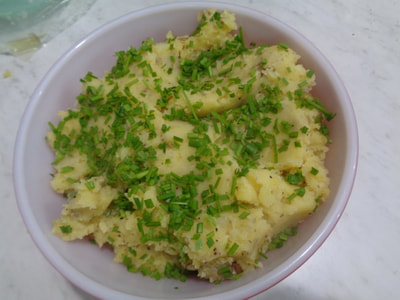
I mixed in butter, salt and pepper and the deeeelicious roasted garlic. I ate spoonfuls and then transferred the remaining into a bowl and topped with those chives. Yum!
These potatoes are awesome with or without gravy!!


​Now, y'all, let's get to these super easy peasy
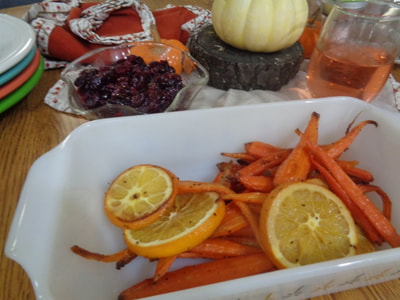
Honeyed Carrots
​and Oranges.

 I prepped everything night before and cooked them day of.
(I liked these so much I went out and bought more carrots to make this exact recipe again this week.)
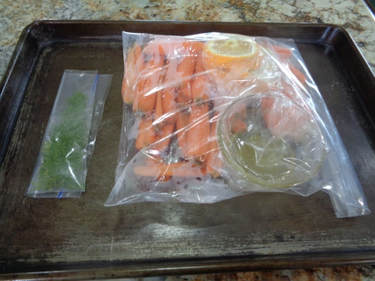
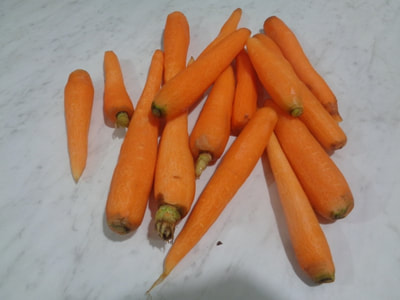
Please do NOT cut the carrots in half lengthwise like I did, just buy thin carrots, don't use thick ones. If you do use thick carrots, then okay, you can cut them in half lenghtwise. Mine were thin already. Also, dudes, don't be like me and leave the freaking top on. Just don't.
Picture
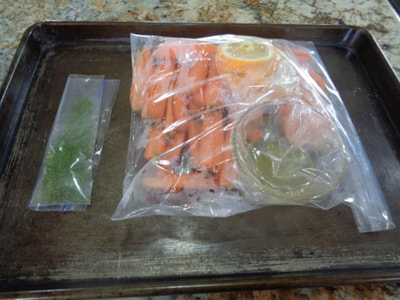
The night before, I peeled the carrots and sliced the orange and had the honey/oil all measured out.

I had chopped up some dill but decided not to use the dill on the finished dish, these were just too darn good on their own.

This was super easy to prepare as well as to assemble and cook.

​

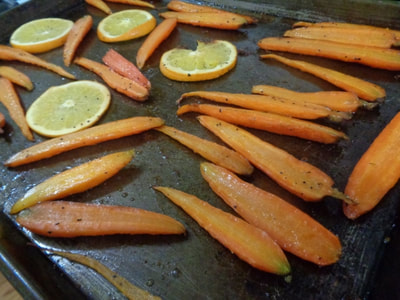
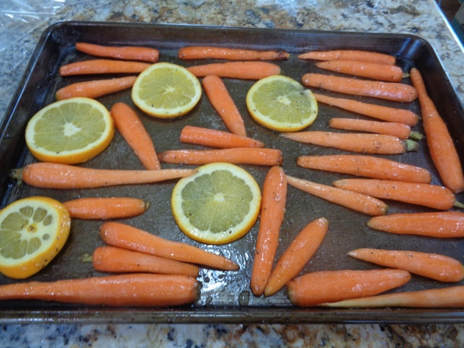
Day of, pull out the carrots and oranges, toss in olive oil and honey, salt and pepper, arrange on cookie sheet.
​By the way, the aroma of the oranges and honey is fantastic!
Picture

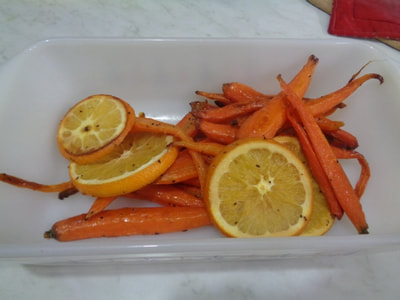
Cook until soft. So easy. 
Again, cut off the tops of the carrots. I did not do that cause I am a fool.
Don't be a fool like your pal Angie, just do the right thing.

​
These carrots were absolutely delicious, just make sure to follow the directions exactly!


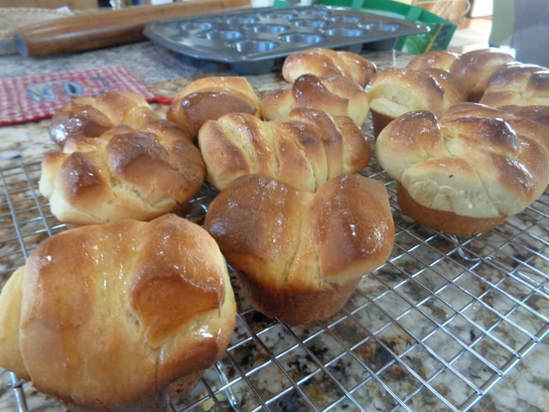
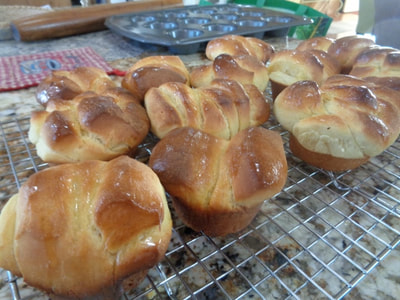
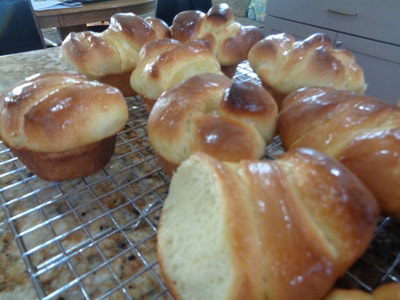
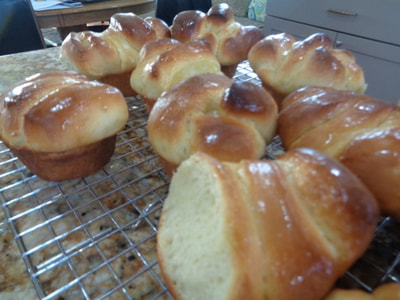
Y'all. These Butter Flake Pull Apart Rolls
are delicious!!
This is Alton Brown's recipe and I always get PTSD from baking cause I am horrible at it.
​I actually was able to make these without using too many swear words. Maybe three.
Four. Five at the most. Okay, six. SHUT UP!  
Picture

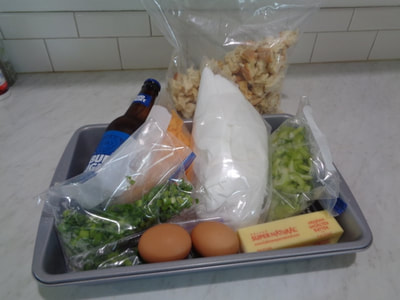
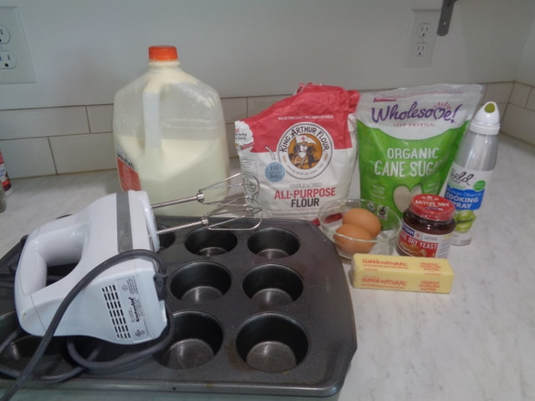
​So these are the fixins for these pull apart rolls.
I did NOT make these up a day ahead of time. I do think they would be fine made up 24 hours ahead and then just reheated shortly before the meal the next day.
Also I do not own a stand mixer. I old-school used my hand mixer. Worked fine.
Picture

​
Picture

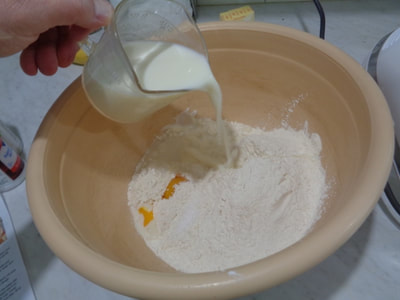
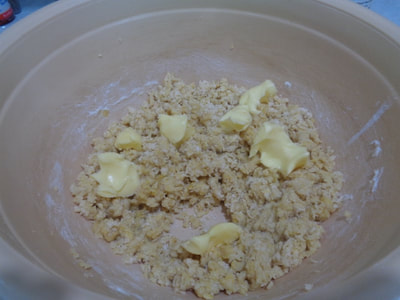
Now this recipe calls for some ingredients to be weighed. 

Don't fight it, just do it.

​These are baked items.
You want to use correct measurements even if you have to bring out the scale.


​S
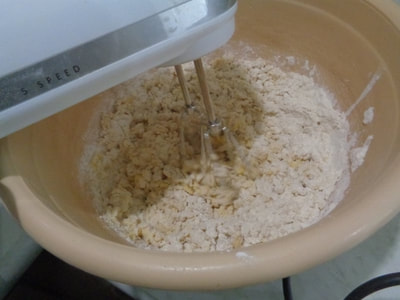
o mix the stuff according to directions.
I love how I am so technical with my language. Seriously dudes, I can not bake so I am just trying to get through this as quick as I can.

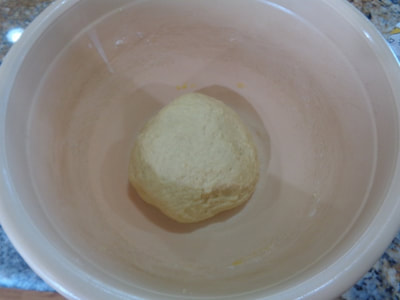
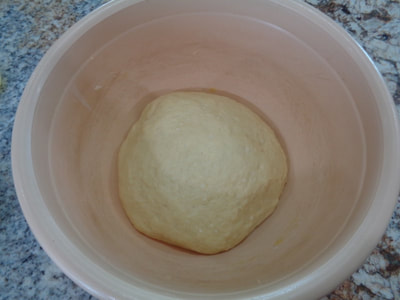
Dough before rising and dough after rising.
​Now if *I* can do this correctly, anyone can!!!

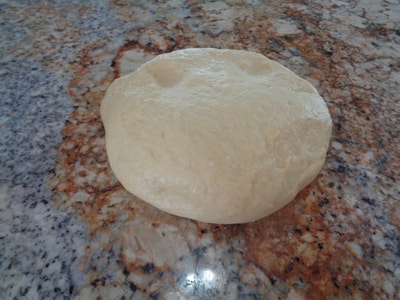
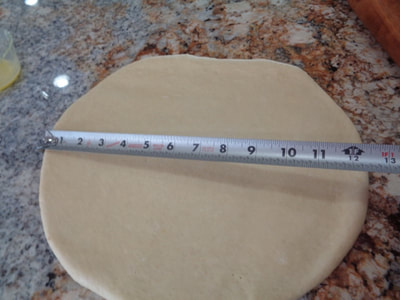
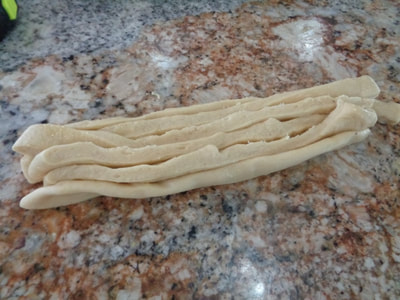
​Okay, let's slow this down a bit.....let me explain...so roll the dough out to a 12" x 12"...

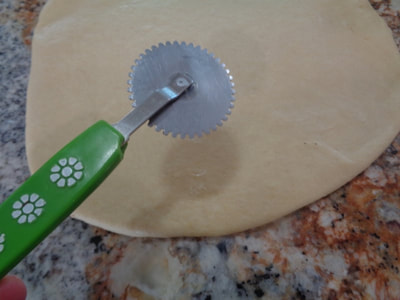
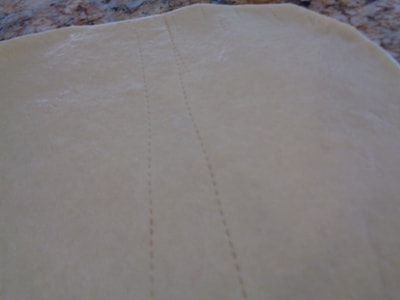
Cut 12 - 1" strips. Now I don't own a pizza cutter, so I pulled out this vintage pastry cutter ​I paid 50 cents for at a consignment store last year. Aaaaand this pastry cutter is broke and wobbly and doesn't make straight lines.


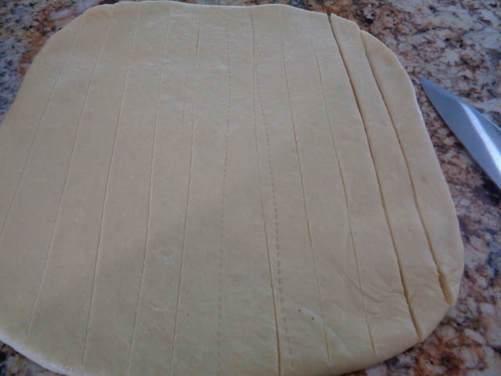
So I bring out my pizza cutter, also known as a plain ordinary knife, and cut 12 - 1" strips.
Picture


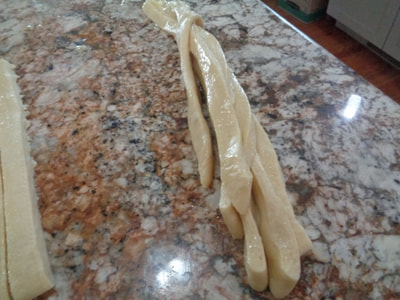
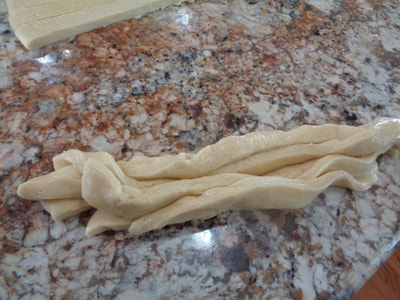
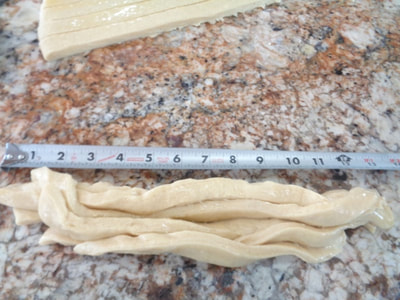
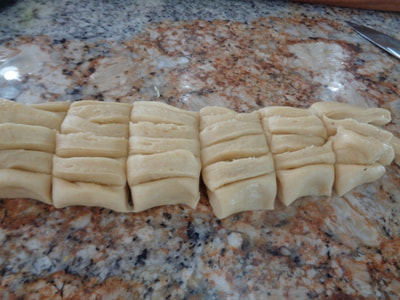
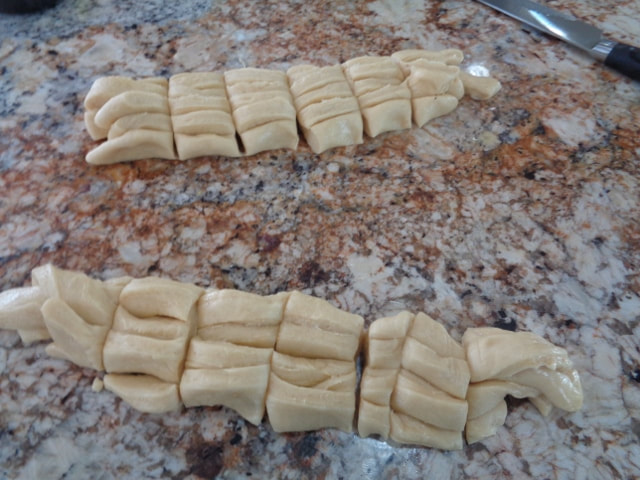
Okay, so this is my first try at the strips and stacking them. 

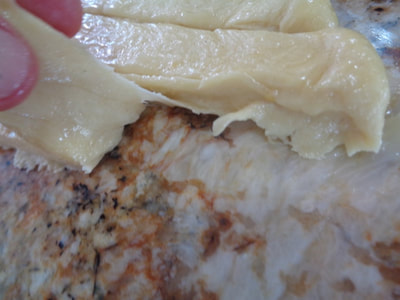
And this is my second try at the other half of the dough, I got much better, especially after I figured out I need to GENTLY pull up the strips
and not stretch them.

My initial attempt is at the bottom...Second try at the top.
Picture


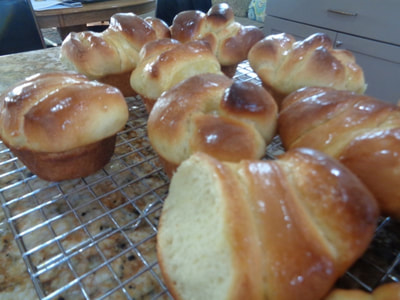
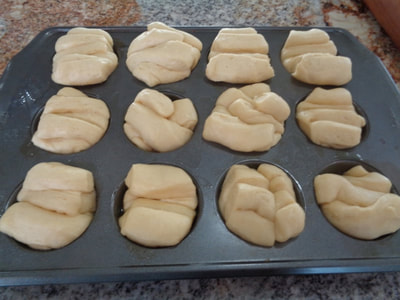
Set each section in a sprayed muffin cup.
​Let rise until double.


Then bake 8-10 minutes. Or overbake like I did but then brush a ton of melted butter on the tops. They were still delicious!!


Okay, only TWO more recipes left!!!!
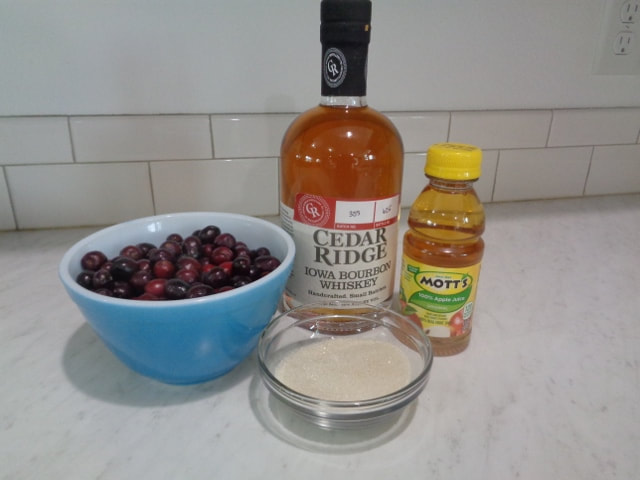
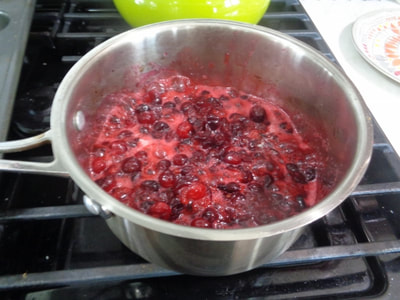
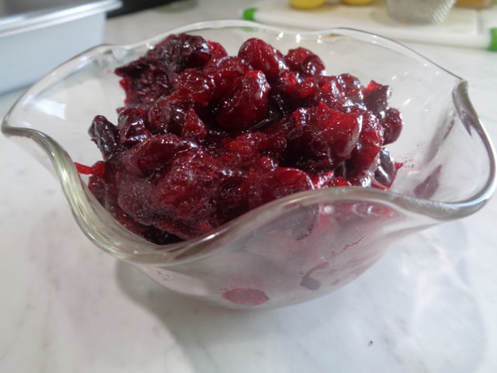
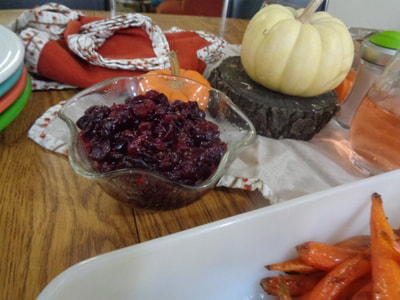
This one is so easy and delicious! Make it same day or day ahead, doesn't matter, it's delicious both days!
Bourbon-Cranberry Compote!
Picture
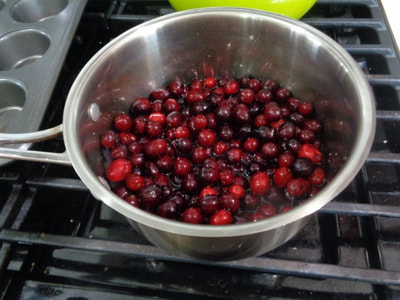
Combine and simmer.
Picture


Okay Friends, last item on the menu is a
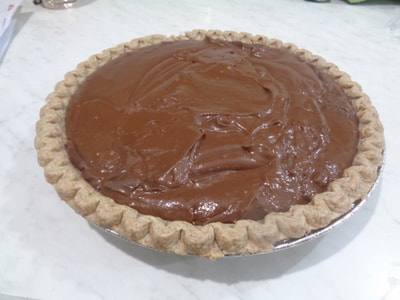
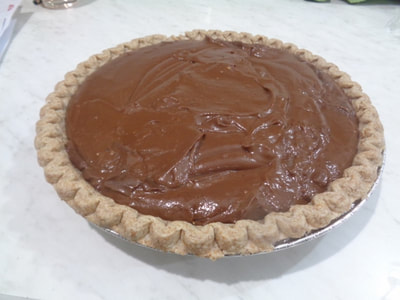
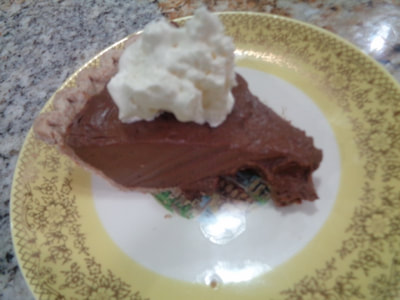
Chocolate Cream Pie! 
Tim doesn't eat pumpkin pie so I made a Chocolate Cream Pie with a
​store-bought whole wheat crust.
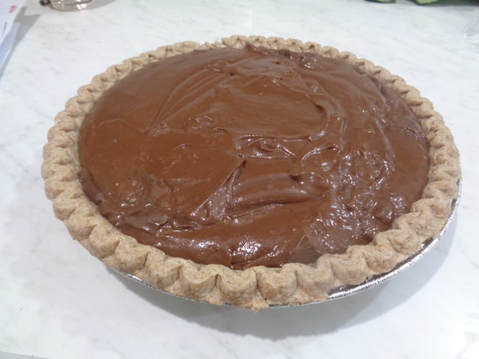
This can TOTALLY be made up a day ahead of time!!!
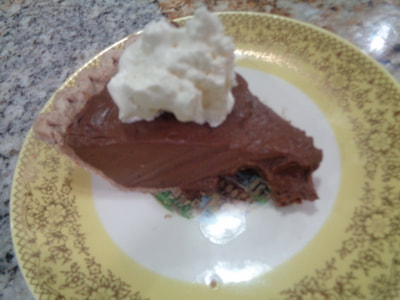
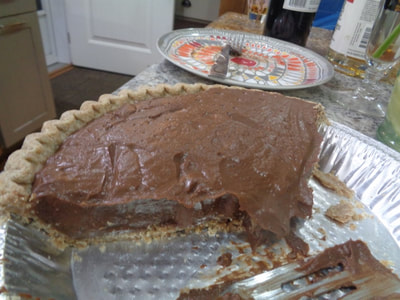
Okay, the piece on the right up there looks a little wonky but trust me, deeeelicious!!

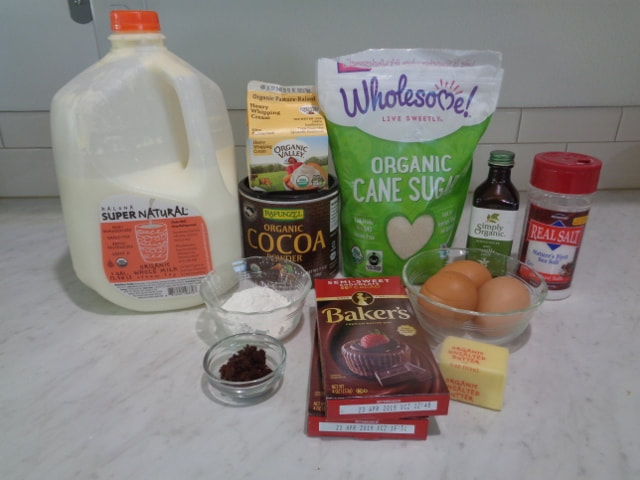
These are the fixins.
Picture
Picture

​F
irst,

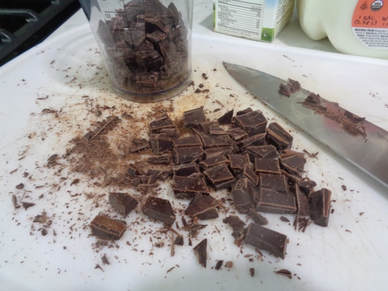
chop up the semi sweet chocolate.

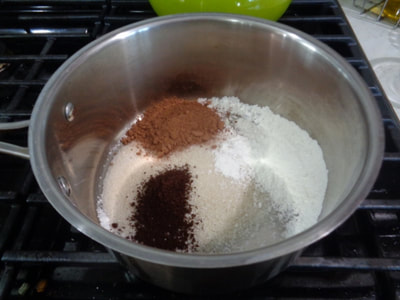
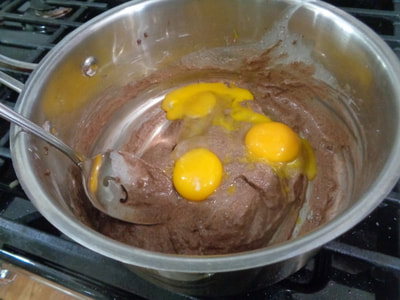
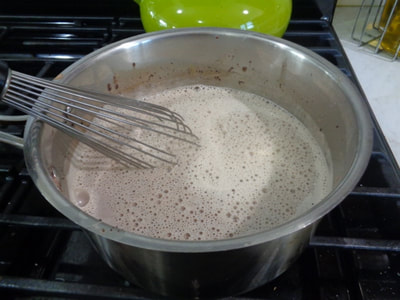
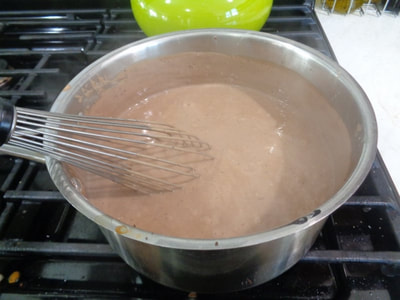
Whisk the dry ingredients together then add the heavy cream and eggs.
Don't forget the espresso powder!

​W
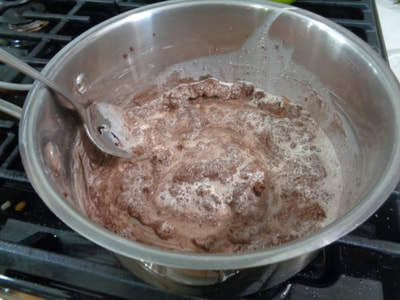
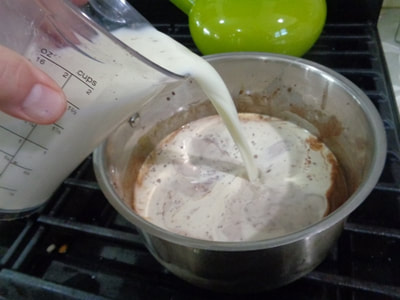
hisk in the cream and milk over medium heat.

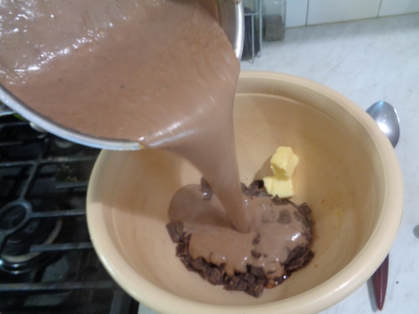
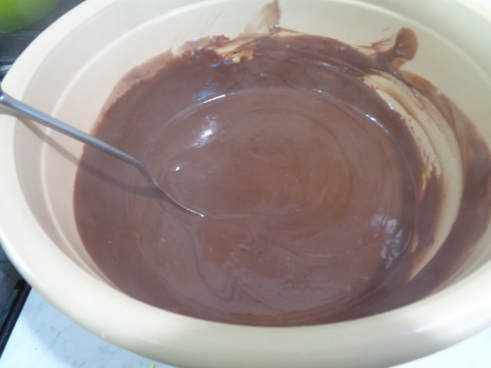
​Pour that lusciousness over the chopped chocolate & butter and stir...
Picture

Mmmmm, lookin' good!
Picture


Pour into a pie shell...
Picture


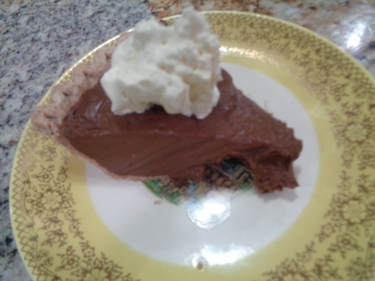
Buy whipped cream OR make this super easy whipped topping...remember, chill the bowl AND the beaters!!
Homemade Whipped Cream:
In a chilled bowl (very important, a CHILLED bowl, meaning chill that sucker in the freezer), combine 1 cup whipping cream, 2 Tbsp sugar and 1/2 tsp vanilla. Beat with a mixer on medium speed until soft peaks form.
​Or continue beating until stiff peaks form.
Picture
Here's the deal on this Chocolate Pie...it is really rich!
This Chocolate Cream Pie is not for people who do not appreciate
​deep layers of chocolate.

If you want a boring, bland chocolate pie, do not make this!
Oh, make a strong pot of coffee cause it will go wonderfully with this dessert!


Okay guys, I will come clean here.
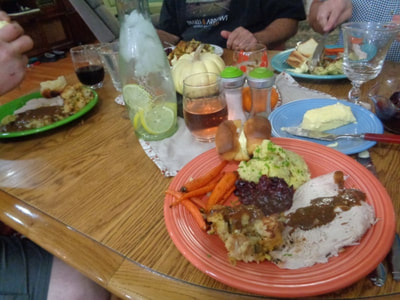
I was planning on making this menu for just
Tim and me as a trial run. 


But then friends of ours called and wanted
​to pop out Friday night. 


​heeeeeeeeeeeeeee....

I said fine...

just come hungry.
Picture


Once they got here, I bamboozled them that they were going to participate in my
1 Day Prep-Ahead Small Thanksgiving
Time Saver Meal blog post. 


They didn't seem to mind :) :) :)
and we had a fantastic time!!!


​Okay, so that's all the recipes, friends! 
Below are all the links to
​the recipes!!

Herb-Roasted Turkey Breast with Basic Gravy
Cheddar and Jalapeno Stuffing
The Best Damn Vegan Mashed Potatoes
Honeyed Carrots and Oranges
Bourbon-Cranberry Compote
Homemade Butter Flake Rolls
​Chocolate Cream Pie


If you have any questions at all,
contact me at the phone number or email address on the contact page or just ask away here in the comments! 

​

Picture

Thanks for checking in!! I appreciate it!!
Have a great early holiday season!
Stay warm, have fun, eat delicious food, 

and we'll be talking soon!!
:)


​


​

Fantastic Blistered Green Chile Turkey Burger...We Can Not Stop Eating These!

8/9/2014


What???

Picture


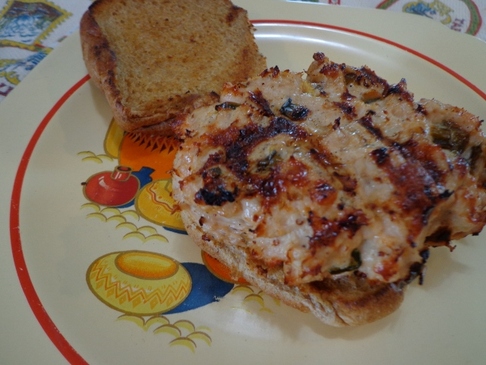
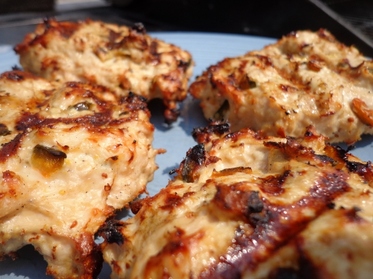
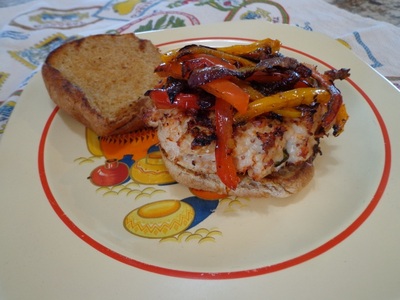
Don't even get me started on how great
this burger is!!


Picture


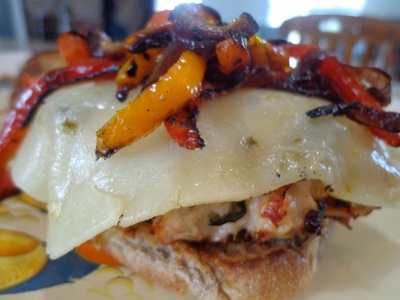
You like caramelized peppers and onions?
And ooey-gooey cheese??


Picture

Then you is-a-gonna-love these
Turkey and Blistered Green Chile Burgers from Guy Fieri!!


Now this recipe calls for Poblano peppers.
I get so confused by all these peppers....
so Ima break it down real easy for you.....


Picture

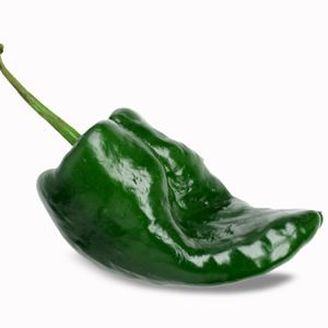
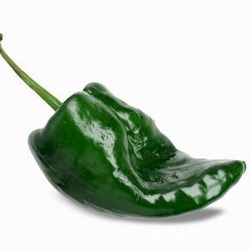
Now this is a poblano.

This is the pepper used in this
Turkey Burger recipe.


A poblano packs a little heat and is commonly used in chili rellenos, among
other things.


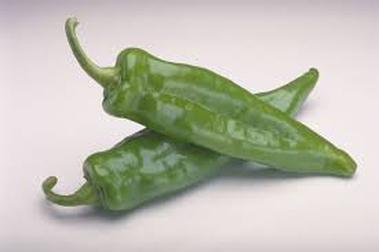
This is an Anaheim pepper,
sometimes called a California pepper.
Picturenaturesfinestproduce.com
The seeds were introduced in Anaheim, CA in the early 1900s.

These peppers have less heat than the poblano.

If you have ever wondered what kind of chilis are in those small cans of chilis...this is it...Anaheim.


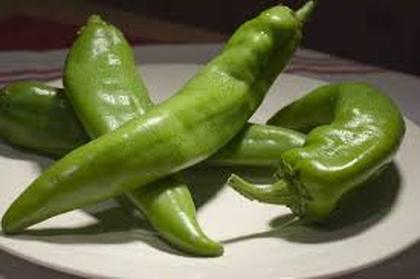
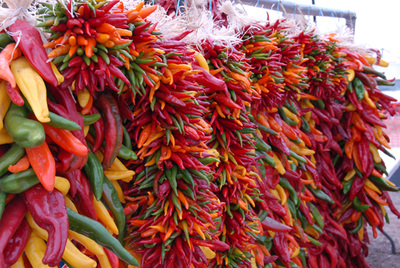
Now these are New Mexico peppers.
They look just like the Anaheims up above.

Picture
hatchchilefest.com
But THESE peppers come from Hatch, New Mexico.

New Mexico peppers (chiles) pack heat!!!
Apparently they are HOT!! HOT!! HOT!!!
And that is what sets them apart from the Anaheims.


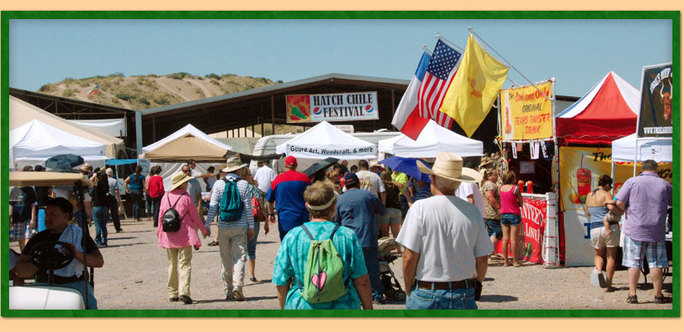
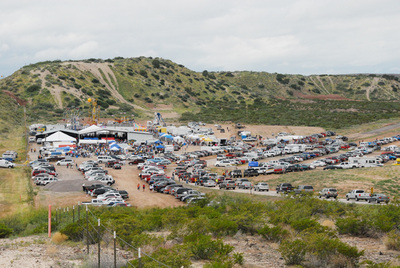
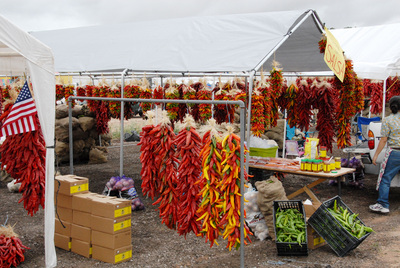
In fact, Hatch, New Mexico sponsors a festival every year called the 
Hatch Chile Festival!

Tens of thousand of people pour into Hatch.

Picture


Picture
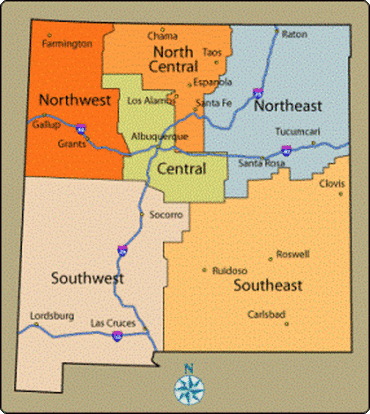
So Hatch, NM is a town just north of
Las Cruces
in SW New Mexico,


with a population of 1,600 people.


This festival brings in tens of thousands of people....

Picture
All photos here from hatchchilefest.com


Okay, here's the deal that freaks me out...
remember the poblano pepper used in the the turkey burgers??.....

Picture


Yup, remember these,
Yes?
Yes?


Picture
Well,
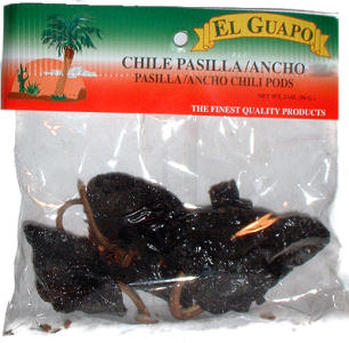
when they get dried,
they become
ANCHO CHILES!!!


Did you even know that???
I didn't!!


Anyhoo, let's get to these terrrrriffic
Turkey Burgers with Blistered Green Chiles!!!

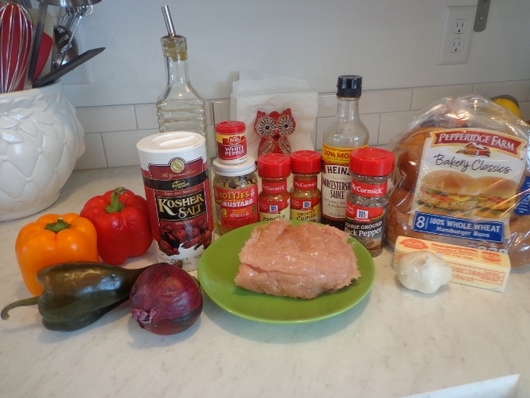
Picture


Don't let all these ingredients scare you...
Tim said this is the best sandwich he's ever had!!
(And it was made with ground turkey breast, no less!!)
I have to agree!


Turkey and Blistered Green Chile Burger
This is Guy Fieri’s recipe, straight outta www.foodnetwork.com
Check out Guy’s shows…this recipe is from Guy’s Big Bite!

Ingredients
Garlic Butter:
4 cloves garlic
1 stick unsalted butter
Blistered Chile:
1 large poblano pepper
Extra-virgin olive oil
Sauteed Onions and Peppers:
Extra-virgin olive oil
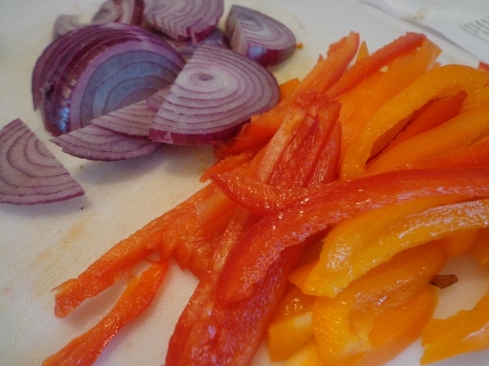
1 medium red onion, julienned
1/2 large red pepper, seeds and membrane removed, julienned
1/2 large yellow pepper, seeds and membrane removed, julienned
1/4 teaspoon paprika
Kosher salt and freshly cracked black pepper
Turkey Burger:
1 pound lean ground turkey (breast and thigh)
2 teaspoons Dijon mustard, plus more for serving
2 teaspoons Worcestershire sauce
1/2 teaspoon ground cumin
Pinch white pepper
Kosher salt
Olive oil
4 slices Monterey Jack cheese
4 brioche burger buns
Special equipment: 4 bamboo skewers

Directions

Preheat the oven to 350 degrees F. Preheat the grill to medium-high heat.

For the garlic butter: Place the garlic in a small saute pan and set over medium heat. Add the butter and warm through. Cook the garlic until fragrant, 4 to 5 minutes. Then place the garlic butter in the fridge to firm up again.

For the blistered chile: Toss the poblano with olive oil to coat. Place the pepper under the broiler or char on the grill over a direct flame until the skin blisters. When done, remove the seeds, stem and roughly chop. Reserve.

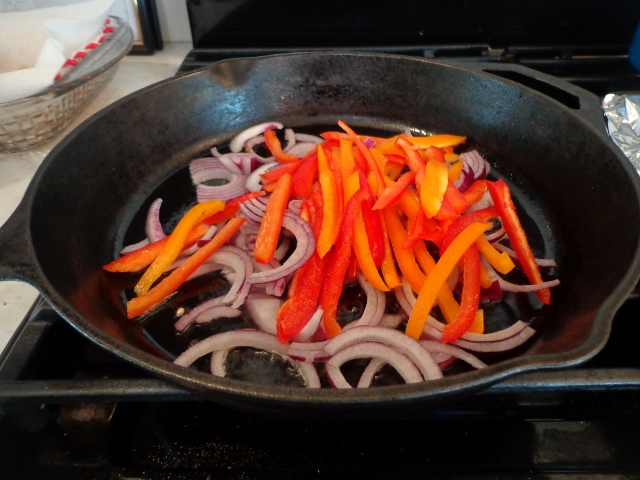
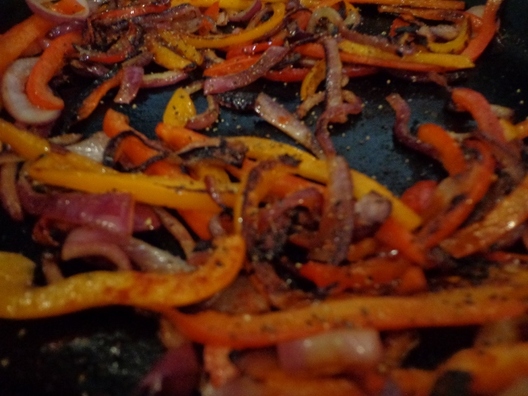
For the onions and peppers: Set a large saute pan over high heat. Add a drizzle of olive oil and saute the onions and bell peppers until wilted, 5 to 6 minutes. Season with the paprika and some salt and pepper.

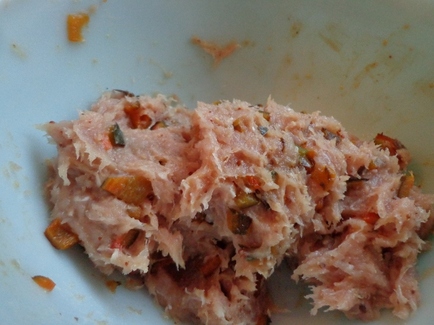
For the turkey burgers: In a large mixing bowl, combine the turkey, mustard, Worcestershire, cumin, white pepper and the reserved blistered chile. Sprinkle with kosher salt. Mix gently until well combined. Form into four 4-ounce burger patties. Wipe the grill down with oil-blotted towels, and then place the burgers on the hot grill and cook for 3 to 4 minutes. Flip the burgers, top with a slice of cheese and cook until cooked through and cheese has melted, 3 to 4 minutes. Set aside and allow to rest.

Smear the buns with the garlic butter. Grill the buns until golden and crispy, 20 to 30 seconds on each side.

To build the burgers, place 1 grilled turkey burger on the bottom half of the bun. Then top with a good heaping of sauteed onions and peppers. Finish with the top half of the bun and skewer to hold all of it together. Serve with extra mustard on the side.


Picture
Okay,
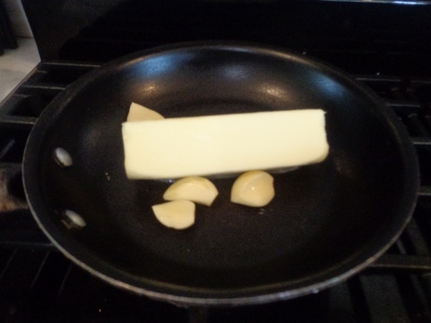
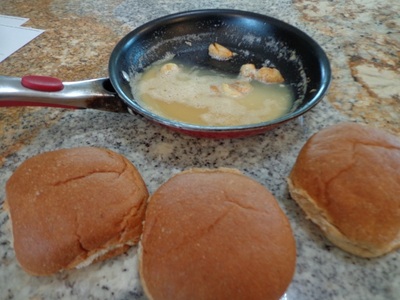
let's start these burgers by melting the butter with the whole garlic cloves.
Simmer about 5 minutes or so....smells heavenly!!


Picture

Throw the garlic butter in the fridge.

I was lazy, I did not take it out of the pan.


What?


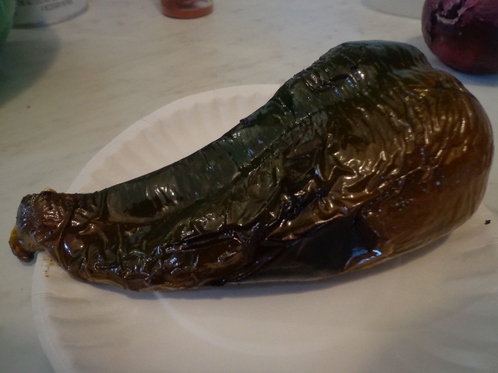
Anyway, oil up and blister up your poblano pepper on all sides.
You can do this:

1. On the grill
2. Under the broiler
3. Over your burner's open flame on top of the stove if you have a gas stove
Picture
I did mine on the grill.
Picture
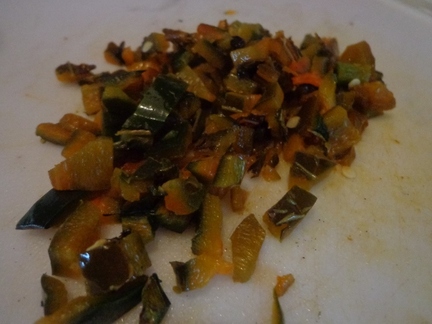
Remove the seeds and stem and chop that sucker up.


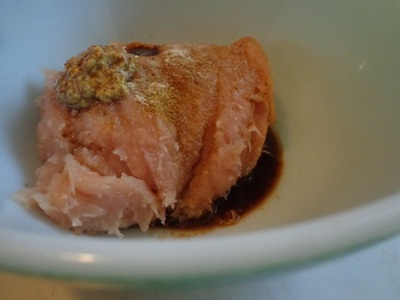
Throw your ground turkey in a bowl.
Now Guy Fieri uses a mixture of light and dark ground turkey.
I just used turkey breast only and it was fabulous-o!

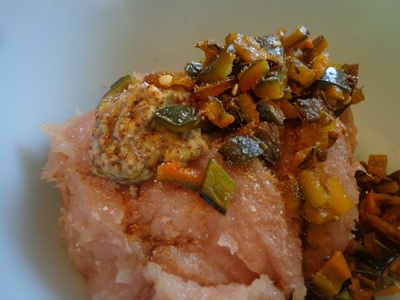
Throw your Dijon mustard, Worcestershire sauce, cumin, white pepper,
poblanos and salt in there.

Picture

S
o your burger  mixture should look like this...


Picture

N
ow slice up your peppers and red onions.


Throw them in the pan with olive oil and saute until wilted.
For me, this took maybe 15 minutes on medium high.

Picture
Picture


Season with salt and pepper if you want.


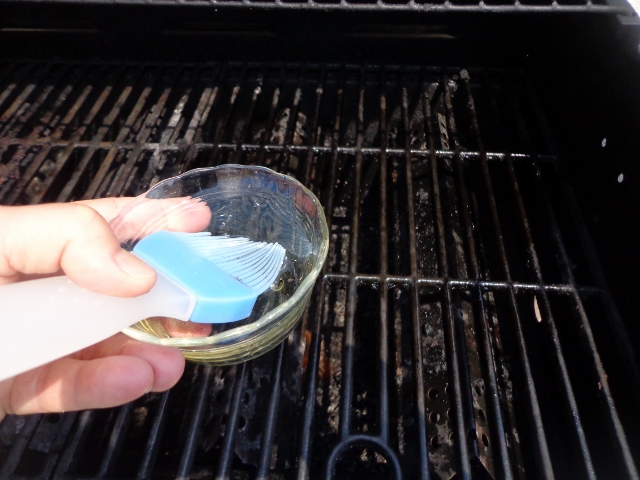
Now get the grill ready by oiling up the grates so the burgers don't stick.
I've made these turkey burgers three times and trust me,
you WANT TO OIL UP THE GRATES real good.

Picture


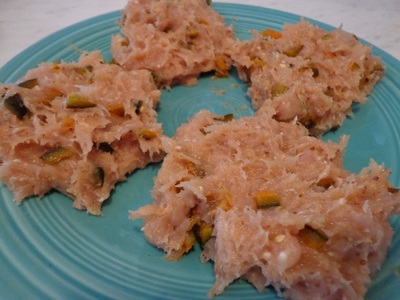
Now form the turkey mixture into patties the best you can. Don't worry if they're lumpy or not perfectly round. They're gonna grill good either way.
Look how lumpy bumpy these patties were.


Picture
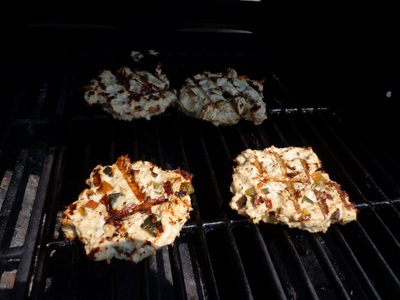
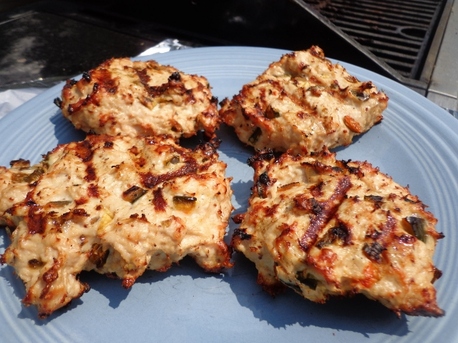
And because I oiled up the grates real good,

the burgers did NOT stick, 

I was shocked!!


Picture
OHOHOH!!!!!

Do NOT overcook your turkey burgers.

I ALWAYS use a meat thermometer. Cook until 160-165 and then take them off immediately!!


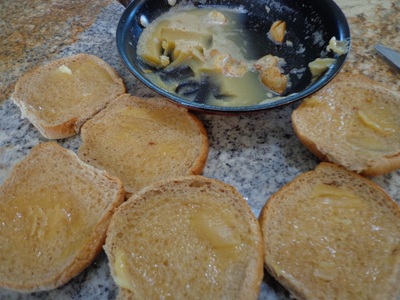
Now here's the most important part of the turkey burgers.....the garlic buttered buns!!! 
Do NOT skip this step, it is integral (like that fancy word?) to the amazing flavor of this burger.
Anyway, take the butter out of the fridge
and butter up the buns.
 Make sure you have plenty on.

Picture

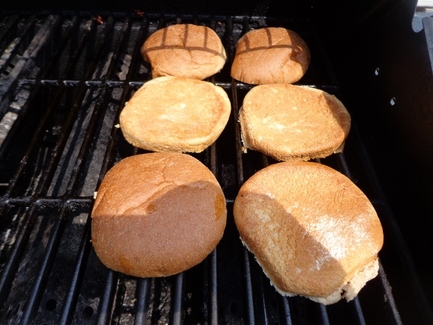
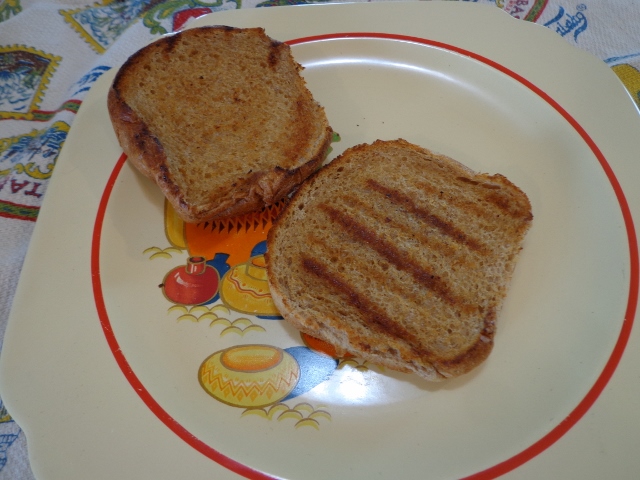
Grill the buns on the grill until they get nice grill marks on them...
Mine were on about
three minutes.


Right? See? See?
You want your buns nice and grilled with that
garlic infused butter.....

Picture


Picture


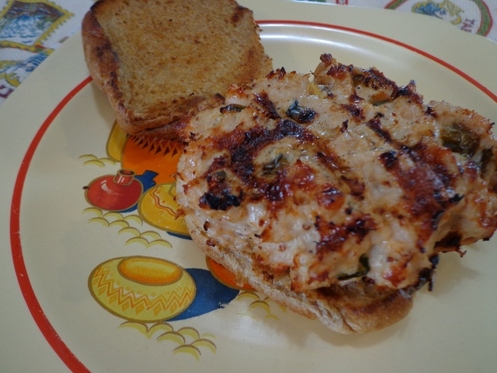
Load up that burger on the bun....


Picture

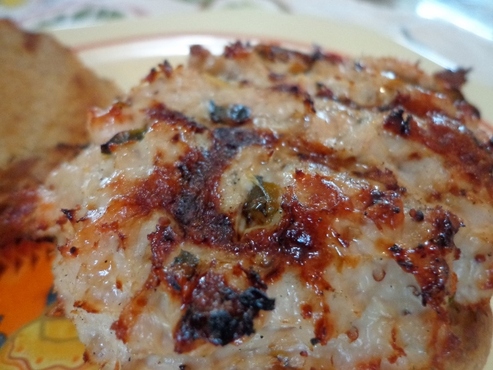
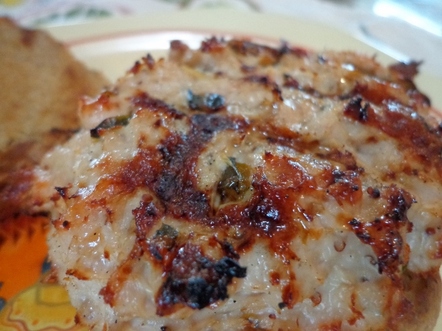
Can you see the good char on the outside
and
the bits of that smoky poblano in there?


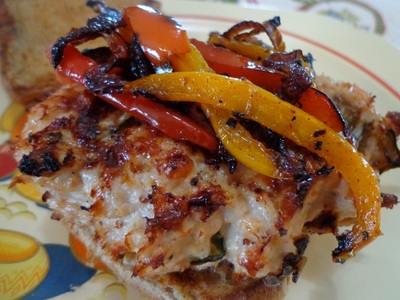
Load the burger up with those
caramelized onions and peppers!


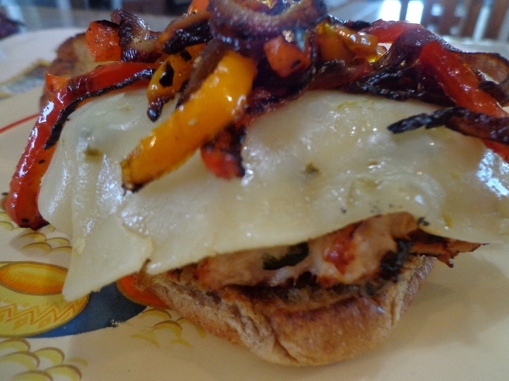
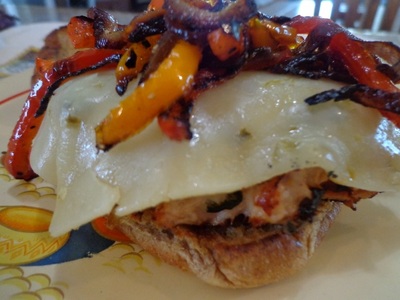
Or add cheese AND the peppers and onions on the burger too, like this.....

Picture
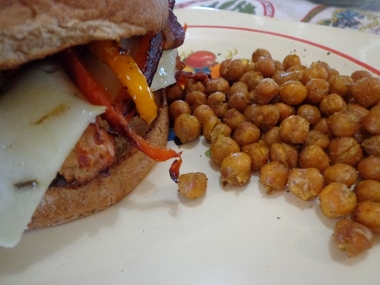
So we've had these turkey burger several times because they're soooooo good.


This particular time, we had them with a side of Indian spiced Chickpeas.


Okay, here's my notes on these Turkey and Blistered Green Chile Burgers:
Tim says
  • Best sandwich I've ever had
  • Love the butterness (that's a word, look it up in the Pretend Word dictionary) and crispiness of the bun

Angie says
  • I like the peppers on top, definitely adds another dimension to the burger
  • So many flavors going on
  • The smokiness of the poblanos is spot on, comes on at the end and makes the burger, that and the garlicky, buttery bun
  • Use the leftover garlic butter on other sandwiches for the next week or so. Delish!
  • This burger is dense, I could barely eat the whole thing
  • Definitely the best burger I've ever had.
  • Have made it three times in the last three weeks and am probably going to make it again this weekend, made it with sweet potato fries last time, too dang good.


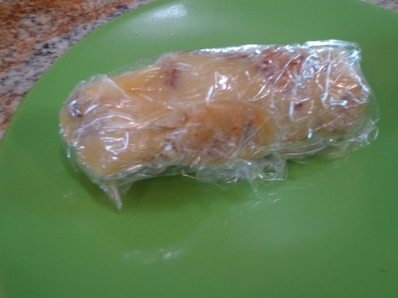
Picture

Wrap
that butter and garlic up in plastic and store it in the fridge for other sandwiches....


Okay, to print off Guy Fieri's recipe, click on the document over to the right there, if you can see it, or the document below, if you can see it. My website provider thingie took away the print option so this is the only way I know to get you to a location hopefully where you can print off the recipe. Otherwise, I would just cut and paste the recipe from up above.

Picture
turkey_and_blistered_green_chile_burger.docx
File Size: 14 kb
File Type: docx
Download File


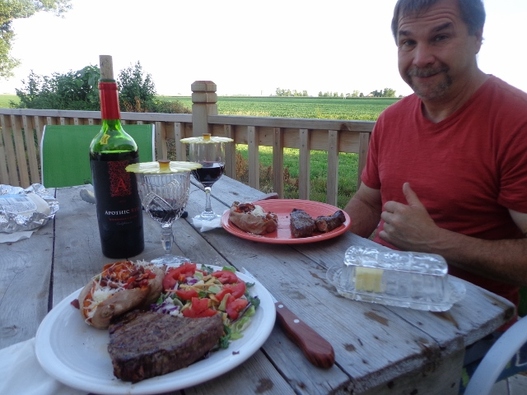
Okay, lastly I leave you with a common conundrum at my house.....


Every picture I have of Tim and me eating together......


Picture


...why does
MY plate always look like a sumo wrestler is going to be eating it?


Why?


Okay kiddos, thanks for reading!  
Have a great weekend
and
we'll talk at ya soon!!


One Of The Best Things I Ever Ate! Turkey Sausage And Apple Stuffed Acorn Squash

9/12/2012

 
Fall is coming and my life is complete cuz I found the
PERFECT FALL
COMFORT MEAL!

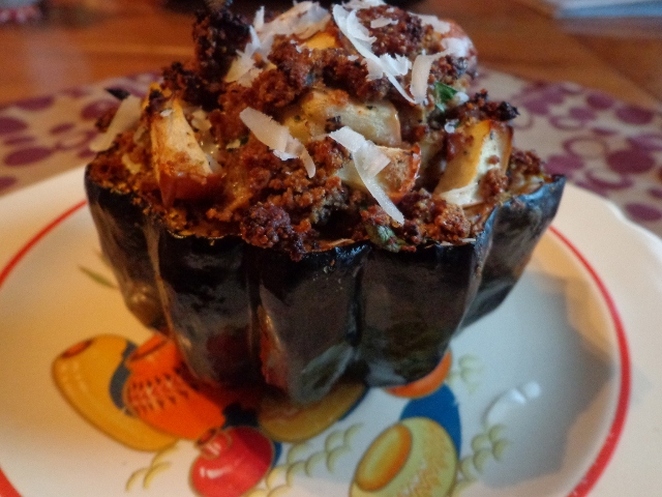
Please allow me to introduce you to...


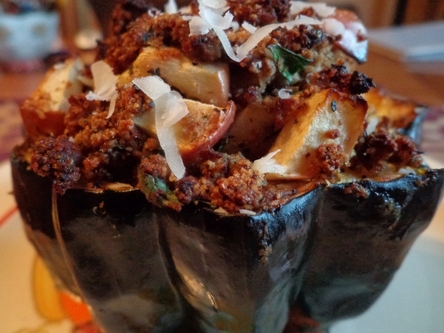
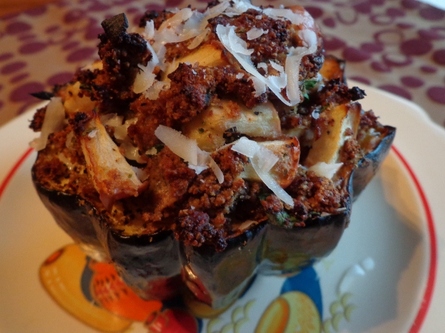
Sausage and Apple Stuffed Acorn Squash!!!
Picture


Now tell me this plate doesn't look like a
caaaauuuuuute little edible autumn flower
has fallen on it!!!!
Picture
And this is a SAVORY, not SWEET dish.
So much of the time, acorn squash recipes are sweet...I wanted hearty and savory.


Picture
Who would think these little cuties could be stuffed with such deliciousness????

I have no idea why these are so good, but the taste is so comfy flavored, so fall-like.

Maybe that's because I used Turkey Sausage instead of regular sausage.


And here's the real kicker.....the recipe calls for mushrooms but Tim doesn't like mushrooms so I begrudgingly left them out.
And it was still fantastic!!!
I can only imagine how much more wonderful it would have been WITH yummy mushrooms!


So anyway.....
Picture


Fall
is here!!!


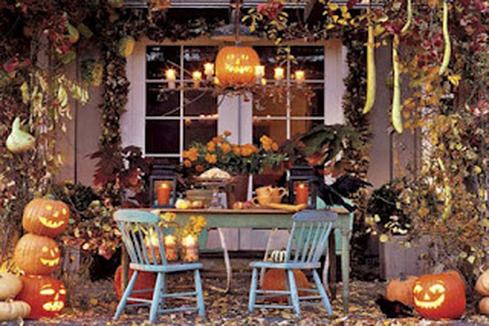
Picture
Country Living Magazine


Don't ya just want to go out and buy some pumpkins right now?

And streamers?


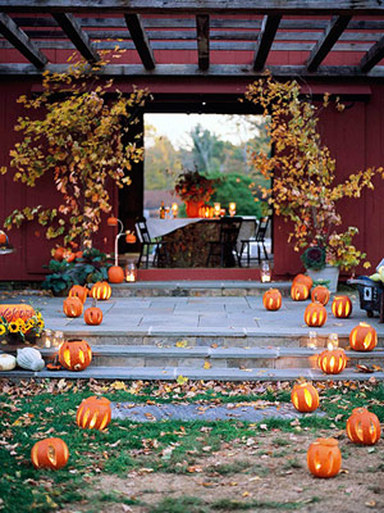
Picture
Country Living Magazine again.


Or set a fall table?

HEY! I have those gold goblets, I literally just noticed that as I was typing this!


Cool.


Picture
I think this image is from Country Living, I'm not completely sure though.


Well step on up,

come on in...

and let's get started on this lovely fall acorn squash dish I made last night.


Picture
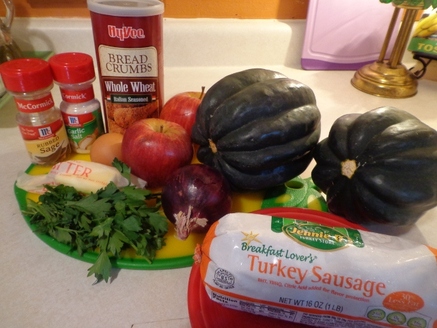
So these are the fixins for this blanket-hugging, candlelight, fireplace,
mood enhancing dish.


Picture

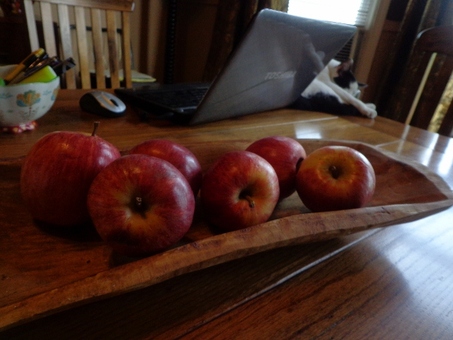
I grabbed my apples off the dining room table.

Disregard the fact that there's a cat on the table.

Makes ya wanna eat at my house, doesn't it?


Picture
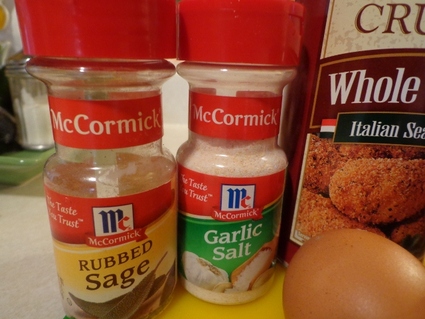
By the way, this spice...the garlic salt...


the most random of recipes will call for this.

I never had Garlic Salt in the spice cabinet but just out of the blue, recipes will require it as an ingredient, so I keep it stocked now.


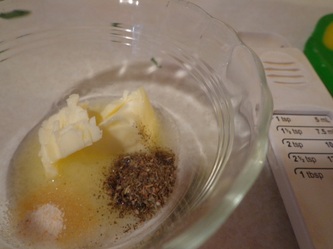
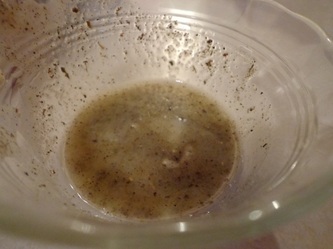
So anyway, melt your butter and mix the garlic salt and sage together.  By the way, this smells heavenly!


Picture
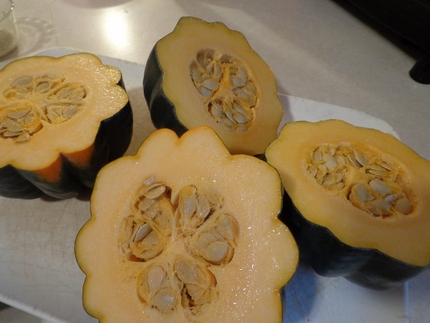
Now cut your acorns in half.
Now you wanna know how stoooopid I am??
I was gonna cut the squash lengthwise but then caught myself and I stood there at the counter debating for five freaking minutes how to get them cut like a flower.

Q: Who's stupid?


A. Moi.


Picture
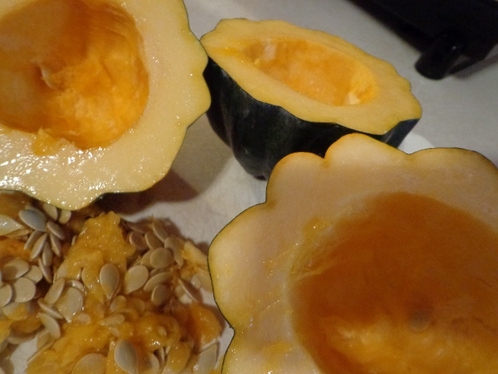
And clean out the seeds and pulp.

OH!! I forgot!

I can.not.believe how easy acorn squash cuts!  Also! The seeds and pulp come out slick!

Don't they look like pretty flowers though?


Picture


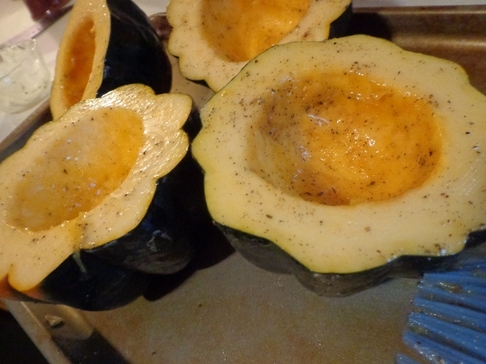
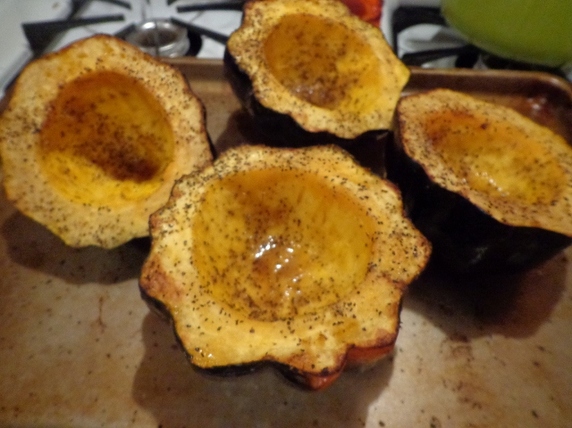
Now brush that yummy herbed melted butter on the squash.

Picture
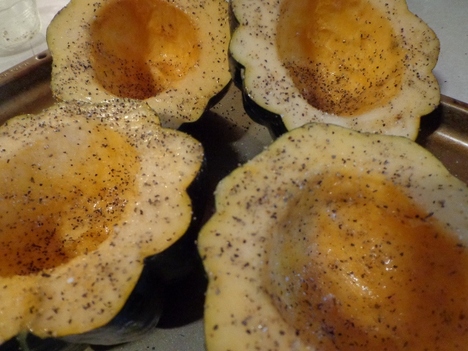
Salt and pepper these babies up!

And throw them in a 400 degree oven for about 45 minutes or so, until they are tender but definitely NOT mushy.


Picture
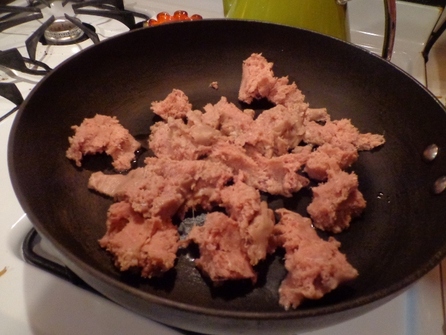
While the squash is in the oven, throw the turkey sausage in the pan.

Now the recipe calls for regular pork sausage but I like to use a leaner, healthier meat, that's why I used turkey sausage.
I save regular pork for DELICIOUS baby rack ribs  but that's another post for another day.


Picture

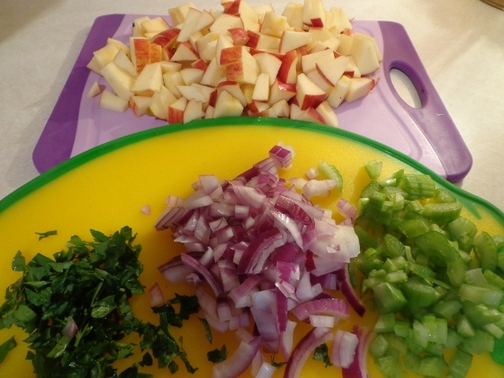
So while the turkey sausage is browning,

chop up the apples, onions, celery and parsley.

Picture
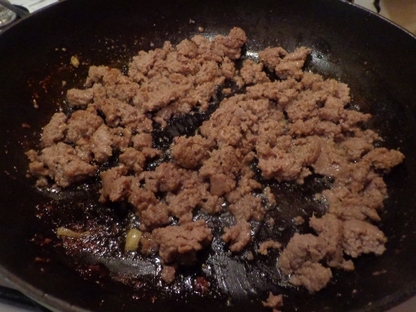
Okay, so the turkey sausage is browned right?

Well the recipe says to remove the sausage from the pan and throw the onions and celery in.

Picture
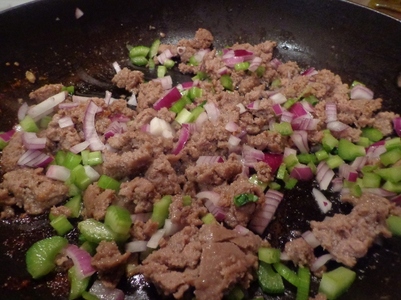
So of course I do NOT read the directions good cuz I am, remember....remember... remember?
I am stoopid!
And I throw the celery and onion in to saute WITH the meat that's already cooked!!


So I tried to pick all the veggies out but then said screw it and just added more olive oil into the mix.


Picture
And it was fine. For the most part.

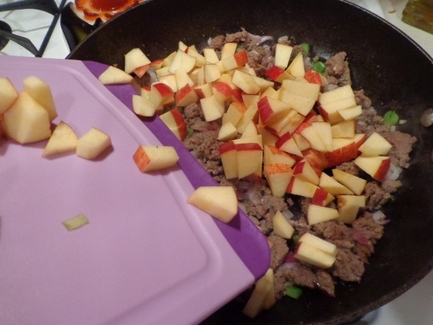
Anyway, throw your apples in....


Picture


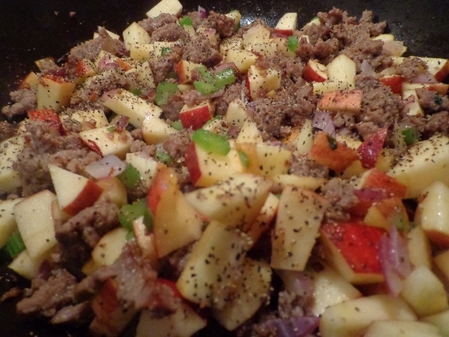
Add plenty of salt and pepper....and saute for a couple minutes.


Again, I had to add more olive oil since the meat was in there too.

Doesn't it look delish already though??


Picture
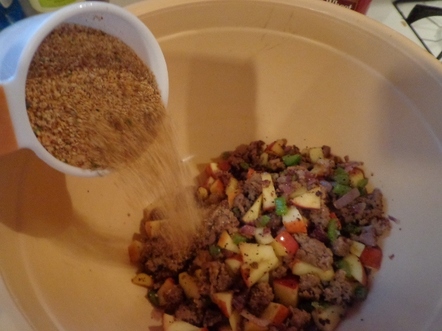
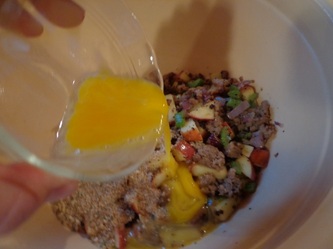
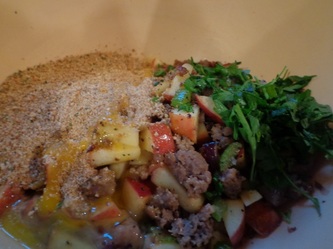
So remove the contents to a bowl and add the bread crumbs.


And add in the egg and parsley.


Picture
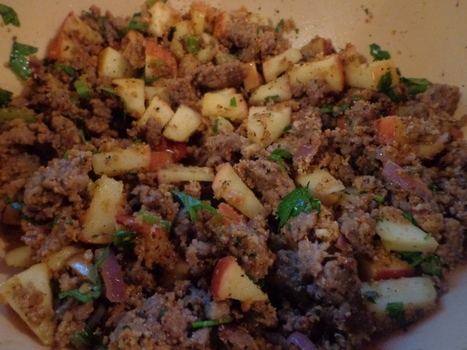
Now mix 'er all up....YUM!!!


It's beginning to smell like Fall around here!!!


So take the cooked acorn squash out of the oven....
Picture
Wow, is what I have to say to that!


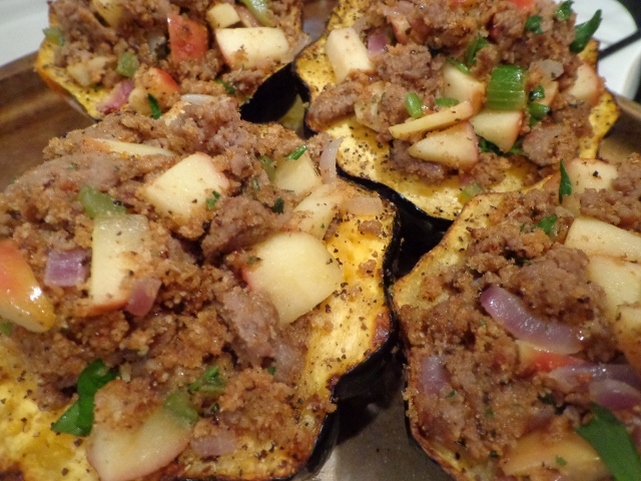
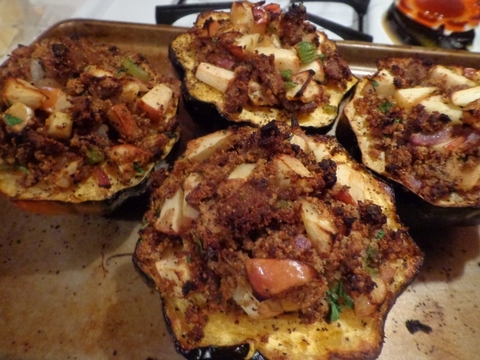
And stuff these suckers up, mound them up with this delicious savory dressing!!
Picture
Hey, now cover these....or do as I did and FORGET TO COVER THEM CAUSE I AM...oh you know the drill...and throw them in the oven for about 20 more minutes.


Picture


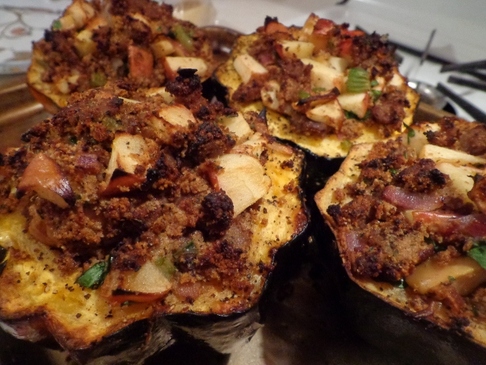
Oh hello Cooked. Gorgeous. Deliciousness!
!!!!!!!!!!!!!!!!!!!!!!


Picture
By golly,

I think you'll do for a hearty, savory, fall meal!!!


Picture


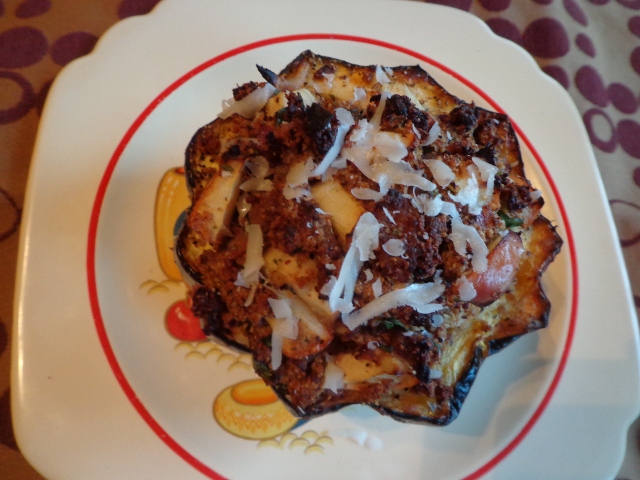
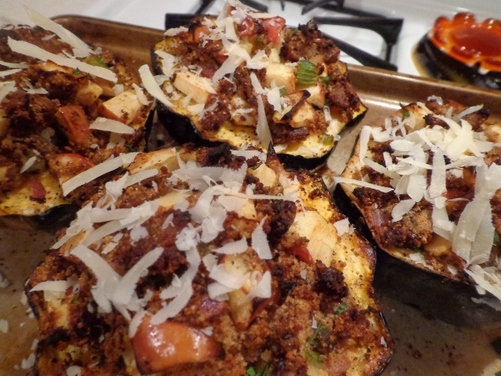
Especially with some fresh grated Parmesan on top!


Aren't they just too cute?!!?
Picture


Picture


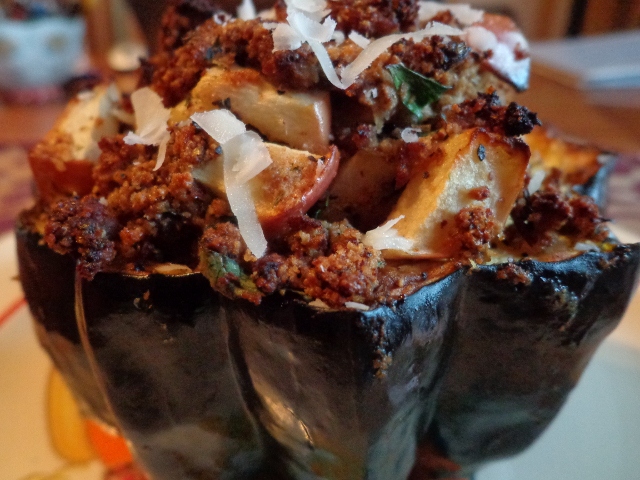
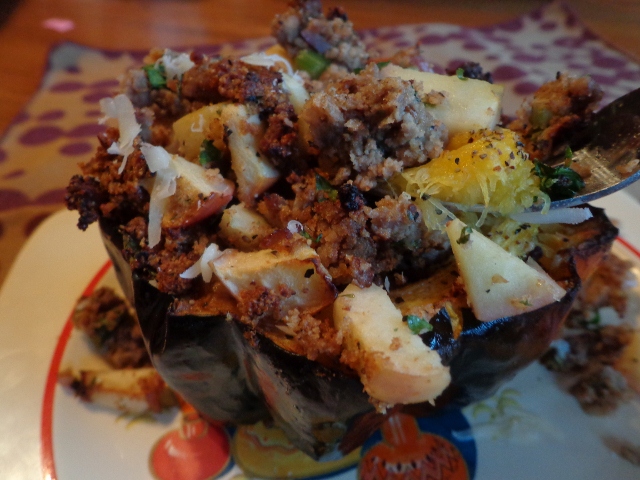
Overflowing with a Pre-Thanksgiving feel and flavor. 


OH go ahead,
take a bite already!
You know you want to!
Picture
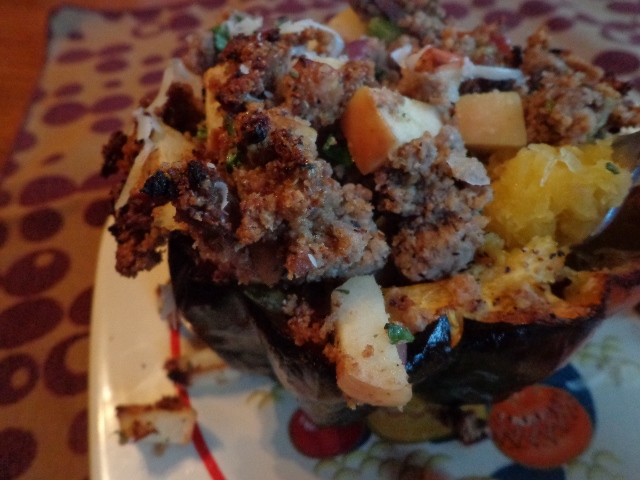
The sweetness of the squash and apples combined with the savory sausage and vegetables....WOW!!!
Picture
Next time Ima include the mushrooms in and see if Tim notices. These must be out of the ballpark great with mushrooms!


Okay, here's the recipe!
Sausage and Apple Stuffed Acorn Squash
From www.food.com recipe posted by Kaarin
Courtesy www.turnkeyqualitycars.com

Ingredients
        2 acorn squash, halved and seeded
        1 tablespoon butter, melted
        1/4 teaspoon garlic salt
        1/4 teaspoon ground sage
        1 lb pork sausage ( regular seasoning)
        1/2 cup onions, finely chopped
        1 celery ribs, finely chopped
        4 ounces mushrooms, chopped
        2 apples, cored and chopped ( macintosh)
        1 cup fine breadcrumbs
        1/2 teaspoon sage
        salt and pepper
        1 eggs beaten
        2 tablespoons fresh parsley, chopped

Directions
    Combine the melted butter, garlic salt and 1/4 teaspoons sage; brush over cut sides and cavity of squash. Salt and pepper to taste.
    Bake in a large roasting pan, cut side up, at 400 degrees F for 1 hour, until squash is tender yet still holds its shape.
    Meanwhile make stuffing: Fry pork sausage until light brown. Remove pork to a colander to drain. Drain all but 2 tablespoons drippings from frypan. Add onion, celery and mushroom; saute 4 minutes. Stir in apple and saute 2 more minutes.
    Combine the pork, vegetables, and breadcrumbs in a large bowl.
    Taste and season with sage, salt or pepper if needed (depending on your sausage you may not want to add more seasoning).
    Stir in the egg and parsley.
    Fill the squash halves with stuffing-they should be slightly mounded.
    Return to oven and bake, covered, for 20 more minutes, until the egg is set.
    Garnish as desired with parsley and shredded romano cheese.

Angie’s note:
I used turkey Sausage instead of pork sausage
I used fresh parmesan instead of Romano cause that’s all I had.
I did not add the mushrooms cuz Tim doesn’t like them, but they should definitely be added if you like them!


I am rarely confident about the food I make but I can assure you, you will THANK ME profusely if you make these! 
I would love to hear from anyone who does and what they thought!


Okay, that's all for today kids!
Hope you have a nice, fall-ish day tomorrow...here in Iowa it's only supposed to be 60 degrees. Hmmm, it's beginning to look a lot like....FALL!

Happy Autumn!!!!!!!
Picture
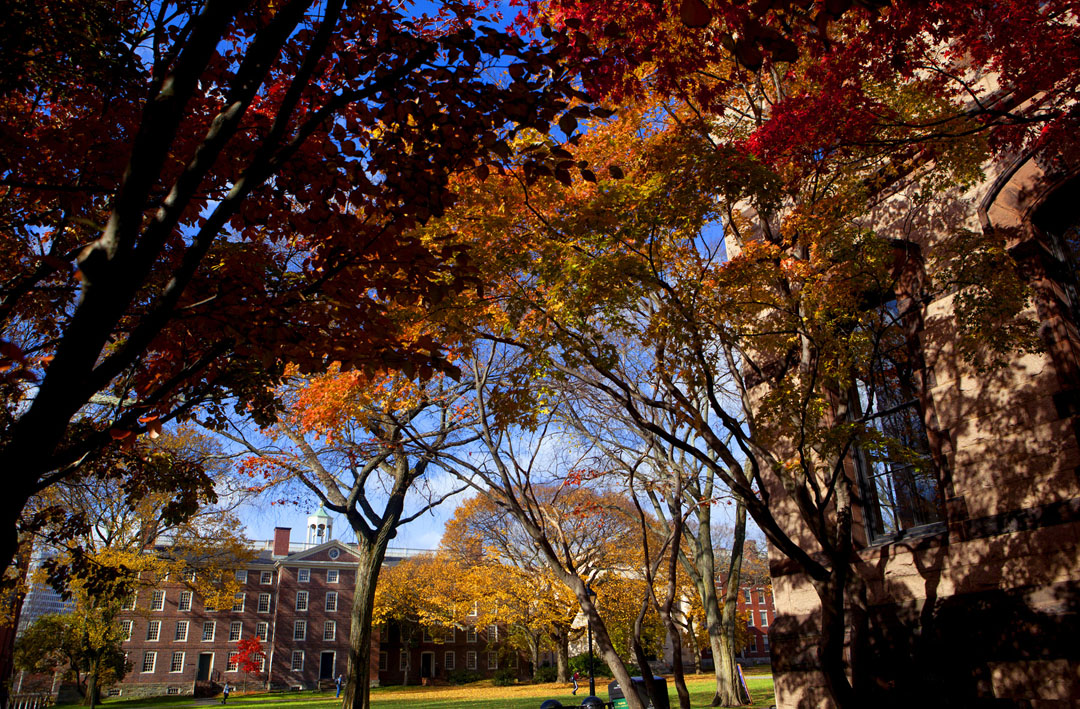
Photo is of the Brown University campus where our daughter Sweetness is a grad student...Mike Cohea, photographer.

Clean Eating Turkey with Roasted Vegetables

5/22/2012

 
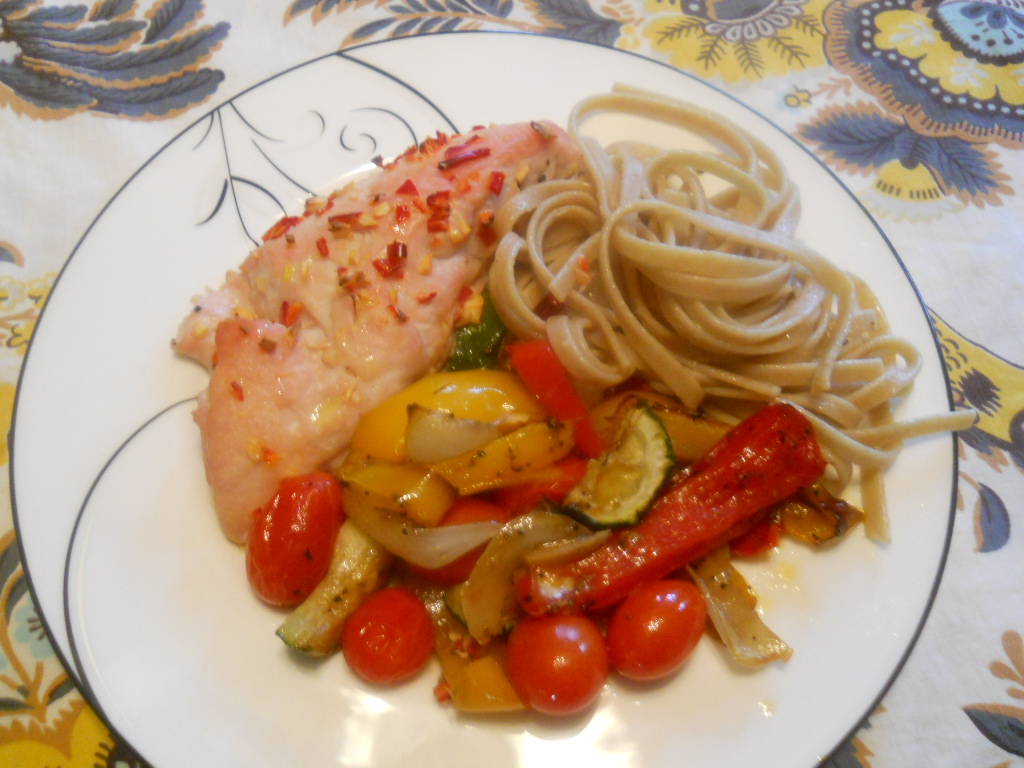
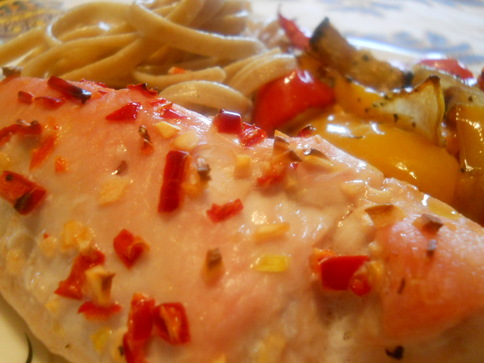
Clean Eating Turkey with

Roasted Vegetables.

Yes sir-ee Bob!!
Picture
Sign me up!!! 

Yer Darn Tootin!
Picture


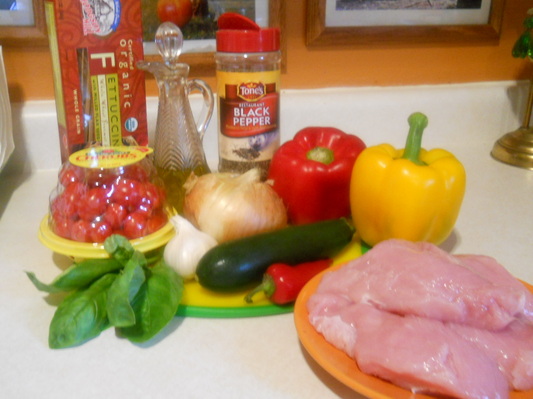
Let's start with these hee haw fixins for this clean eating, tasty meal
shall we?

Simple enough for the ingredients huh!

Turkey with Roasted Vegetables
From the Glycemic Index Cookbook, Gina Steer, Sian Lewis, and Charlotte Watts
Courtesy of www.turnkeyqualitycars.com
Serves 4

Ingredients
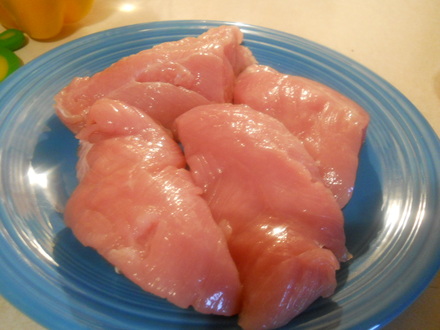
4 skinless turkey breast fillets, about 4 oz each
1 fresh red chili, seeded
4 garlic cloves, peeled
1 onion, cut into wedges
1 zucchini, cut into chunks
1 red bell pepper, seeded and cut into thick strips
1 yellow bell pepper, seeded and cut into thick strips
1-2 tbsp extra virgin olive oil
8 oz. vine-ripened cherry or small plum tomatoes
1 tbsp shredded fresh basil
Pepper
10 oz. freshly cooked fettuccini or pasta of your choice

Directions
1.       Preheat oven to 375. Lightly rinse the turkey breast fillets and pat dry with paper towels. Finely chop the chili and crush two of the garlic cloves, then mix together and rub over the turkey. Place on a plate and cover loosely with parchment paper, then let stand in the refrigerator for 30 minutes.

2.       Cut the remaining garlic cloves in half and place in a roasting pan with the remaining prepared vegetables except for the tomatoes, then drizzle over one tablespoon of the oil. Grind over some pepper.

3.       Roast in the preheated oven for 15 minutes, turning the vegetables over occasionally. Place the turkey steaks on top and continue to roast for 15 minutes. Then add the tomatoes and roast for an additional 10 minutes, or until the turkey is thoroughly cooked. Sprinkle with the shredded basil and serve with freshly cooked vegetables.

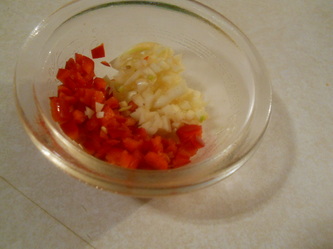
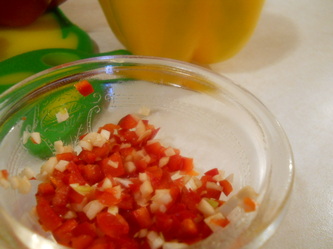
So lets start by finely chopping the garlic and red chili and mixing together.
Picture


Next,

pat the turkey fillets dry with a paper towel.

Gobble, gobble.


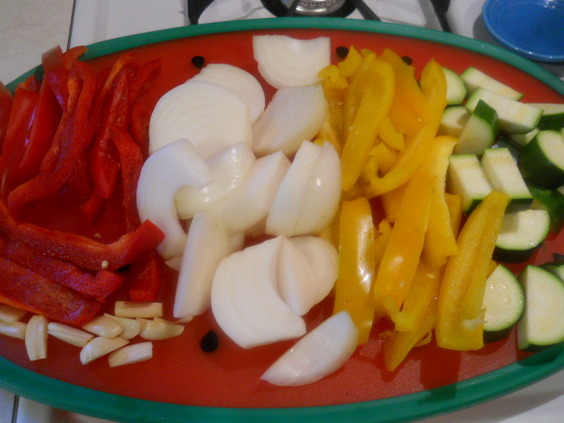
Cut up all your red and yellow bell pepper, onions into wedges, the garlic and zucchini.... 
Picture
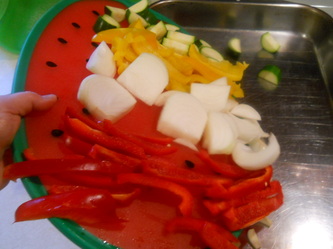
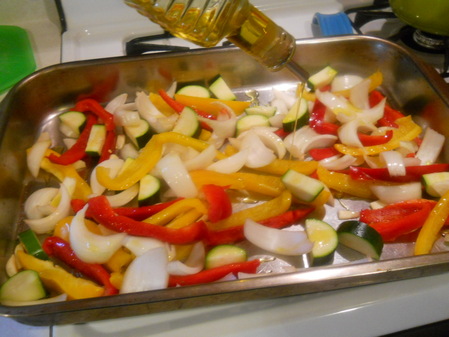
Throw them into your fire roastin' pan.
Picture


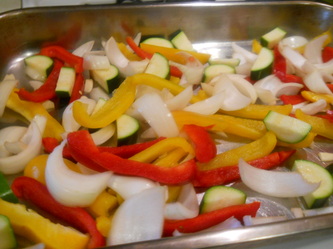
And drizzle with olive oil.

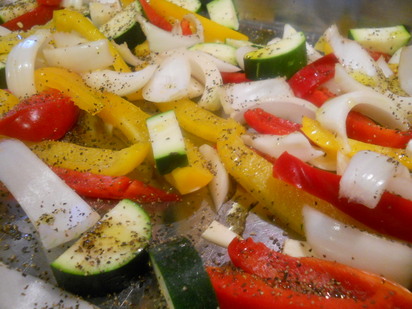
Picture


Then add some pepper...

Don't they look yummy already. You just know this is gonna be healthy eatin'!

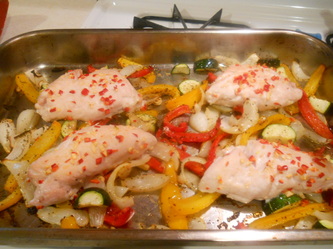
Roast the veggies for 15 minutes, then place the turkey fillets which you had already rubbed the garlic and red chili on even though I neglected to take that picture, nonetheless,
rustle up those cattle thieves, I mean turkey fillets and place them on the vegetables.
Picture


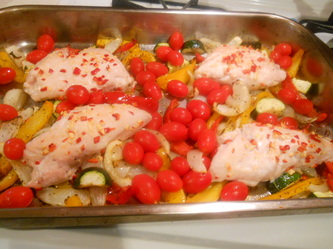
Roast for 15 more minutes and then add the tomatoes and cook for an additional ten minutes.

That's it...how easy is that Cowboy??!!

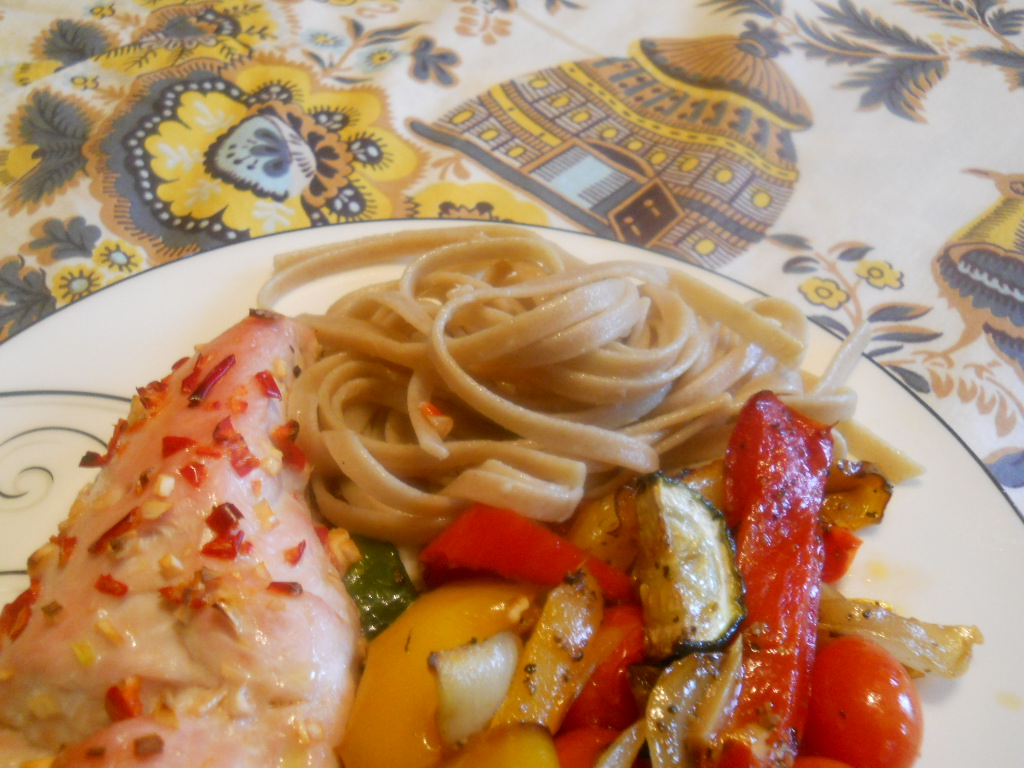
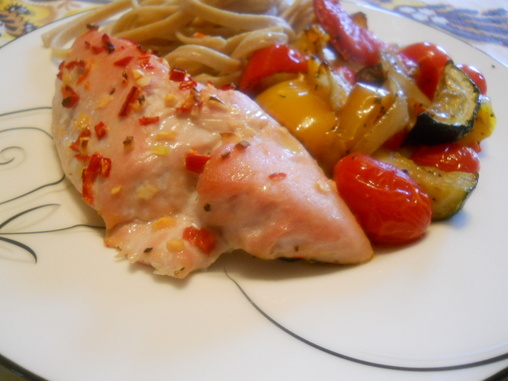
Plate 'er up!!!
Picture
Picture

This is such a fresh, light meal that really fills you up.

This dish has no added salt in it, so you may need to add some salt at this time. But that red chili and garlic rub is pretty tasty.

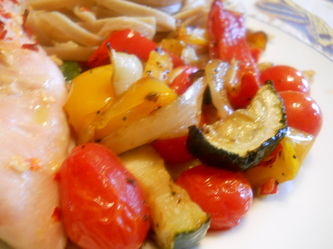
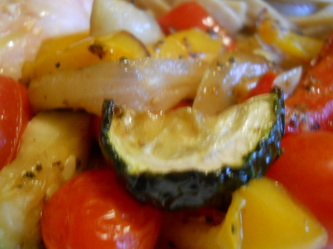
And look at these roasted vegetables. So sweet and flavorful.
Picture

I think it just might be time to eat. 

Pull up a chair pardner!

Let's dig in!

Picture
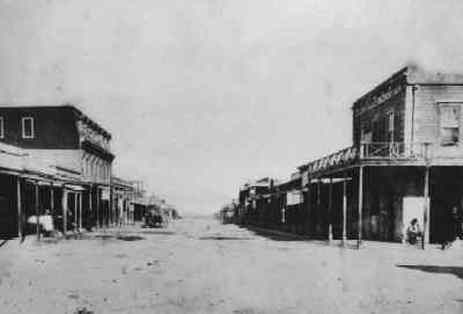
Tombstone, Arizona 1882. Legendsofamerica.com

Hey, with all this cowgirl/cowboy talk, I just thought I would leave some parting words, those of which were known in Tombstone, Arizona among other places....


Don't squat with your spurs on!

:):):)

Okay, that's it for now.

Hope you try this clean eating Turkey and Vegetable dish!!! 

Have a good Tuesday today ya'll!!

See ya soon!!

I Have No Idea Why This Turkey Meatloaf Is So Good But It Just Is

2/26/2012

 
Picture
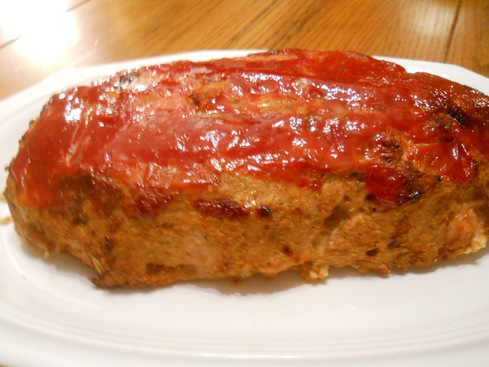
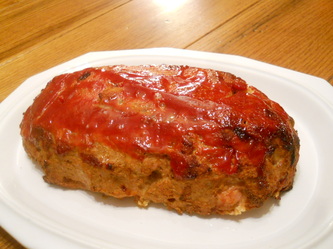
I have no idea why this Turnkey Meatloaf is so good
but it just is.
Maybe it's the Worcestershire or the chicken stock, I don't know.


What I do know is that it has the most supreme taste AND I did not overcook it so it was very moist!!
Picture
Tim kept going back for seconds, thirds, fourths and fifths. I mean seriously.

When I asked Tim why he liked the meatloaf so well he said, "It was easy and it tasted good."

I'm making this meatloaf again today, only this time I will make the full recipe and freeze half of it. The original recipe calls for 5 lbs of meat and it serves 8-10. I recommend cutting this recipe in half like I did if you don't want a ton of leftovers.
Okay, update on that statement up above. I just got back from the grocery just now and I AM NOT buying 5 lbs. of ground turkey breast at $5/lb. That's $25 if I used all 5 lbs. I gotta start buying ground turkey breast on sale; it's just that I can never FIND it on sale. Arrrrgh!!!


Picture
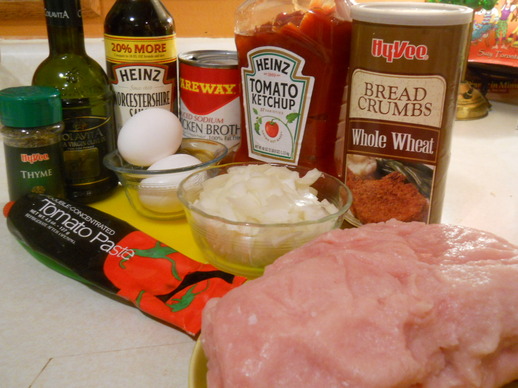
What an easy line-up of fixins for this tasty meatloaf though.
These are the fixins for one large meatloaf.
I halved the recipe and used 2.5 lbs of turkey breast.
Oh, also this is the
simplest dish to make too!


Picture


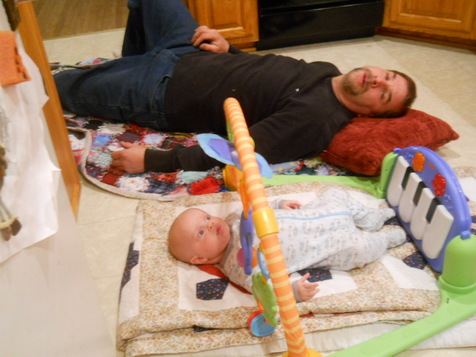
But first I must fess up that I had some help in the kitchen.

Little Boy Blue and Tim decided to cook with me!
Picture
The blue thing above Little Boy Blue's face is a mirror. He LOVES looking at the baby in the mirror.
OH! by the way, They make the coolest play stuff for babies now. Tim and I haven't had a baby in the house for twenty years so we are in awe of all the cool things they make. This is a musical piano thing, the baby's legs kick the keys and music starts playing.
Little Boy Blue loves this and is getting ready to do some kicking, look at his cute yittle yegs.

Picture
I captured the cutest little grin on the bambino's face when his foot hit the music pedal.
Look at LBB kick his right leg!
Then the music starts playing.

He gets the biggest kick out of that thing.

So does Little Boy Blue.
:):):)

Picture
Baby: It must be close to nap time, I'm bushed. Gramps: It must be close to nap time, I'm bushed.


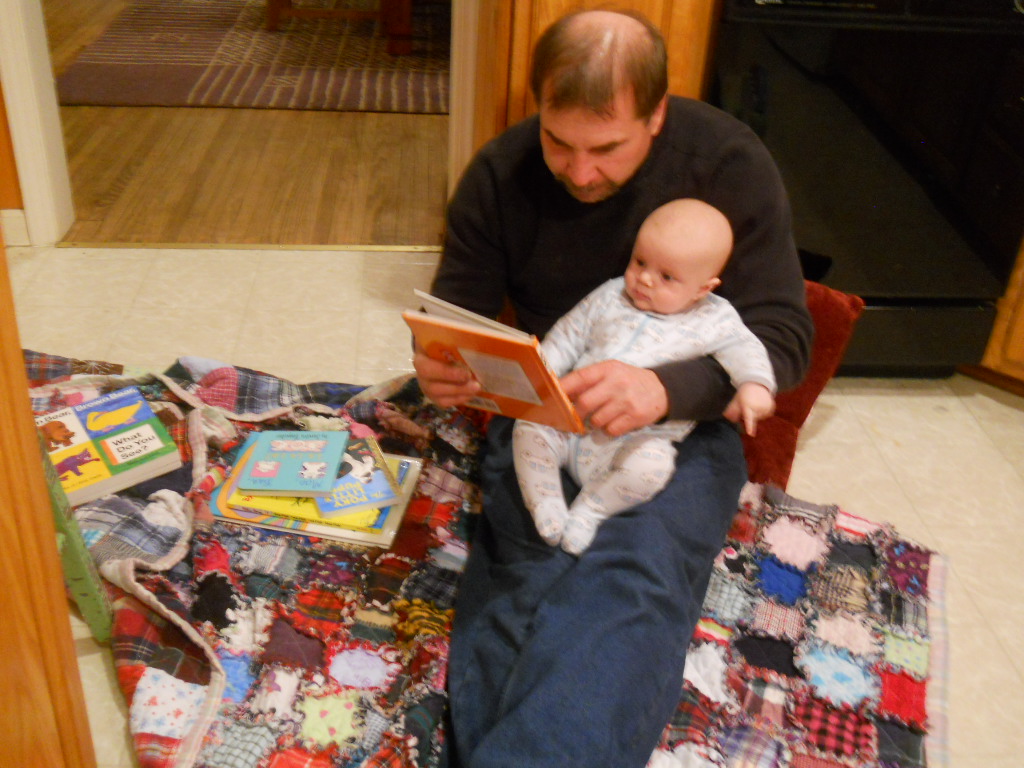
Both Little Boy Blue and
Gramps started getting tuckered out though.

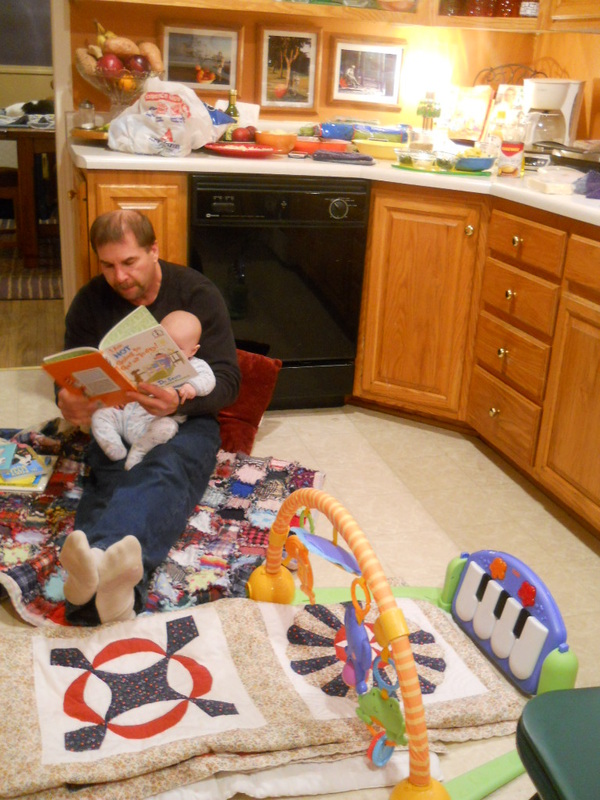
So Gramps decided to read the bambino a book before naptime.
Picture
Picture


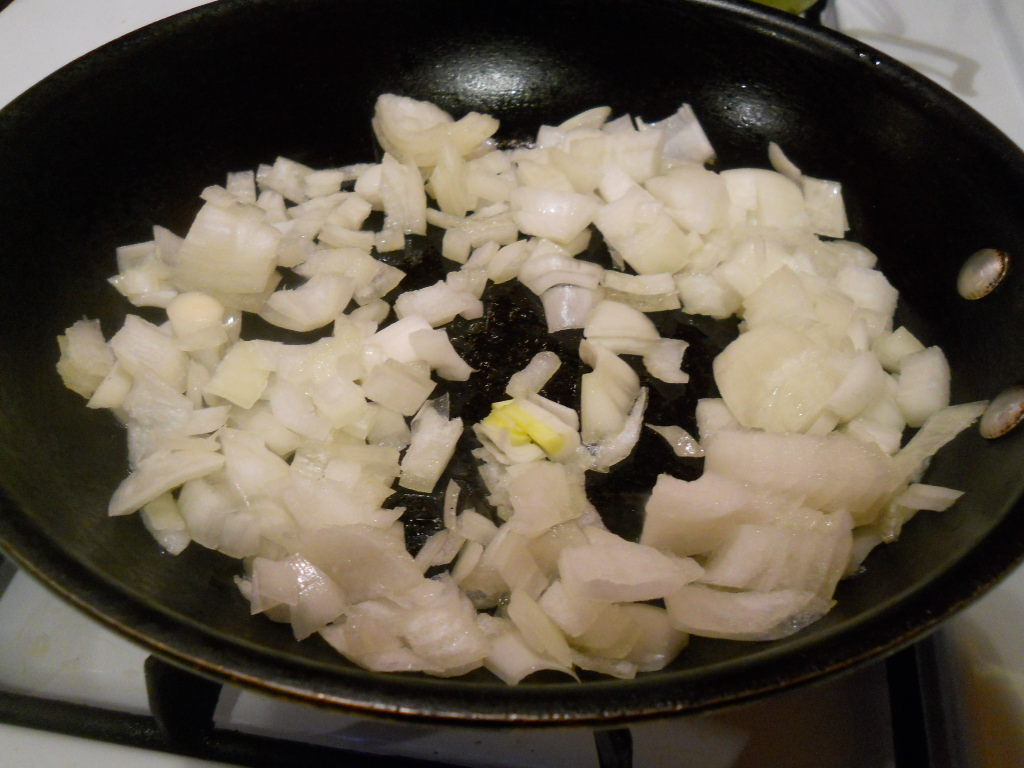
While Tim and the Wee One were occupying themseves with Dr. Suess, I went ahead and chopped up the onions and began to saute them in the pan.
Picture


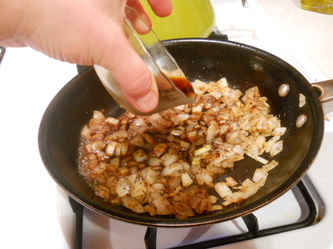
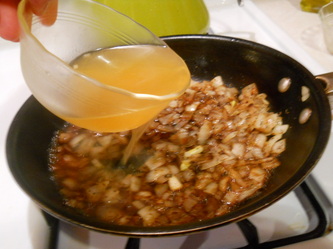
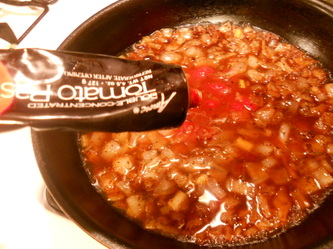
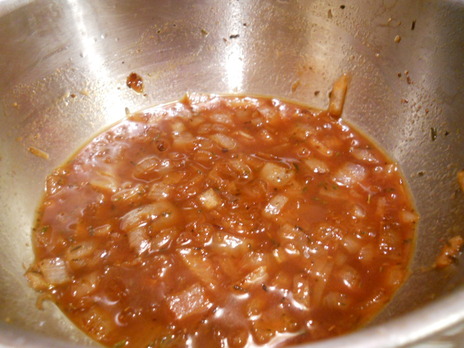
Next I added the salt and pepper and thyme to the onions. Then the Worcestershire sauce, chicken broth and tomato paste. Stir well.


Picture


Cool to room temperature.


I just went ahead and poured the mixture into a different bowl to facilitate this along.


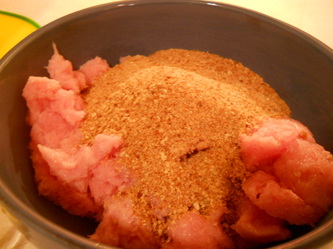
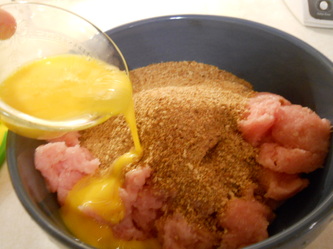
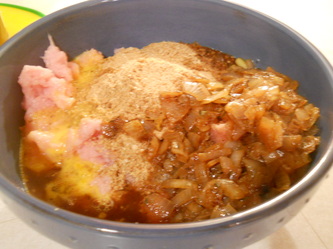
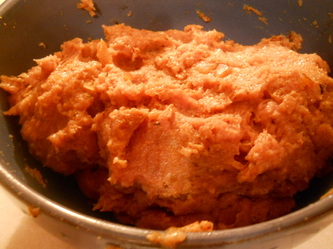
Next combine the turkey breast, bread crumbs, eggs and onion mixture together in a large bowl.
 

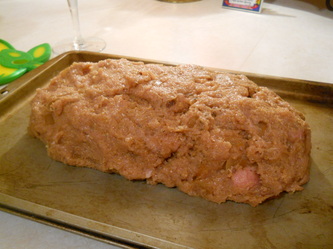
Mix well and shape into a rectangular loaf on an ungreased cookie sheet.
Picture


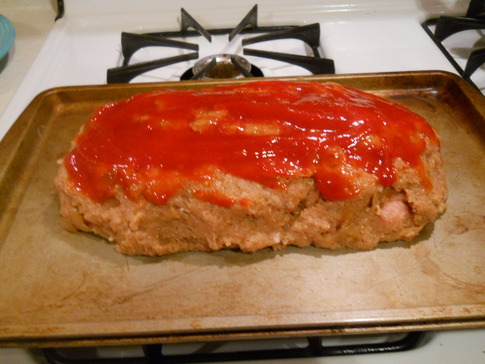
Spread the ketchup evenly on top.

And bake for 1 1/2 hours just until the internal temperature is 160 degrees.
Picture

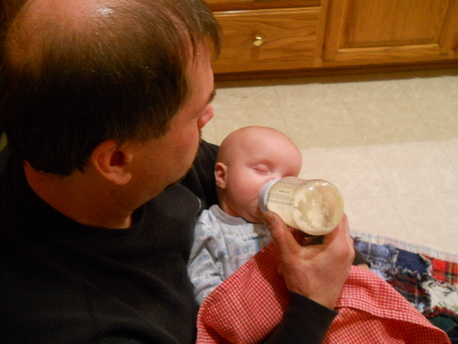
While the meal was baking, yittle baby got hungry and in the process of feeding on his yummy formula, he decided all that activity was tiring and went night-night.

Looks like Gramps was close behind zzzzzz.


Picture


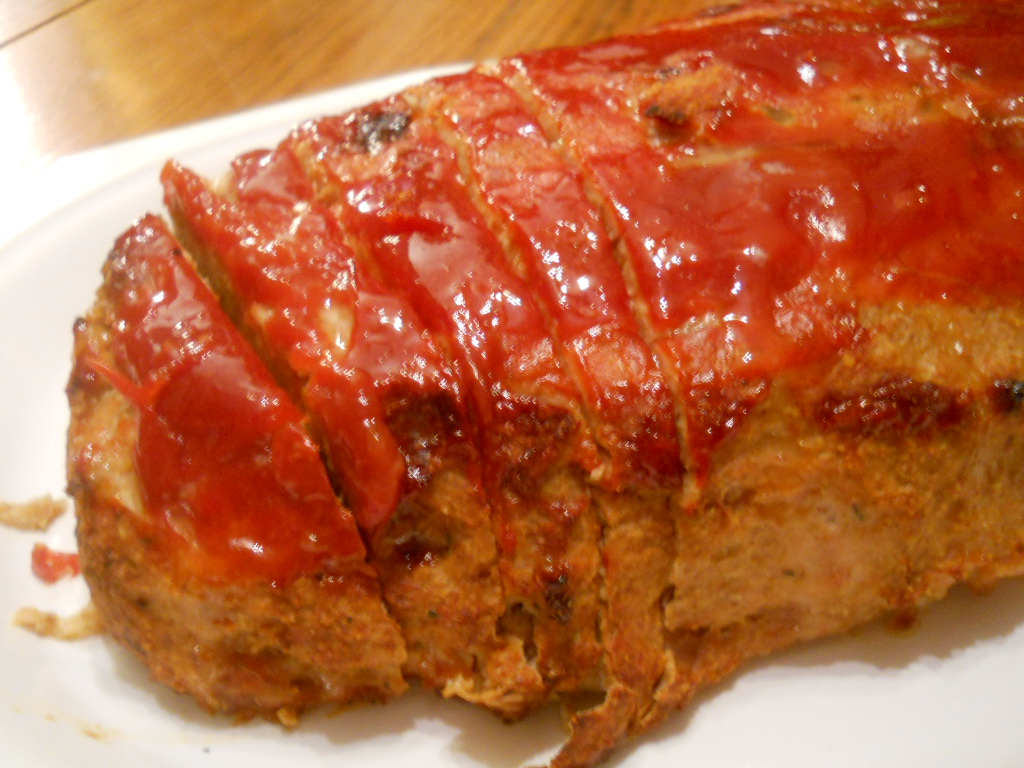
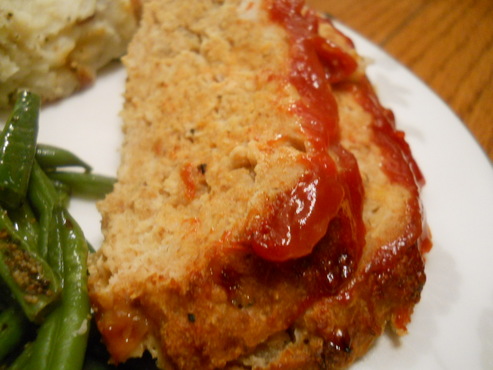
As soon as the meatloaf reaches 160 degrees, pull this tasty loaf out of the oven and let it rest a couple minutes.

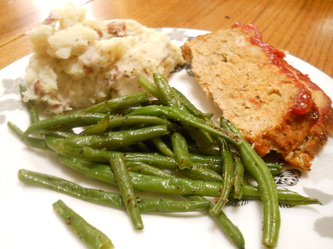
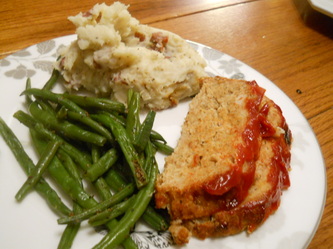
It doesn't look like much, but man o' man, I'm gonna go back to, I have no idea why this meatloaf is so tasty.
It just is.

Picture


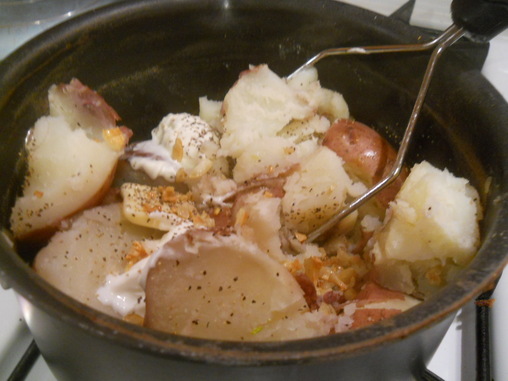
And of course, my starch fetish is always at the forefront,

so what would meatloaf be without roasted garlic smashed red potatoes?


You're almost there; that's how quick and easy this Turkey Meatloaf dish is.
Although the cook time of 1.5 hours isn't quick, everything else was.
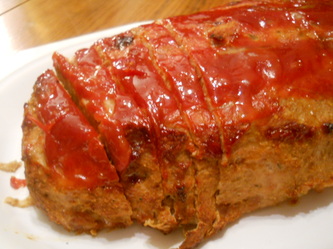
Slice up the meatloaf and load the plates.


Picture


And enjoy this down home goodness meal!!!


OHHHH! Almost forgot!!!
 
Recipes are below!!!

OH! OH! OH! UPDATE! SIX HOURS LATER! 
I JUST MADE THIS RECIPE AGAIN TONIGHT AND IT CAME OUT DRY AND NOT AS FLAVORFUL.
I MUST NOT HAVE USED ENOUGH CHICKEN STOCK AND SALT AND PEPPER.
DANG! 
ALSO I LET IT COOK PAST 160 DEGREES. FYI...DON'T DO THAT!
MAKE SURE THE LOAF IS MOIST WHEN YOU FORM IT.

Turkey Meatloaf
www.foodnetwork.com Barefoot Contessa Cookbook
Check out Ina Gartens show The Barefoot Contessa
Courtesy of www.turnkeyqualitycars.com

Angie’s Note: Please keep in mind I halved this recipe! You can make the whole recipe but you will have leftovers as the full recipe serves 8-10.

Ingredients
3 cups chopped yellow onions (2 large onions)
2 tablespoons good olive oil
2 teaspoons kosher salt
1 teaspoon freshly ground black pepper
1 teaspoon fresh thyme leaves (1/2 teaspoon dried)
1/3 cup Worcestershire sauce
3/4 cup chicken stock
1 1/2 teaspoons tomato paste
5 pounds ground turkey breast
1 1/2 cups plain dry bread crumbs
3 extra-large eggs, beaten
3/4 cup ketchup

Directions
Preheat oven to 325 degrees F.

In a medium saute pan, over medium-low heat, cook the onions, olive oil, salt, pepper, and thyme until translucent, but not browned, approximately 15 minutes. Add the Worcestershire sauce, chicken stock, and tomato paste and mix well. Allow to cool to room temperature.

Combine the ground turkey, bread crumbs, eggs, and onion mixture in a large bowl. Mix well and shape into a rectangular loaf on an ungreased sheet pan. Spread the ketchup evenly on top. Bake for 1 1/2 hours until the internal temperature is 160 degrees F. and the meatloaf is cooked through. (A pan of hot water in the oven under the meatloaf will keep the top from cracking.) Serve hot, at room temperature, or cold in a sandwich.

Hope you're enjoying the

weather...

Spring is coming up soon eh???!!!
 
Can't wait!!
Talk at ya soon!

This Recipe Will Not Knock Your Socks Off But It's Good Baked Penne With Asparagus and Turkey

8/29/2011

 
Picture
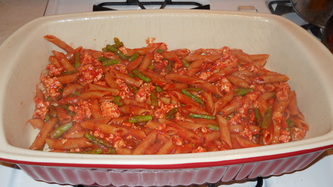
This Baked Penne recipe will
NOT
knock your socks off.

It will

NOT
knock your earrings off.

And it certainly will NOT

blow you away like some of those hurricane winds this weekend.

Picture

Instead,

this
Baked Penne will leave you fulfilled.

Where you still have energy to spare.

Yet not feel overstuffed at all.

How many pasta recipes can claim that??!?


Picture
This is one of the easiest Clean Eating recipes I make. I tend to make it a lot in the winter but you know, it's fine for summer and fall because it's a lighter pasta dish and so healthy and clean and kind to the waistline.
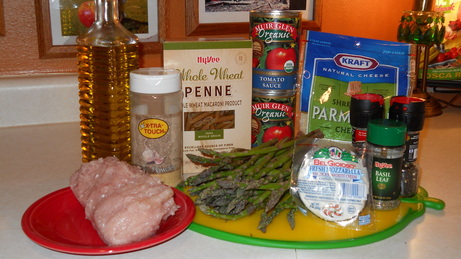
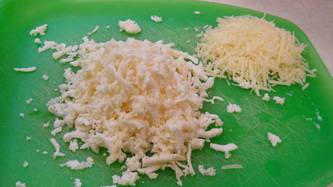
See, not many ingredients here. Very quick and easy. The hard part is stopping yourself from eating all the mozzarella cheese before it can be layered into the penne!

Baked Penne
Jan/Feb 2009 Clean Eating magazine

 INGREDIENTS:
12 oz whole-wheat penne
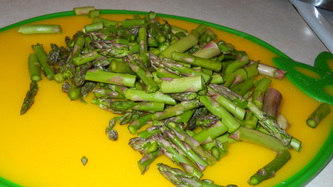
3/4 lb thin asparagus, trimmed and cut into 2-inch pieces
Olive oil cooking spray
3/4 lb lean ground turkey breast
3 cups no-salt tomato sauce (such as Muir Glen)
1/2 tsp dried basil
1/4 tsp sea salt or coarse kosher salt
Freshly ground black pepper, to taste
4 oz. part-skim mozzarella cheese, grated (1 cup), divided
1/4 cup Parmigiano-Reggiano cheese, grated


INSTRUCTIONS:
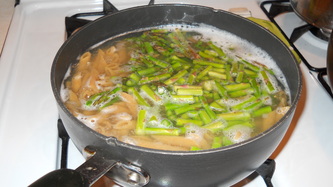
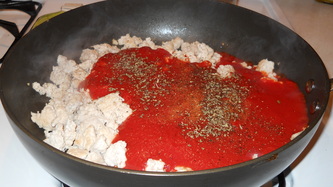
ONE Preheat oven to 350 degrees. Bring a large pot of water to a boil and cook penne according to package directions. When pasta is 1 minute from being done, add asparagus and boil for 1 minute; drain and return to pot.


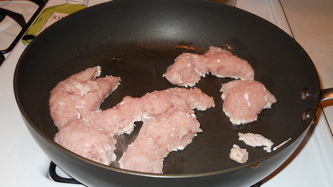
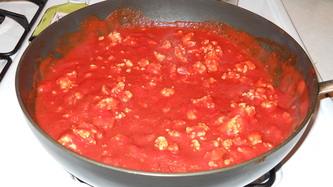
TWO Meanwhile, coat a large skillet with cooking spray and heat to medium-high; add turkey and cook, stirring often, until lightly browned, about 7 minutes. Add tomato sauce, basil, garlic powder, salt and pepper, and simmer until heated through. 3 to 4 minutes.


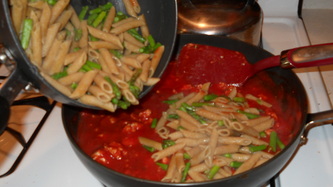
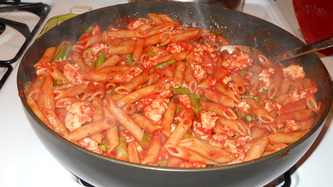
THREE  Add turkey meat sauce and penne and asparagus together, stir to combine.


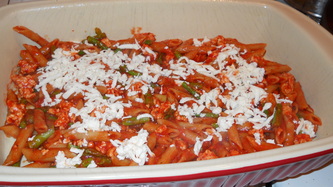
FOUR Lightly coat a 2-QT baking dish with cooking spray; add 1/2 the penne mixture and sprinkle with 2/3 of the mozzarella.


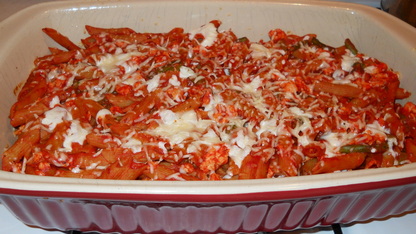
Picture


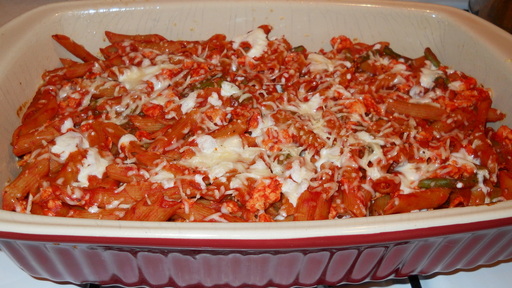
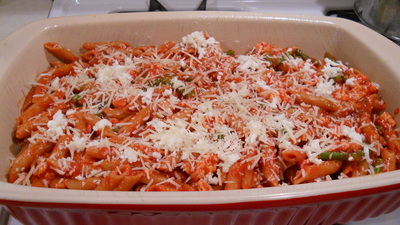
Add remaining penne, then sprinkle remaining mozzarella and top with Parmesan-Reggiano.


Picture

Bake for 18-20 minutes or until cheese is melted.

Let it rest for 5 to 10 minutes before serving.

Try garnishing with fresh oregano or basil, if desired. (oops, Angie forgot that one.)


As  I mentioned earlier, this dish will not knock your socks off

BUT it is

1.  Easy on the taste buds, very mellow. Tasty but mellow.

2. Easy on the pocketbook.

3.  And easy on the waistline.
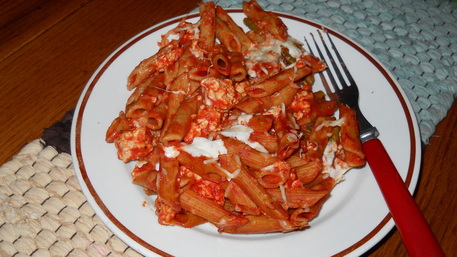
Picture
Bon Apetit!

Have a great Monday!!!


Somebody's gonna be making Butterscotch Cheesecake Bars tonight.
Fat free.


NOT!
Hope I don't eat them all before taking a picture for you :)


    Author

    Angie Madsen
    One half of a team that blends their work and personal life together
    in fun ways.


    Recipes
    Picture
    Click here to access recipes featured on this blog. 


    Categories

    All
    Appetizers
    Beef
    Bread
    Breakfast
    Caring
    Car Stories
    Casserole
    Chicken
    Christmas
    Cooking Misadventures
    Decor
    Desserts
    Fish
    Foosball Okay Football
    Fun Times
    Hot Cars
    I Am A Dork
    Kitchen Stuff
    Pasta
    Pets Pets Pets
    Pork
    Potatoes
    Seasonal
    Side Dish
    Soup
    Special Occasion
    Turkey
    Vegan Or Could Be Vegan
    Vegetables
    Vegetarian


    Archives

    February 2019
    January 2018
    December 2017
    November 2017
    October 2017
    January 2017
    October 2016
    September 2016
    August 2016
    February 2016
    January 2016
    October 2015
    September 2015
    August 2015
    July 2015
    May 2015
    April 2015
    January 2015
    December 2014
    October 2014
    September 2014
    August 2014
    July 2014
    June 2014
    May 2014
    September 2013
    August 2013
    June 2013
    April 2013
    February 2013
    January 2013
    December 2012
    November 2012
    October 2012
    September 2012
    August 2012
    July 2012
    June 2012
    May 2012
    April 2012
    March 2012
    February 2012
    January 2012
    December 2011
    November 2011
    October 2011
    September 2011
    August 2011
    July 2011


Turnkey Auto - Twenty years of a friendly setting of quality vehicles, affordable prices and exceptional service.
Text: 319-331-8796
​Call: 319-683-2850


 1/2 mile west of Frytown on 500th St
1811 500th St SW, Kalona, Ia 52247