TurnKey Auto Call: 319-683-2850 Text: 319-331-8796
  • Home
  • Inventory
  • Recently Sold
  • About Us
  • Contact
  • Angie's Blog/Recipes

Delightful and Delicious Oven-Fried Chicken with Waffles and White Gravy and Hey, Take a Gander Into a Messy Pantry...No Judging Though

1/2/2016


Hi Y'all!!!!!!!!!

Picture


​
​How's everybody been????!!!

Picture
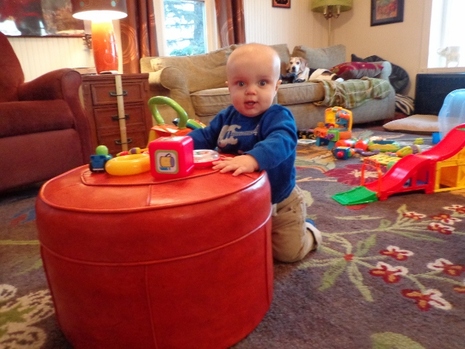
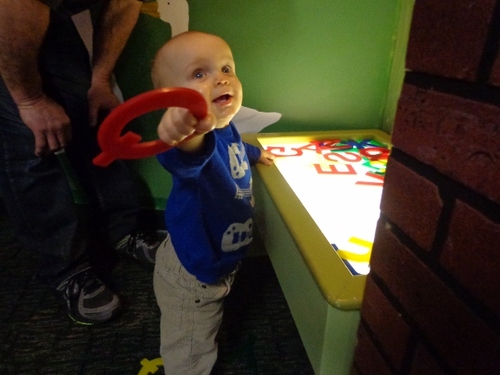
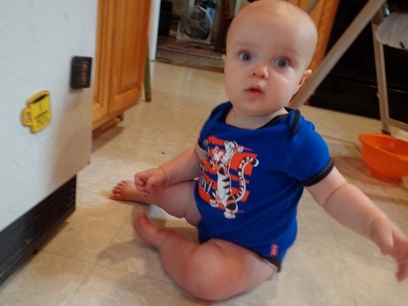
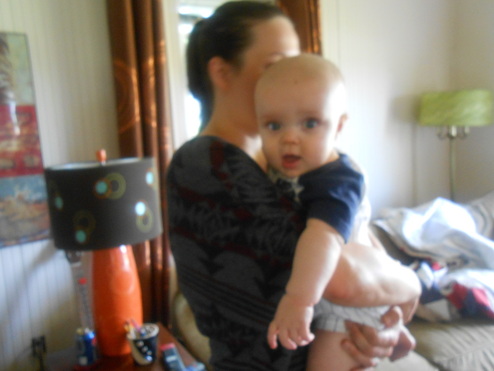
Little Boy Blue (4 year old grandson) in the first snow before Thanksgiving.


​


​Miss Me???!!!
​
Picture
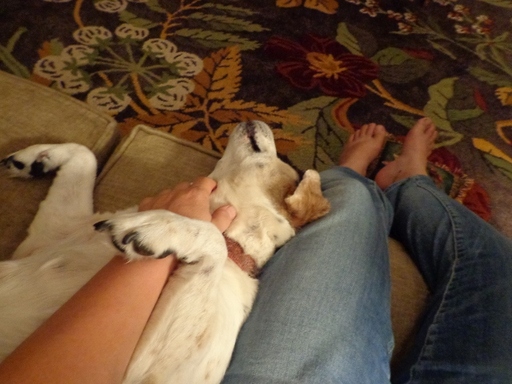
Marvin Miller's sheep in the back forty early December.


​

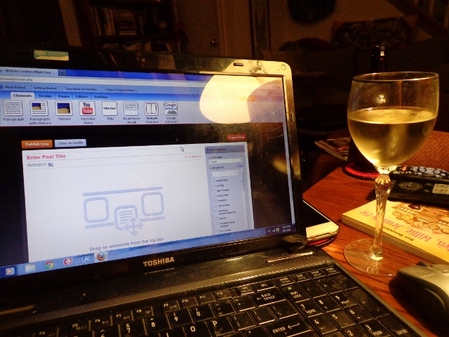
I've missed sharing with y'all!!!

Picture
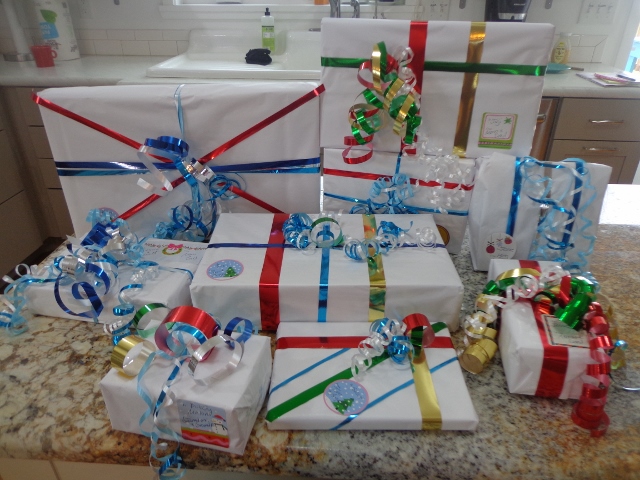
Angie went white tissue paper and ultra shiny with doo dad curly doodle thingamajigs for the Christmas wrapping this year.


​


And guess what!!!


I made an AMAZING
Oven-Fried Chicken with Waffles
and

White Gravy
​recipe today!!!

Picture
YES!! TODAY!!!  I KNOW!!!
I was soooo excited, I just knew no matter what,
​
I had to share this with you!!


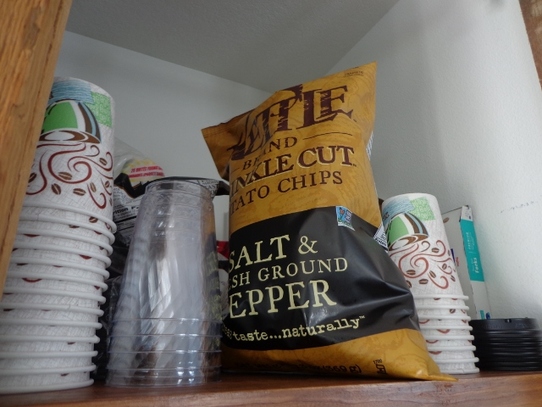
​And it all started with the wrong bag of
potato chips in my pantry.
I accidentally bought these "Salt & Pepper" Kettle Chips yesterday for snacking  during the Rose Bowl.
Picture


​
Picture


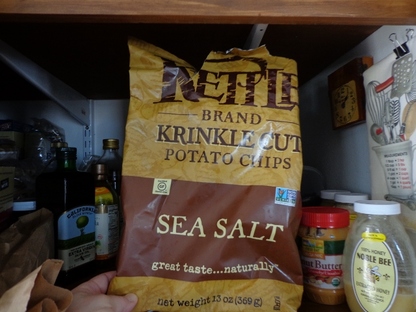
Typically I always buy these...
​
​"Sea Salt"
​Kettle Chips.


​
Picture

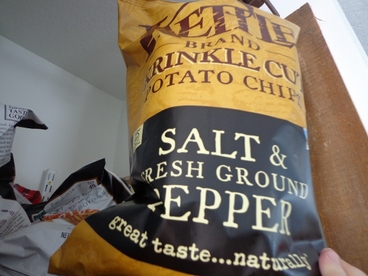
​But the bag I accidently threw into my cart at the grocery was
"Salt & Pepper" Kettle Chips.


Shockingly, the Chicken and Waffle Recipe I reeeeeally wanted to make after googling this morning, featured...

that's right...


Salt & Pepper Kettle Chips!!!!!
​


​

Picture


​
Picture

Did someone just hear an angel play a horn?


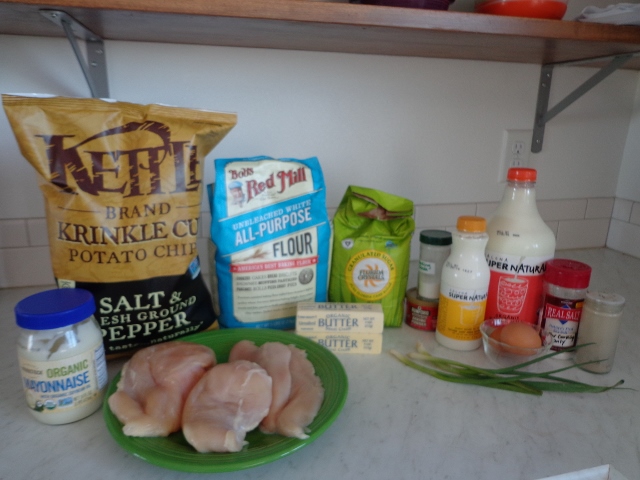
Let me tell you, as soon as I discovered this Chicken and Waffle recipe and saw I had everything in the kitchen to make this.....I screamed to get my camera and started taking the most craptastic pictures ever! 


​
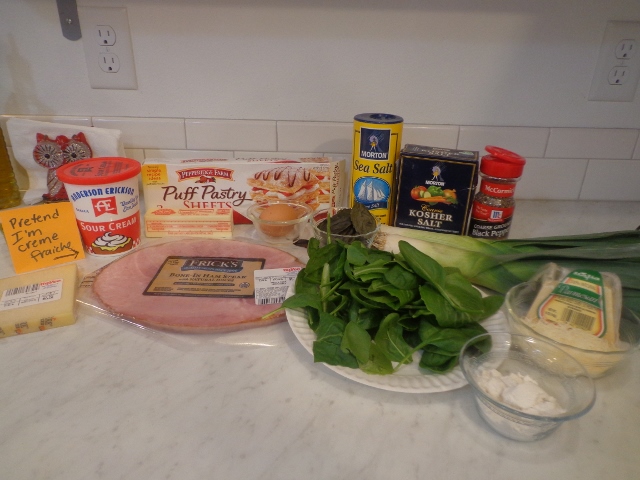
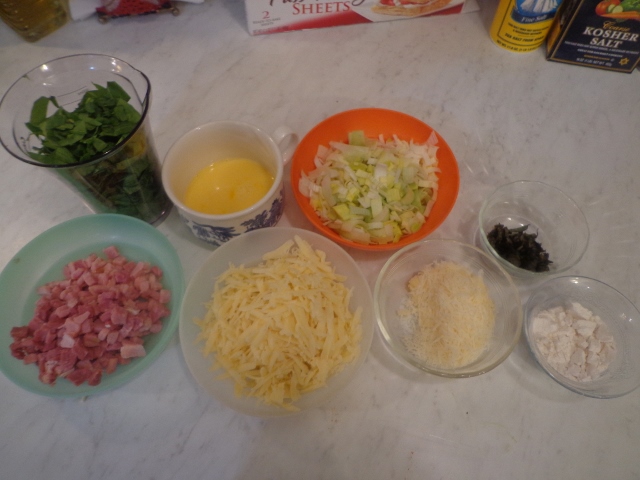
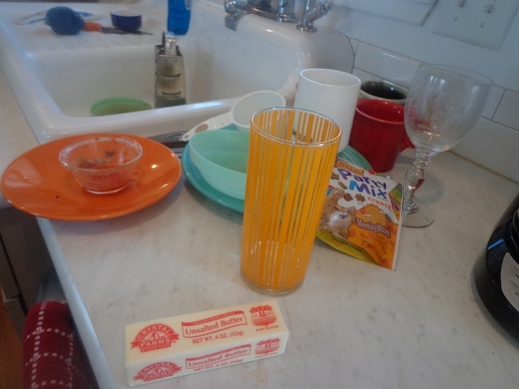
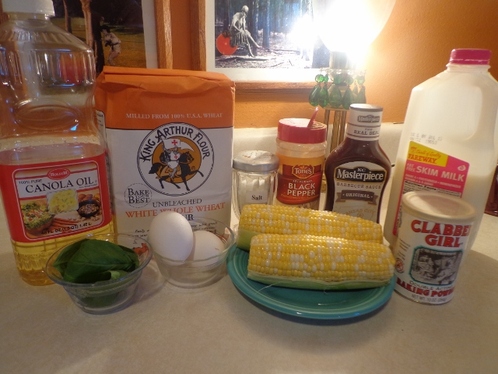
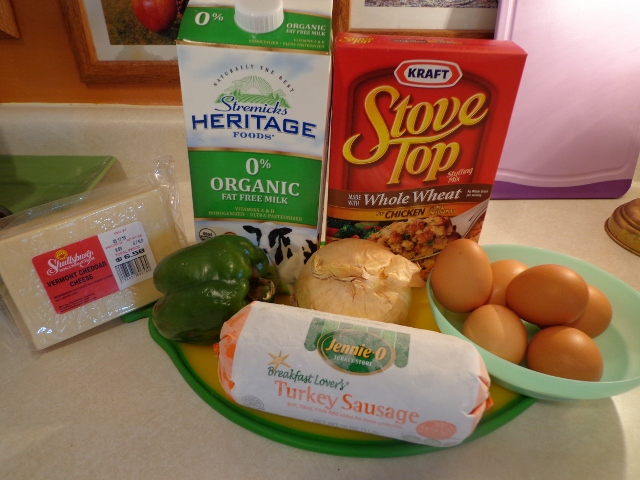
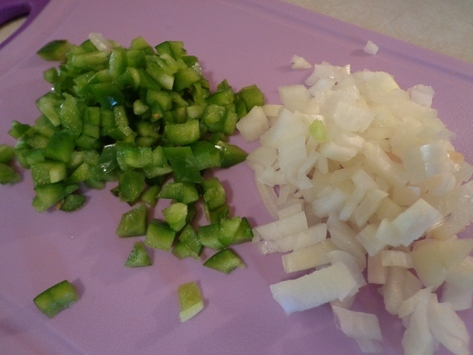
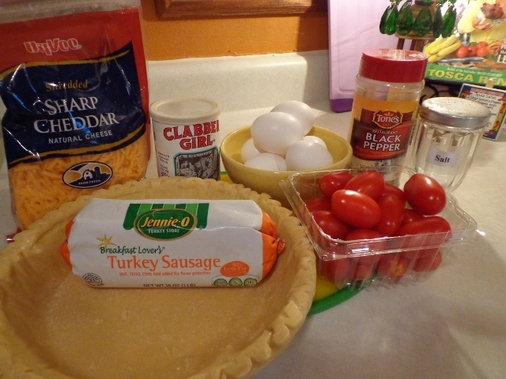
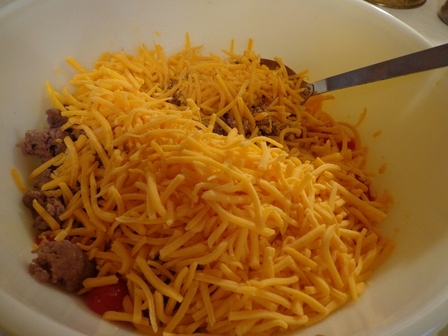
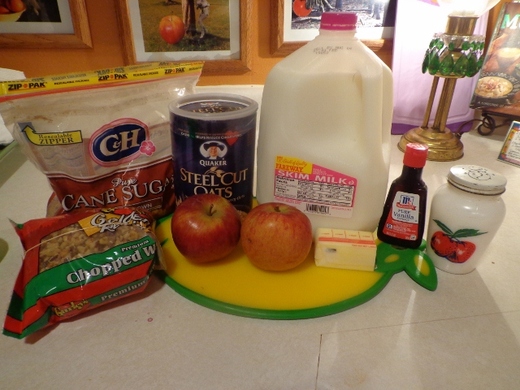
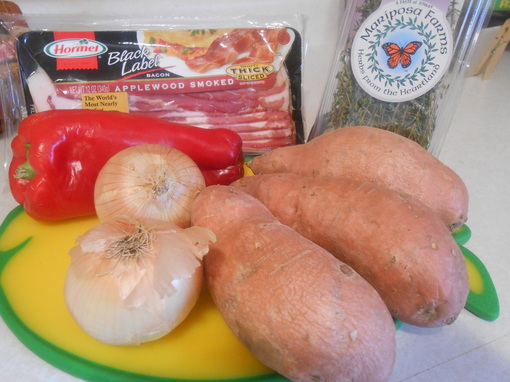
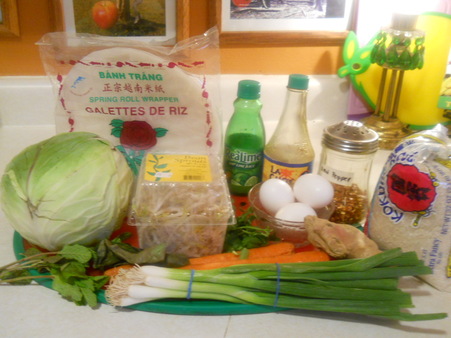
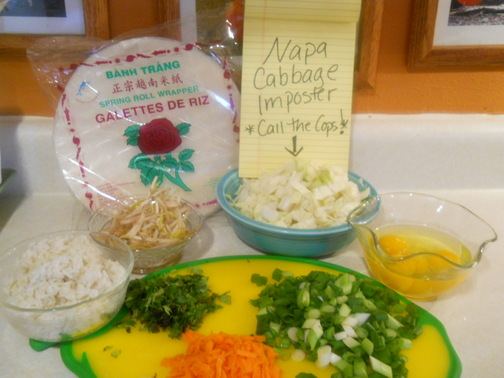
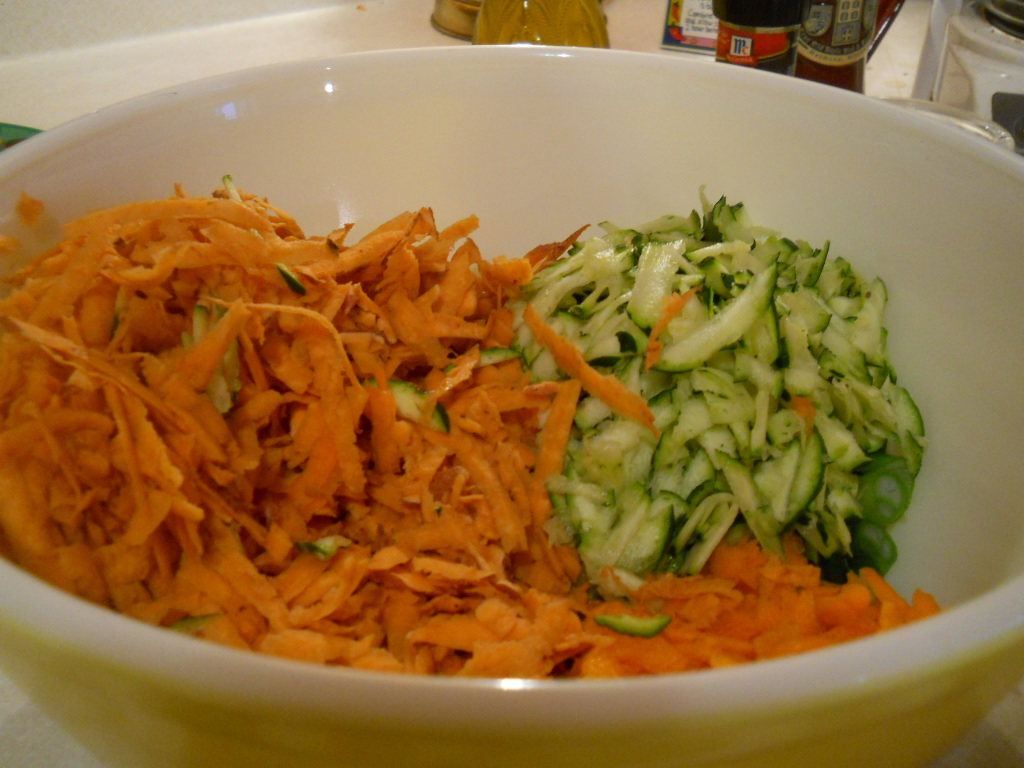
These are the fixins for
Oven-Fried Chicken with Waffles
and White Gravy!!
Picture
Quick Note: This recipe is for two servings only.
If you want to feed more than two people, double or triple the recipe like I did!
Oven-Fried Chicken with Waffles and White Gravy
Featured on bakerbynature.com  
​Recipe author: dinnerfortwoblog.com
Yield: 2 servings

Serving Size: 1 serving
Fluffy buttermilk waffles topped with crispy fried chicken and creamy white pepper gravy.

Ingredients
  • For the chicken:
  • 1 large boneless, skinless, chicken breast, sliced in half lengthwise 
  • 3 tablespoons mayonnaise
  • 1 cup salt and pepper kettle-cooked potato chips, finely crushed​
  • For the waffles:
  • 1 large egg white
  • 2 tablespoons granulated sugar, divided
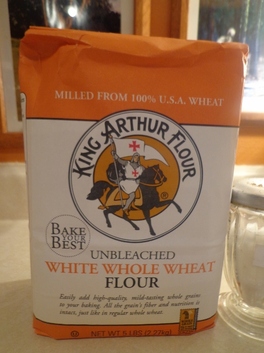
  • 1 and 1/4 cups all-purpose flour
  • 1 and 1/2 teaspoons baking powder
  • 1/4 teaspoon baking soda
  • 1/4 teaspoon salt
  • 2 tablespoons unsalted butter, melted
  • 3/4 cup plus 2 tablespoons buttermilk
  • For the white pepper gravy:
  • 2 tablespoons unsalted butter
  • 2 tablespoons all-purpose flour
  • 1/2 cup plus 2 tablespoons whole milk
  • 1/4 teaspoon salt
  • 1/4 teaspoon black pepper
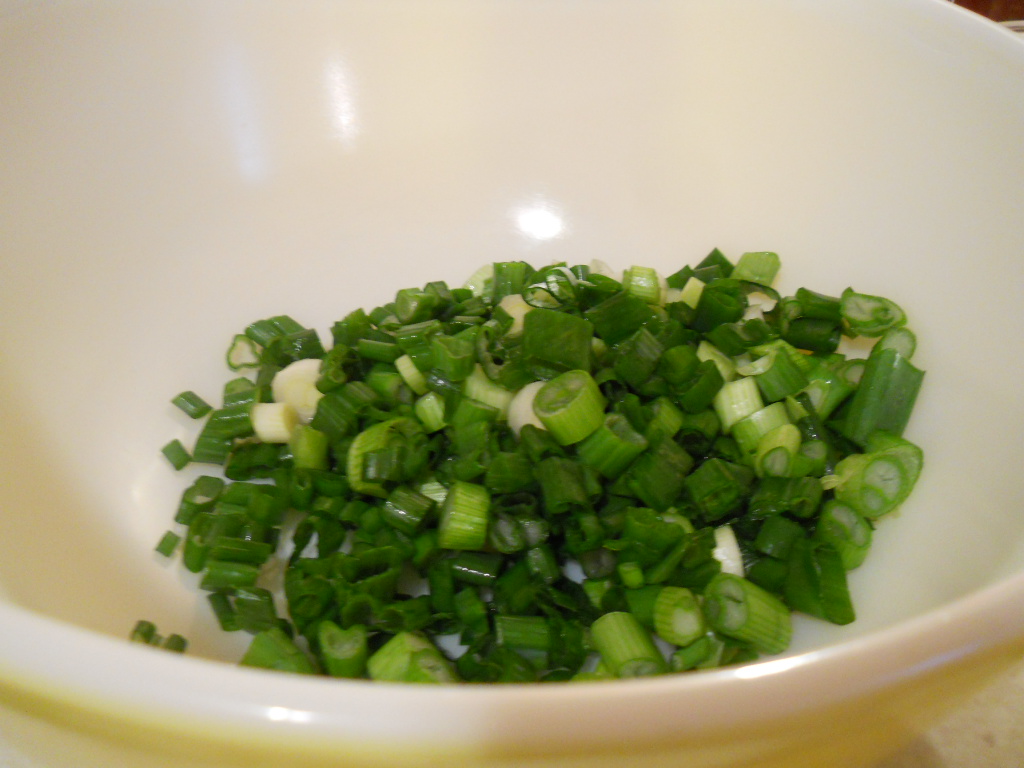
  • 2 tablespoons scallions, chopped, optional

  1. For the chicken:
  2. Preheat oven to 400 degrees (F). Line a large baking sheet with parchment paper or a silicon baking mat; set aside.
  3. Place the chicken breast on a clean work surface. Rub the chicken breast halves with mayonnaise then generously coat all sides of the chicken with the crushed kettle chips. Don't worry if they don't all stick! Transfer the chicken to the prepared baking sheet and bake for 15-17 minutes, or until the chicken is cooked through and the outer crust is slightly browned. Transfer chicken to a plate and store in the microwave or a warmer drawer until needed.
  4. For the waffles:
  5. While the chicken is baking, preheat your waffle iron.
  6. In a small bowl, using a hand mixer, beat egg white and one tablespoon of sugar on medium-speed until light and fluffy and soft peaks begin to form, about 1 minute; set aside.
  7. In a large bowl whisk together flour, remaining sugar, baking powder, baking soda, and salt. Make a well in the center of the batter and pour in the melted butter and buttermilk. Whisk until mixture is smooth and no lumps remain. Using a spatula, gently fold in the egg whites, stirring just until incorporated.
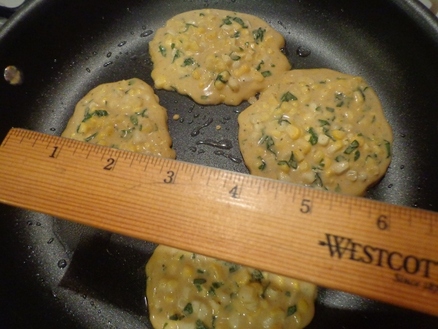
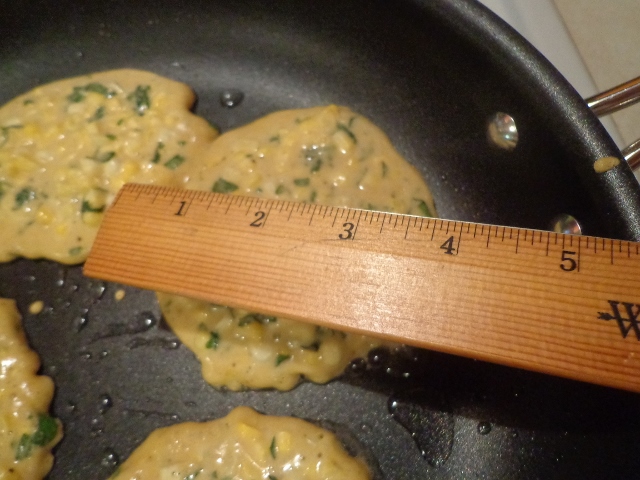
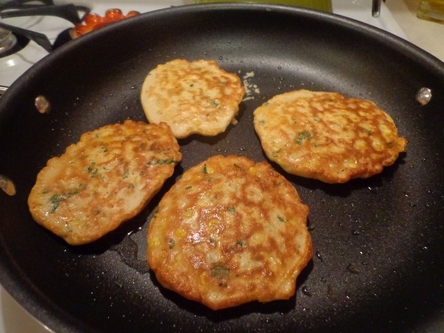
  8. Using a 3/4 cup measuring cup, scoop batter, and pour onto heated waffle iron. Cook until waffle is browned and crispy on the outside, about 5 minutes. Repeat for the second waffle. Once the waffles are done, place them on a plate and store inside the microwave or a warming drawer.
  9. For the white pepper gravy:
  10. In a small pan over medium-heat, melt the butter and whisk together with the flour for about 2 minutes. Add in the milk, salt, and pepper. Let simmer until thickened; about 5 minutes. Remove from heat.
  11. Assembly:
  12. Place a waffle on a serving plate. Top with chicken, then generously pour gravy on top of chicken and waffle. Repeat for the second waffle dish. Top with chopped scallions, if desired.
  13. Serve warm.

Now I found this recipe 
from the 
bakerbynature.com website.
Check her website out, especially under Dinner recipes, her dishes look great!!
The recipe is from a newly published cookbook called
​Dinner For Two

by Julie Wampler.
This is Julie's website: 
Dinnerfortwoblog.com​

I bookmarked Julie's blog, it looks awesome!!


​
We start with the chicken....
Picture

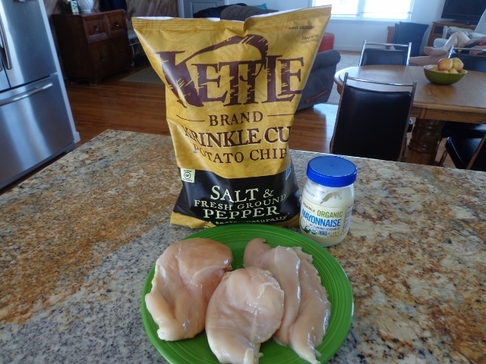
​There's only 3 ingredients to the chicken:

Boneless/skinless chicken breasts

Crushed Kettle Chips
​

Mayo


And now, for a very special love note to my sister-in-law:


Dear Kim,


USE MAYO!!!!


Love always,
Angie


​​We begin by crushing those potato chips!!


​
Picture
​

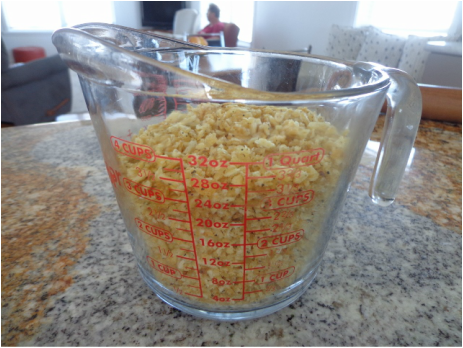
A large 13 oz. bag of potato chips crushed to a bit less than 4 cups.
​

Enough for 4 chicken breasts.


​
Picture
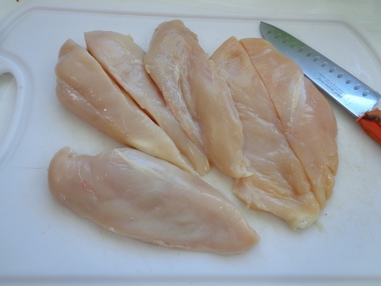
Slice the chicken breasts lengthwise.

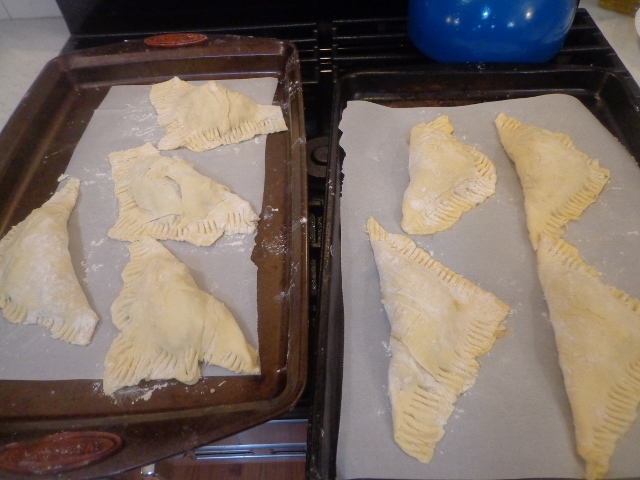
Again, note...I fourpled the recipe.

I mean, I used 4 whole chicken breasts instead of 1.

Fourple is a word.
​In the Pretend Word Dictionary.


​
Picture


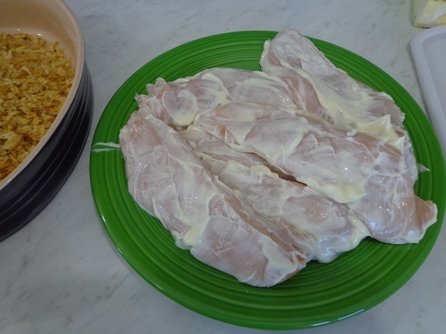
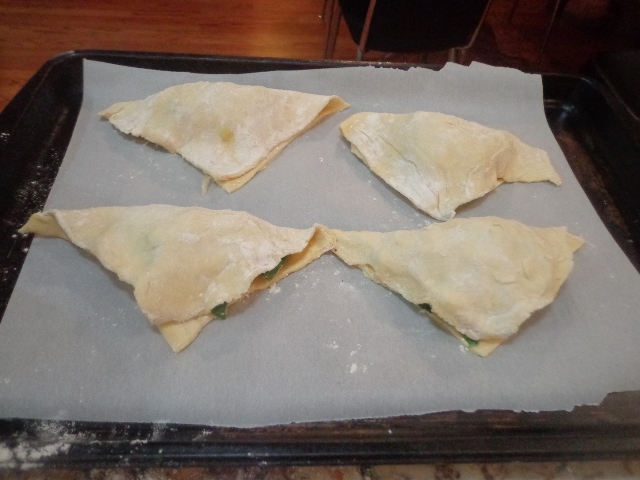
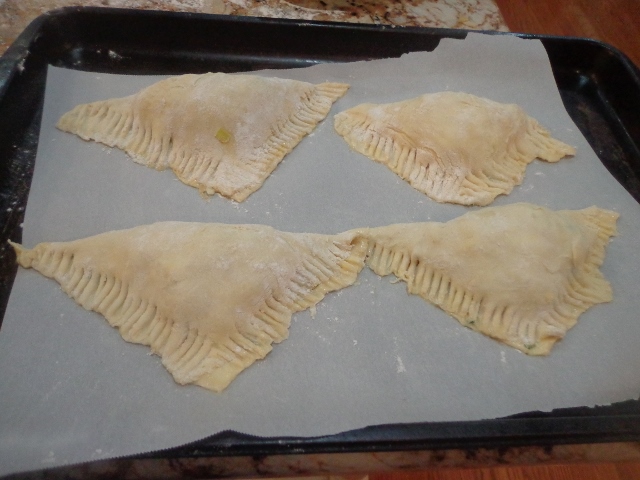
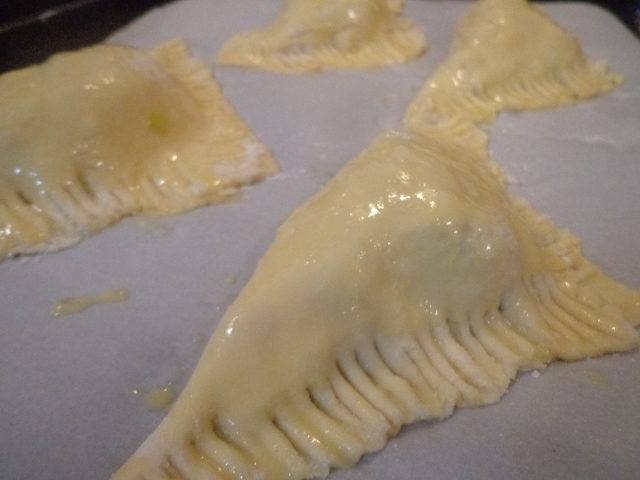
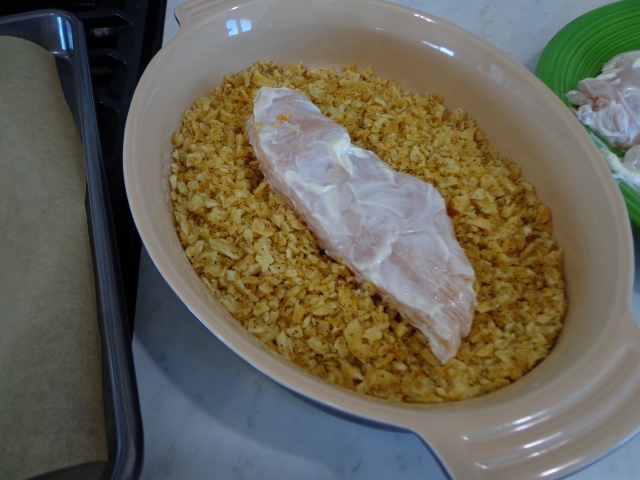
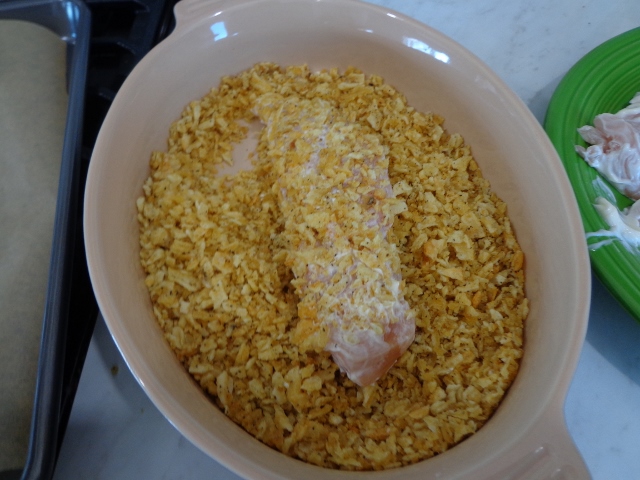
​Rub the chicken halves with mayo...


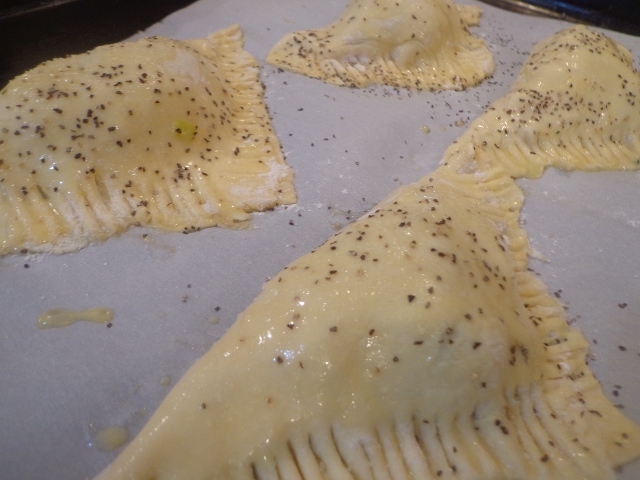
​And then coat the chicken halves into that crushed
​Salt & Pepper crushed Kettle chips.


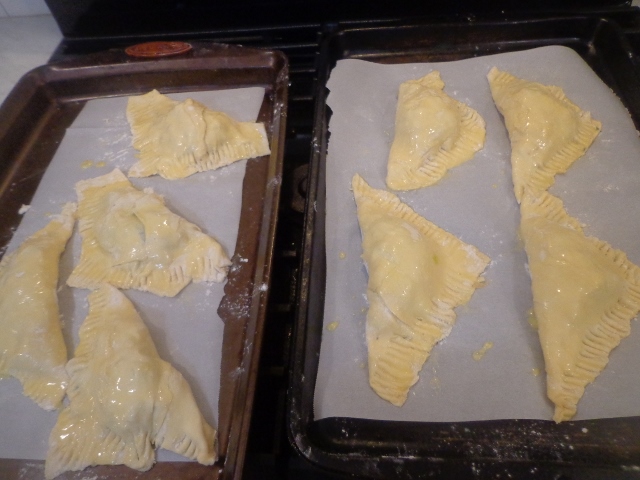
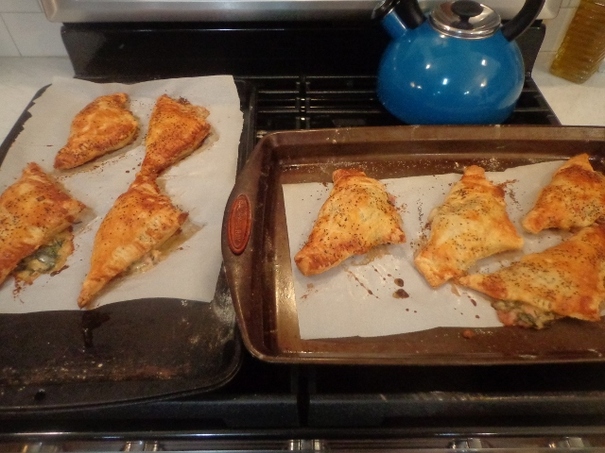
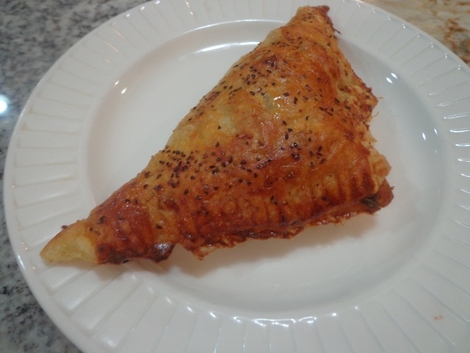
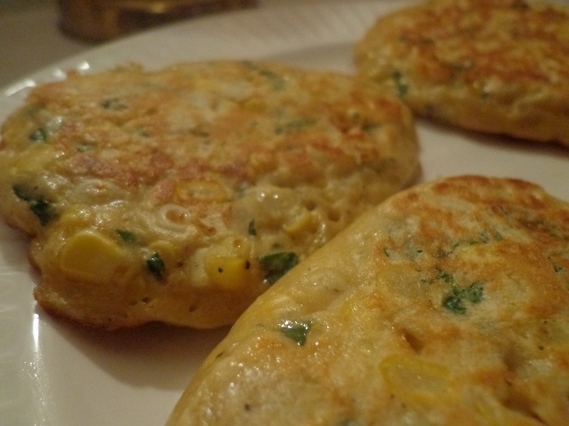
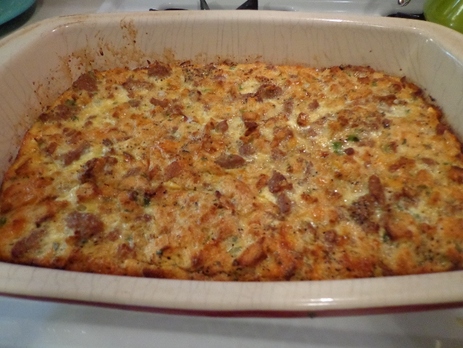
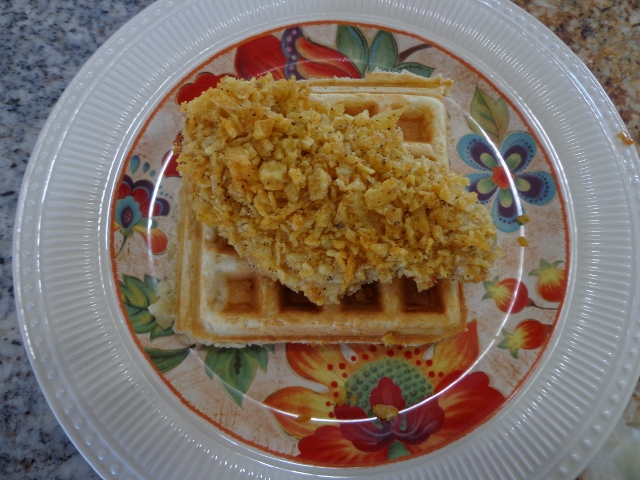
Bake at 400 degrees for 15-20 minutes...
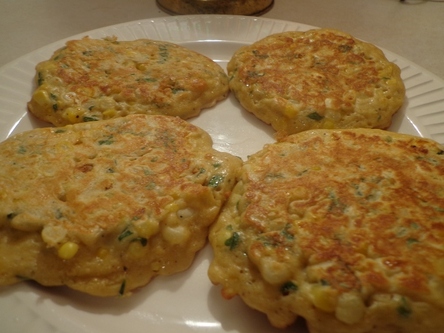
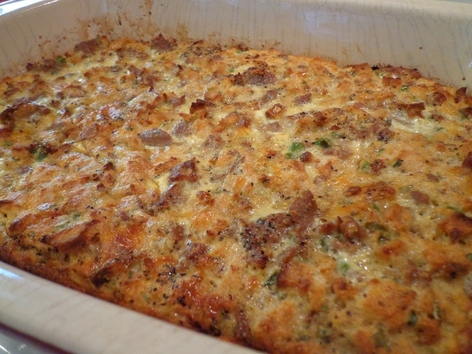
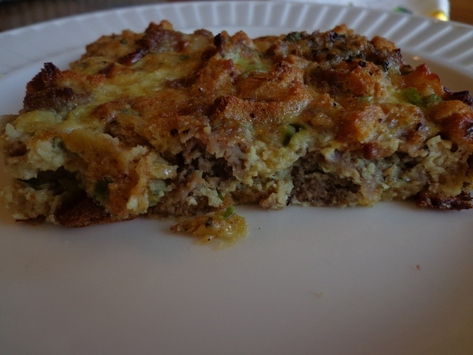
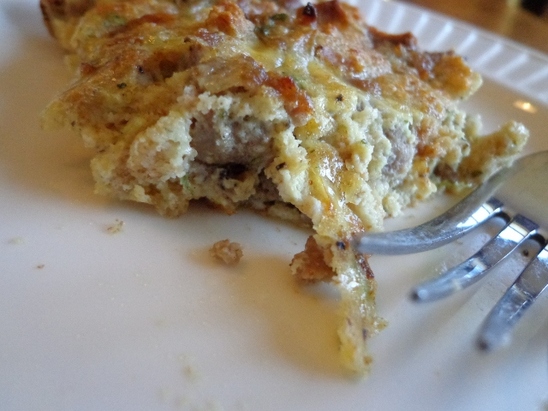
and the yummy chicken should come out looking like this...
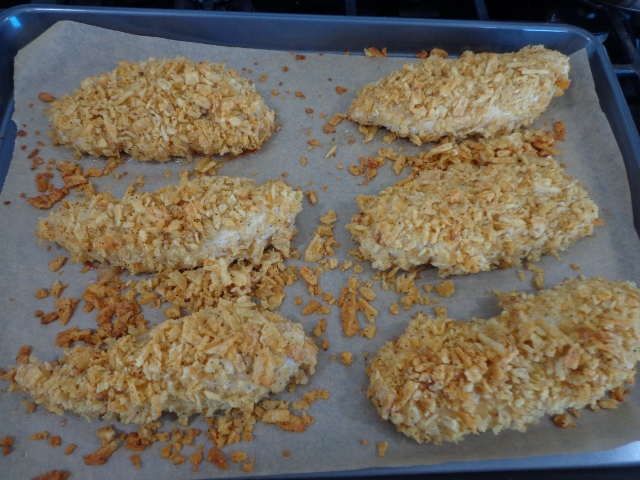
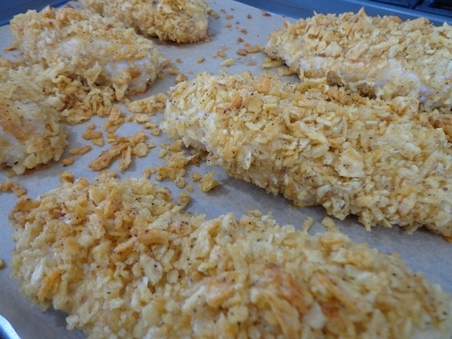
Picture


Picture

​Ahhh man,

can't you just taste that salty, peppery potato chip coating?


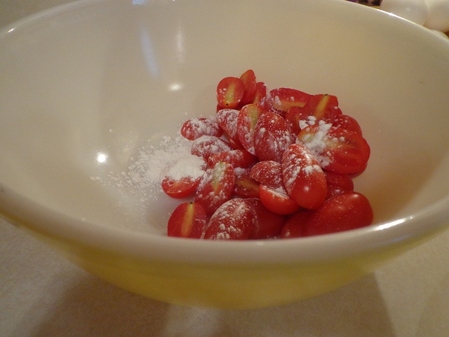
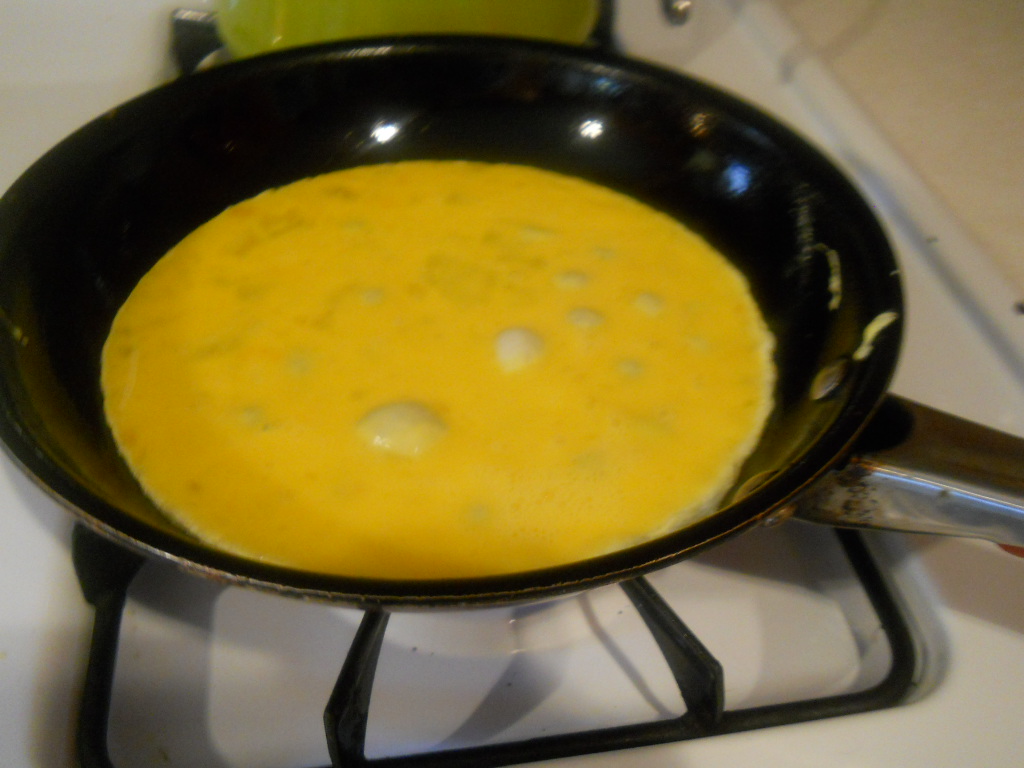
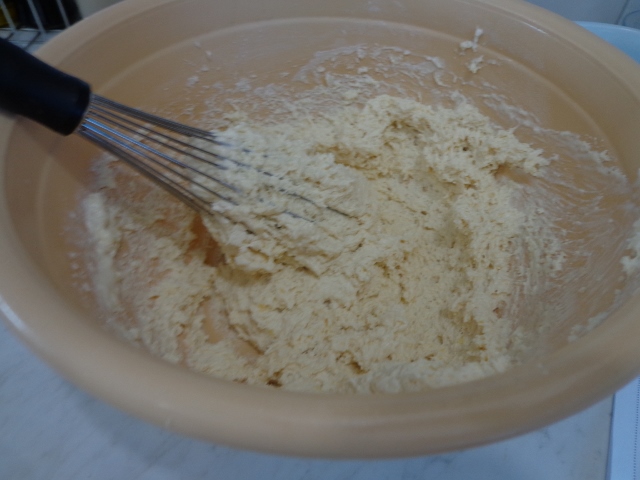
Okay, chicken is warming in the oven...let's get these buttermilk waffle ingredients pulled together.
Picture


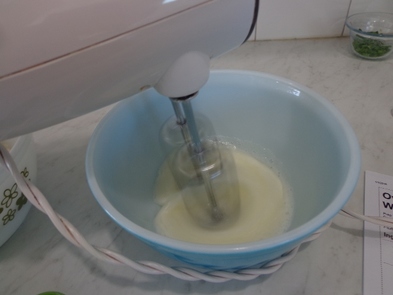
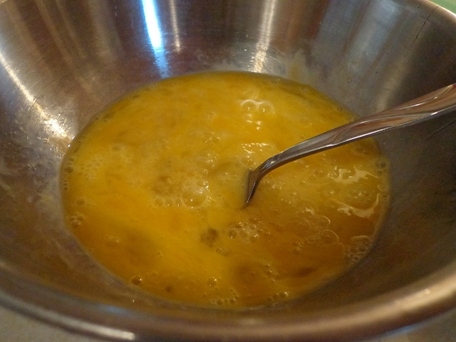
Whip the egg whites and sugar until soft peaks form.


​
Picture
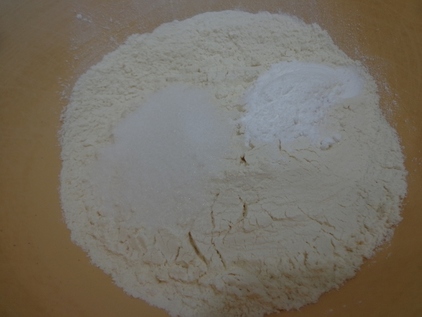
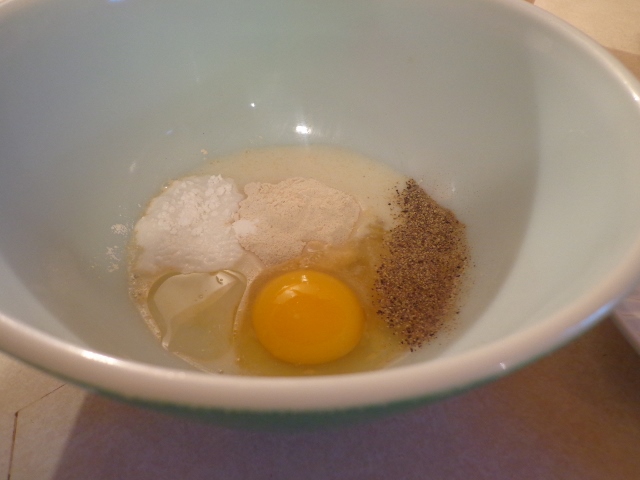
Whisk flour, sugar, baking soda & powder and salt.
​
Do you think my picture here would win me an award for
​Most Boring Picture Ever?


I think so.

Shut up.


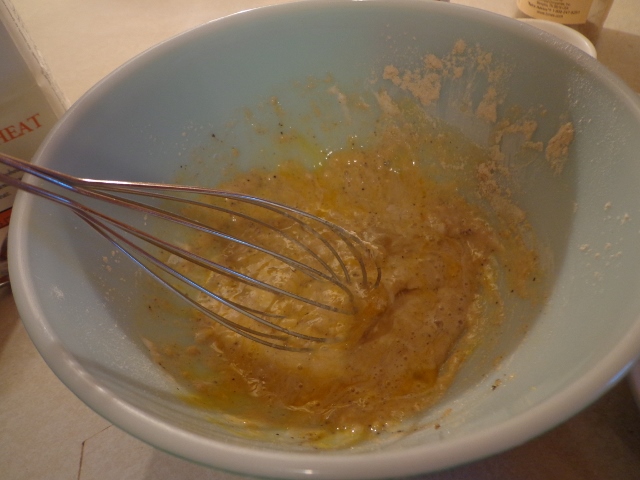
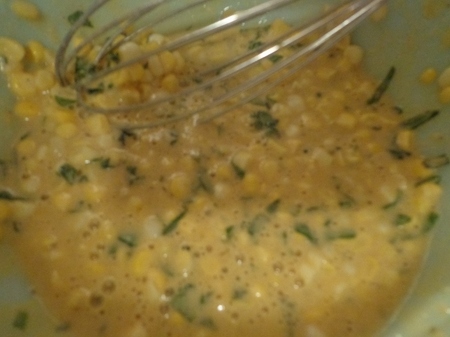
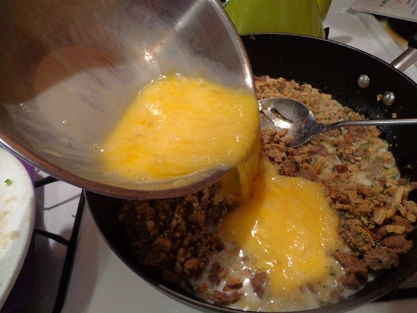
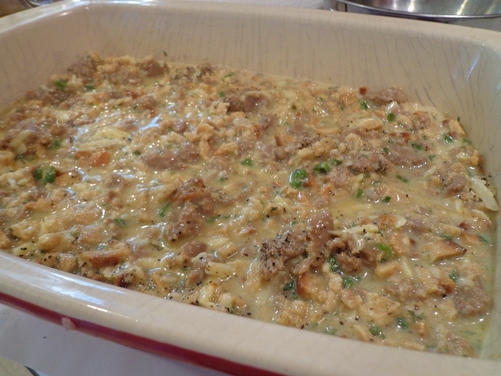
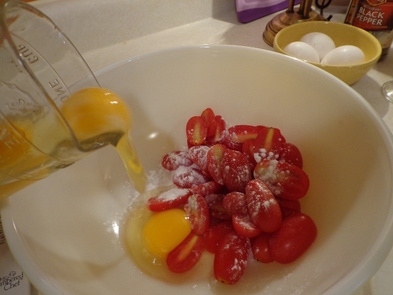
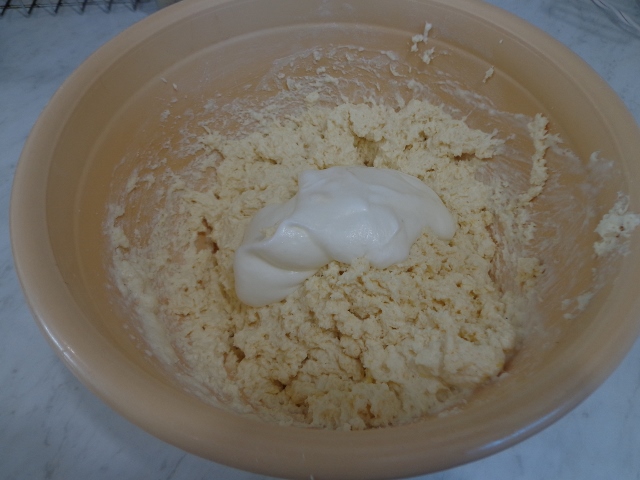
Anyhoo, make a "well" (FANCY COOKING WORD ALERT..."WELL") and throw the eggs and buttermilk in the...fancy "WELL"!


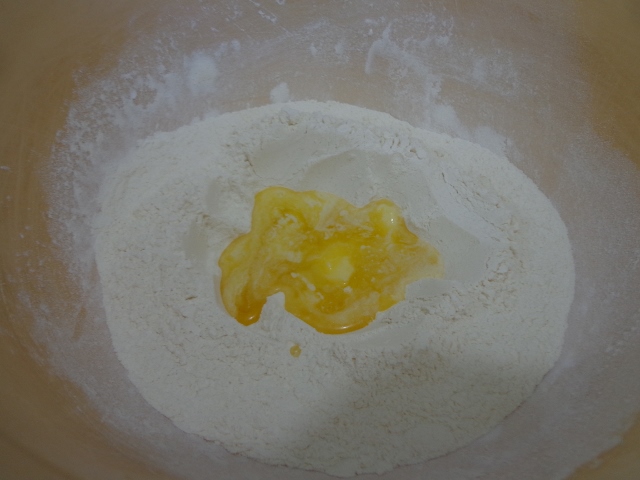
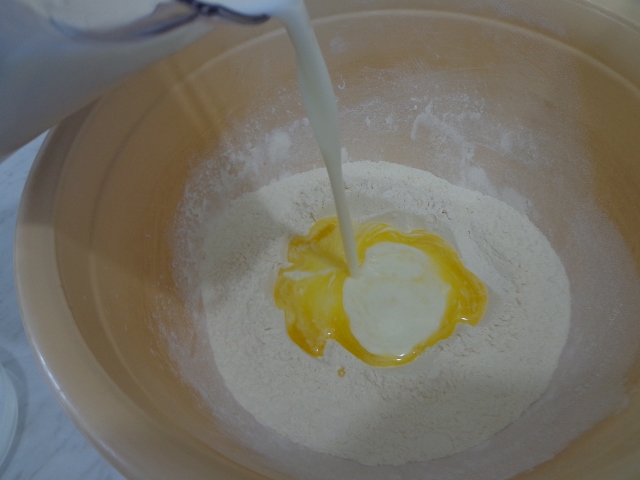
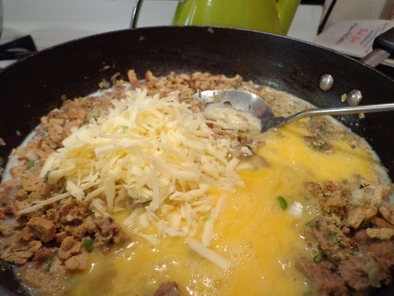
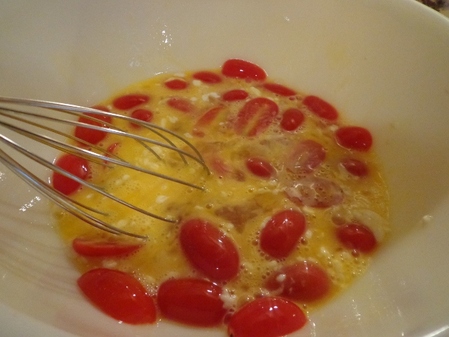
Whisk it all up and fold in the whipped egg whites...
​this will make the mixture all fluffy...


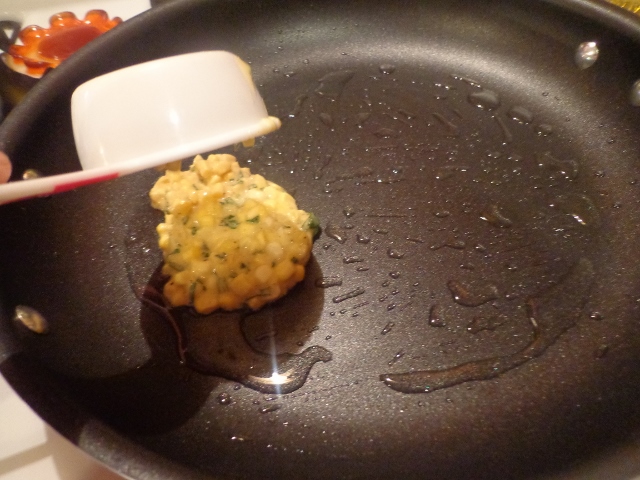
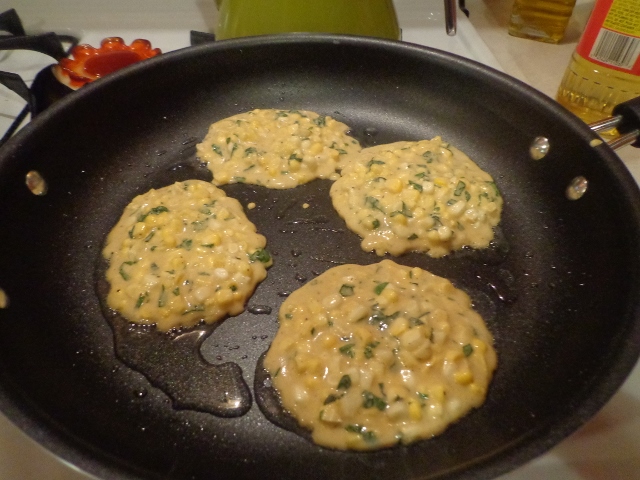
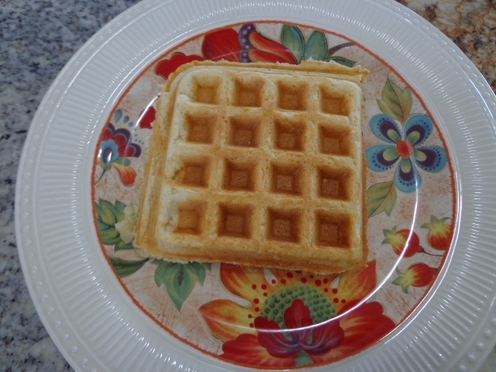
Throw the mixture in the waffle maker.
(By the way, if you don't have a waffle maker, my advice is to get a waffle maker or borrow one and forget to return it, you won't regret it.)
Picture


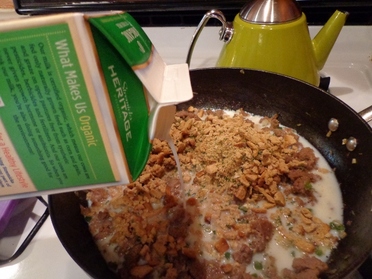
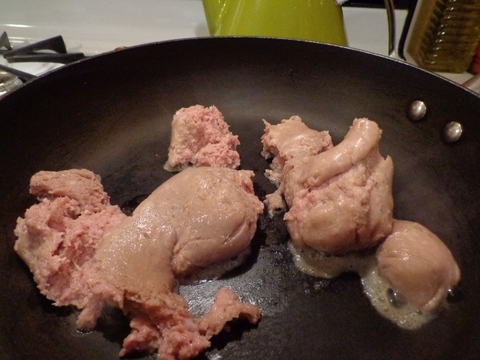
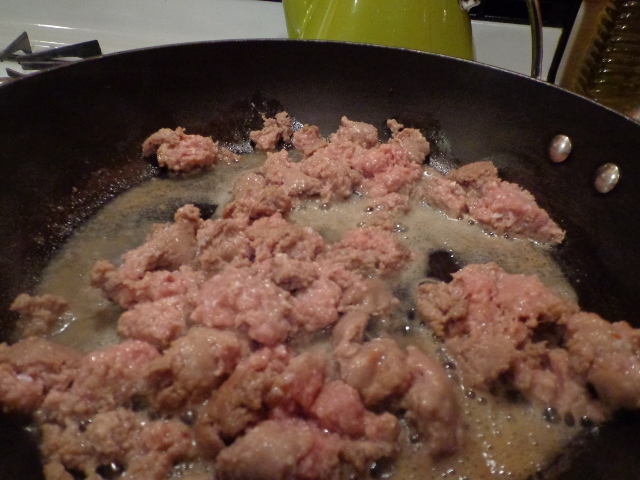
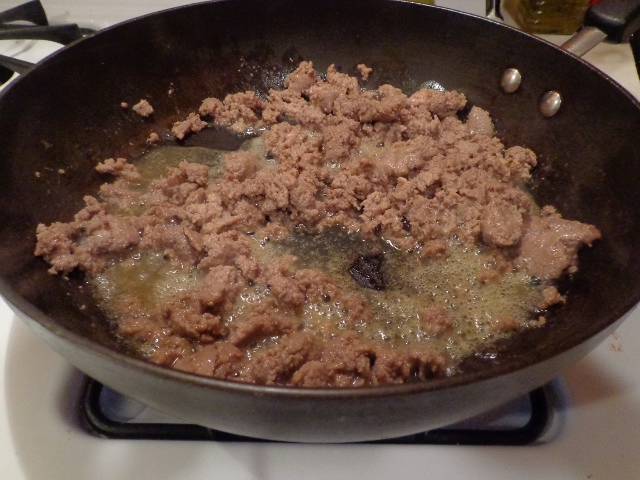
Now make up that peppered white gravy with butter,
flour,
​ milk, salt and pepper....
Picture

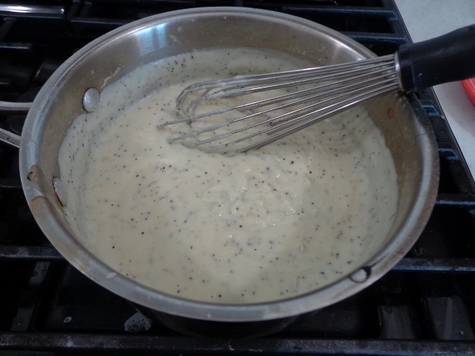
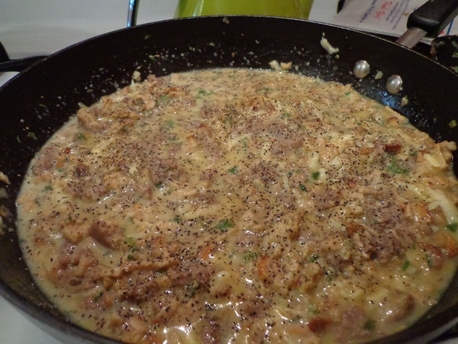
Whisk and cook until the gravy thickens...
yummy!!


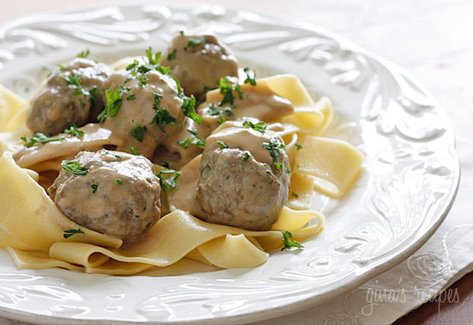
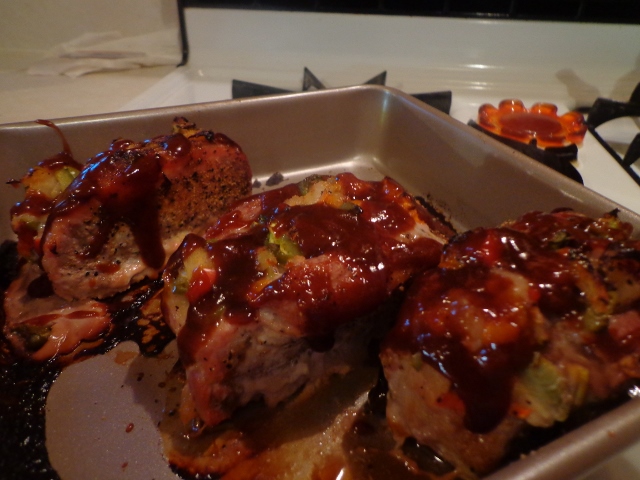
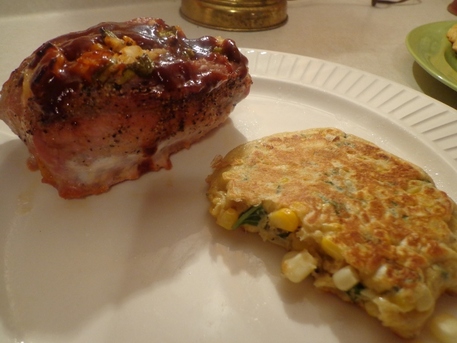
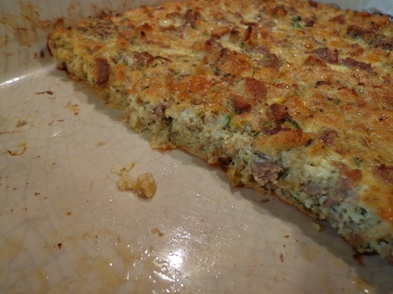
​FINALLY....NOW
let's build a Waffle with Oven-Fried Chicken and White Gravy!


Light Buttermilk Waffle
Picture


Plus Salty Crispy Coated Chicken
Picture


Topped with creamy
​White Peppered Gravy
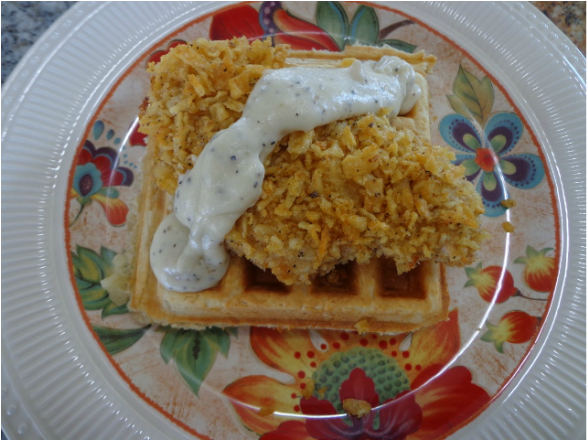
Picture


​Equals
​Complete Deliciousness!!!
Picture

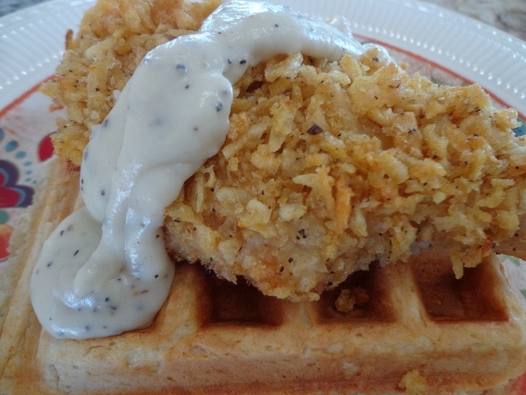
I'm telling you, this recipe is foolproof!!!
The salty chip coating on that juicy chicken breast, layered on a fluffy sweet waffle, topped with savory, tasty, finger lickin' good pepper gravy!!!

Foolproof!!!!!

I'm a complete fool and even *I* couldn't mess this up!!!!!!


​
​If you want to print the recipe, highlight, copy and print the recipe up above or click on bakerbynature.com and print the recipe from there.


​I hope you make this recipe sometime!!!
If you do, let me know how it came out!

Kids will LOVE this chicken with the potato chip crust!!


Picture
Okay, so anyway...
remember when I was talking about this bag of
potato chips
in my pantry earlier??


Well, I thought I would share pictures of my very,
very messy pantry with you.

I am clearly of the "Not Proud" folk of the world.
​More like the "Dis be me, no excuses, I yam what I yam" folk.
​

Do NOT proceed any further if you are a judgey person :)
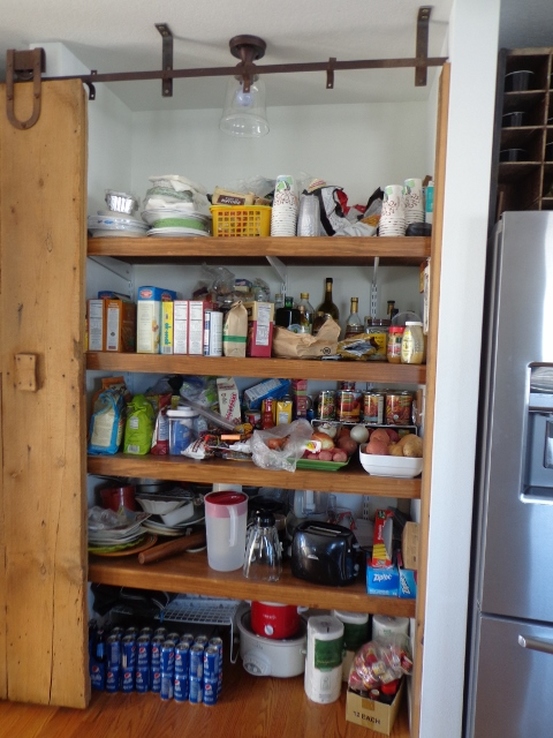


Picture

SHUT UP!!!!!!!
I told you it was messy!!!!!!!!!!!!!

​

​
Picture
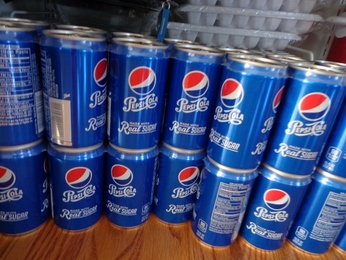
Anyhoo, let's start with the Pepsi with real sugar that I keep in the pantry.
These are "teeny" Pepsis as
​Tim says.
Small cans.
​It helps Tim to not drink so much pop.


​
Picture

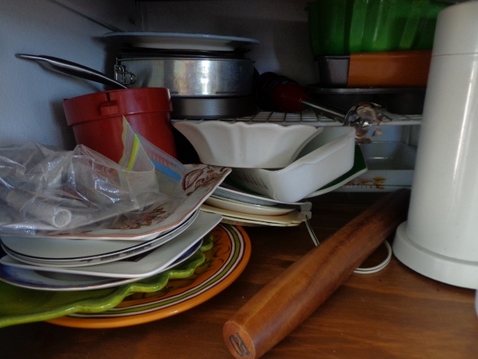
On the lower shelf are the extra dishes  used for this here food blog, neatly organized.

:)


​
Picture

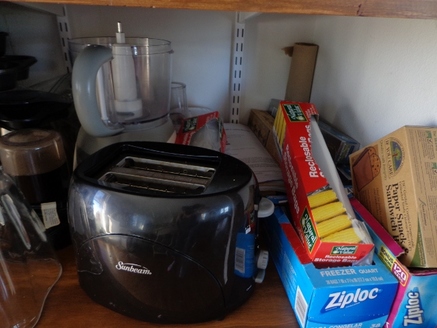
​The lower shelf also brings us a menagerie of freezer baggies, internet recipes, and kitchen appliances.


Picture

​
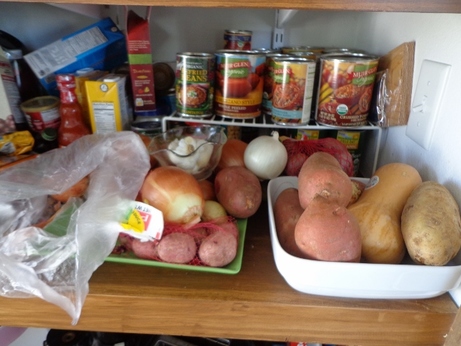
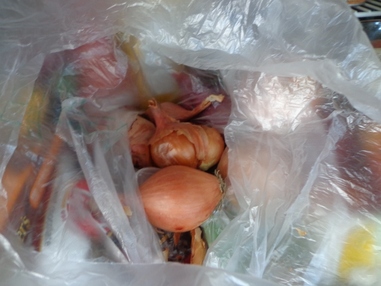
The middle shelf here is stuffed with onions, potatoes, and canned goods.


​
Picture
Hey!
I bought a boatload of shallots for Christmas and then decided not to make the recipe....

​Anyone need any shallots???


​
As you all know, I am not a baker.
I hate it.
​Makes me itchy scratchy like poison ivy. 

For some reason, baking ingredients takes up an inordinate amount of my pantry. 
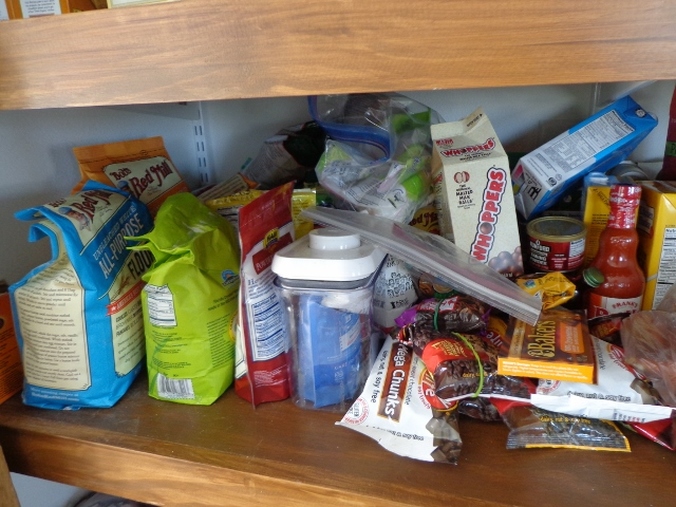
Picture
WAIT WAIT!!!!
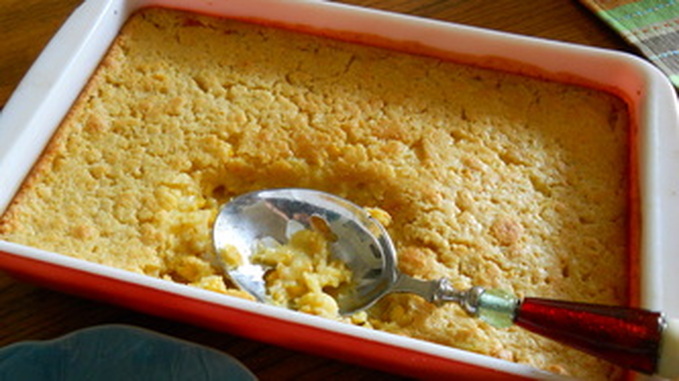
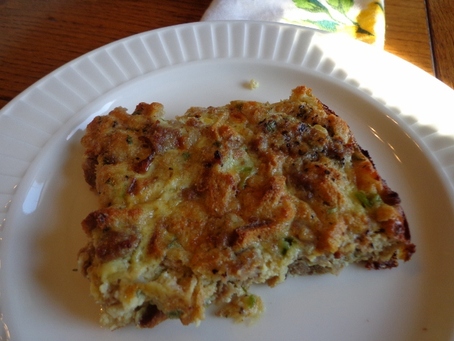
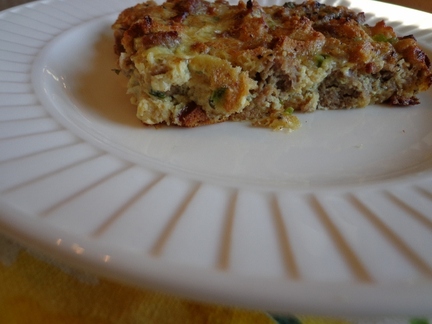
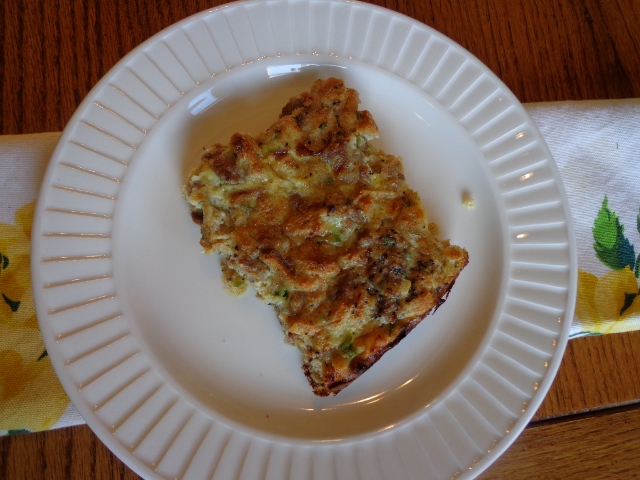
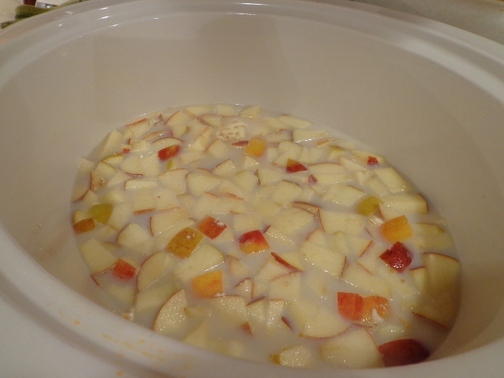
See the box of Whoppers up there??? I made a Chocolate cake with Whoppers at Christmastime! Here, let me find a picture.
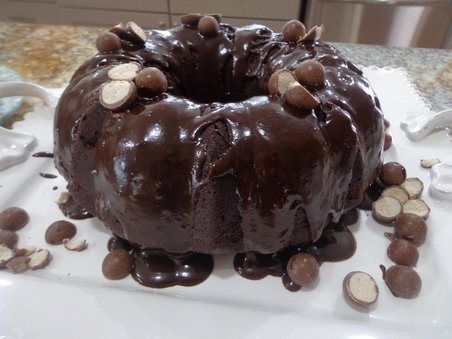
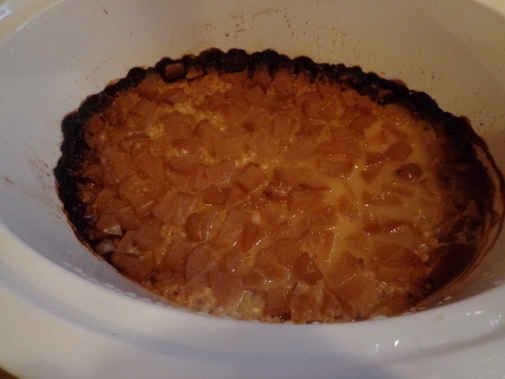


​

Picture
SEE!!!!
​I did it!!!
And I didn't even swear or threaten to throw the mixer out the back door!!!!

I lied. Of COURSE I swore and threatened to throw the mixer out the back door.
Duh.
​Do you even KNOW me?


​Let's move along to the other side of the middle shelf.
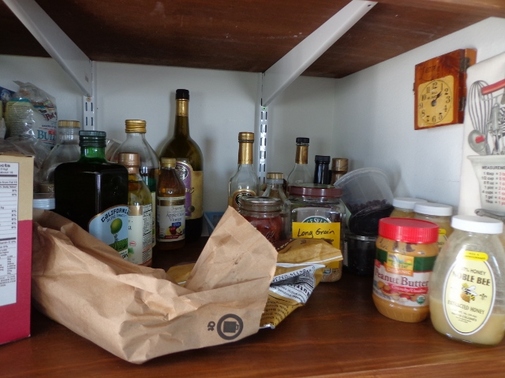
Picture

Vinegars,
oils, honey, raisins and a paper bag make up this space.

​Look up on the right hand side on the wall there....
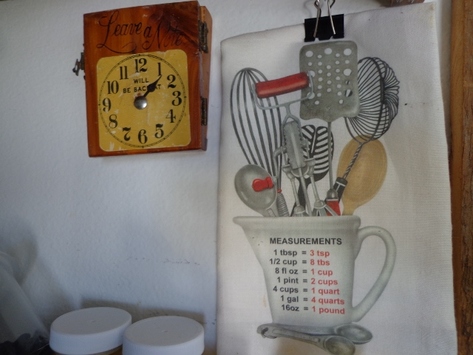


Picture

O
n the wall is this tea towel with measurements
and a vintage
Leave a Note box
with a broken

clock hand.

Let's see if someone left a note.....


​
Picture
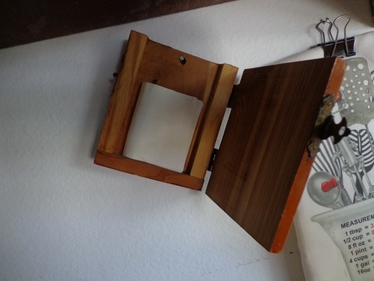
Oh look. Someone did.
It says:

Dear Angie,

You are more beautiful than any of the Charlie's Angels and Ginger from Gilligan's Island. 

Love,
Tim


​Heeeeeeeeeeeeeeeeeeeeeeeeeee.................
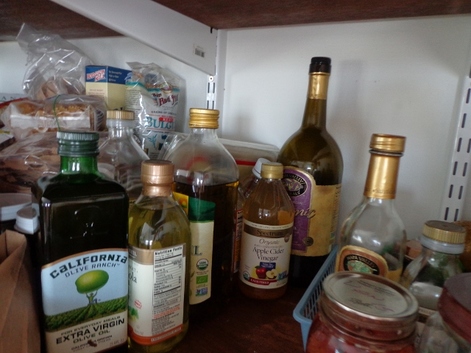
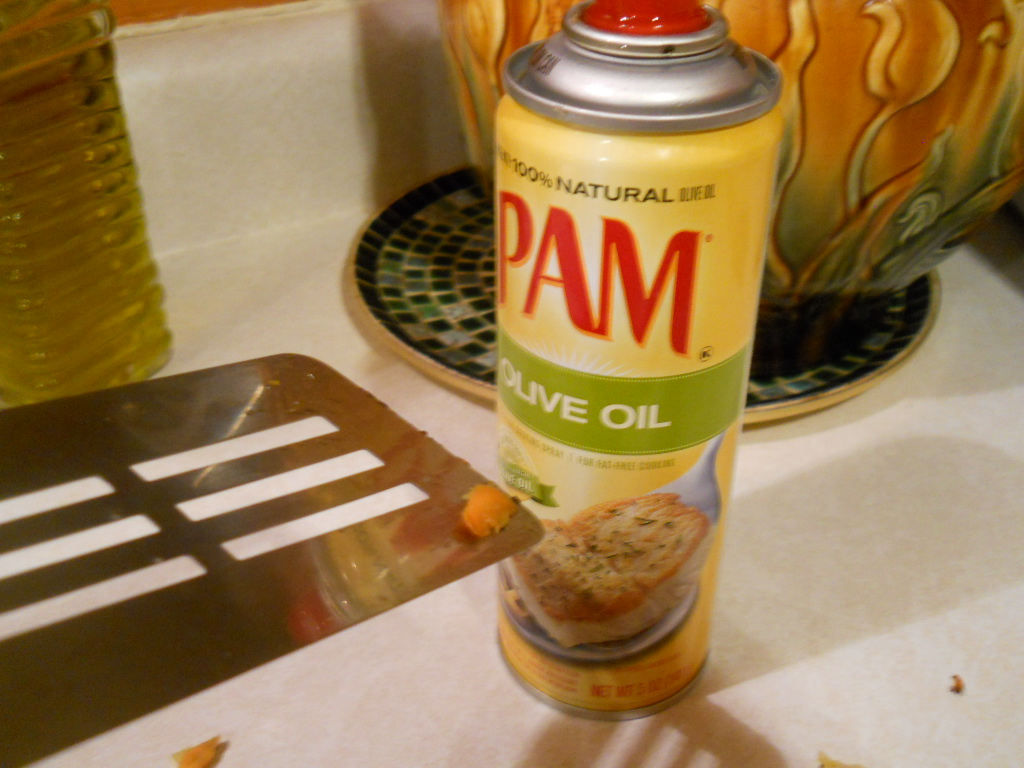


​
Picture
Anyhoo,
I kind of have a thing for olive oils.

I try to buy the best I can afford.

On sale of course.


​
Picture

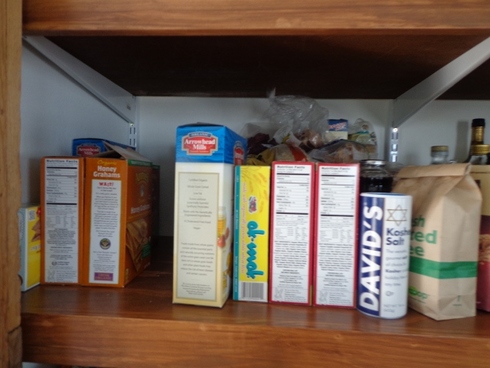
​The other side of that shelf is the cereal and crackers.

It actually looks reasonably organized. 

Huh.
What'dya know.
​Weird.


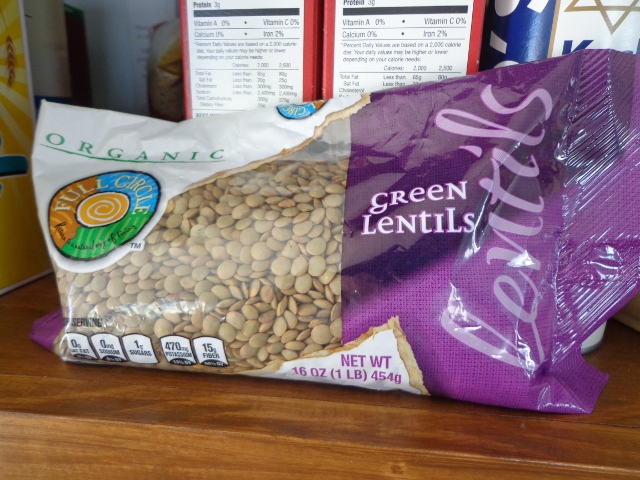
Oh. Retract what I said about reasonably organized.  In back of the cereals and crackers are a heap o' pasta and rice and such.
Picture


​I will say one of my resolutions is to actually cook up items like these more, instead of having the expiration date tick tock by and then all of sudden I'm like WHAT THE WHAT, HOW DID THIS EXPIRE FOUR YEARS AGO AND I DIDN'T EVEN KNOW IT!!!!!!


​
Picture

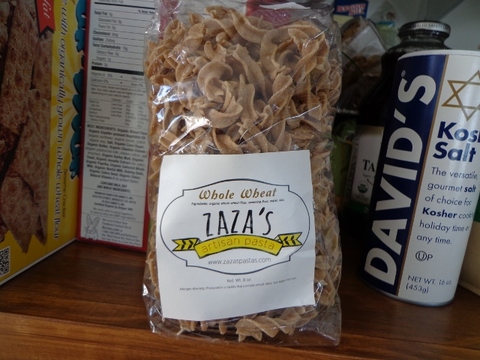
​I do love me the Zaza's Pasta and I keep stocked at all times!

Made right here in Iowa City,
​it is!


​


​
Picture
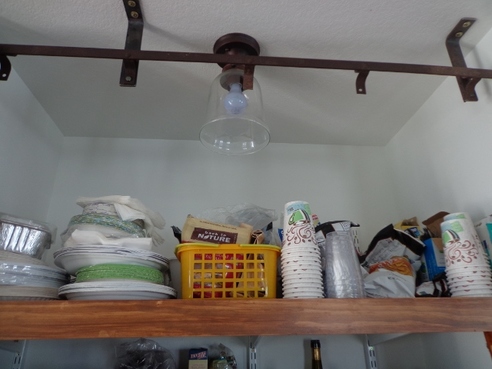
On the top shelf of the pantry is the paper products,

craptastically organized as you can see.


​
Picture

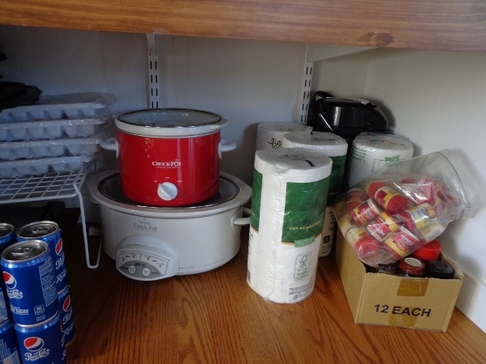
​And
on the floor is a menagerie of crockpots and paper towels....

Picture
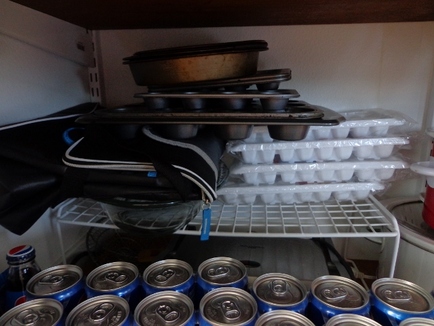
And the other side of the floor is bakeware and ice cube trays.

Ice cube trays.

Ice cube trays.

I have a fridge that makes ice cubes yet I feel the need to keep ice cube trays.

Ice cube trays.


Ice cube trays.

It's times like this I really have to wonder about myself.
Ice cube trays.
Four of them.
​In packaging still.
Good golly.​


​
Lastly, this is my sliding pantry door.
Straight outta the carriage stall of our 1870s barn.
​W
ashed it down before they installed it with a garden hose and Dawn dishwashing soap and called it guuuuud enough.
Picture


Picture
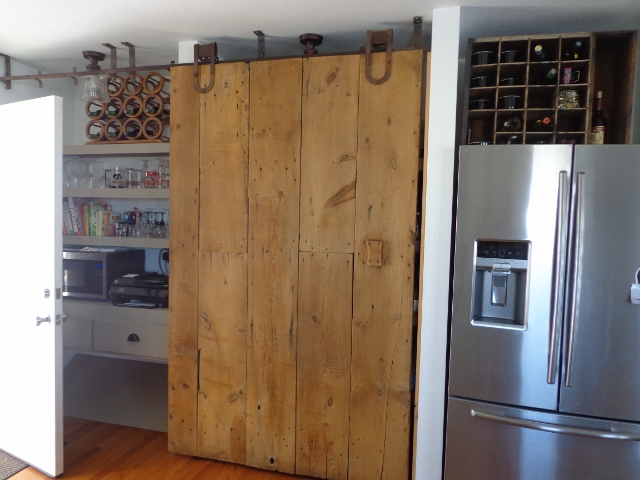
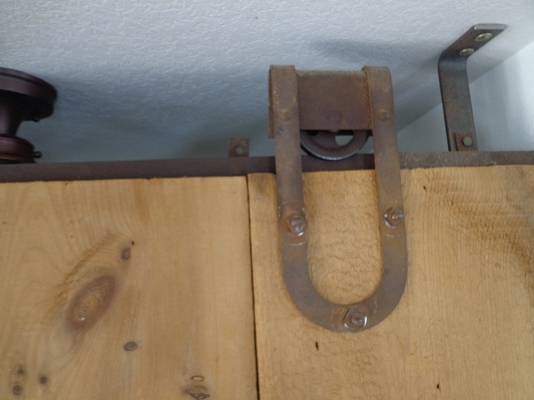
We kept  the original hardware and track. It sounds like a freight train when opened :)


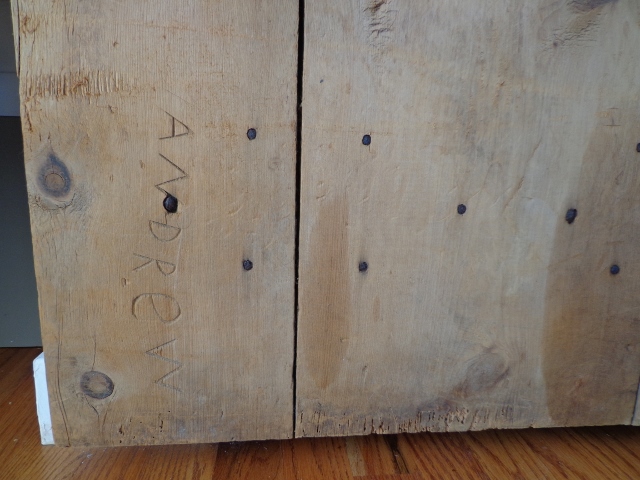
In fact, everything is original.....
Picture


​
Picture
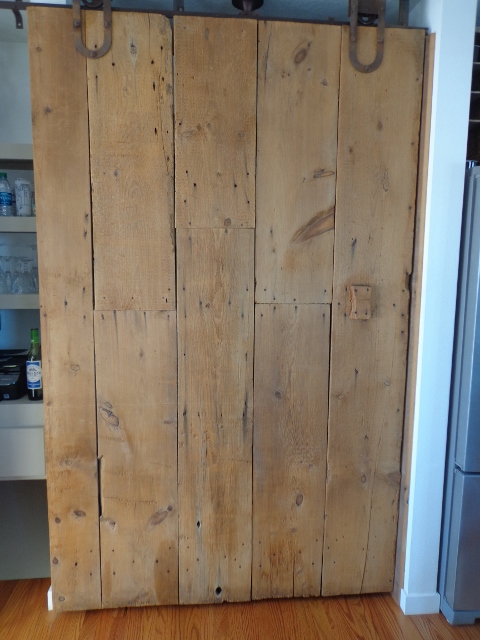
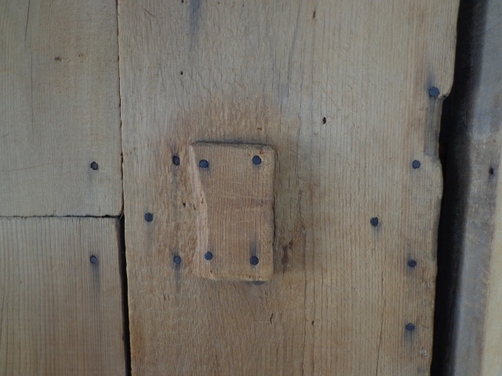
From the handle and the notch on the side...


To more notches and grease stains...
Picture


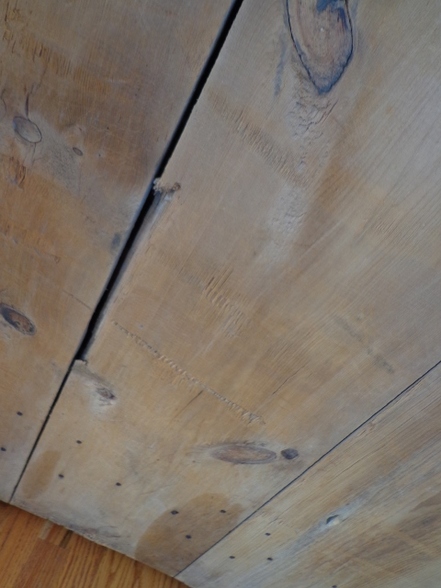
And all the imperfections...
Picture


​


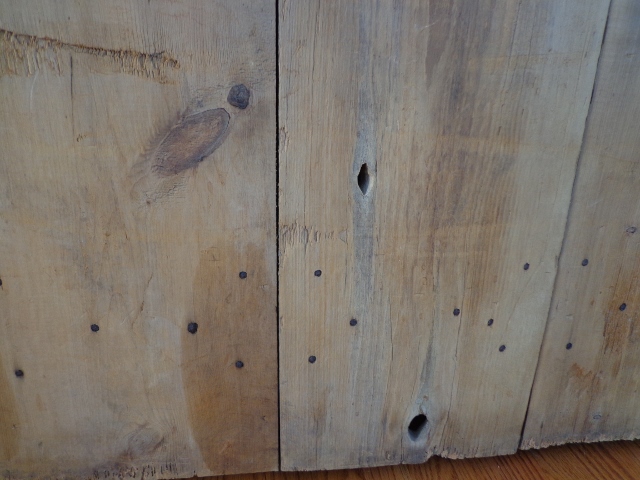
This door is absolutely perfect to us.
Picture


​
Okay kids, that's all I have for today!!!
Heck, it was enough,
wasn't it???!!!

​Next time, I'll thrill all y'all with my laundry room!!!
​

Picture
Dude, I'm kidding about the laundry room.

Seriously, seriously kidding.


​Happy New Year!!

Have a great weekend!
Hopefully it won't be another three months before I post again!  
Stay warm and we'll talk at ya soon!!


​

Ham & Leek Empanadas, Abundant Sunshine, and Dishes That Just Will Not Clean Themselves

1/18/2015


Empanadas have been around forever!

Picture

How come I've never had one before, then????
These babies are fantastic!!!

Picture

The filling can be 
sweet 
or 
savory. 


They're usually deep fried but can also baked.

This is a savory one with ham, leeks & 
Gruyere cheese.
These were baked. 
It's like a warm ham and cheese in a flaky croissant!!!!!


Picture


This Ham & Leek Emapanada recipe 

is from Ina Garten's 
new cookbook 
Make It Ahead.

Picture


Best part is, 

these lovelies cook in 
the oven,
 
NOT the deep fat fryer!

Ham & Leek Empanadas
Makes 12 empanadas 
Straight outta oprah.com from Ina Garten's new cookbook Make It Ahead - a Barefoot Contessa cookbook.
Ingredients

  • 1 1/2 Tbsp. unsalted butter
  • 1 1/2 cups small-diced leeks, white and light green parts only
  • 1/3 cup crème fraîche
  • 4 ounces smoked ham, such as Black Forest, cut into 1/4" dice
  • 4 ounces Gruyère cheese, grated
  • 2 ounces (2 cups) baby spinach, coarsely chopped
  • 2 Tbsp. julienned basil leaves
  • 1/2 cup grated Parmesan
  • 1 1/4 tsp. kosher salt
  • 1/2 tsp. ground black pepper, plus more for sprinkling
  • 1 large egg
  • 2 Tbsp. milk
  • All-purpose flour, for rolling
  • 3 sheets frozen puff pastry, defrosted (2 packages)
  • Fleur de sel or sea salt for sprinkling 

    Directions
    Active time: 40 minutes 
    Total time: 1 hour
     
    Preheat oven to 400°. Line 2 sheet pans with parchment paper. 

    In a medium (10") saute pan, melt butter over medium-low heat. Add leeks and sauté until tender but not browned, about 4 minutes. Stir in crème fraîche and simmer 1 minute. 

    In a medium bowl, mix ham and Gruyère. Add leek mixture, spinach, basil, Parmesan, salt, and black pepper. Mix and set aside. In a small bowl, whisk together egg and milk. 

    Sprinkle a cutting board with flour, roll out 1 sheet of the puff pastry to an 11" x 11" square, and cut into 4 equal squares. Brush edges of each square with egg wash. Place 1/3 cup of the ham and cheese filling in the center of each square. Fold each square diagonally to form a triangle, lining up edges of pastry. Place empanadas on prepared sheet pans and press edges with tines of a fork to seal. Brush each with egg wash and sprinkle with fleur de sel and pepper. Repeat with remaining pastry and filling. (If making ahead, put sheet pan in freezer; when frozen, transfer empanadas to a resealable plastic bag.) Bake until puffed and golden brown, 20 to 25 minutes. Allow to cool 5 minutes before serving.
Here's the direct link to oprah.com and Ina's fantastic recipe...click HERE.


Okay, let's get started with the fixins here...
Picture
By the way: 1 1/2 CUPS of leeks = 1 1/2 leeks. Figure a cup a leek. You're welcome :)


Also: The puff pastry is frozen. It really did thaw out on the counter in under 30 minutes. Weird.


Um, now a disclaimer...
Picture
Sour cream is a fine substitution for creme fraiche. Frankly, I'm leery of anything that sounds too fancy anyway :)


Okay, now prep everything...chop up the spinach, leeks, ham, basil. Grate up the parm and that yummy expensive Gruyere. Beat the eggs with milk and get the flour ready.
Picture


Melt the butter in the pan and throw the leeks in...


Throw creme la-de-da-DO-DA-DAY 
I mean the sour cream in there and stir.


Picture


Now take that yummy, salty diced ham and throw it into a bowl with the Gruyere cheese.
Picture
Hellllooooooo Gorgeous.


My life is complete.


Picture

Now throw the sauteed leeks 
and 
sour cream mixture in there...


We're really rockin' and rollin' now....
add the spinach, basil, parm, and salt & pepper into that lovely ham and Gruyere mixture!
Picture


Okay, now let's look at this lovely medley all mixed up.....


Picture
Dear Readers of My blog,

I forgot to take a picture of this colorful ham and cheese and spinach and basil and parm yummy medley all mixed up. Crap. I swear I didn't eat it. All. 

Love, Angie


So anyway, you need to roll the puff pastry dough
 out into an 11'' x 11" square.

When the pastry defrosts out of the package, it is 9" x 9.5". 

I measured. 
With a tape ruler.
Cuz I am a dork.


Just take flour and a rolling pin and do your thang...
easy peasy.
Picture


Divide that puff pastry into 4ths.
Picture


Line the baking sheets with parchment paper and get the egg wash mixture ready...


Okay, now brush the edges of each square with the egg wash...
Picture


Place 1/3 cup of the filling in the middle of each square.
Picture


Fold each square into a triangle...
Picture


Place the triangles onto the baking sheet...
Picture


Take a fork and crimp the edges...
this part was actually fun....cuz I am such a free wheelin' party animal who knows no boundaries of fun-ness and stuff. Duh. Shut up.
Picture


I admit, I only had two sheets of puff pastry so I threw all that ham mixture into 8 empanadas instead of 12.  I am a rebel.

Picture


Can you see the egg wash that goes on the outside there? Well, do it. Brush that egg wash all over.


Then season each empananada with 
salt and pepper.
Picture


So they're ready to go in the oven...
Picture


And here they are after 25 minutes...
now these look messy as a whole... 
Picture
Picture


But single each one out and they are loverly golden brown and perfectly baked!


Picture


Open one up and this is the deliciousness inside, the ooey gooey Gruyere with the diced ham, the small hint of mild onion with the sauteed leeks and the bite of the spinach, all in that flaky pastry crust.  
So good!!
Picture
Again I will say, it's almost like an artisanal ham and cheese croissant. 
Several flavors meld together and you will have people ask WHAT IS IN THESE THAT MAKE THEM SO GOOD?

Now these empanadas would be good for lunch because they're not super filling. They're definitely snack material and maybe even as a solo appetizer before a meal.


Okay, it's a bee-utiful day out here today, 
full of sunshine!!!!!  See that light in the right hand corner? That's called sunshine, something that is not common a lot 
in the winter here!!!
Picture


I love seeing the railing shadows on the deck from that awesome sun working it's magic!!
Picture


The snow is melting.......
too bad, so sad....NOT!!
Picture


Picture


The cats started to wake up out of their winter slumber too.


I'm planning on enjoying the day after I clean up this craptastic mess in the kitchen.  I abhor cleaning, especially the kitchen!!!  
Now I know you're thinking that don't look so bad, pffft.
Picture


Well, let's just piece this out, shall we???
Picture


A nice combo of 
dirty wine glasses from
 last night 
and 
coffee from this morning.


Picture


Next to that is more 
dirty glasses, 
cat treats, butter 
and a precariously placed plate.


Picture
FOR PETE'S SAKE, 
CAN NO ONE CLEAN UP AFTER THEMSELVES????


Oh wait, that was me.
:(


Picture
Next, 
onto the other counter is a cookie cooling rack that's been hanging out on the counters for a week.

I've been planning on making cookies but it just occurred to me while I'm typing this, that the cookies I'm going to be making
 
are no bake.


Picture


This just makes my blood boil.

I hate washing pans. I think I'm allergic to doing dishes.


Lastly, let's take inventory of the island:
Picture
1. Message pad
2. Store receipt 
(I always want to make sure I'm not being screwed out of being charged too much, ya know?)
3. More cat treats. Really? This is borderline embarrassing.
4. Italian seasoning.
5. Measuring tape. Doesn't EVERYONE have one of those on their countertop, though??
6. Earrings. Guess I can't blame those on Tim.
7. Towel and steak knife.


So I better close up the laptop now and go clean the kitchen.


BAHAHAHAHAHAHAHAHAHAHAHAHAHAHA


I'm gonna go peruse more pictures like this
Picture
Source?


And this gorgeousness
Picture
bhg.com


And a droll worthy kitchen all day long
Picture
Domain Home...Benji Madden's LA kitchen


And when I get tired of perusing pictures like this
Picture


THEN I will go dishes.

Promise!

Girl Scout honor (does that count even if you weren't a Girl Scout?)


Okay, have a good rest of the weekend and we'll talk at y'all soon!!!  :)


Corn & Basil Cakes, a day with Swedes and the ever popular Scalloped Corn Casserole Recipe

8/31/2013

 
Pancakes as a side dish??
WHAT THE WHAT??
Has the world gone craaaaazy??
Picture


You would not believe it, but these pancakes are a PERFECT side dish with barbequed chicken or steak!


Picture
These
Corn & Basil Cakes
are super easy too!!

One of the BEST things I've ever eaten!!!


But then again,
I am a starch girl.
Ahem.
What YOU lookin' at?


Picture


Little Boy Blue says,

"Please indulge my
super cool,
 young,
hip Grandma with these pancakes.
The sooner she can get this blog post written, the sooner she can put all her attention back where it belongs...
on ME! ME! ME!"


Cool, young-ish,
hip Grandma says,
"Look how big yittle tiny baby is getting! He's a toddler boy now!!"


(An aside...now this is where Angie's attention issues surface and she begins thinking about the Scalloped Corn Casserole
that people love so much....)
So speaking of yummy dishes made with corn...this Scalloped Corn Casserole
continues to be a favorite dish as well!
Picture
There's something special about this corn casserole.
I think it's the French onion dip.
This dish works well in small gatherings as well as big gatherings like
family reunions.
Here's the recipe for this super easy, yummy
Scalloped Corn Casserole.
People will ALWAYS request the recipe...I kid you not.
So here it is.......AGAIN! :)
Scalloped Corn Casserole
1 can Whole Kernel Corn, undrained
1 can Cream Style corn
1 box Jiffy Corn Muffin Mix
1 - 8 oz. container French Onion dip
1/2 stick butter, melted

Mix all together. Pour in baking dish.

Bake uncovered 1 hour at 350 degrees.
YUM!


Easy, eh!!!!

I brought this Scalloped Corn Casserole Dish to our family reunion this summer.


My Ma's side of the family is Swedish.

Swedes are known for, of course......
Pictureskinnytaste.com


Swedish Meatballs!!!

There were plenty of Swedish meatballs at the reunion.  YUM!

And because I am a total geography dork,
I will show you a map of Sweden....


Picture

Sweden

is a Scandinavian country nestled between Finland
and
Norway.


Sweden is home to the Oresund Bridge....the longest road and railway bridge in Europe!


Picture
The
Oresund Bridge
begins in Sweden
and
ends in another country....

Denmark!!


At one point, this bridge turns into an
UNDERWATER TUNNEL!!!


WHAT??


An agreement was signed in 1991 between
Sweden and Denmark for the construction of a bridge to connect the two countries over the Oresund Strait.
This bridge opened for travel in 2000.

Picture


Here's the beginning of the bridge coming FROM Sweden.
La-de-da...you're going across water to work in another another country for the day...Denmark.....cool!!!!...
5 miles of bridge over Swedish water....easy.
Picture


Picture


And then
BAM!!!


YOU'RE ON THIS ARTIFICIAL ISLAND IN THE MIDDLE OF THE WATER!!!!

WHAT THE WHAT??!!


Picture
And you START DRIVING through a  freaking underwater tunnel UNDER THE WATER!! for the next 2.5 miles to get to your destination - Denmark.


Picture
But wait!!!

Here's what the tunnel looks like....under the water!!

A bridge tunnel... underwater!

*Cue Angie's heart palpitations!!*
Okay,
if you're so inclined,
watch this 3 minute video that takes you under the tunnel to emerge on the other side.


Picture
And then BOOP!!
All of a sudden you're out of the tunnel.

And you're on a FREEWAY.
In DENMARK!!
After just exiting from THE UNDER-FREAKING WATER TUNNEL BRIDGE!!!

Crazy!!


Okay.
I need a minute to collect myself here.


Picture
Picture


Okay. I'm better now.

Thank goodness for unicorns.


Picture


Anyway,

did you know Sweden is the home to the
Nobel Peace Prize?


Picturenobelprize.org

Alfred Nobel 
c.1833 – 1896
was a
Swedish
chemist,

engineer,

innovator,

and armaments manufacturer.


Picturenobelpeaceprize.org
Nobel was the inventor of dyn-o-mite!

Nobel held 350 different patents, dynamite being the most famous.

 Alfred Nobel used his fortune AFTER HIS DEATH to create the Nobel Prize.
The Nobel Prize is a set of annual international awards bestowed in a number of categories by Scandinavian committees in recognition of:
cultural
and/or
scientific advances.


The will of Alfred Nobel established the prizes in 1895.

The prizes in
Physics, Chemistry,
Medicine, Literature,
and Peace
were first awarded in 1901.

The Peace Prize is awarded in Oslo, Norway,
while the other prizes are awarded in Stockholm, Sweden.
The Nobel Prize is widely regarded as the most prestigious award available in the fields of literature, medicine, physics, chemistry, peace, and economics.


Picturetime.com
It took Alfred Nobel several years to complete the drawing up of his will.

The final version, dated November 27, 1895 laid down that the bulk of his immense fortune should be reserved for a fund for the financing of
ANNUAL HONORARY AWARDS
to be made in the fields of physics, chemistry, medicine or physiology, literature and peace.

The contents of Alfred Nobel's will
only became known
AFTER his death.


This is Madame Marie Curie, my own personal hero.
Madame Curie was the first woman to win a Nobel Prize, the only woman to win in two fields, and the only person to win in multiple sciences.
Marie Curie rocked!!!!!!


But let's get to the
Corn and Basil Cakes...


They're like savory pancakes,
only they're a side dish!!
Picture

Corn and Basil Cakes
From EatingWell.com
Courtesy www.turnkeyqualitycars.com

Try these savory corn-and-basil pancakes as a side dish with barbecued chicken or grilled steak.
Yields: 5 servings, 2 cakes each

Ingredients
  • 1/2 cup(s) white whole-wheat flour (see Note) or all-purpose flour
  • 1/2 cup(s) low-fat milk
  • 2 large eggs
  • 2 tablespoon(s) canola oil, divided
  • 1/2 teaspoon(s) baking powder
  • 1/2 teaspoon(s) salt
  • 1/4 teaspoon(s) freshly ground pepper
  • 2 cup(s) fresh corn kernels (about 2 large ears; see Tip) or frozen
  • 1/2 cup(s) chopped fresh basil
Directions
  1. Whisk flour, milk, eggs, 1 tablespoon oil, baking powder, salt, and pepper in a medium bowl until smooth. Stir in corn and basil.
  2. Brush a large nonstick skillet lightly with some of the remaining 1 tablespoon oil; heat over medium heat until hot (but not smoking). Cook 4 cakes at a time, using about 1/4 cup batter for each, making them about 3 inches wide. Cook until the edges are dry, about 2 minutes. Flip and cook until golden brown on the other side, 1 to 3 minutes more. Repeat with the remaining oil and batter, making 10 cakes total. Reduce the heat as necessary to prevent burning.

    Note: White whole-wheat flour, made from a special variety of white wheat, is light in color and flavor but has the same nutritional properties as regular whole-wheat flour. It is available in large supermarkets and at natural-foods stores. Store it in the freezer.
Picture
Okay, so here's the fixins for this yummy
Corn & Basil Pancake recipe.
Easy ingredients!


Picture


And here's the WHITE WHOLE WHEAT FLOUR used in this recipe...apparently this is every bit as nutritious as regular
WHOLE WHEAT FLOUR!


Picture

Okay,

we start by removing the kernels off the cob.


Easy peasy pancake batter here...
just whisk the flour, milk, eggs, oil, baking powder, and salt and pepper.


Picture


Stir in the corn...


Picture


...and now the basil.


I used my new YIPPEE KI YAY non stick skillet!!
I Love Cuisinart products! I just can't afford a lot of them unless they're on YIPPEE KI YAY sale!!!
Anyway, oil up that yee haw pan and heat on medium!


Okay, scoop-a-loo some of the batter into the pan, four cakes at a time.


Picture


And because the recipe said to make the cakes 3 inches wide,

I took that literally.

I measured these THREE TIMES!!!   Who does that??


It's hard to be me.


Picture


Anyhoo,

flip these tasty babies over and cook for a few more minutes.


Picture


Remove these from the skillet and cook up the rest.

Now, I halved the recipe, and it made these four nice size cakes.


These savory cakes go great with barbeque,
so I cooked up these pepper and pineapple stuffed pork chops from the grocery. I used a nice rub on the chops. After cooking, I drizzled warm, sweet barbeque sauce over them.


I just knew these tasty Corn & Basil Cakes would be a complimentary side dish with those pork chops!
Picture

Look
at the yummy corn in there and the flecks of basil. The pepper added just the right amount of oomph.


Picture

I plated these two things up but clearly I chose to try out that cake before the proper picture was taken.

And it was delicious.

I would not hesitate making these for breakfast with some brown sugar covered bacon. Mmmmmmm.


The sweetness of the colored peppers, pineapple and barbeque sauce was magic with the texture and flavor of the pancake.
Picture

These cakes are seriously one of the best, most unexpected things I've ever eaten.

Don't look for a massive flavor punch in the cakes, it's more subtle.
Your first bite will be "oh they're okay" but then you find yourself not being able to stop.


And here's the printable version of these cakes...


Picture
IN CLOSING,

DID YOU REALLY THINK I WAS GONNA TALK ABOUT SWEDEN WITHOUT MENTIONING ABBA!!!


Really??!!


Picture


The 1990's Australian movie
Muriel's Wedding
heavily featured Abba songs.


Picture

And the musical Mama Mia was based on Abba songs!


This continues to be their most popular song...


Okay I'm gonna dance my queen-self back out to the kitchen and try to fix up something decent to eat.
I've been working from sun-up to sun-down the last few months, detailing super nice vehicles like these...
Picture
2005 Pontiac Grand Am Se * 111k Miles * SUPER SHARP!
Picture
2005 Chrysler Town & Country Touring * 125k Miles * STOW-N-GO!
Picture
2004 Chevy Impala LS * 111k Miles * LOADED!
Picture
2000 Chevy Monte Carlo LS * 116k Miles * LOADED!


Picture
And it's been HOT cause the sun has been out,
bearing down on my lovely farmers tanned legs that are hanging out of trunks and doors while I'm trying to reach that ONE ELUSIVE TINY, TINY, TINY, TINY PIECE OF CANDY WRAPPER so that each car is meticulous.


PHEW! That just tired me out reliving that :):)


Don't feel sorry for me though....


PictureActually I ended up finding $1.14 in this car. But alas, I did spend it all in one spot.
Cause I find money!!!!!!
In cars!!!

Bwwwahaha

hahahha!!!!!!

I'm rich! I'm rich!

Ima try to hold back and not spend it all in one spot though :):)

Every time I find change in cars, I proudly hold up the dime and two pennies and do a song and dance to Tim. It goes something like this:
"I found money and you didn't, falalalalala. Look at this money, you can't have it cause you didn't find it, falalalalala."
Sometimes, Tim's actually amused. Heeeee.

Okay, I think the heat got to me this week. :):):)
Take care guys and we'll talk at ya soon!!!

Two Things I Know For sure And One Of Them Is That You Will Want To Make This Super Easy Breakfast Casserole Cause It's SUPER EASY!

10/28/2012

 
I don't know much and I like to think I'm right all the time.
Just ask anyone who knows me.
No, seriously. It's true.
I'm okay with that though, even though being right all the time is SOOOO exhausting!
*wink wink*


Anyway, I do know two things for sure,
for certain,
indisputably a fact....
.


Number 1
Picture


I know that Little Boy Blue here.....


PictureI happy boy. I yuv kisses from Mom and Dad. My face gets schmushed sometimes.


...is loved by so many people so much!


And Number 2
Picture
That this breakfast casserole was super duper easy peasy!!!

So easy!

Can not even explain to you how easy it was.


Picture

And super tasty too!


This picture is dark, I'll show you another one but I was eating it.


Picture


See?!!! Sorry you have to see that I eat with a pitchfork apparently, but this
Easy Breakfast Casserole is light and tasty!


I believe it's the Stove Top Stuffing Mix that makes this dish so savory.
Here's the fixins for this savory, tasty, super easy
EASY BREAKFAST CASSEROLE.
Picture
See the Stove Top there, yup, tasty. Also I used Breakfast Turkey Sausage from Jennie O but the recipe calls for regular sausage...I think spicy Italian sausage would be good too.


Picture


Here's the other thing,

the original recipe does not call for onions and green peppers. I added those in per people's reviews.


Picture
So start this delicious breakfast dish by cooking the sausage or ground turkey with the onions and green peppers.


Picture


Meanwhile, whisk up the eggs a little.


Now if this wasn't all easy enough,
see how fast the next part goes!
Picture


Once the meat is cooked,

throw the Stove Top stuffing in....

Picture


add the milk....

Picture


now the eggs....

Picture


Throw in the cheese....

Picture


Now add some salt and pepper and you're done!


Picture
Now the hardest part of this whole recipe
is if your doggie lays on your feet the whole time while you're cooking.

Not BY your feet mind you, but ON your feet.
Just sayin'.


Picture


Anyway,

pour the mixture into a greased baking dish and pop it in the oven for about 45 minutes.


Picture


And like magic, this super duper easy peasy dish is done!!!!!


Picture


And ready to be dug into.


Picture


Kids and adults will be scooping their piece out quicker than quick and going back for seconds and thirds.


Picture
I asked Tim and the kids why they liked this so much and one said they liked the stove top stuffing it it. 

One said the meat was flavorful.

And the third person said, "It's good. I'm going back for fourths."
And she did.


Okay, Ima definitely make this again.
This fed 4 people who had seconds and thirds cause it was so tasty. For more than 6 people, you will want to double the recipe.
Picture


Okay, so here's the recipe....
CLICK HERE to go the Food.com recipe page...just remember I used turkey breakfast sausage instead of ham and I added 1/2 cup onion and 1/2 cup green pepper per reviewer suggestions!


See, as you all know, the beauty of making super simple, super easy recipes with little cleanup
Picture
is that you get to spend more time doing fun things like taking
Little Boy Blue to the Children's Museum!


Picture


Where he got to play....


Picture


And clap!

Picture


And show his Grandpa how much he loves the piano!


Okay, that's all I have for today!
I gave 'er all she's got.
No I didn't. I just thought I would say that. :):):)
Hope everyone's enjoying the weekend, take care

and
we'll talk at ya soon!!!

Country Quiche And Boy This Is Yummy And Easy!!

9/3/2012

 
This Country Quiche is Yummy and
oh so Easy!!!!!
Picture


Care for a piece with your coffee?
Picture


Picture

So few ingredients for this extra yummy dish appropriately called Country Quiche.


OH!!!!!! Quick Note here!!
This recipe makes two pie shell quiches or one heaping deep dish. If you have a small family, just halve this recipe.
Country Quiche
Trisha Yearwood’s recipe from her Cookbook and Food Network show
Courtesy www.turnkeyqualitycars.com

Ingredients
    1 pound ground pork sausage with sage
    1 teaspoon baking powder
    20 grape tomatoes, sliced in half and sprinkled with salt
    6 large eggs
    10 ounces sharp Cheddar cheese, grated (about 2 1/2 cups)
    Salt and pepper
    Two 9-inch unbaked frozen pie shells (set them out to thaw while preparing the other ingredients)

Directions
Preheat the oven to 350 degrees F.

In a large skillet, cook the sausage until browned and cooked through, about 10 minutes. Then remove with a slotted spoon and reserve.

In a large mixing bowl, whisk the baking powder, tomatoes and eggs together. Add the cooked sausage and the cheese to the egg mixture and stir together with a large spoon. Add salt and pepper and divide the mixture between both unbaked pie shells. Bake until the filling is set, about 30 minutes. Serve warm or at room temperature.

Cook's Notes: To lighten up this quiche, use turkey sausage and egg substitute.


Okay, so this is gonna be quick and easy so pay attention or you'll miss SOMETHING exciting I'm sure!
Picture

Slice the grape tomatoes in half and salt them up.


Picture


Throw the turkey sausage in the pan.

By the way, the recipe calls for sausage with sage,


but I used a healthier turkey sausage.
Gobble Gobble.


Cook until browned...


Picture
Meanwhile mix the baking powder in with the grape tomatoes.

Picture


Throw in the eggs...

Picture


And whisk it all up!.

Picture


Add the cooked sausage.

Picture

And all that yummy cheese!

Picture


Mix 'er up good!


Pour the mixture into the pie shells...Now, I must confess, I only used one pie shell and it was a deep dish pie shell. Otherwise you would use two normal pie shells.
Oh, also I had to cook the deep dish a bit longer than normal.
Picture


And 30 minutes later,

you have a perfectly baked quiche.

Picture


Pull out a slice....

Picture


And plate it up!

Picture


By the way, these grape tomatoes explode in your mouth, huge, warm  tomatoey goodness!

Picture


And that turkey sausage is so tasty and fantastic!

Little Boy Blue's parents were here Saturday morning and BOTH of them AND Tim AND I LOVED this quiche.
I think everyone was shocked this simple quiche was so tasty and filling!!


Picture
In fact, this quiche was so easy to put together,
Little Boy Blue played on the kitchen floor the whole time and never.
got.
bored.


Picture


Course it helped that his very young, hip Grandma put magnets down low on the fridge to keep him occupied,


and the baby acted like he was playing with things he shouldn't the whole time.

Picture


"I have no idea where the other magnets went Grandma....

but if you look underneath the fridge, you may find all of them."


Okay, that's all I got for this Labor Day Monday folks! 

Have a good day off and if you're working today, let's hope it's an easy, quick day :)
OH! I made some baby back ribs that were to die for but they were so gooey rich, it should be saved for just special occasions! Oh my.

HAVE A GOOD DAY!
Talk at ya soon!

Slow Cooker No-Peel Steel Cut Oats and a Tornado...Fun Times at the Homestead

8/4/2012

 
Seriously.
Really.
No lie.
This is where I should be right now.

Picture
At a candlelight port tasting at a bed and breakfast in Hermann, Mo...
our favorite place in the Midwest!
Picture


But instead I am here.

On my couch.


With my doggie.

Picture


And a laptop.


And a beverage.


Picture

Cuz a tornado or straight line winds came through two hours into our little weekend getaway.

But we gotaway right back to the property :)
and started cleaning up with help from some wonderful neighbors and friends.

So that's why I'm doing up a post here instead of eating chocolate and sipping port, BUT I've been wanting to share this recipe so that's good!!!! Yum!!!
Picture
Slow Cooker No-Peel Apples and Steel-Cut Oats...it's the easiest thing ever to make in the universe for a make-ahead, healthy breakfast. It takes like 10 minutes max to put together.
And that includes five minutes of trying to locate and pull out the slow cooker.

By the way, the photos are blurry in the right hand corner because I dropped my camera INTO the oatmeal and didn't clean the lens off good enough. Yeah. Genius is what I am.

Picture

This healthy, tasty breakfast dish plates up nice, the texture is like a dense bread pudding,

and the taste is nice and warming no matter the temps that day.


This recipe is from one of my favorite food websites www.reluctantentertainer.com.

Slow Cooker No-Peel Apples and Steel-Cut Oats
From the www.ReluctantEntertainer.com website…her site is fantastic, check it out!
Courtesy www.turnkeyqualitycars.com

Summary: Cook overnight and wake up to hot breakfast ready to serve!

Ingredients
2 apples, un-peeled, cored, cut into 1/2-inch pieces (2-3 cups chopped)
3 cups milk
3 cups water
2 cup uncooked steel-cut oats
1/4 cup brown sugar
4 tablespoons butter, cut into 5-6 pieces
1 teaspoon vanilla
1/2 teaspoon salt
Walnuts (serve on top after cooked)

Instructions
Spray inside of a large slow cooker with cooking spray. Add all ingredients (except walnuts) to slow cooker. Stir, cover, and cook on LOW for 7 hours.

Serve oatmeal in bowls; add walnuts. You can also add raisins, any other fresh fruit or dried fruit, other nuts or maple syrup.

Store leftovers in refrigerator. Freeze in individual servings if desired.

To reheat single servings: Put 1-cup cooked oatmeal in microwave-proof bowl. Add 1/3 cup fat-free milk. Microwave on high for 1 minute; stir. Continue cooking for another minute, or until hot.

Preparation time: 10 minute(s)
Cooking time: 7 hour(s)
Number of servings (yield): 6

Picture
Don't blink or you'll miss how fast this comes together!

These are the fixins...

Do not use regular oatmeal...buy the steel cut oats!

Picture


Cut up the apples and throw them in the slow cooker.

OH!!!

Be sure to spray the inside of the slow cooker first with cooking spray.

Spray, spray spray away!!

Add the milk and water into the apples....
Picture


Add in the steel cut oats and brown sugar....

Picture


...and the vanilla.

Picture

And this is what it looks like all together.

  Now put on the lid and go to bed.


Picture


Seven hours later, lift the lid off and believe it or not,


this is what the breakfast looks like.

Picture


Take a scoop out....

Picture
This smells so delicious in the crock pot...

look how dense all this liquid got overnight with the oats!

I was taking this close-up crock pot picture when I accidentally dropped my camera into the oatmeal.
Crap!


Picture


Anyway, top with walnuts and dig in!


Picture

The apples,  vanilla and brown sugar give this dish depth and flavor.

It's fantastic with a glass of milk or hot steaming cup of coffee.

And so easy to make too!


So that's about it for the steel cut oats...yummy!!

Next recipe I share is gonna be a yummy rib-eye recipe from the Taste of Home Grilling Magazine. Yum too!

Okay, have a great rest of the weekend    kiddos.
Talk at ya soon!

Sweet Potato Hash With Bacon

6/5/2012


Okay.


Who's hungry now???!!!
Picture
Sweet Potato Hash With Bacon...
a yummy breakfast dish!
The kids were back this weekend and they LOVED it!

SO EASY TO MAKE!
5 ingredients! 


LOOKY LOO....
Sweet Potato Hash With Bacon
Gourmet/October 2007
www.epicurious.com
Ian Knauer
Courtesy of www.turnkeyqualitycars.com

Ingredients
    1/2 pound sliced bacon, cut into 1/4-inch strips
    2 medium onions, chopped
    1 large red bell pepper, cut into thin strips
    2 pound sweet potatoes, peeled and cut into 1/2-inch cubes
    1 teaspoon chopped fresh thyme

Preparation
Cook bacon in a 12-inch nonstick skillet over medium heat until crisp. Transfer to paper towels, reserving fat in skillet.

Add onions, bell pepper, 1/2 teaspoon salt, and 1/2 teaspoon pepper to skillet and cook, stirring occasionally, until vegetables are softened. Stir in potatoes and 1/2 teaspoon salt and cook, covered, stirring occasionally, until potatoes are tender and starting to brown, 10 to 14 minutes. Stir in thyme, bacon, and salt and pepper to taste.


Picture
Okay,
so here are the fixins for this savory AND sweet breakfast casserole.

Not a lot of ingredients, eh?

Picture
Let's start by peeling and chopping the sweet potatoes into cubes.

Picture
By the way, isn't this vintage FireKing tulip bowl cool???
These bowls came in a set of three or four, I forget.

I only have this size, but I think it's the largest size of the set.

Picture
So anyhoo,

cut up your red peppers and onions.

Picture
Fry up my boyfriend Bacon.

Hi Bacon, you sexy little........porker you.


Picture
Drain my boyfriend on paper towels.

By the way, don't be concerned, Tim is aware of my affair with Bacon. I informed him in this post; he was pretty broken up about it as you can read.


Leave the bacon grease in the pan (really, why throw out all that low fat, healthy goodness??) and throw in the red peppers and onions and a little salt and pepper....


Stir the vegetables occasionally, until softened.
By the way, this begins to create a very enticing aroma in the kitchen.
Beware, your kids will start coming in the kitchen and bugging you and asking when it will be done.
Even if your kids are 22 and 28.


Stir in the sweet potatoes and cook, covered, until potatoes are tender and just starting to brown...about 10-14 minutes.


Picture


Then add your thyme and salt and pepper..


Picture


********** BRING ON THE BACON!!!
************

Picture


And voila!

You're ready to plate up this terrific breakfast dish!

Yeah Baby!!!!
Picture


Picture
I don't want your food Grandma, I want that shiny metal thing you keep sticking in my face.
And a Big Yeah to this baby too!!!Except  this yittle baby is still a yittle too small for the savoriness of this dish.
No Little Boy Blue, you can not have my bacony, red pepper, sweet potatoey goodness.


This dish was a tad addictive.
The flavors of the red peppers and sweet potatoes brought the sweetness. And the bacon, thyme and onions brought on the savory.
Picture
Picture


I plated mine up with an egg and it was delicious.

Well, I hope you make this recipe sometime. Five ingredients is all!
And so tasty!


Picture
Even Little Chunkmeister here hopes everyone will make this dish too.

He also hopes one day his Grandma will give him that shiny metal camera thing so he can gnaw on it.

For now though, he's content humoring his momma by letting her love on him.


Hey everybody, have a great Tuesday! 
Another beautiful Iowa day huh!!!
Talk at ya soon!!!

Vegetarian Thai Breakfast Spring Rolls

5/7/2012


We had some activity at the Ponderosa

this weekend.

Picture
First, I made Vegetarian Thai Breakfast Spring Rolls.

THAT'S RIGHT, Me! Can you believe it????

I DID!!!

ME!!

ANGIE!!
Your old savings and loan pal. (Know what movie that's from?)

ME ME ME ME ME!!!

But we'll get to the Thai Rolls in a minute

cuz we just know a disaster was

in the makin' with those things.


Other activity around the Ponderosa this weekend included these yellow butterflies that were all a-buzzin' on these purple plants...
Picture


Picture

Meanwhile,

Sweetness 

arrived from
 
Providence,

RI..

YAY!!! 
HI SWEETNESS! WE MISSED YOU!!!


She immediately picked up yittle tiny babeee
Little Boy Blue
and put her nephew in a trance like state for ten minutes with her warmth and smile and sweet words of love.


Picture


But then he

broke the

trance and

started eating

his feet. 


Okay, since the kids were all back and they all eat healthy, (whateeeevah) I decided to make 

Vegetarian Thai Breakfast Spring Rolls

for Sunday morning breakfast.

Now I've never made anything like this in my life.
Picture


Do you know what Spring Roll Wrappers are?


Well if you do not...then let me give you some advice.


Do not put all 25 paper-thin, rice

Spring Roll Wrappers in hot water to

soften them like this.
Picture
Picture


Cuz


they

 
turn out
 

like this!

Gooped up and all stuck together!!!!!!!

Picture


When they
 
should turn
 
out like this.

Each individual piece a piece unto it's own.


Not gooped up or stuck together with the other 24 wrappers. 


Picture

See, cuz if you soak them like how I did intitally, you will have to throw away $4.99 of gunked up, stuck together Spring Roll Wrappers!
And then you'll have to go out and buy another package and try it again only the
correct way!

CRAP!
CRAP!
CRAP!

Picture


So here's the fixins for the Vegetarian Thai Breakfast Spring Rolls.


Oh! See that bag of rice over on the right hand side there?

Picture


I actually made sure to buy Chines rice from the Asian aisle.


Okay, here's the recipe....the printable version of this recipe is at the end of this post...


Vegetarian Thai Breakfast Spring Rolls
Unable to locate the credit for this recipe
Courtesy of
www.turnkeyqualitycars.com
Servings: approximately 20-25
Serving Size: 2-3 per person

Ingredients:
1 Package of Spring Roll Wrappers
1/2 cup bean sprouts
3 large eggs beaten
1/3 head of Napa cabbage, chopped
5 scallions, chopped
1 cup thin noodles, pre-cooked (use rice, Chinese or bean thread noodles)
1/4 cup fresh herbs (use cilantro, basil or mint, your choice)
1/4 cup carrots, grated or julienned
1 tbsp lime juice
1 tbsp soy sauce
1/2 tsp fresh ginger, grated (optional)
½ tsp red chili flakes

Preparation:
Place a non-stick skillet over low heat and pour beaten eggs along with a tablespoon or water or milk. Stir eggs until they begin to scramble. Remove eggs from heat and let cool slightly. Toss together all ingredients including eggs together except wrappers in large bowl. Submerge wrappers in hot water until pliable, about 15 seconds. Place about 2 tablespoons of mix on wrapper and wrap. Combine lime juice, soy sauce, ginger and chili flakes to make a dipping sauce and enjoy!

Note: If your guests don’t eat eggs you can substitute firm tofu in a small dice.

Picture

Okay
 
chop up
 
all your
 
vegetables.

Oh, and that cabbage in back chopped up? That is SUPPOSED to be Napa cabbage, which is a cross between lettuce and cabbage.

Picture


Yup, guess who didn't read the recipe right and just threw a good old regular head of cabbage in the cart?

BUT, it was okay...just made the spring rolls a bit more crunchier is all.


So put all your chopped veggies in a bowl.


Picture

And mix 'er all up!
Picture


So now beat up your three eggs and scramble them.

Remove from pan and let cool a bit.

Mix yer eggs in with the veggies and then soak an INDIVIDUAL wrapper in hot water for fifteen seconds.

So set your pliable rice wrapper on a plate.
Spoon two tablespoons of filling and then roll up.
Picture


The first roll I
 
did was the
 
best.

Picture


It went downhill from there in terms of aesthetic quality


but I did manage to get a bunch of rolls made, probably
18-20 in all.

Picture


OH! the dipping sauce is the lime juice, soy sauce and fresh ginger (be sure to use FRESH ginger) and red pepper flakes.

Picture


So plate the Vegetarian Thai Breakfast Spring Rolls up.

Picture
Picture


Okay, this isn't the greatest picture at all of the inside but it does give you a somewhat idea of the healthy yumminess.

I asked the kids what they thought of the Spring Rolls:

Sweetness said she liked the eggs in them, they were fresh and crispy, and yet not too flavorful for first thing in the morning. She also liked that the rolls weren't packed full of mainly rice. 

Her sister, Goodness, was feeling less descriptive and said she "really liked them", "they're good" and I should have made more dipping sauce.


So I would definitely make these again.
The dipping sauce was a nice compliment to the vegetables.
I would definitely use napa cabbage next time as recommended instead of regular cabbage. If I did use regular cabbage again, I would probably use the red cabbage for more color.

Okay, so that's all for now.


Hey, just curious...have you guys been doing a lot of this
 
too????
Picture
Cuz I haven't but Stud Muffin has. :):):)

 Can you believe how fast the grass is growing and how much hay is being left behind??!!

Okay, catch ya on the

flip-flop.

Whatever that means.

But I think it's good :)

Have a great Monday!!!!!

Se ya soon!!


OH! Almost forgot, here's the printable recipe...

A Vegetable Pancake By Any Other Name Is Still A Vegetable Pancake

3/21/2012

 
Oh my goodness, it's been for--evah
since I last posted.

It seems like just yesterday when I wrote about that yummy

Chicken Salad on a croissant.   But it was over eleven days ago!!!!
In that eleven days, I think I cooked one new dish;
these Vegetable Pancakes.

They don't look like pancakes though, do they?
Picture


Picture


Because this is what they are supposed to look like, according to the cookbook.

See, those are called patties over to the left there...or pancakes...either way...they are flat disks that are solid.

My Vegetable Pancakes don't look flat.
Or solid for that matter.

I must say though, my Vegetable Pancake misadventure is not the reason I haven't blogged in close to two weeks.


Because in fact,


we had our own little pancake boy stay a few days with us....


Little Boy Blue,

Come Blow Your Horn!!!
Picture


Picture


The sheep's In the meadow (although the sheep looks oddly like a beagle),


The cow's in the corn.


But where is the Little Boy tending the sheep?
Picture
Picture


He's under the haystack...


Picture


Fast asleep.


Okay, onto the Vegetable Pancakes....
Picture
This Vegetable Pancake recipe is so simple and really makes a very tasty, super healthy side dish.
It seems as if this is a breakfast dish, but Tim paired it with a grilled chicken breast last night. I paired it with turkey sausage links.

This recipe comes from a  cookbook I just picked up for a few bucks called Glycemic Index Cookbook. I don't know what glycemic means but Ima look it up soon. I just loved the simple, healthy recipes inside.


Picture


Git yer

grater out

cuz yer

gonna

need it.


Picture


Grate up the sweet potato,
the carrot,
the zucchini
and chop up the green onions (scallions).


Throw your onions and other grated vegetables in a large bowl.
Picture
Picture


Mix it all up and then season with pepper. Now this recipe does not call for salt.
Picture
Picture


Picture

Add the egg white and then form into eight patties.

Yup, patties.


Oh, wait.

One moment please while I excuse myself...one moment...I'll just be a sec....


Picture


Picture
Yeah.

Patties.

Riiiiiiiight.

Just simply form this mixture into patties.

NOT!!!!

Clearly they weren't pattiefying so I threw the veggies back in the bowl.


So I tried to form patties again on the platter.
To no avail.

So then I put on my thinking cap and strategized.


Picture
I quickly formed four patties real quick
and
put them in the heated pan
real quick this time,
trying to trick the veggies into thinking they were a patty.


Cook a few minutes over gentle heat on one side until golden and then flip them over.

Picture

Then pat them down with the back of a spatula.

So far, so good, right?


Cook for a few more minutes on that side.


Transfer patties/pancakes to a plate....


Picture


That don't look like no patty.


Picture
And this don't look like four patties.


Look like a mess is what it look like.


WAIT!!
Re-read instructions and get out your NON-STICK pan because that's
what it says to use. Non-stick, NOT cast iron.

Awesome!


So I start anew with my non-stick pan!
1. Oil up the pan...
Picture
2. Put the "patties" in...
Picture
Picture


They don't look too bad.


We're rockin' and rollin' here!


Be smarter than the patties and take out yer Pam and spray a thin spatula...
Picture
THEN
quickly flip the patties over.
Picture
Gently cook for another 5-6 minutes and watch your little baby pancake masterpieces form...


Picture


CRAP!!!

Crap!


Crap!


Okay, so I wasn't successful with completing a patty look.
These were still obviously very tasty.
Lots of sweetness in these pancakes with the sweet potato and the carrot.
The zucchini and scallions were such a nice contrast to that sweetness too.


Picture


And it does plate up nicely with Canadian bacon
or what I have here...turkey sausage.


YUM!

Picture

Ohhh,

see those scallions,
the green zuchini,
the sweet potatoes and carrots....

Mmmmm...
so good!

Picture


Now Tim plated his up with a grilled chicken breast.

Picture


But I loooves me some real Maple syrup on sausages,

and these organic turkey sausages were fab!

Picture

Mmmmm,

so good!

This will probably be one of my top ten go-to dishes from now on.


Breakfast,
lunch or
dinner
really.

Vegetable Pancakes
From Glycemic Index Cookbook, Healthy cooking for your best health
Gina Steer, Sian Lewis, Charlotte Watts
Courtesy www.turnkeyqualitycars.com

Serves 4

Ingredients
1 carrot, grated
1 zucchini, grated
1 sweet potato, grated
8 scallions, finely chopped or shredded
1 egg white, beaten
2 tsp extra virgin olive oil
Pepper
8 lean Canadian bacon slices to serve (optional)

Directions

  1. Mix all the vegetables together and season with pepper to taste, then stir in the egg white. Using clean hands, form into 8 small patties. Press them firmly together.
  2. Heat the oil in a non-stick skillet and cook the patties over gentle heat for 5-6 minutes, or until golden. Turn over halfway through the cooking time and press down with the back of spatula. Do this in 2 batches to prevent the skillet from being overcrowded.
  3. Meanwhile, preheat the broiler and line the broiler rack with foil. Place the bacon under the broiler and cook for 5-8 minutes, until crisp, or cook to personal preference. Turn the slices over halfway through the cooking time.
  4. As soon as the patties and bacon are cooked, serve immediately.


Picture


Well,

all fun weekends must come to an end.

And our fun several days spent with
Little Boy Blue came to a closing when his mommy Goodness, and his daddy GreatGuy came to pick him up and take him home.


Sniff, sniff.


Tim and I were sad to see our yittle bitty baby leave to go back home and have fun with his momma and daddy.
Picture
So to cap off the weekend, Stud Muffin and I went out for some ice cream.

Oh.

What.


That doesn't look like ice cream?

It's frozen ice cream onion ring yogurt twirled flavored ice cream.

duh.


Wink, wink :):)
See ya next time!


Have a good

Wednesday night!!!


    Author

    Angie Madsen
    One half of a team that blends their work and personal life together
    in fun ways.


    Recipes
    Picture
    Click here to access recipes featured on this blog. 


    Categories

    All
    Appetizers
    Beef
    Bread
    Breakfast
    Caring
    Car Stories
    Casserole
    Chicken
    Christmas
    Cooking Misadventures
    Decor
    Desserts
    Fish
    Foosball Okay Football
    Fun Times
    Hot Cars
    I Am A Dork
    Kitchen Stuff
    Pasta
    Pets Pets Pets
    Pork
    Potatoes
    Seasonal
    Side Dish
    Soup
    Special Occasion
    Turkey
    Vegan Or Could Be Vegan
    Vegetables
    Vegetarian


    Archives

    February 2019
    January 2018
    December 2017
    November 2017
    October 2017
    January 2017
    October 2016
    September 2016
    August 2016
    February 2016
    January 2016
    October 2015
    September 2015
    August 2015
    July 2015
    May 2015
    April 2015
    January 2015
    December 2014
    October 2014
    September 2014
    August 2014
    July 2014
    June 2014
    May 2014
    September 2013
    August 2013
    June 2013
    April 2013
    February 2013
    January 2013
    December 2012
    November 2012
    October 2012
    September 2012
    August 2012
    July 2012
    June 2012
    May 2012
    April 2012
    March 2012
    February 2012
    January 2012
    December 2011
    November 2011
    October 2011
    September 2011
    August 2011
    July 2011


Turnkey Auto - Twenty years of a friendly setting of quality vehicles, affordable prices and exceptional service.
Text: 319-331-8796
​Call: 319-683-2850


 1/2 mile west of Frytown on 500th St
1811 500th St SW, Kalona, Ia 52247