Greetings, friends!!!!

Today I am sharing
an ahhhhhmazing
Stuffed Pork Tenderloin recipe
shared with me by the cool meat department guy at my local grocery, Corey.
I'm also sharing my outdoor Christmas lights.
Ah c'mon, humor me just a few pictures if you will.

Front porch is kind of bare this holiday season, makes the scoopin' of the snow easy though, well once the snow begins anyway.


Mr. Donkey works year round
on this front porch.

The artificial tree rests in a vintage Orange Sunkist box and there's a cool basket weave planter I picked up at a consignment shop for $3.60!!


I saw a photo that inspired me to be a little
whack-a-doodle with one side only of the porch railing.


Every fence needs a good old wreath and
chunky lights strewn about.
chunky lights strewn about.


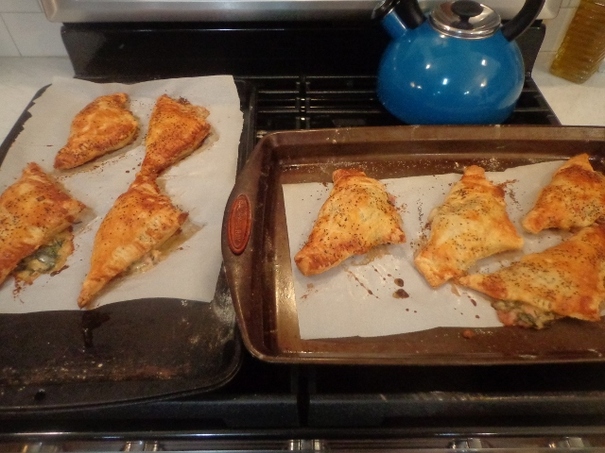
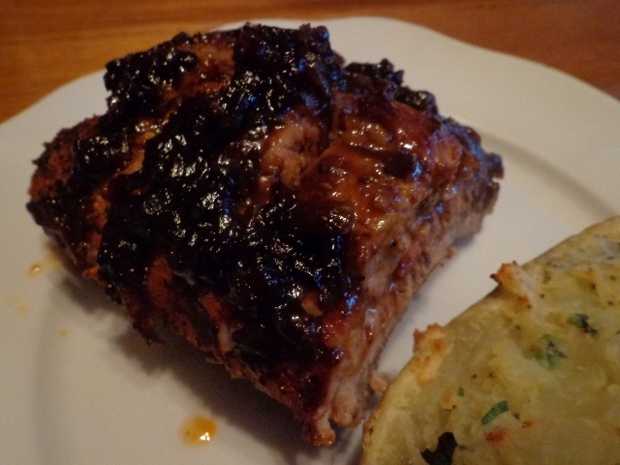
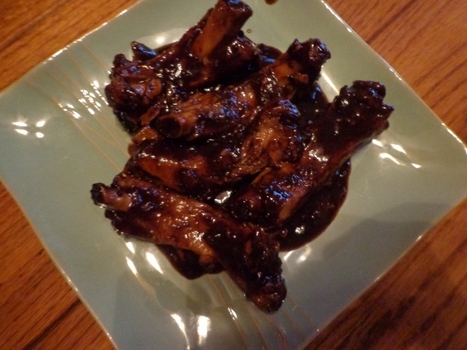
Anyhoo, let's get to this stuffed pork tenderloin that I can not say enough about!

This recipe was so good that I made it twice in one week and I'm making it again tonight!
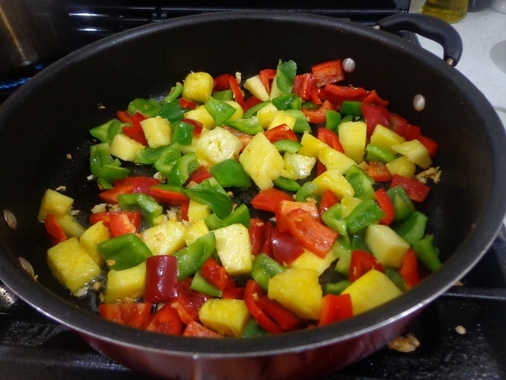
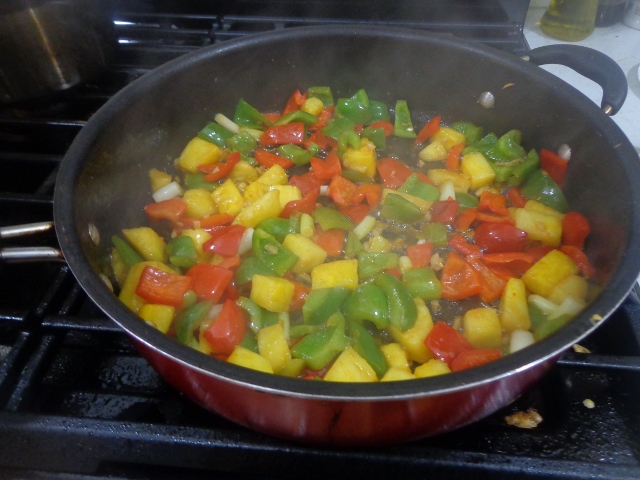
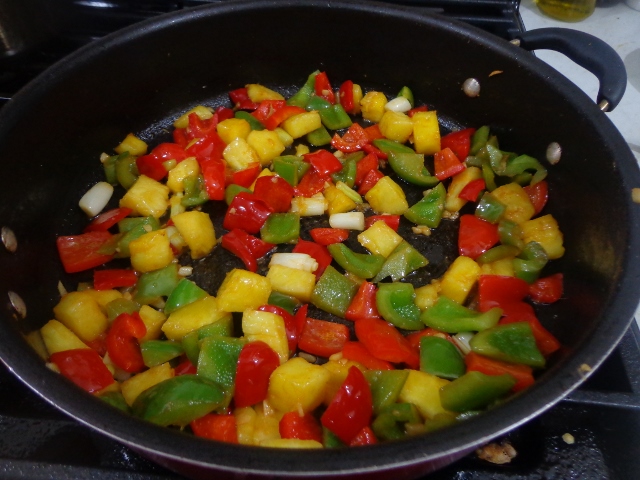
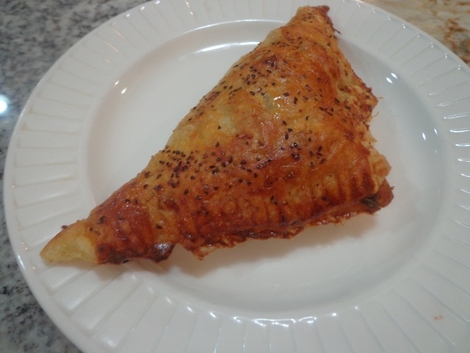
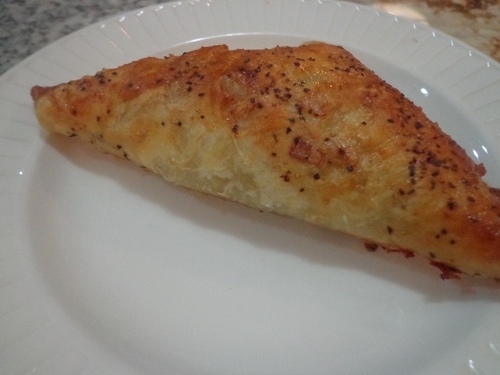
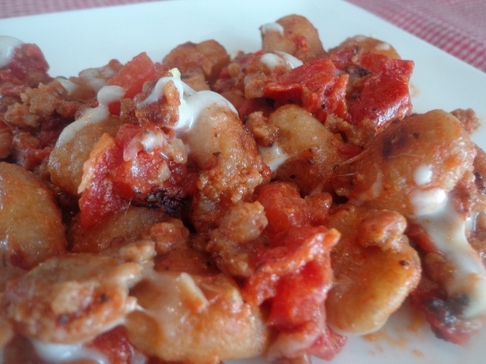
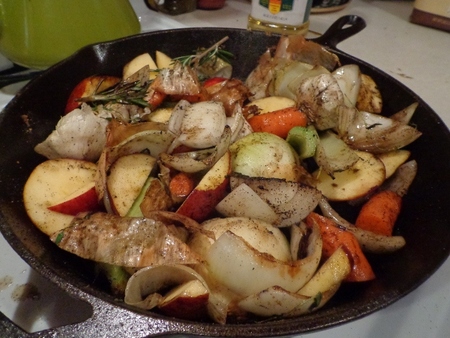
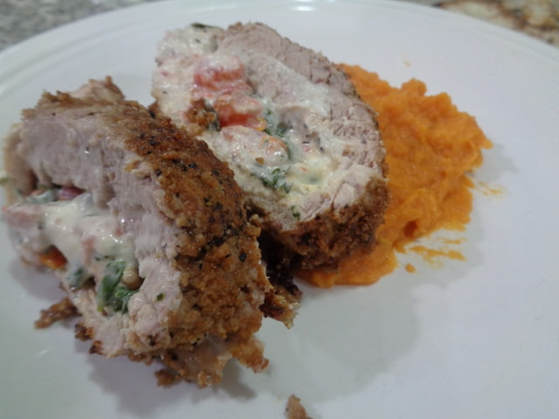
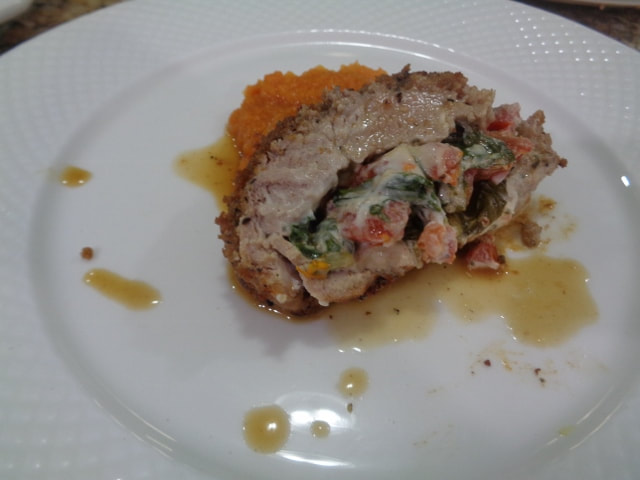
Look at the pretty Christmas colors!!
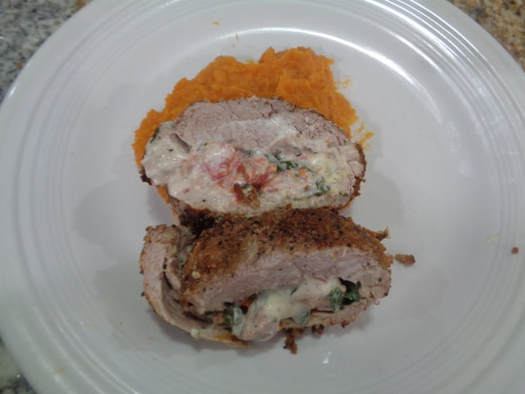
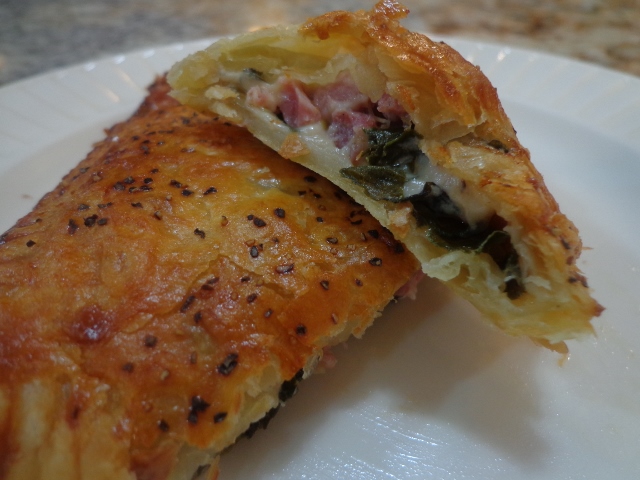
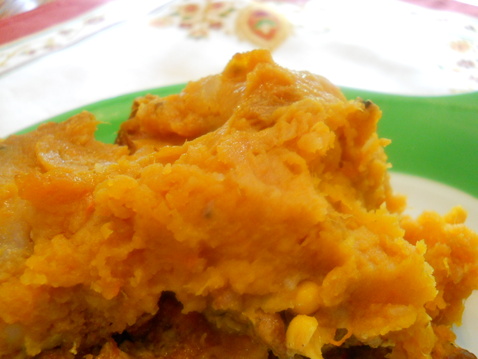
The pork melts in your mouth, the herbed cheese is tangy and is the star of the show frankly, the seared panko crust gives it a delicious nutty flavored crunch and the tomatoes and spinach round out the flavor profile.

This recipe is straight from a quick conversation with Corey, the meat guy at my local grocery who casually mentioned how he makes a
stuffed pork tenderloin.

Corey pointed me to the two different soft cheeses he uses, depending what's on sale.


Intrigued, I wrote down Corey's recipe and went home and made the Stuffed Crusted Pork Tenderloin
word for word, after also googling a quick pan sauce recipe.
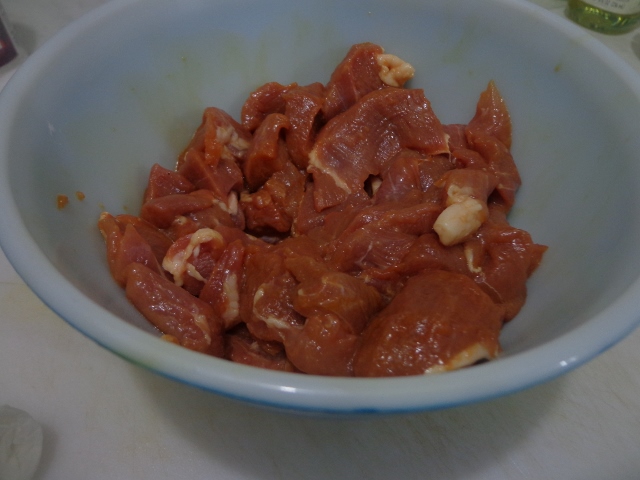
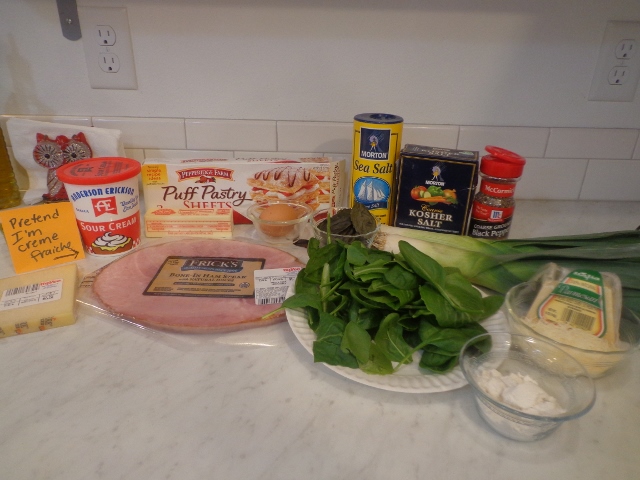
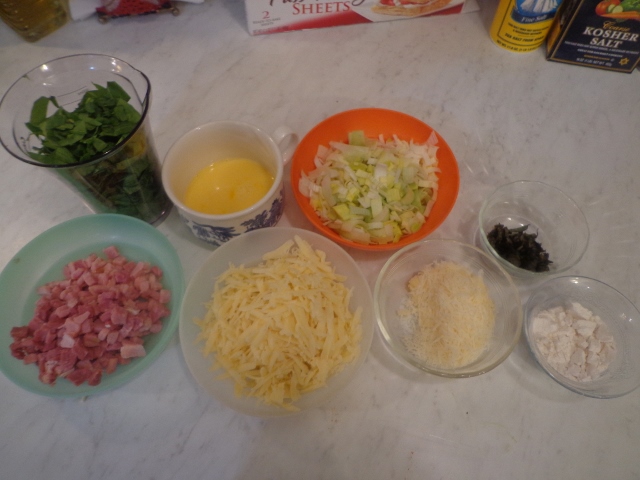
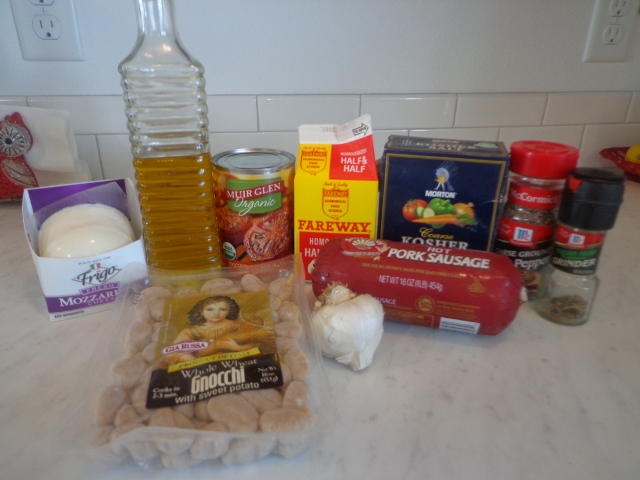
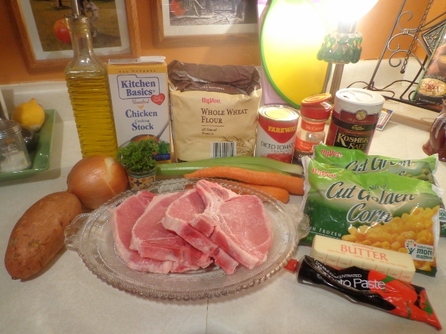
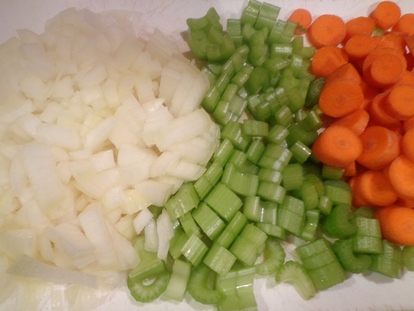
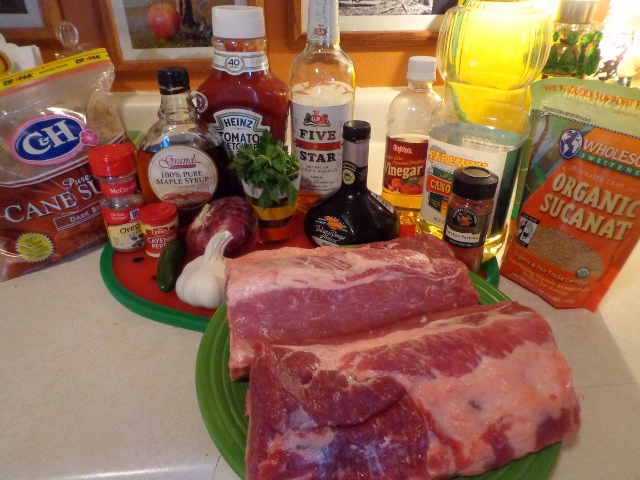
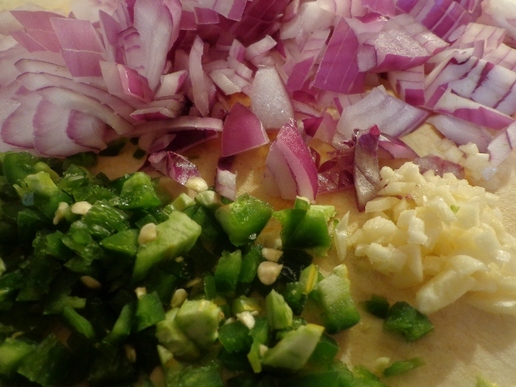
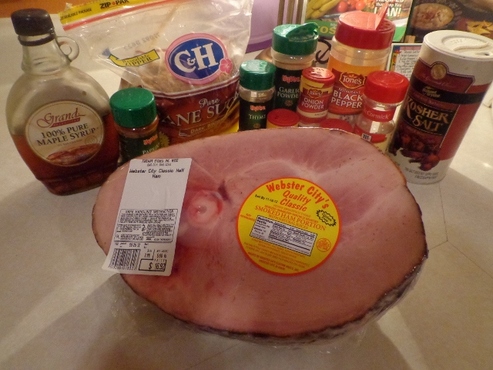
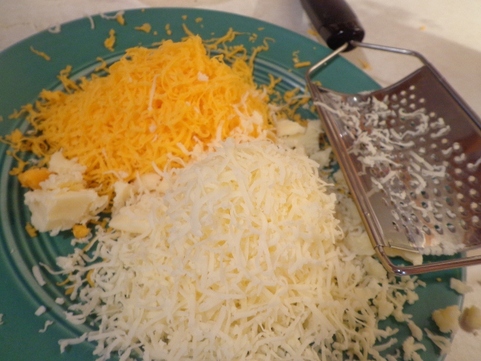
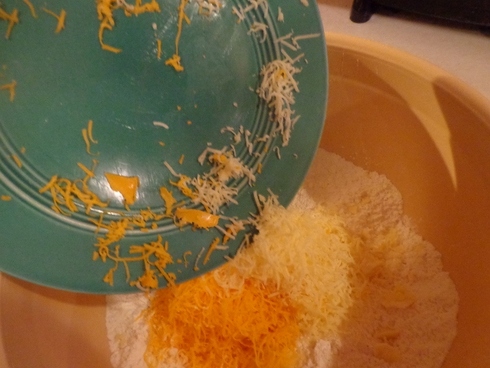
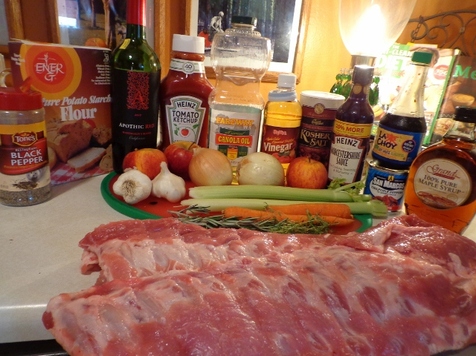
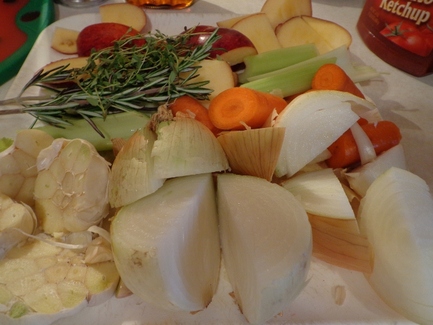
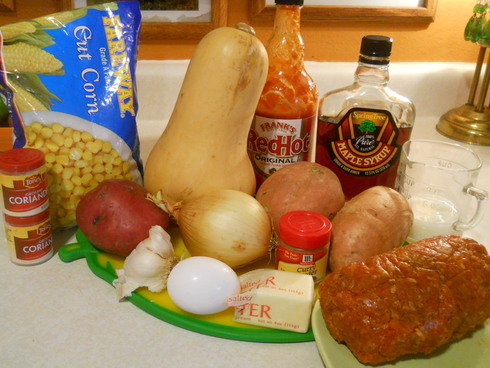
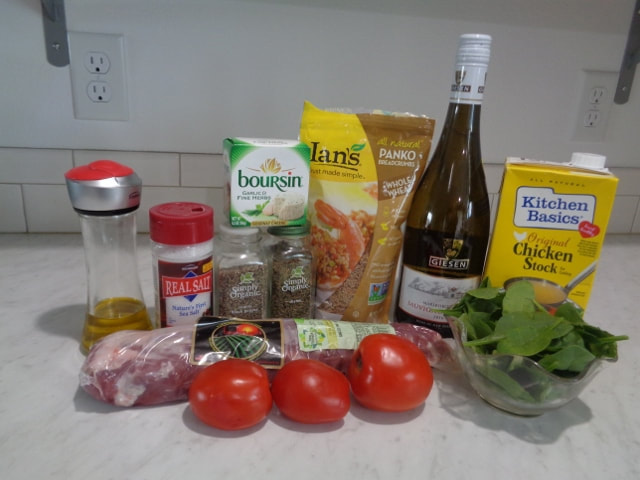
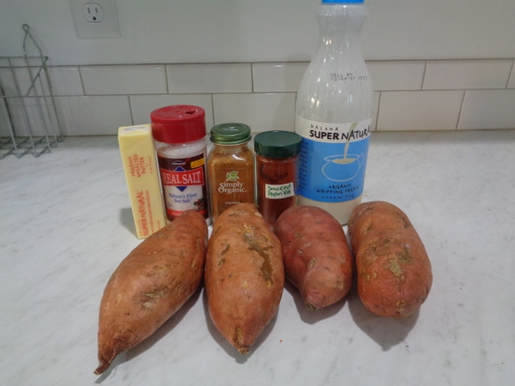
Here's the fixins for this melt in your mouth, pan seared, crusted, stuffed Pork Tenderloin.
Corey’s Crusted Stuffed Pork Tenderloin with Cheese, Spinach and Tomatoes
Courtesy of: Your friend Angie with TurnkeyQualityCars.com
Recipe is Corey’s original recipe
Ingredients
1.5 – 2 lbs Pork Tenderloin
Coarse Salt and Pepper
1 cup firmly packed fresh spinach leaves
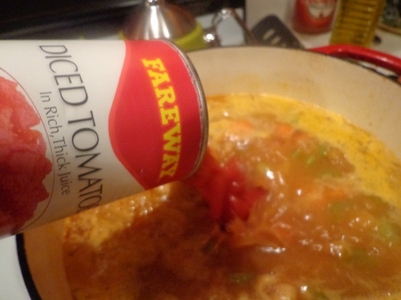
1 1/4 cup fresh chopped tomatoes –I used roma
1 pkg. soft garlic and herbed cheese (approx 5 oz) – Note: This MUST be an HERBED soft cheese
½ cup whole wheat panko bread crumbs (slightly processed, blended or crushed)
¼ tsp dried thyme
3 Tbsps. Avocado or canola oil (higher smoke point than olive oil)
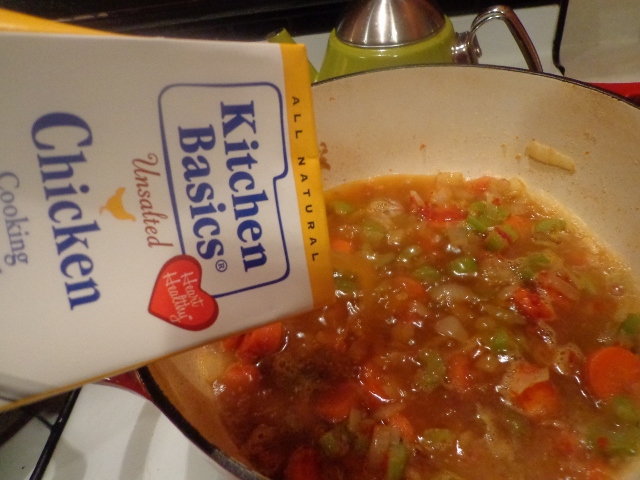
1/2 cup white wine for the deglazed sauce
1/2 cup chicken stock for the deglazed sauce
Directions
Preheat oven to 350.
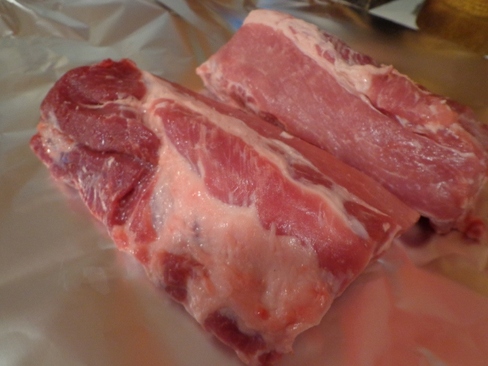
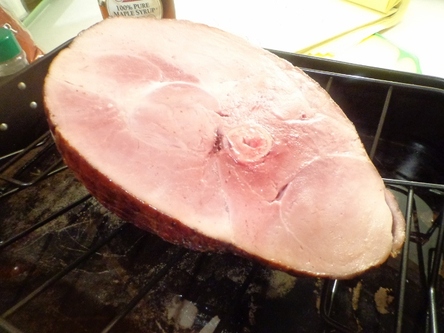
Butterfly tenderloin lengthwise, like a book.
Between plastic wrap, pound tenderloin out even on both sides.
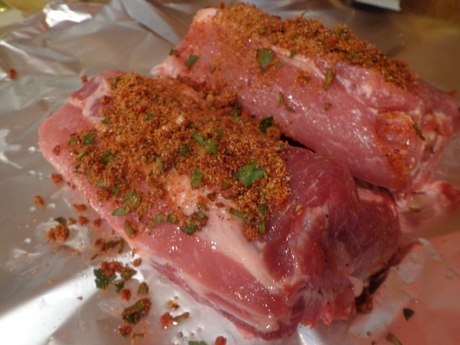
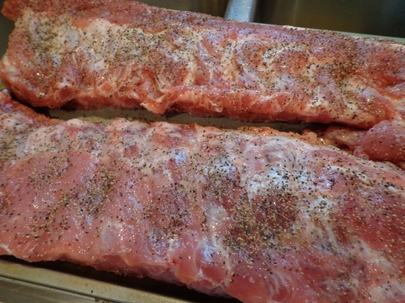
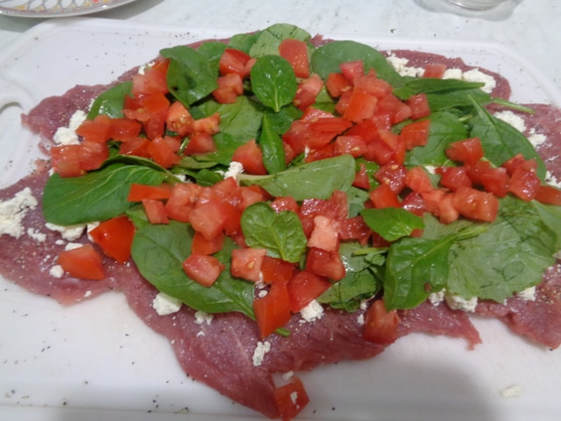
Salt and pepper both sides of tenderloin and lay flat, inside up.
Spread herbed cheese on both sides of the inside of tenderloin.
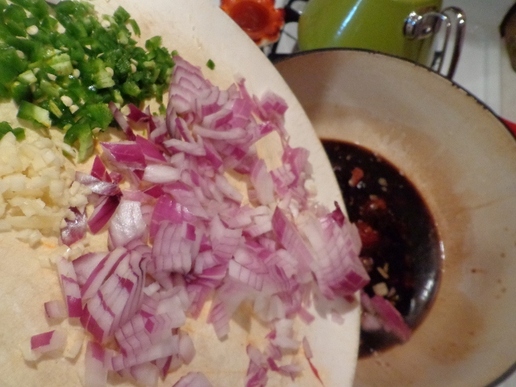
Top with Spinach leaves and then top with chopped tomatoes.
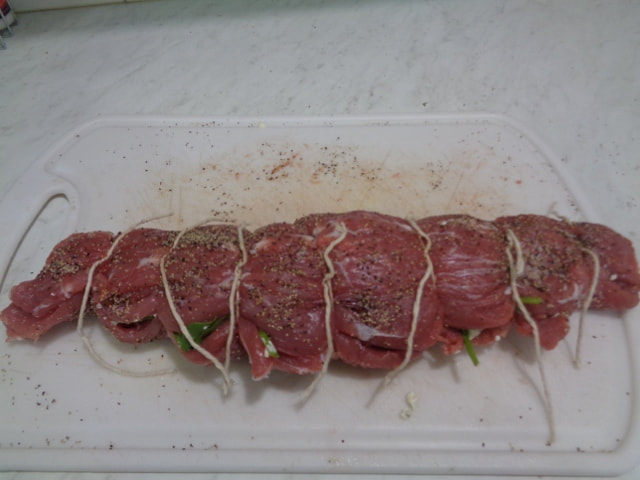
Fold over in half and secure with butchers twine every two inches.
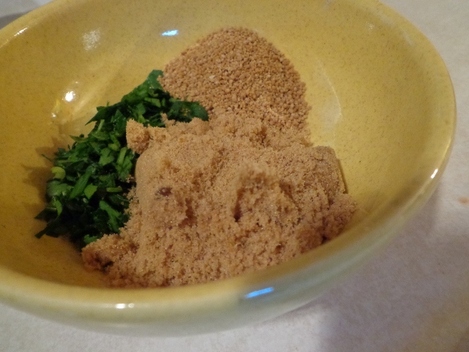
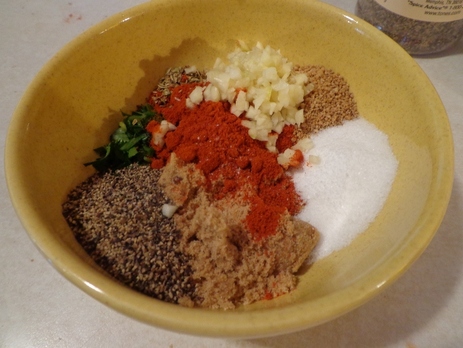
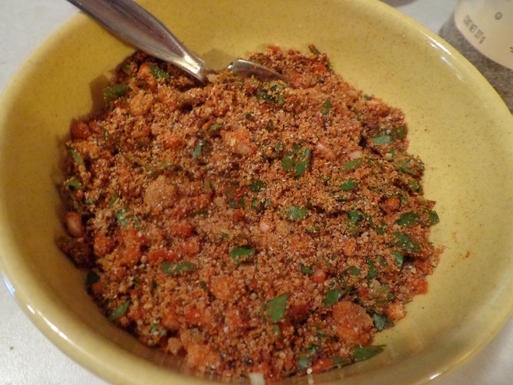
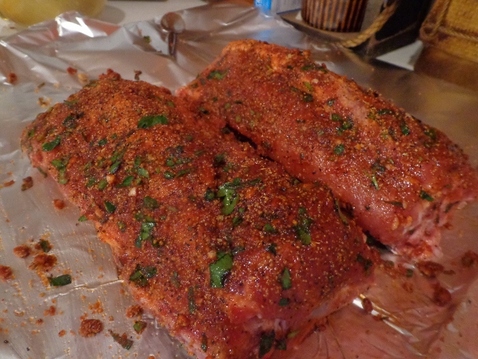
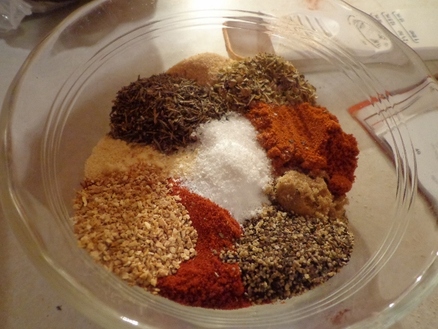
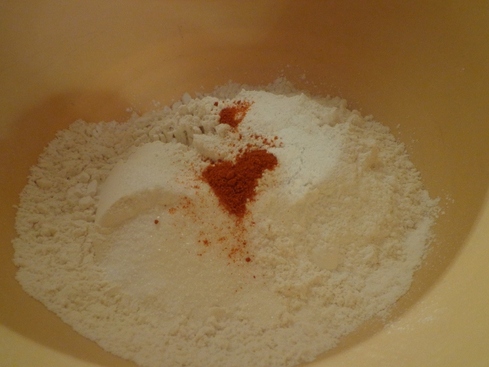
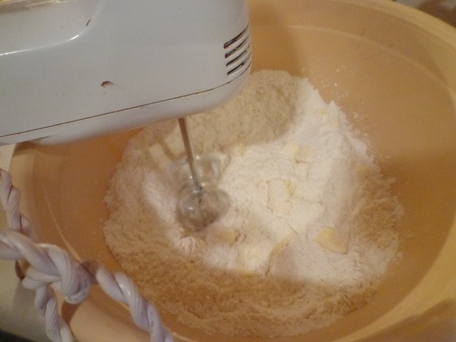
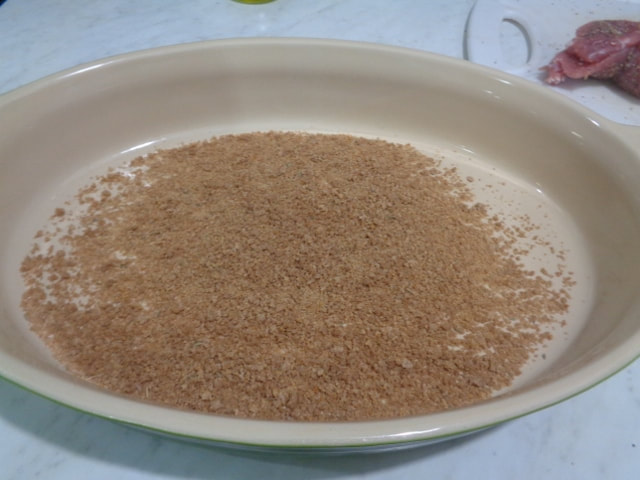
Add dried thyme to crushed panko crumbs.
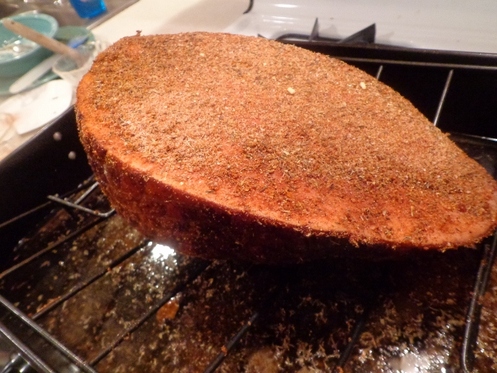
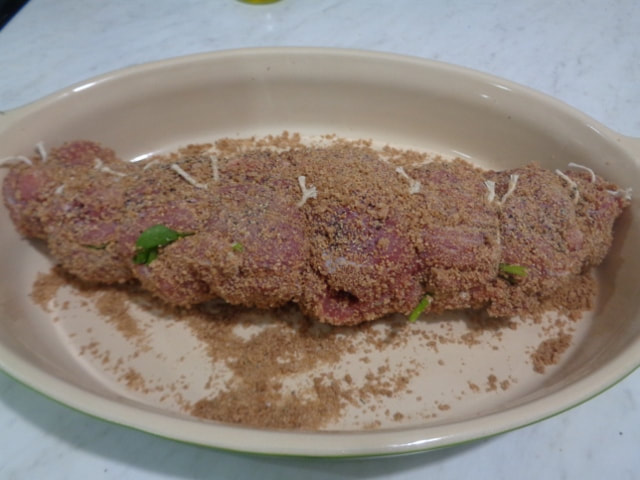
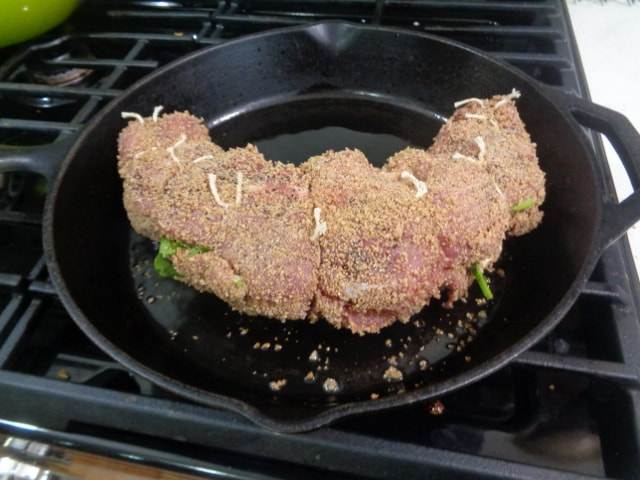
Roll pork tenderloin in panko crumbs.
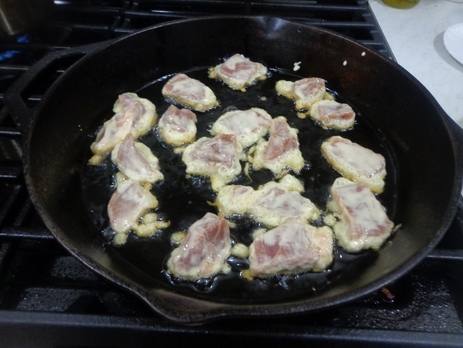
Heat avocado/canola oil in cast iron pan on medium until sizzling.
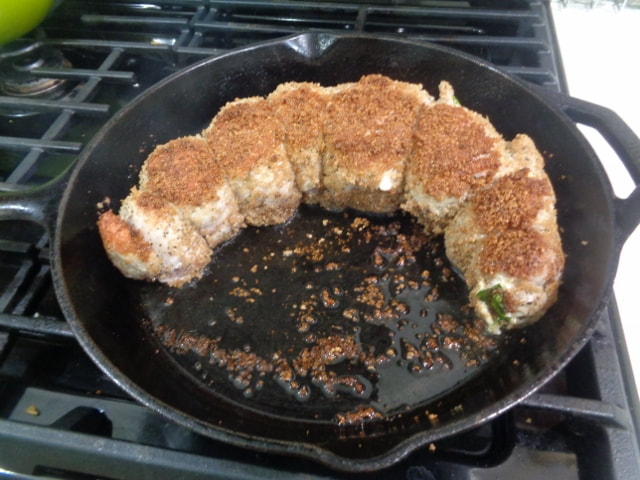
Sear all sides of pork tenderloin in cast iron pan…1.5 - 2 minutes each side. (4 sides)
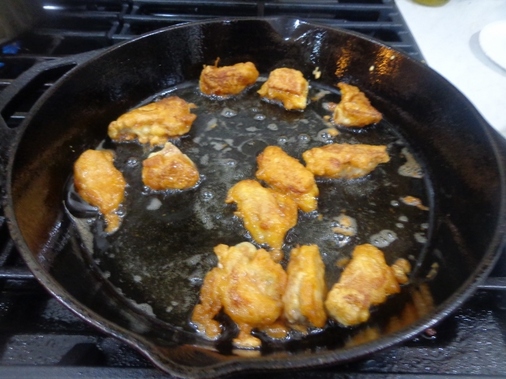
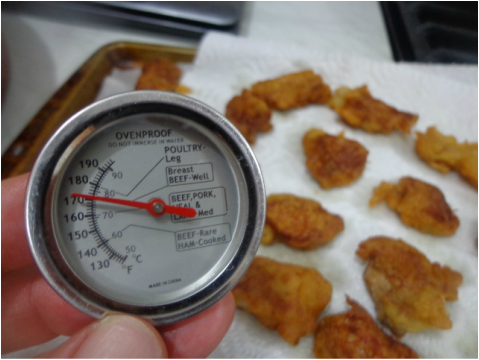
Place pan in 350 oven until internal temps reach 145-160 degrees. Approx 20 minutes??
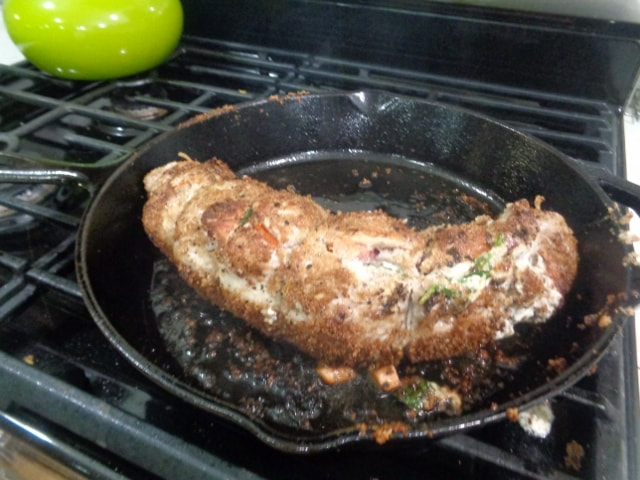
Remove tenderloin from pan and let rest on platter under tin foil.
Heat cast iron pan on medium high heat on stovetop and add wine and chicken broth, deglazing pan.
Simmer 10 minutes. Salt and pepper sauce as needed.
Strain. Set sauce aside.
Slice tenderloin on the bias.
Drizzle with the delicious glaze.
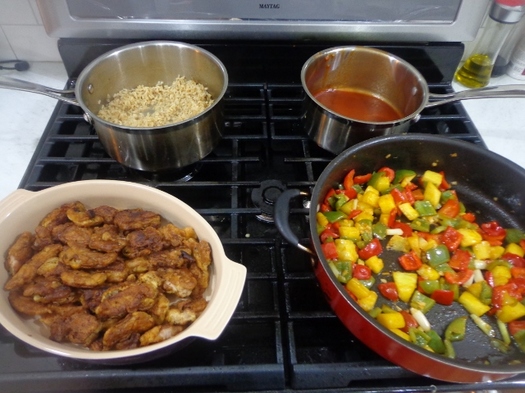
Serve with sweet potato puree or side salad or any rice or potato.
Courtesy of: Your friend Angie with TurnkeyQualityCars.com
Recipe is Corey’s original recipe
Ingredients
1.5 – 2 lbs Pork Tenderloin
Coarse Salt and Pepper
1 cup firmly packed fresh spinach leaves
1 1/4 cup fresh chopped tomatoes –I used roma
1 pkg. soft garlic and herbed cheese (approx 5 oz) – Note: This MUST be an HERBED soft cheese
½ cup whole wheat panko bread crumbs (slightly processed, blended or crushed)
¼ tsp dried thyme
3 Tbsps. Avocado or canola oil (higher smoke point than olive oil)
1/2 cup white wine for the deglazed sauce
1/2 cup chicken stock for the deglazed sauce
Directions
Preheat oven to 350.
Butterfly tenderloin lengthwise, like a book.
Between plastic wrap, pound tenderloin out even on both sides.
Salt and pepper both sides of tenderloin and lay flat, inside up.
Spread herbed cheese on both sides of the inside of tenderloin.
Top with Spinach leaves and then top with chopped tomatoes.
Fold over in half and secure with butchers twine every two inches.
Add dried thyme to crushed panko crumbs.
Roll pork tenderloin in panko crumbs.
Heat avocado/canola oil in cast iron pan on medium until sizzling.
Sear all sides of pork tenderloin in cast iron pan…1.5 - 2 minutes each side. (4 sides)
Place pan in 350 oven until internal temps reach 145-160 degrees. Approx 20 minutes??
Remove tenderloin from pan and let rest on platter under tin foil.
Heat cast iron pan on medium high heat on stovetop and add wine and chicken broth, deglazing pan.
Simmer 10 minutes. Salt and pepper sauce as needed.
Strain. Set sauce aside.
Slice tenderloin on the bias.
Drizzle with the delicious glaze.
Serve with sweet potato puree or side salad or any rice or potato.
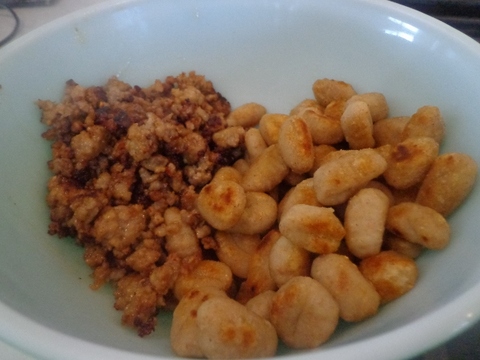
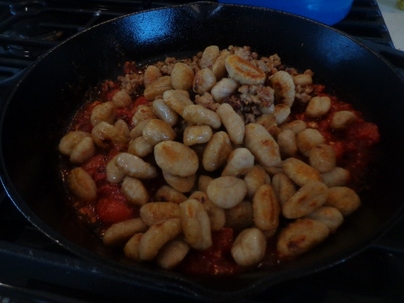
Side note: I crushed up the panko crumbs the second time I made this, the smaller crumbs made it much easier for searing and getting a good even crust.

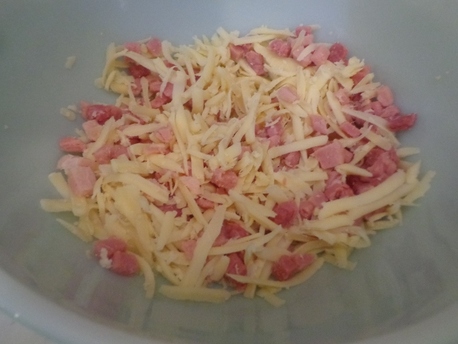
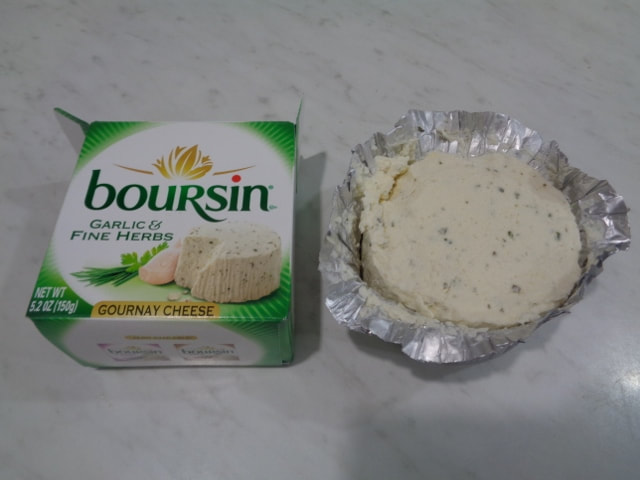
I also used different soft, spreadable cheeses both times.
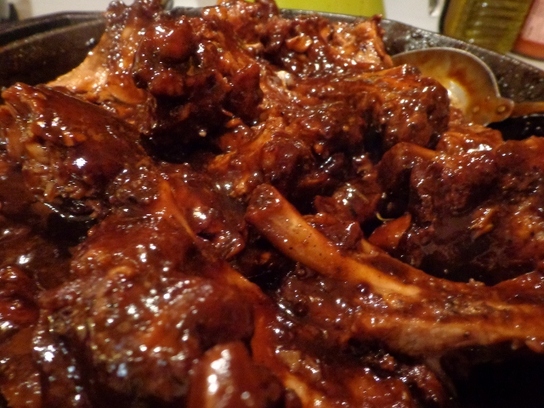
| The first time I used Belletoile. Very spreadable. | The second time I used Boursin. This was a crumbly cheese and tangier. |
 |  |
 |  |
Both cheeses are fantastic. Would probably go with Boursin again (slightly tangier) although Belletoile was just as good.
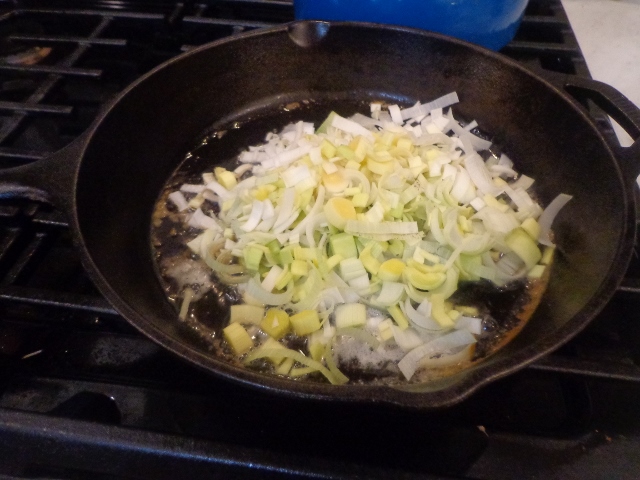
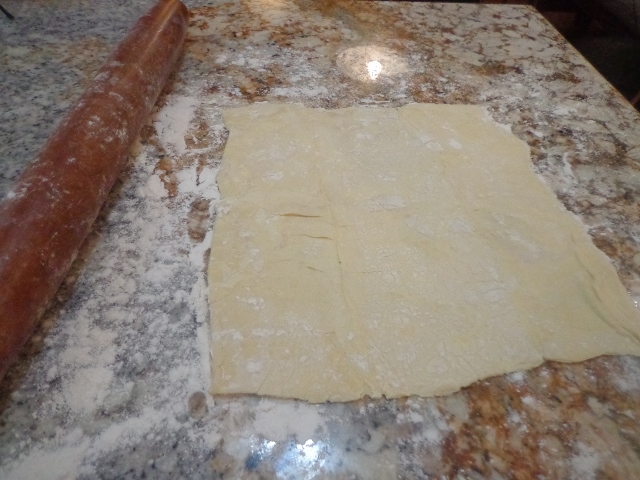
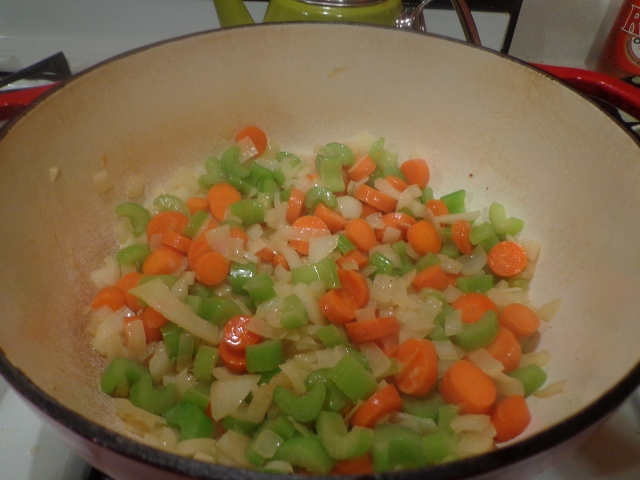
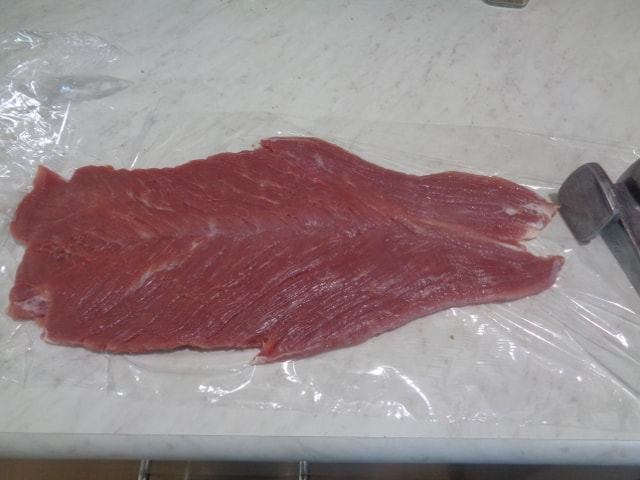
Anyway, let's get started!!
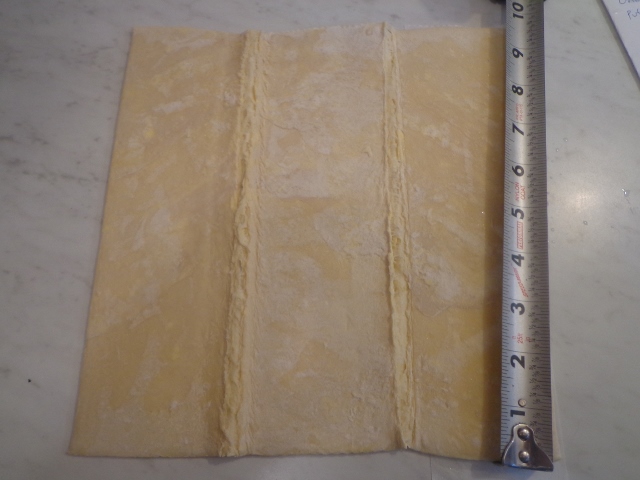
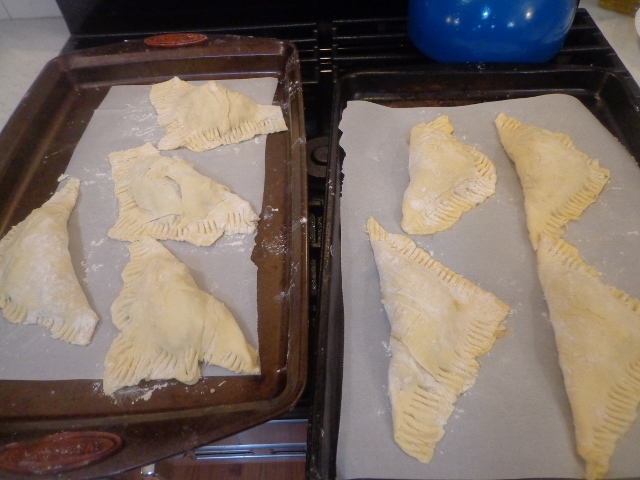
Butterfly that tenderloin and pound it thin!
Anyway, let's get started!!
Butterfly that tenderloin and pound it thin!

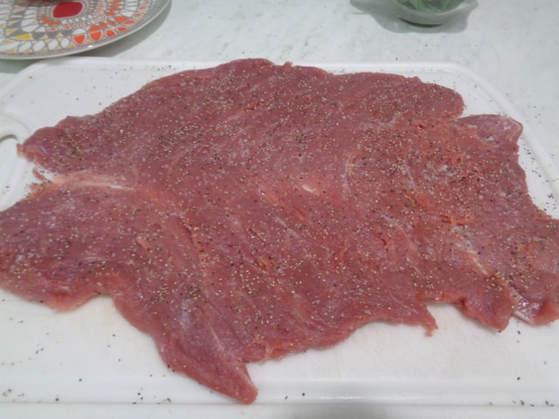
Salt and pepper that baby up on both sides!
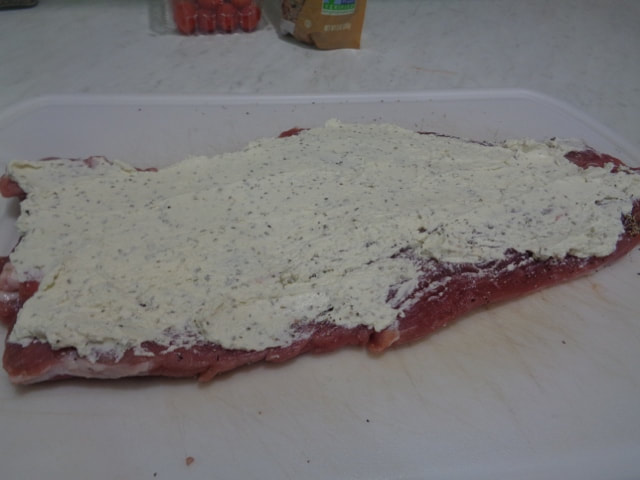
Lay it flat, inside up.
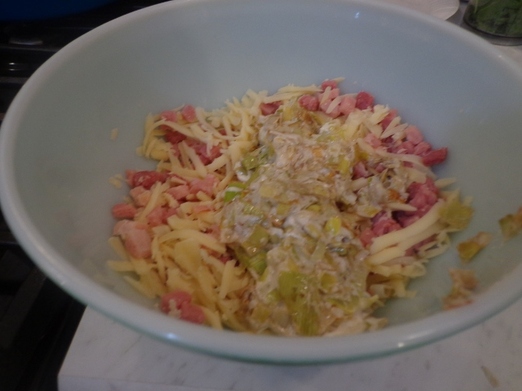
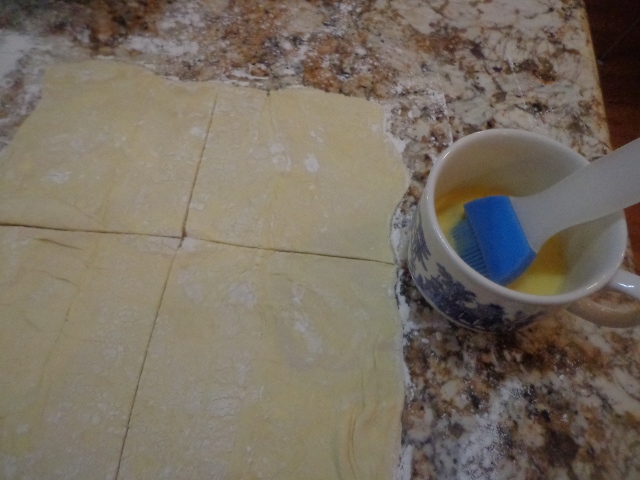
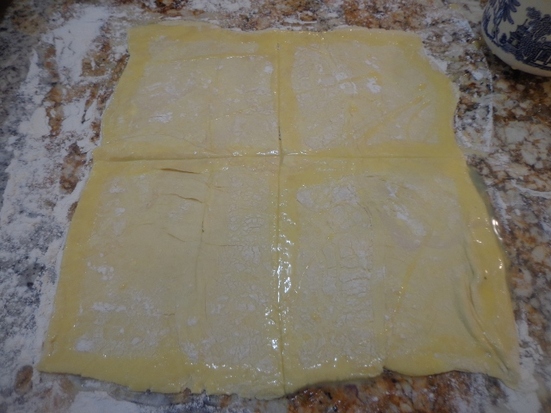
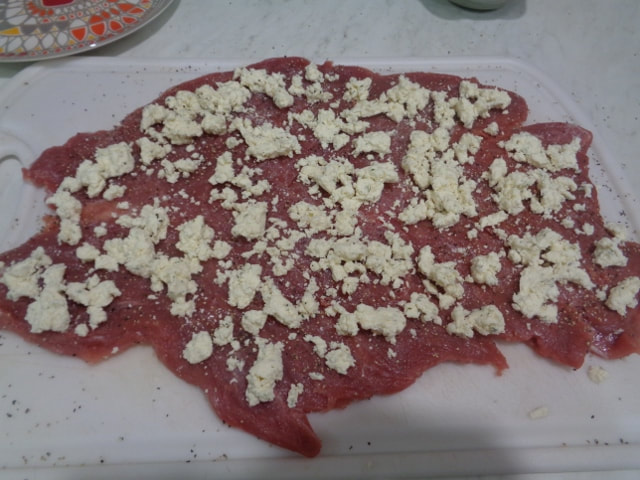
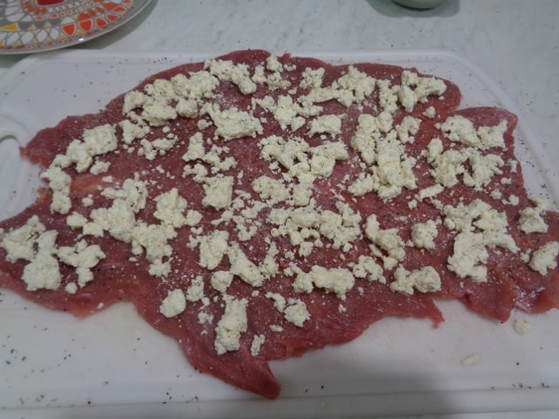
Spread cheese.
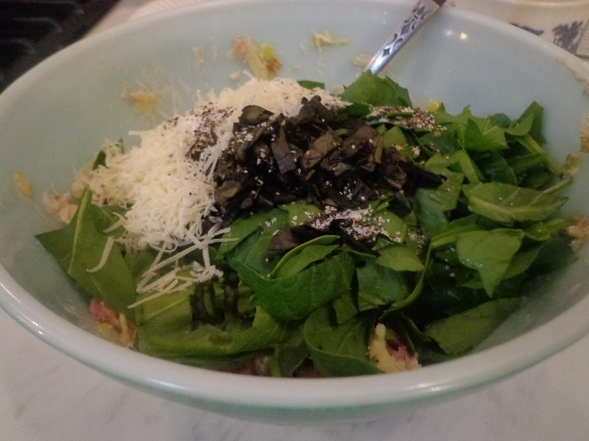
Spread spinach.
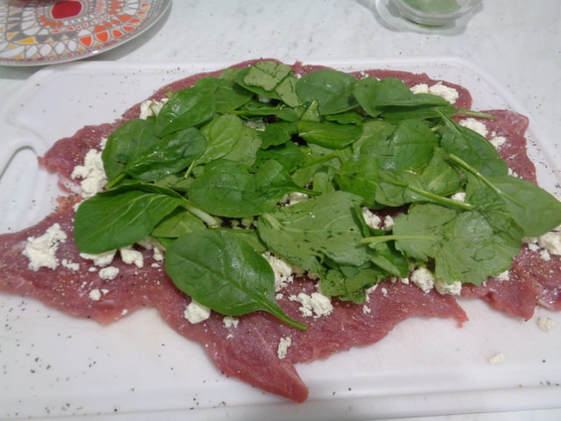
Spread those delicious chopped tomatoes!!
Fold over in half and secure with butcher's twine
every two inches.
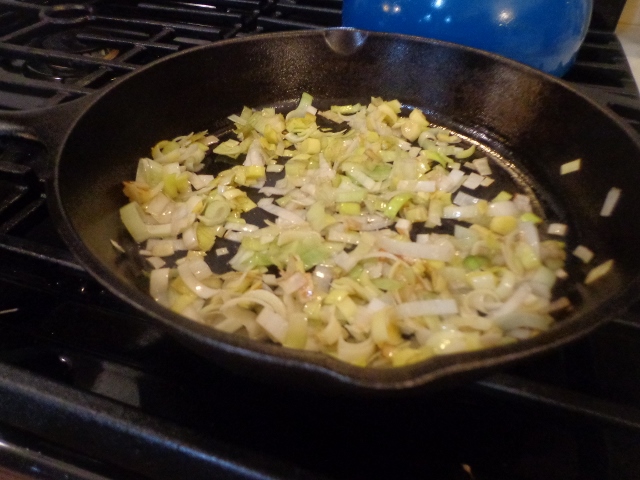
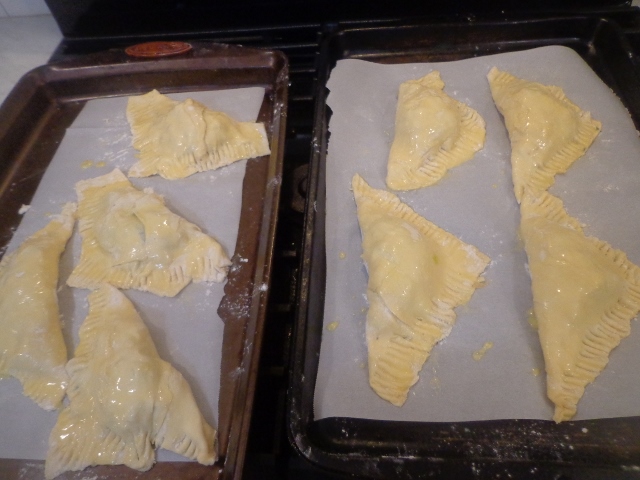
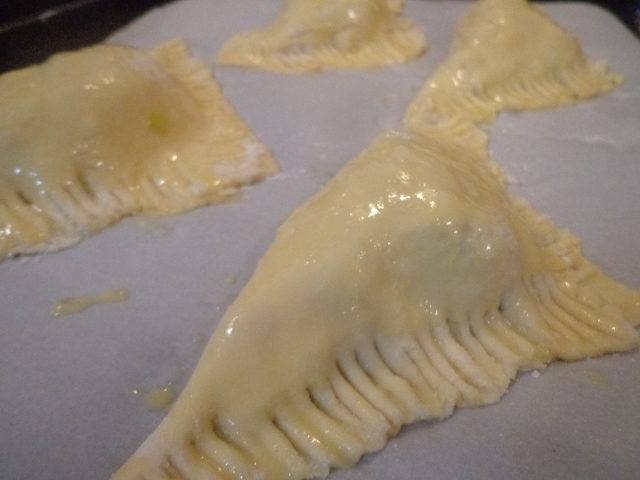
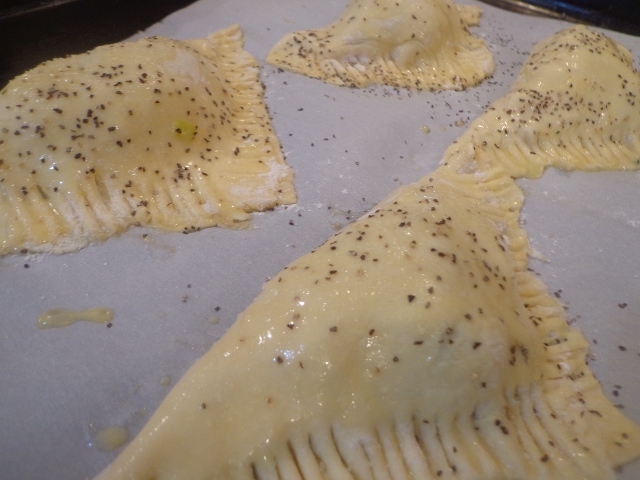
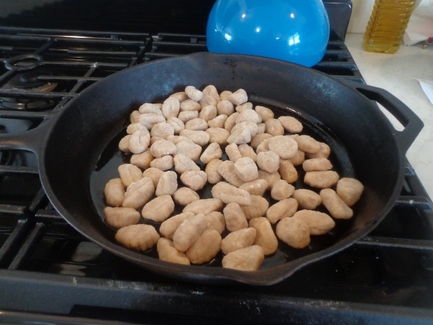
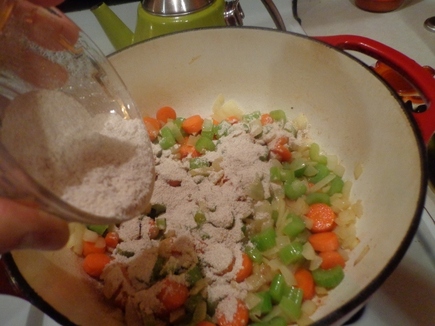
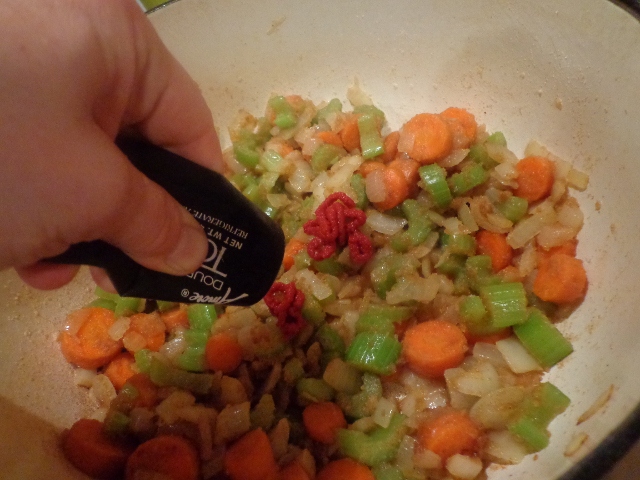
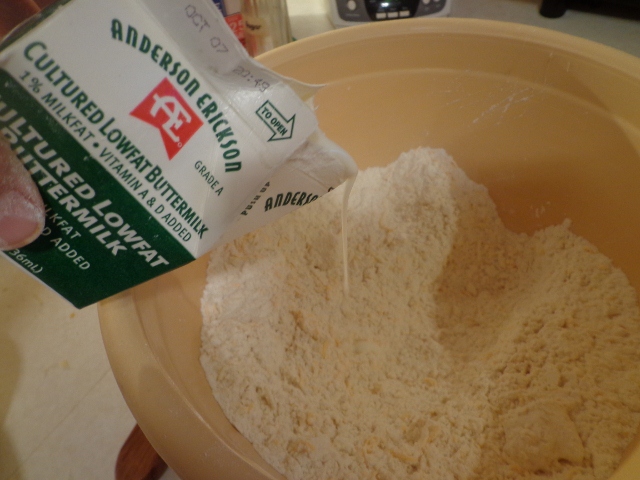
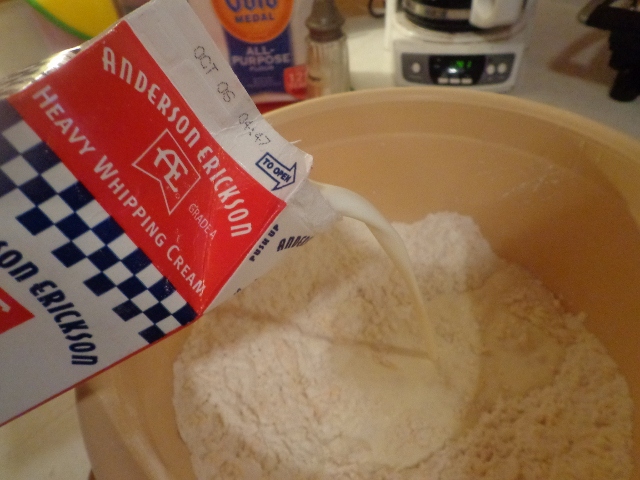
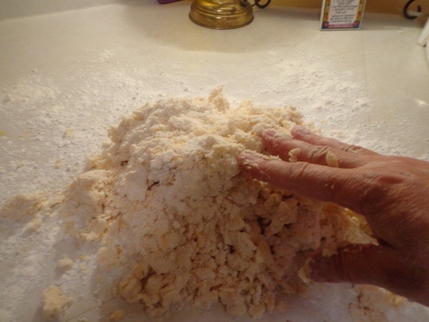
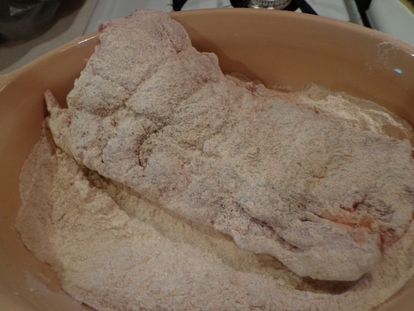
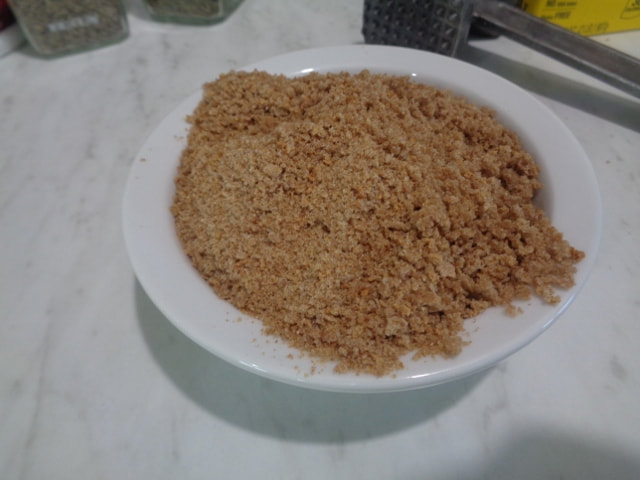
Get your panko ready by processing, blending or crushing the panko so it isn't so chunky. Add dried thyme.
Roll the pork tenderloin in the panko.
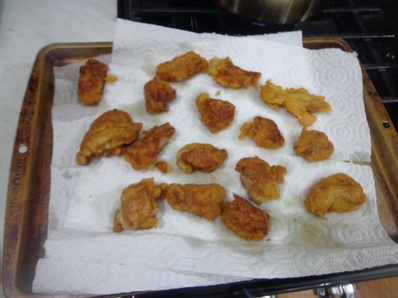
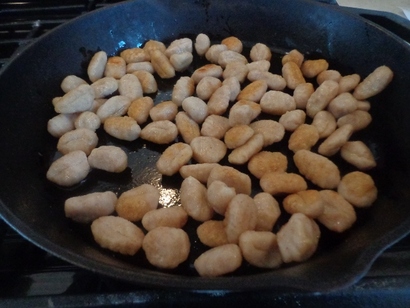
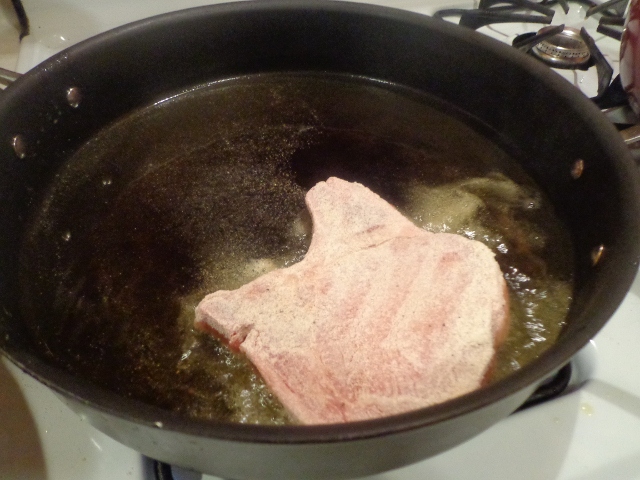
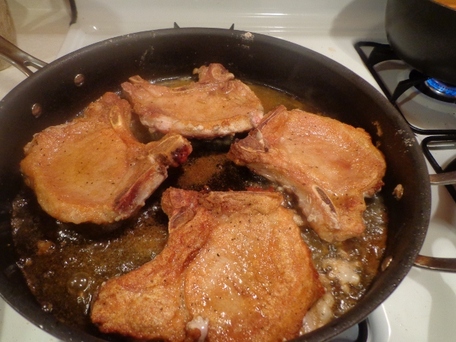
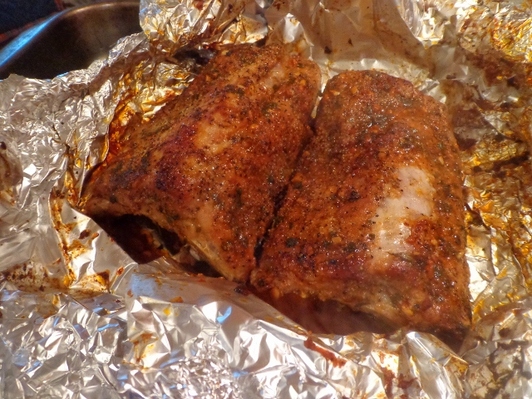
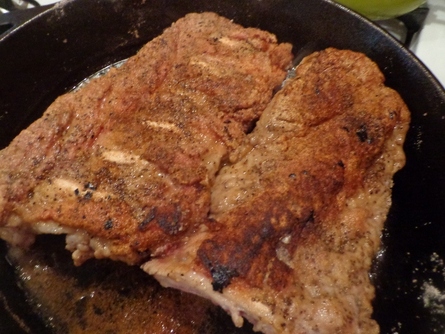
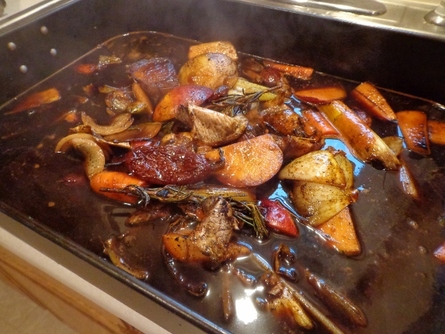
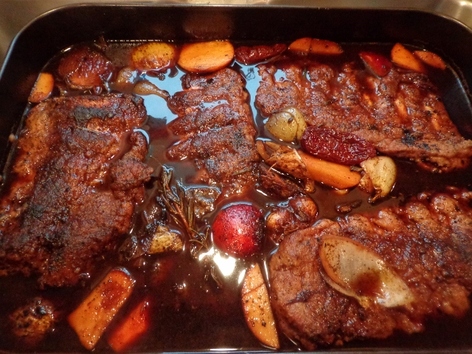
Sear that tenderloin in an oven proof skillet on all sides over medium heat with olive or avocado oil.
***I use avocado oil, it has a higher heat smoke point, less chance the smoke detectors will go off. Again. :)*****
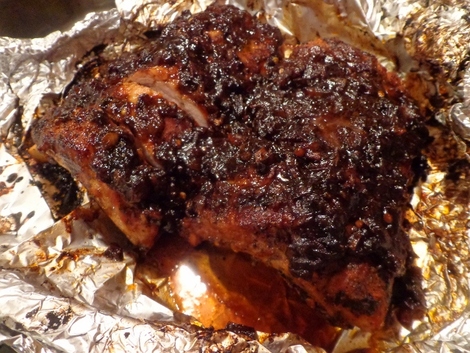
Throw the seared crusted pork tenderloin in the 350 degree oven and cook until the meat thermometer
reaches 145-160 degrees.
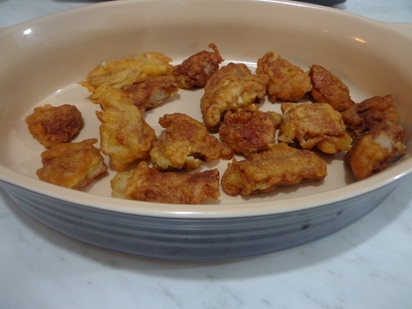
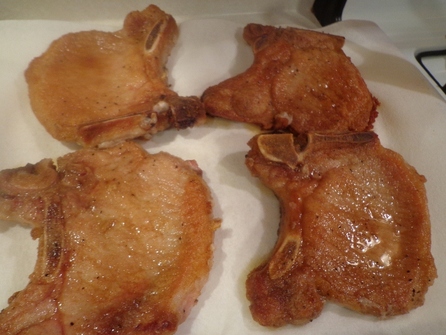
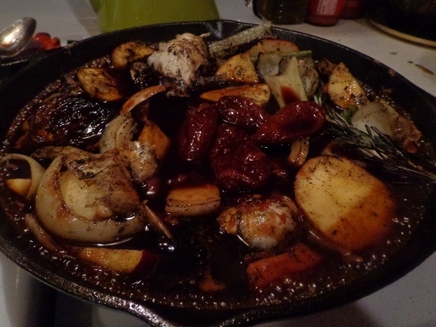
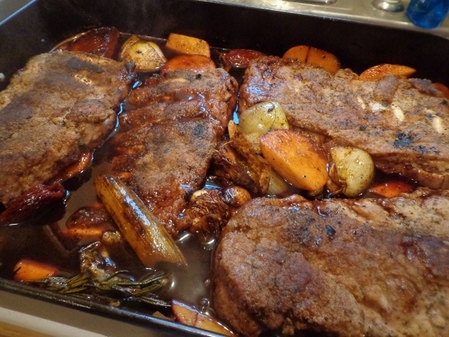
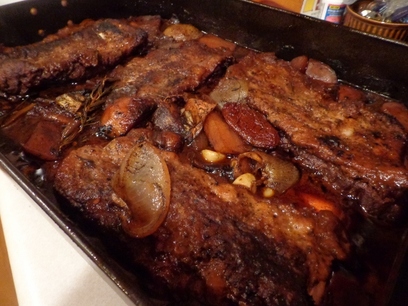
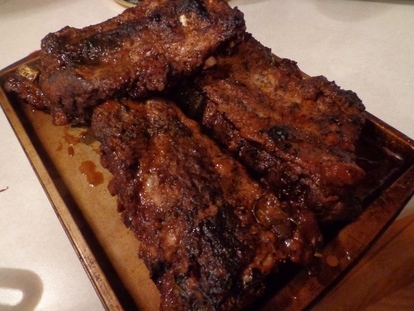
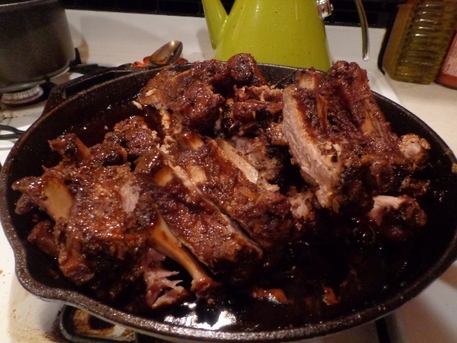
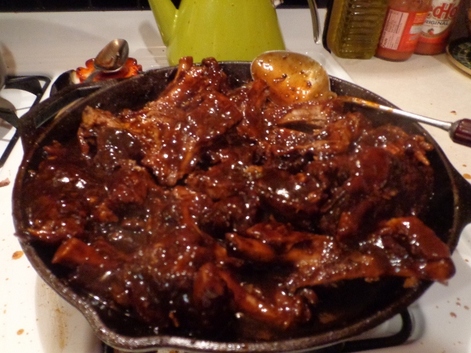
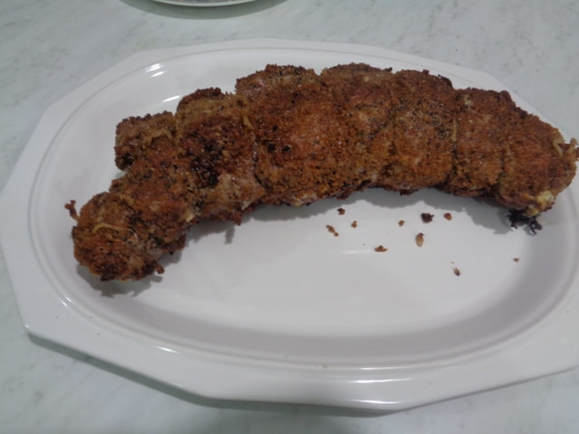
Lookin' mighty fine when it comes out!
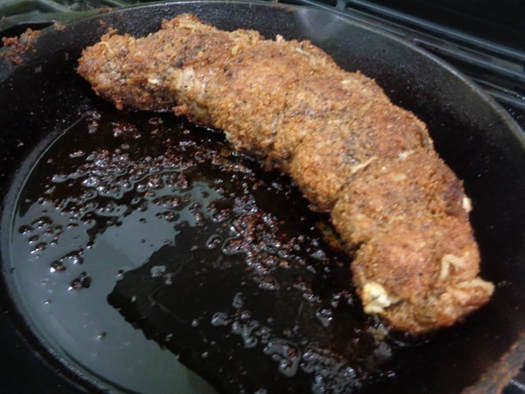
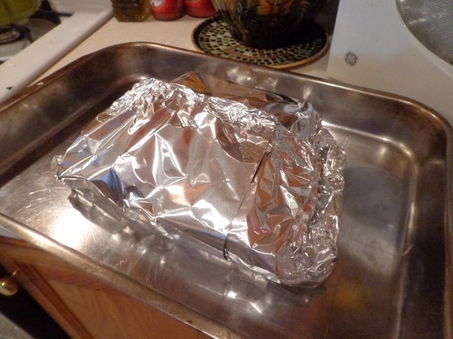
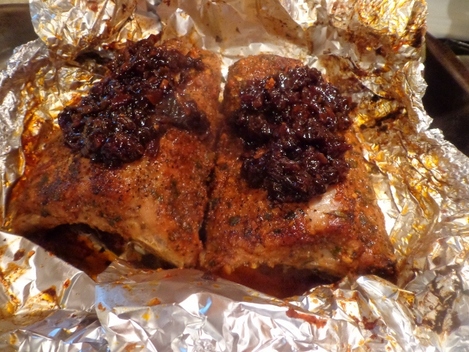
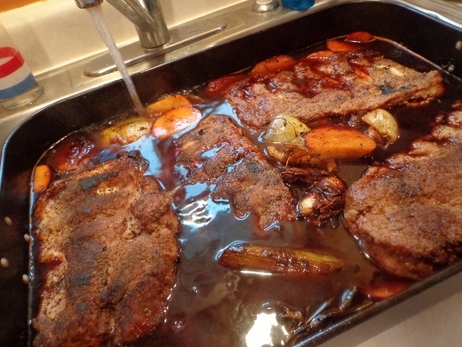
Transfer tenderloin to a platter and tent up for ten minutes while you make the pan sauce.
Do you suppose I coulda maybe sorta shoulda used a LARGER platter???
Good golly Miss Molly. (shout out to Miss Molly and S) :)
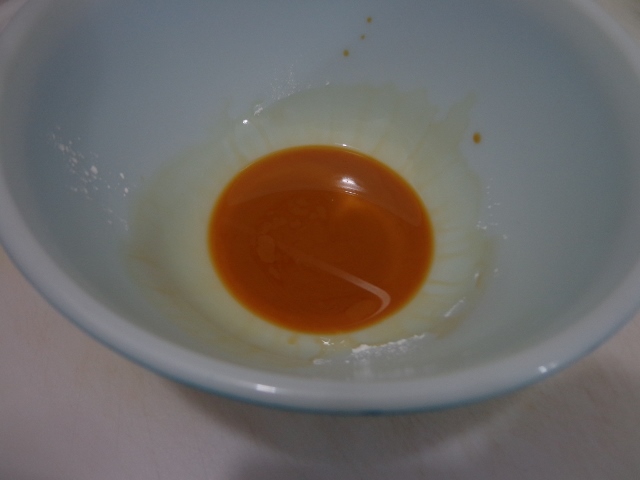
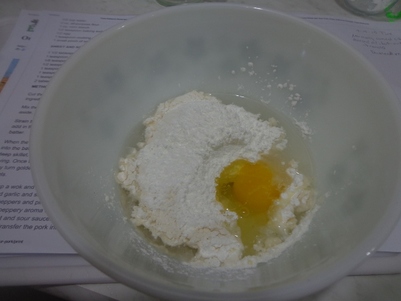
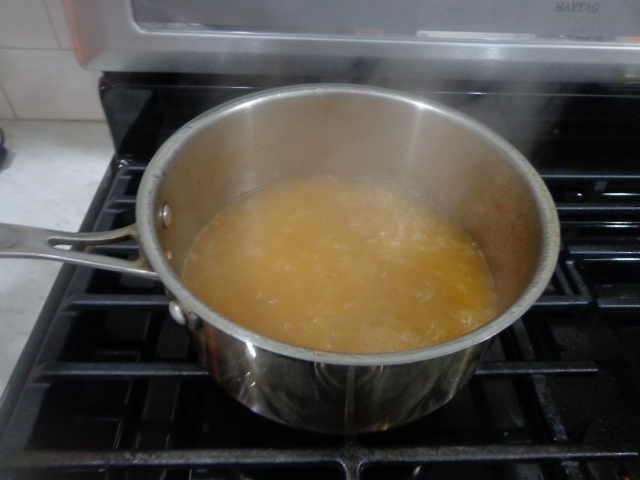
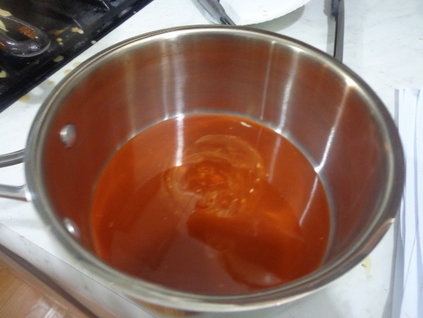
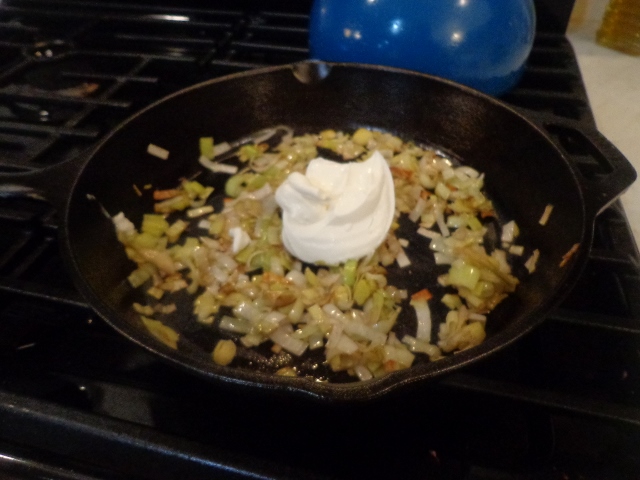
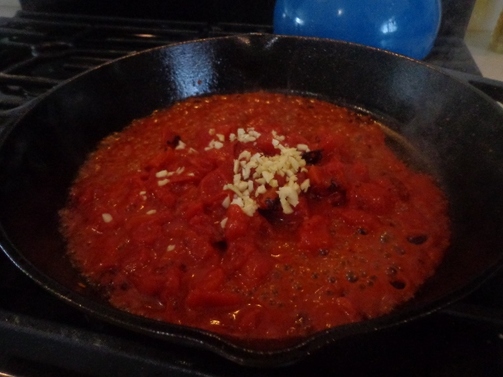
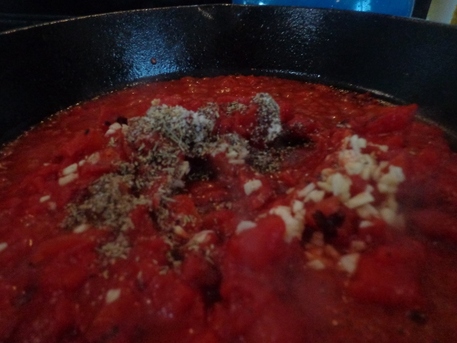
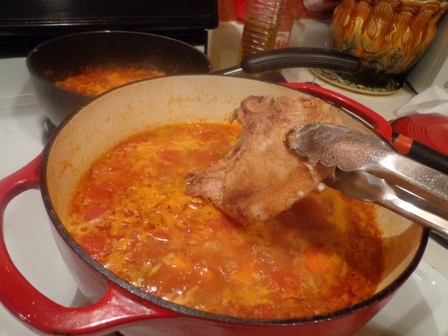
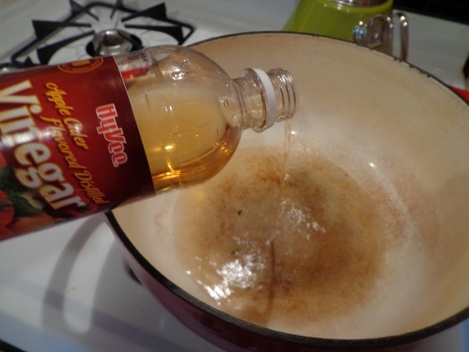
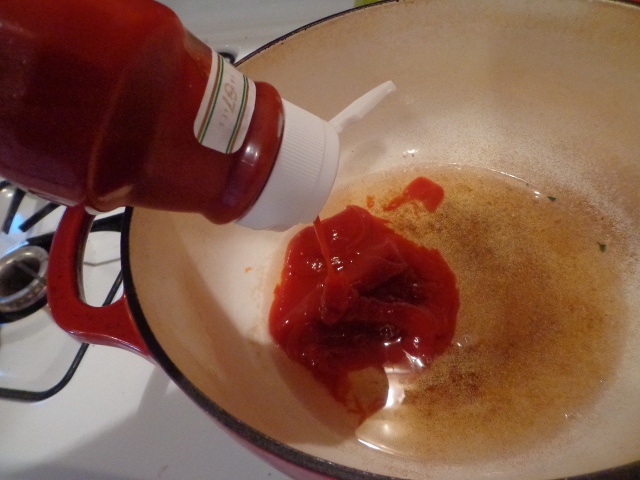
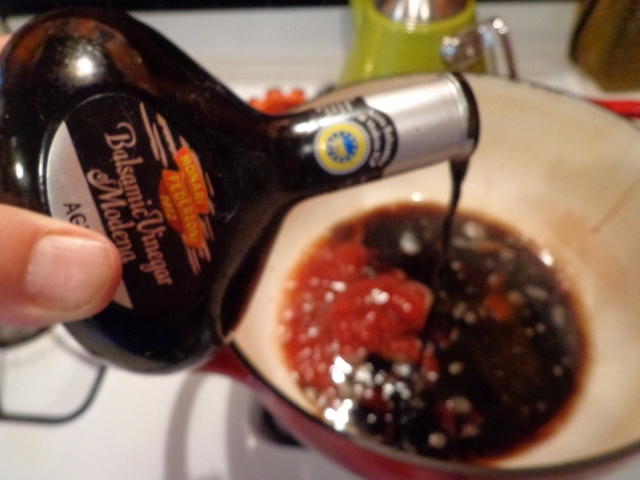
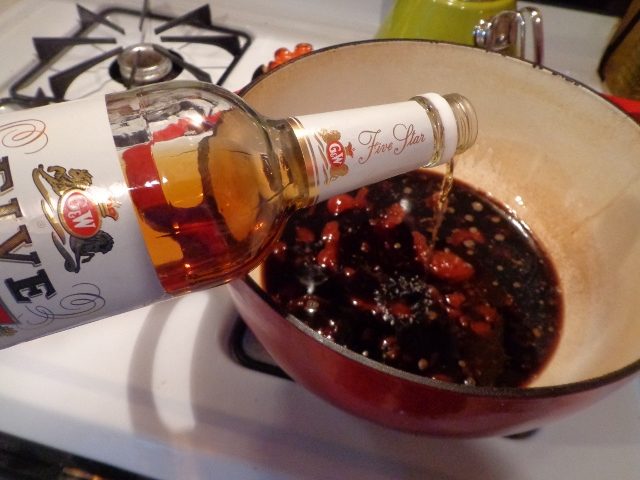
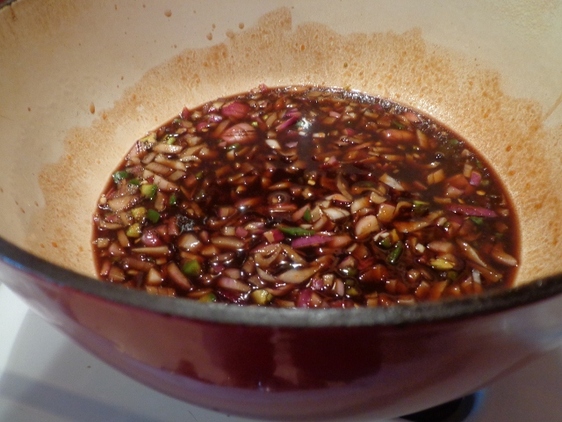
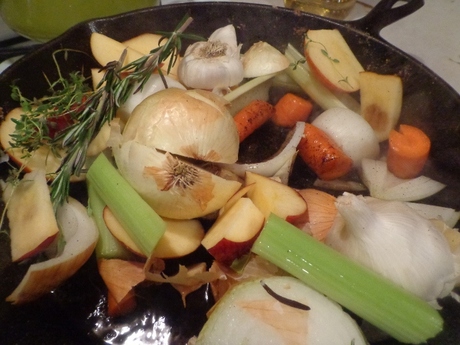
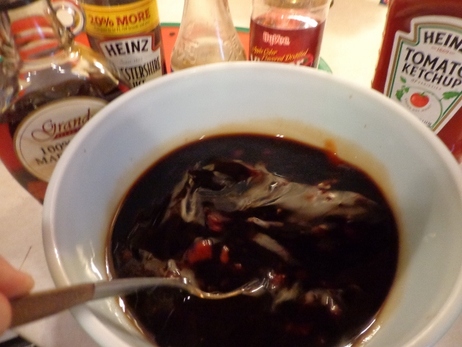
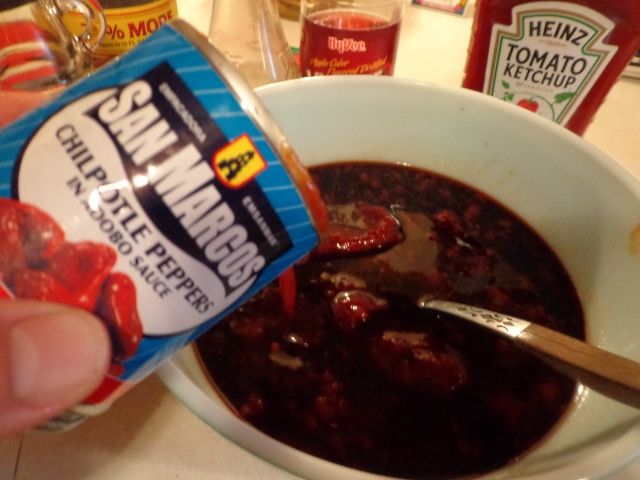
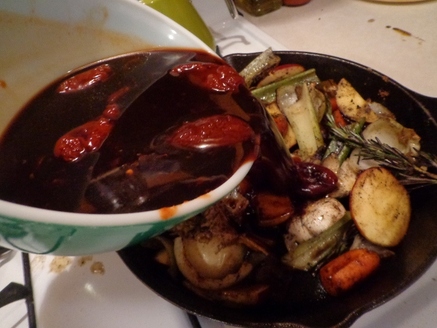
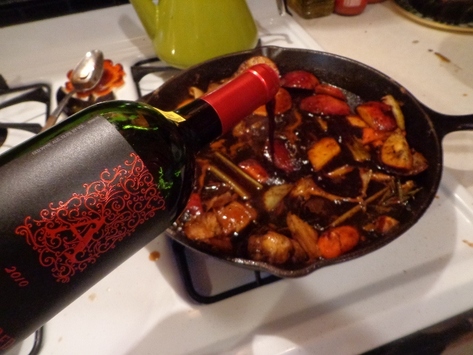
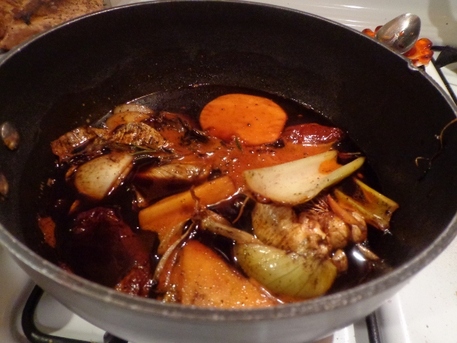
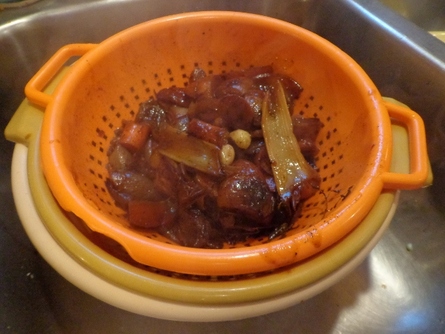
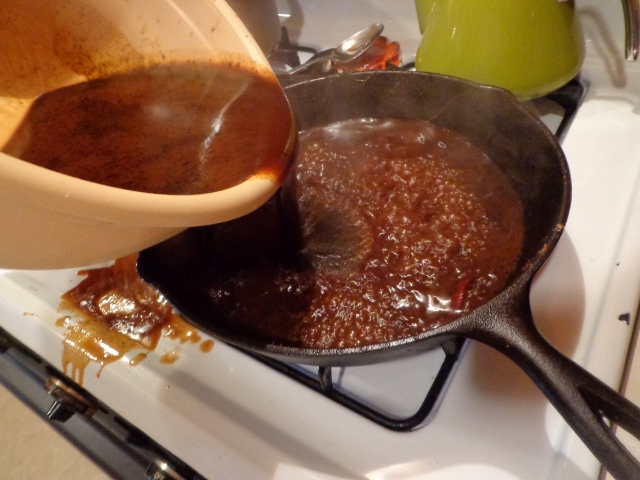
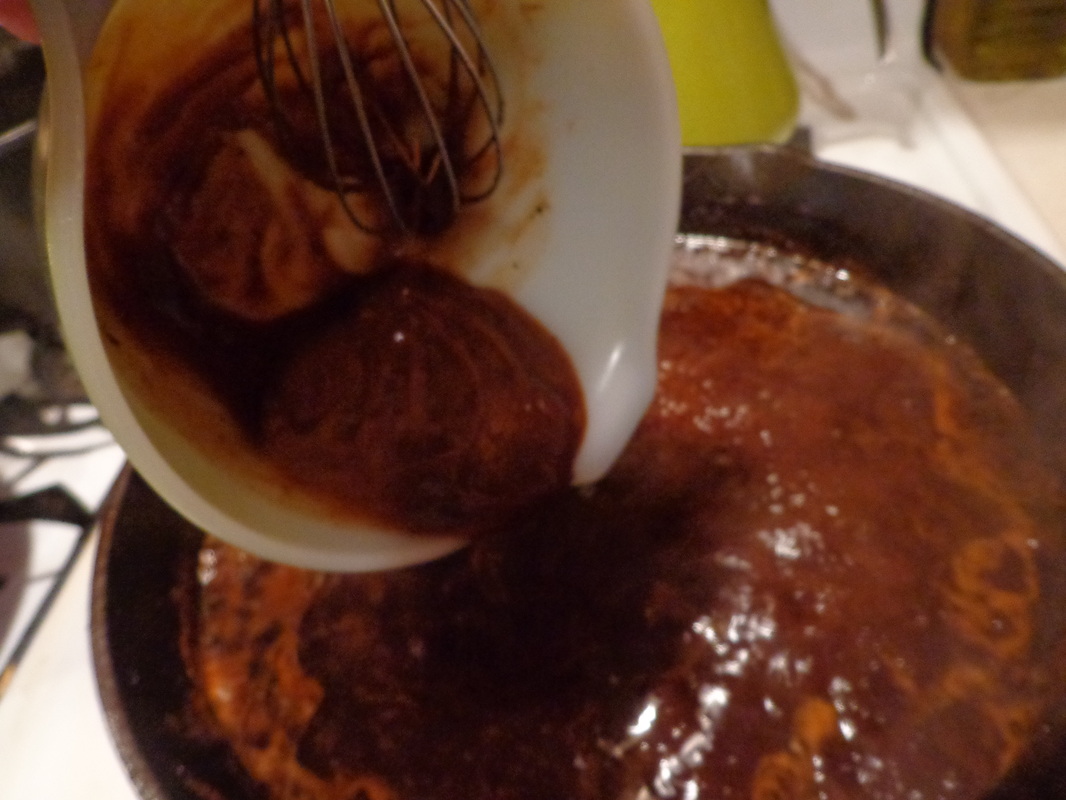
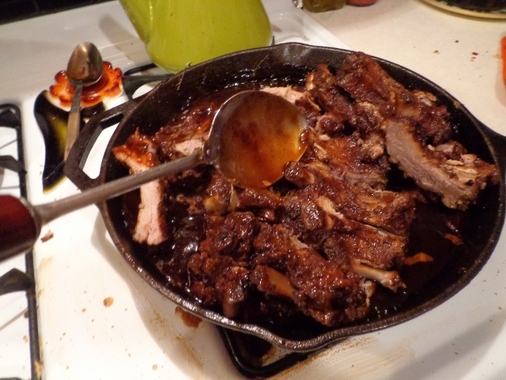
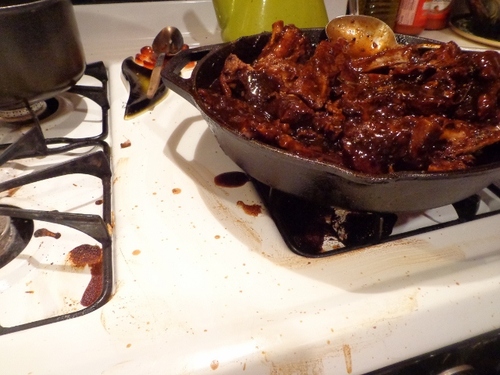
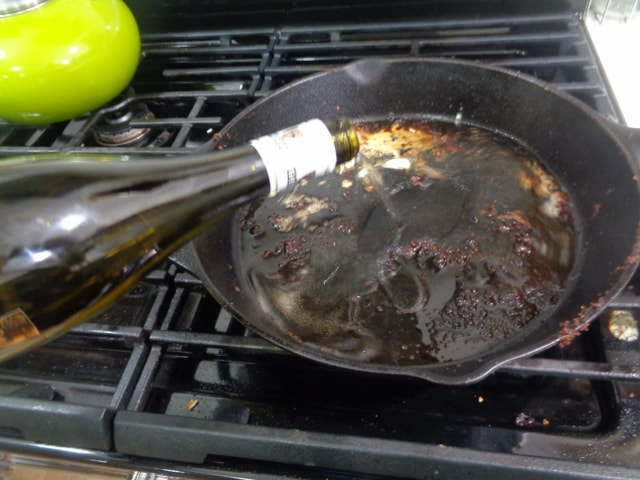
So for the pan sauce, I just took the drippings and added white wine and chicken broth and deglazed pan and let the sauce simmer a bit.
Season with salt and pepper as needed.
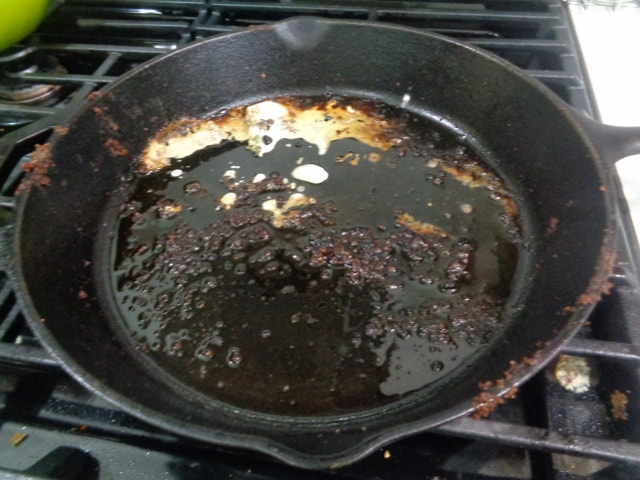
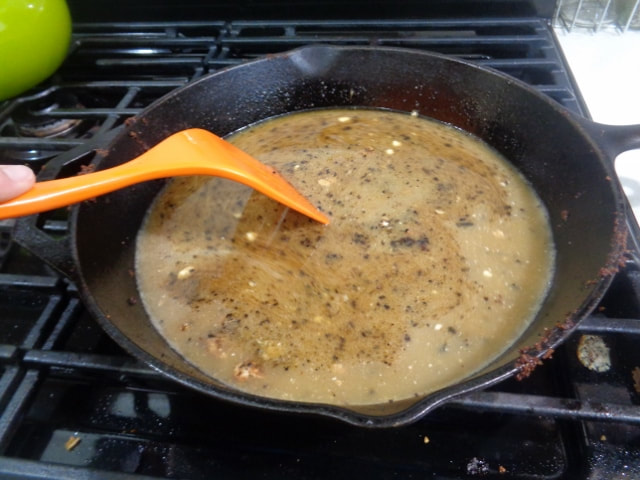
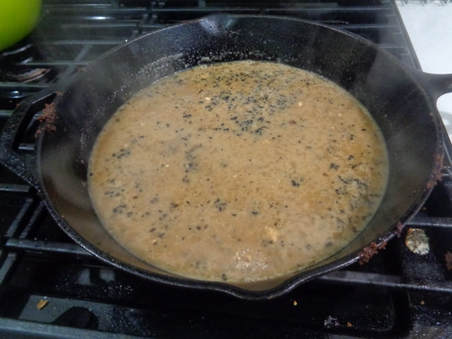
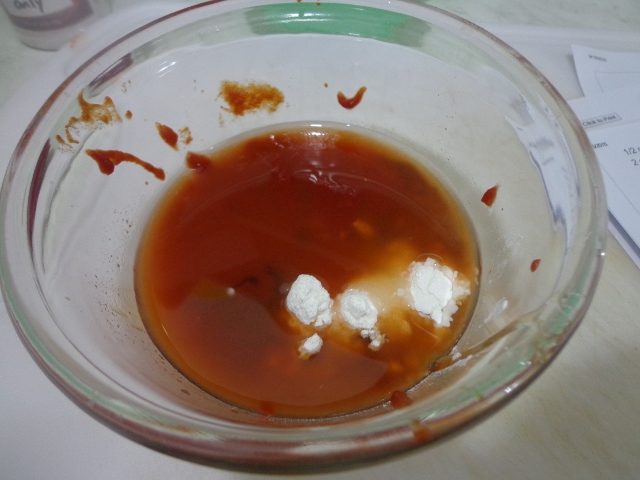
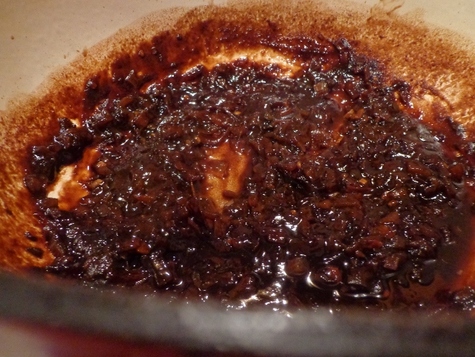
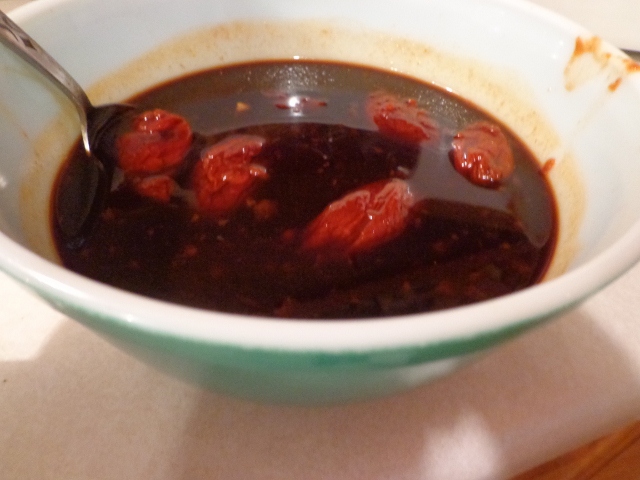
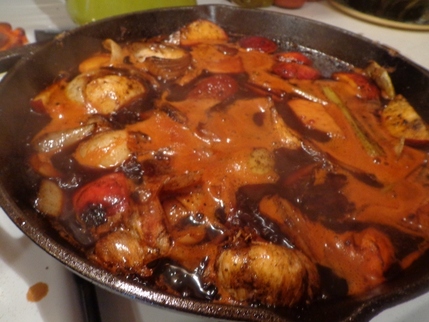
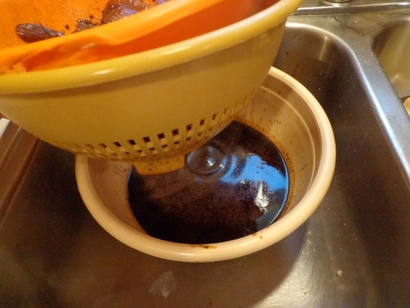
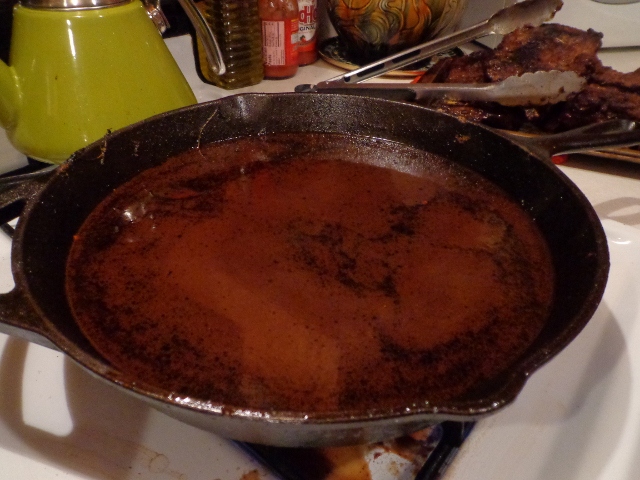
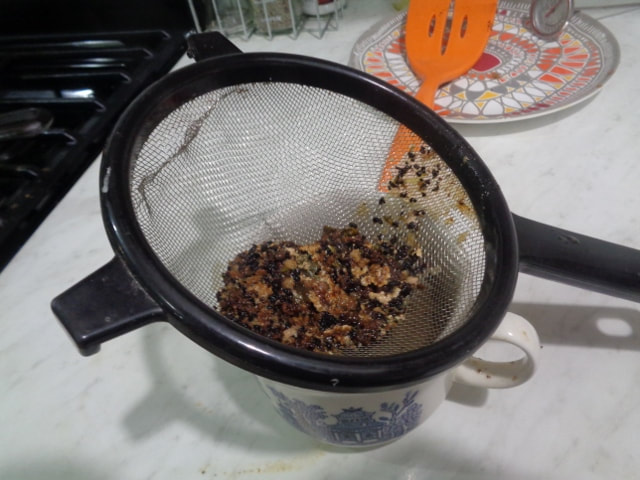
The pan sauce will have chunks of panko in it which aren't necessary,
so you will want to strain the sauce.
so you will want to strain the sauce.
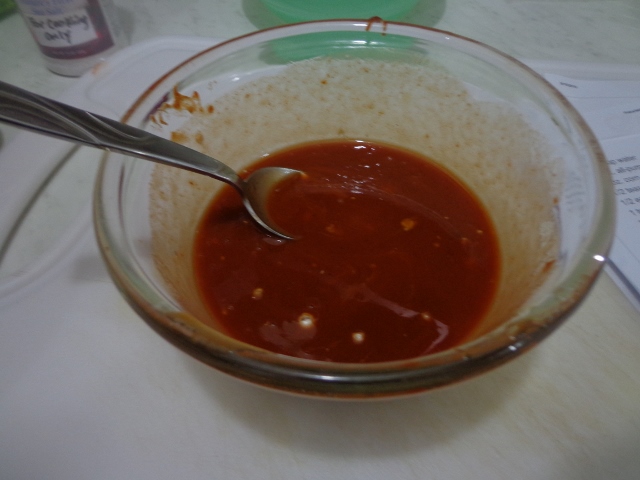
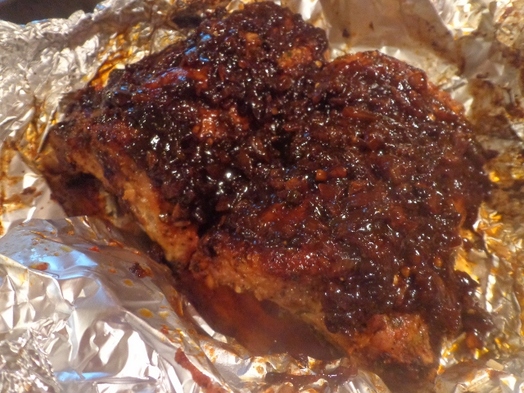
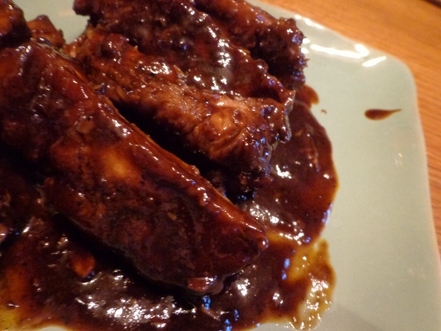
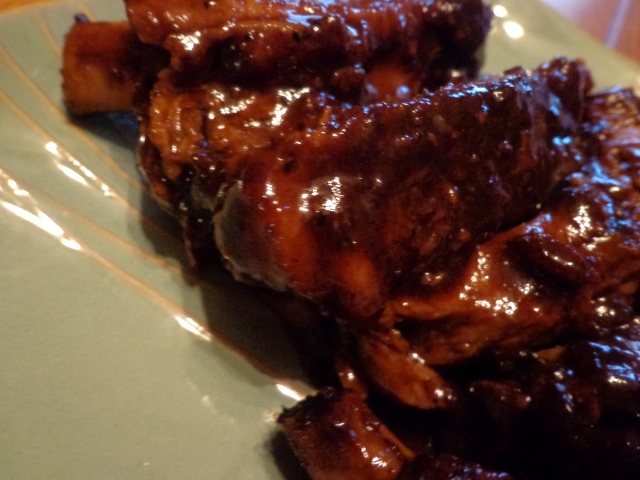
These are really terrible pictures but strain that sauce and you will get a good 1 cups of a tasty glaze.

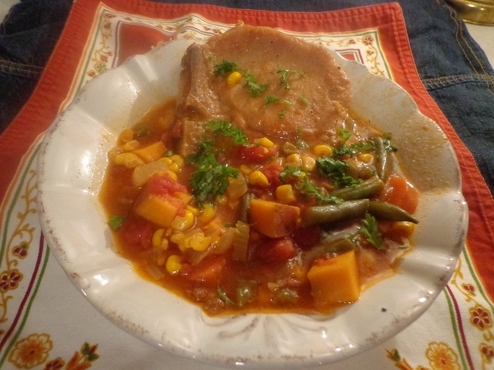
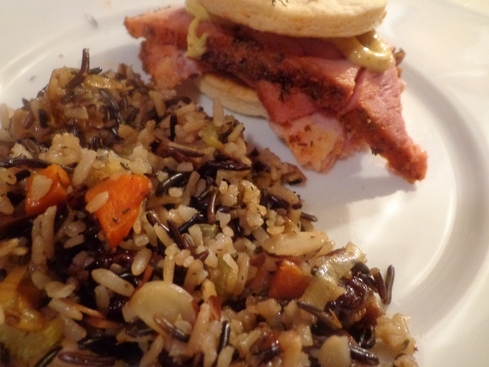
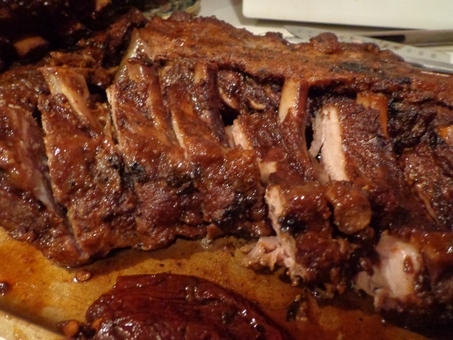
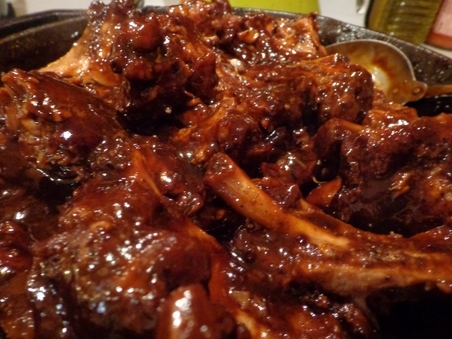
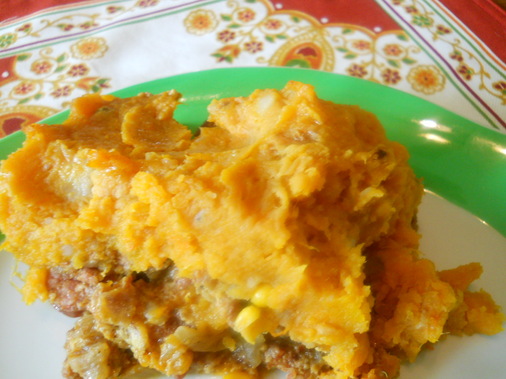
Cut that beautiful pork tenderloin on the bias...
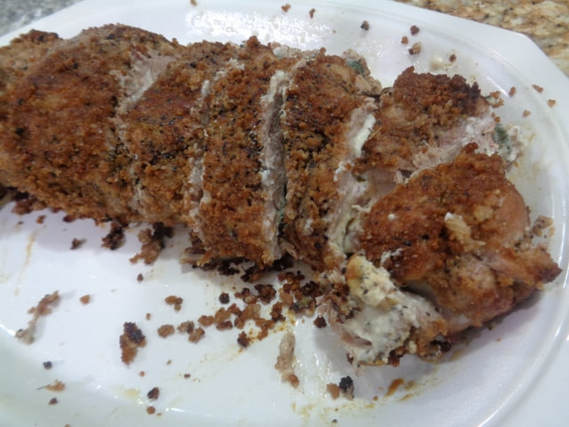
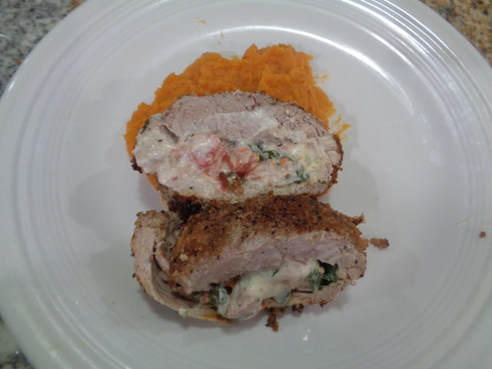
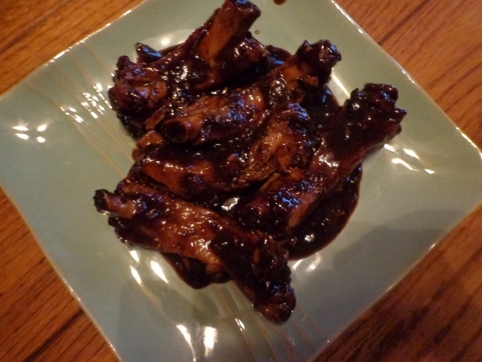
Plate up
a couple slices on a sweet potato puree bed or side with rice or a nice salad.
Roasted rosemary potatoes would be nice too.
a couple slices on a sweet potato puree bed or side with rice or a nice salad.
Roasted rosemary potatoes would be nice too.
The tang of the herbed cheese, the fresh tomatoes
and spinach are addictive.
The seared panko crust with thyme is genius.

Take the flavor over-the-top by glazing
with the pan sauce.

Okay, now gonna share the quick
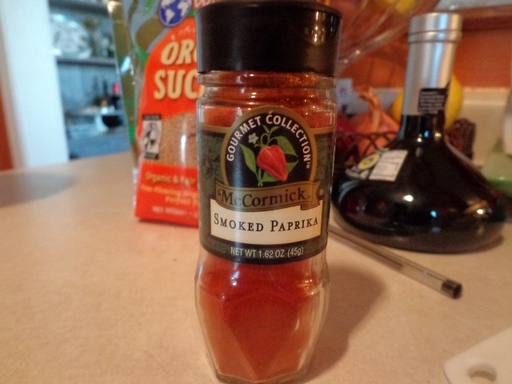
Sweet Potato Puree with Smoked Paprika
recipe. This is the only way to make a sweet potato puree, people!!
SMOKED paprika!!!
Sweet-Potato Puree with Smoked Paprika
Straight outta Epicurious.com
INGREDIENTS
Straight outta Epicurious.com
INGREDIENTS
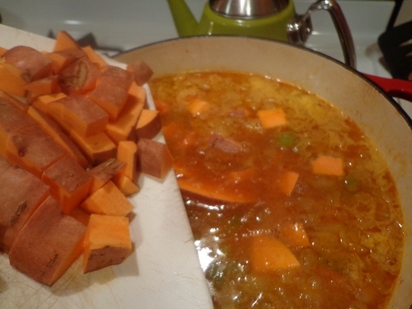
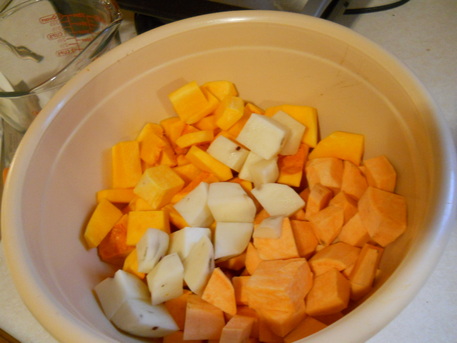
- 3 pounds sweet potatoes
- 1/2 stick (1/4 cup) unsalted butter, cut into 1/2-inch cubes and softened
- 1/3 cup heavy cream
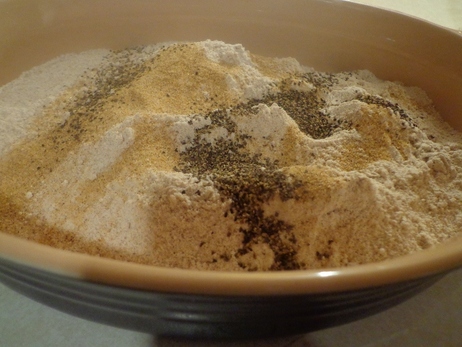
- 1/4 teaspoon sweet or hot smoked paprika*
- 1/4 teaspoon salt, or to taste
- 1/8 teaspoon cayenne, or to taste
- *Available at kalustyans.com
- Put oven rack in middle position and preheat oven to 400°F.
- Prick each potato once with a fork, then bake potatoes in a foil-lined shallow baking pan until tender, about 1 hour. When cool enough to handle, peel, then cut away any eyes or dark spots. Purée potatoes with butter, cream, paprika, salt, and cayenne in a food processor until smooth.
Here's the direct link where you can go to the Epicurious website and print the recipe off!
Sweet-Potato Puree with Smoked Paprika
Sweet-Potato Puree with Smoked Paprika
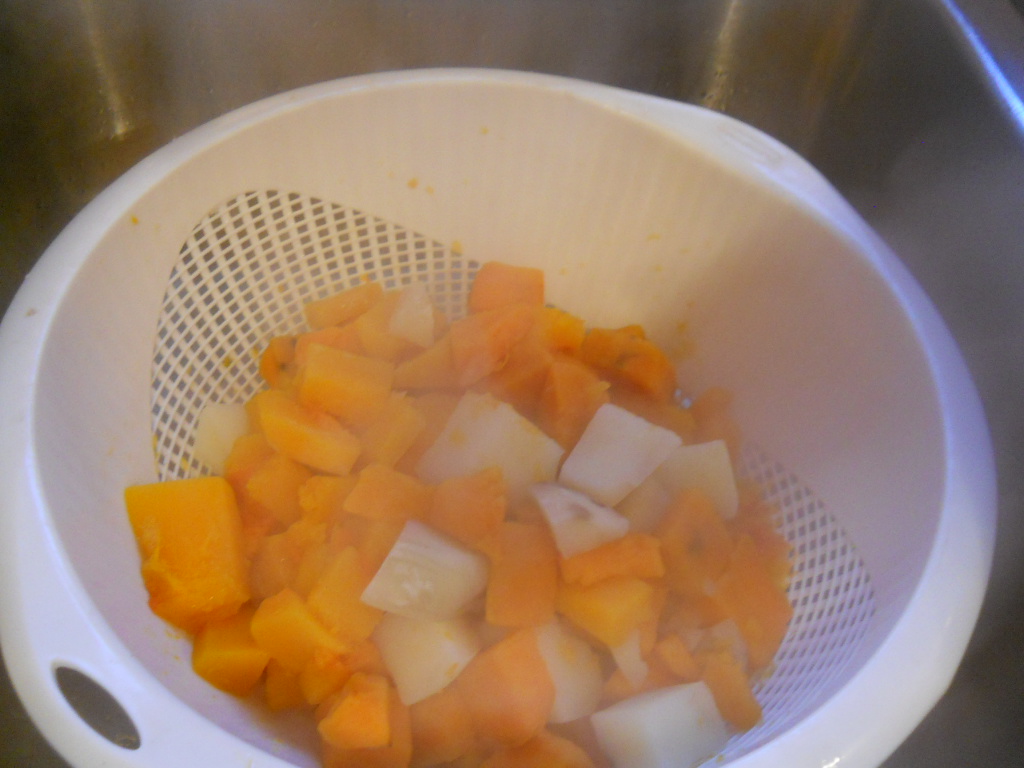
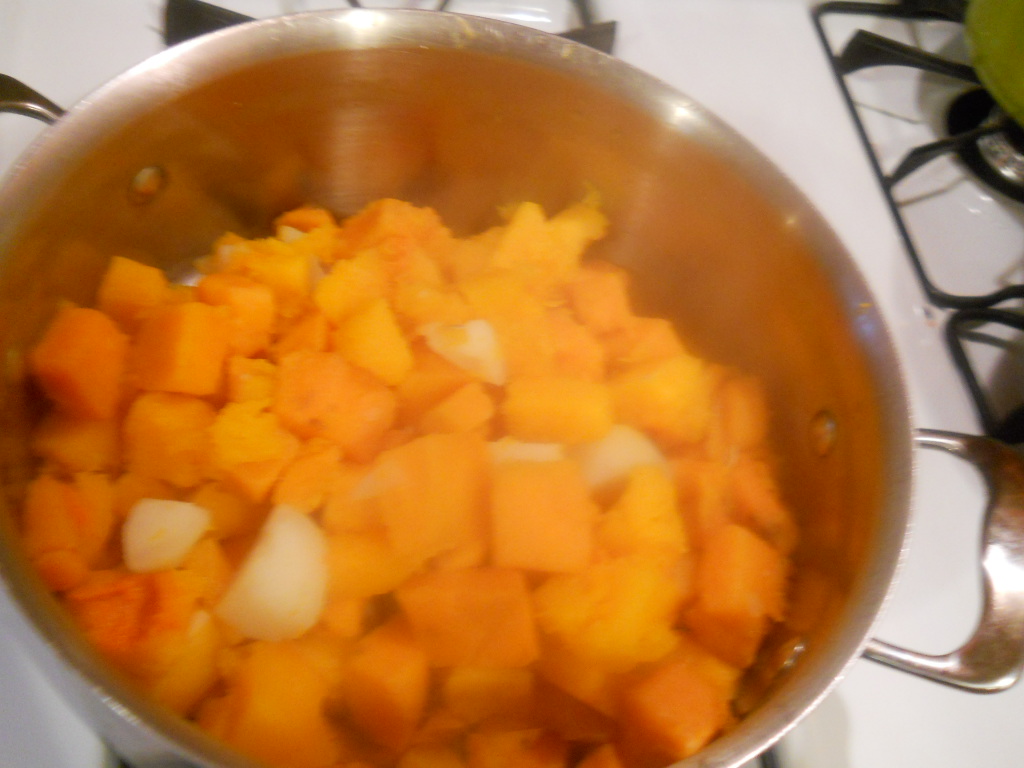
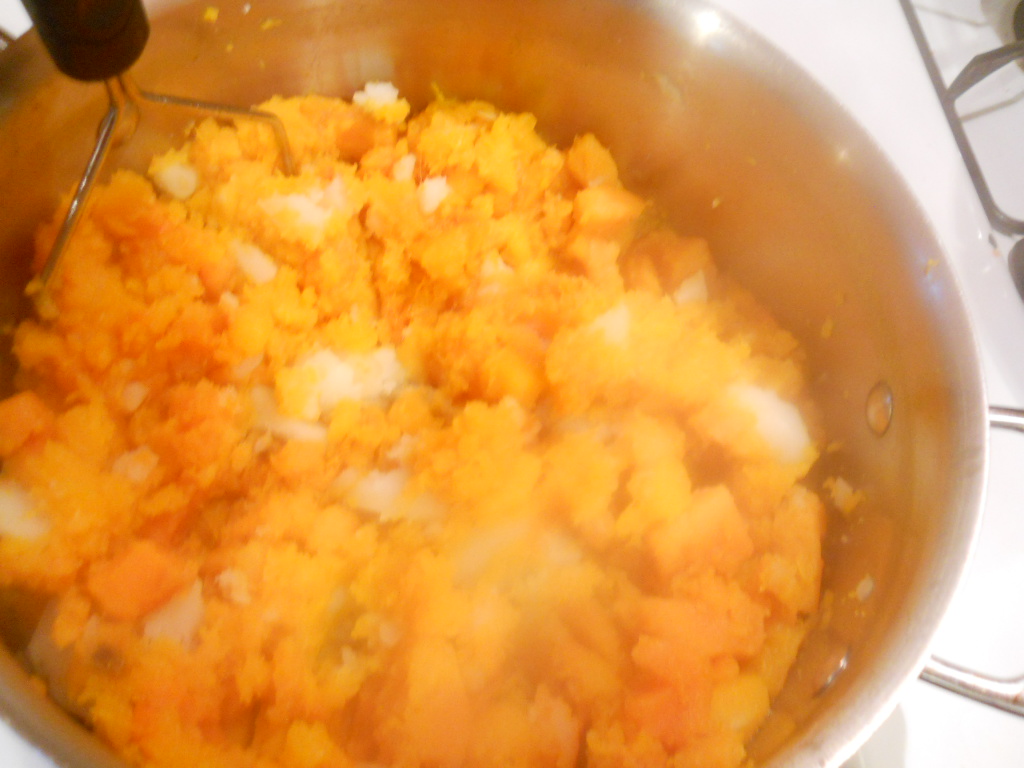
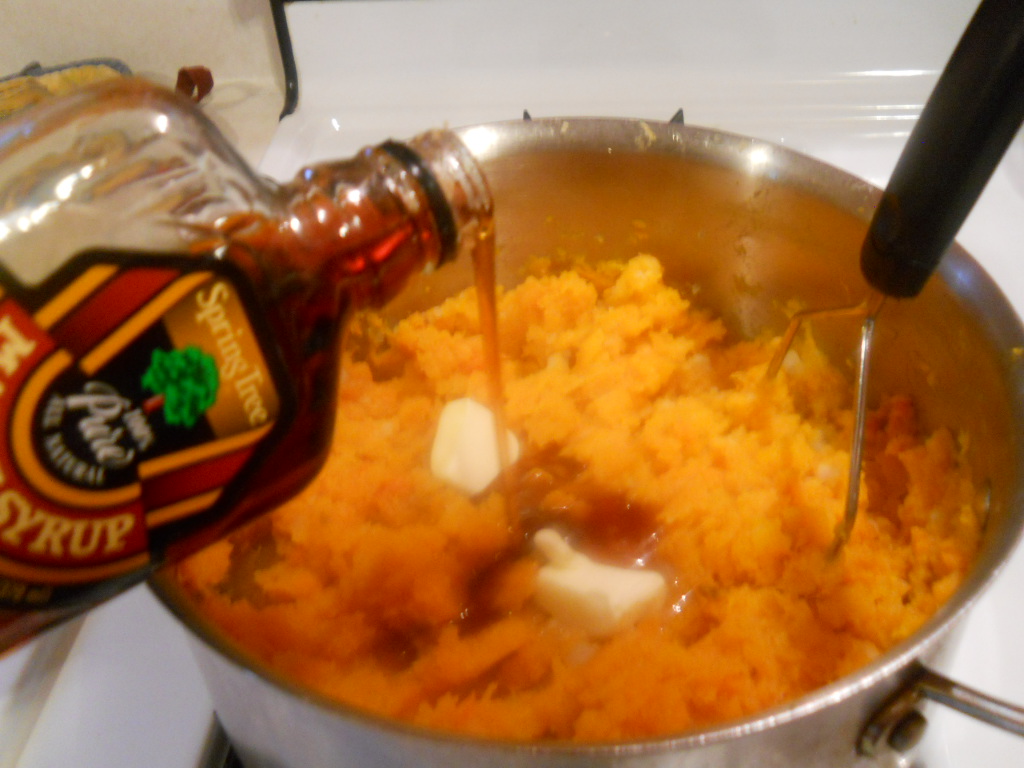
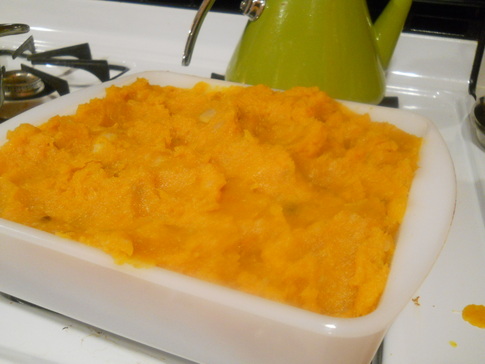
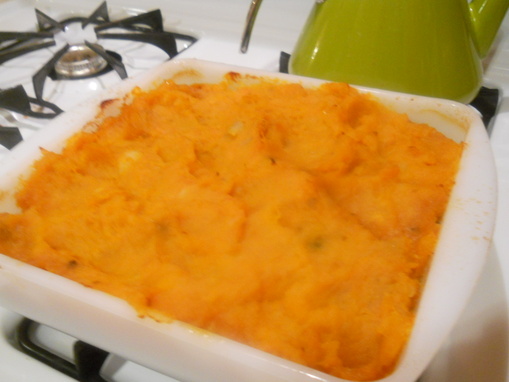
Bake up sweet potatoes until tender
and add the butter, spices and heavy cream.
Make sure to use SMOKED paprika, not regular paprika!!

Recipe says to puree potatoes, spices and cream in a food processor.
Angie says no way in heck was I gonna get the food processor out and clean up THAT mess!
So a hand mixer worked good. Just a good ol' potato masher would be fine too.

That's it!!!!
How easy is that!!
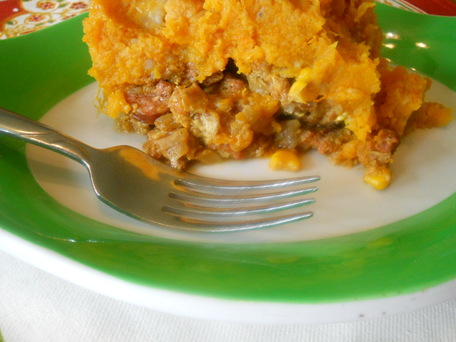
The puree is nice and smooth, sweet and smoky and absolutely a delicious complement to Corey's Stuffed Pork Tenderloin!

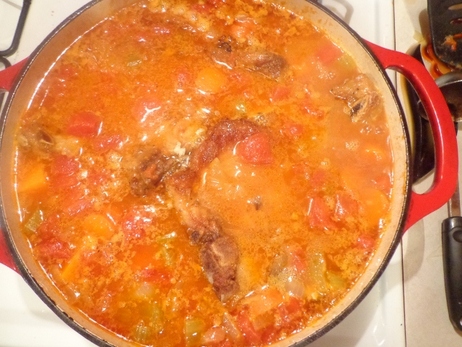
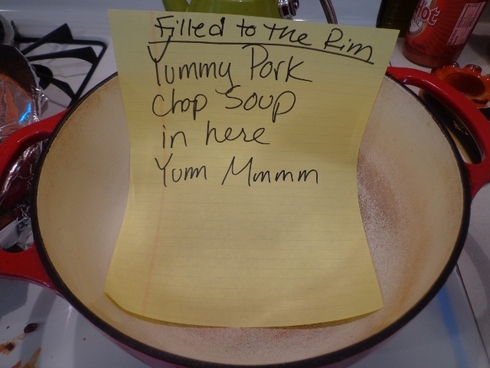
Next day, I ate a bowl for lunch,
deeelicious.

Okay y'all, that's all I gots
for today!
Gots is a word. Look it up. In the Pretend Word Dictionary.
As I said earlier, am making the Stuffed Pork Tenderloin recipe AGAIN tonight!
I hope you make it sometime too!

Hope you're having a wonderful
holiday season!
Check back again! I've been cooking up a storm from recipes, some are fails, some are hits and most all are fun (except for the baking ones, those aren't fun, those are pure torture)
but other than that, they're fun!
HOHOHO!!
Stay warm
and we'll talk at ya soon!