Greetings, All!!!
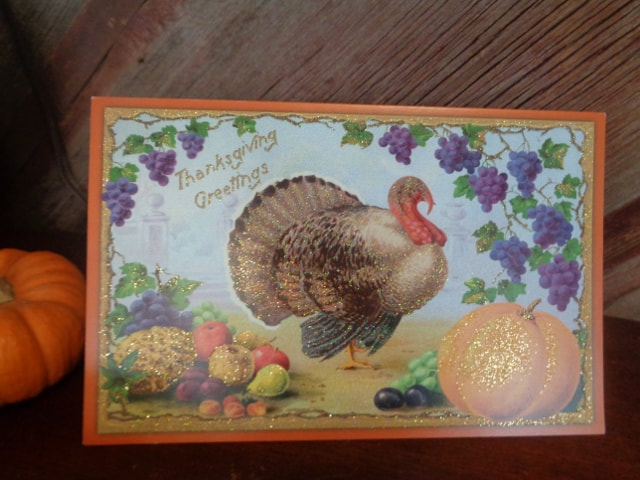
*Thanksgiving*
A day of food, family & friends or just hanging out in your pajamas! AmIRight :)
So I was on a mission to find time saver recipes for traditional Thanksgiving dishes,
when it occurred to me it's really the prep work that takes the most time, NOT the actual cooking.
A day of food, family & friends or just hanging out in your pajamas! AmIRight :)
So I was on a mission to find time saver recipes for traditional Thanksgiving dishes,
when it occurred to me it's really the prep work that takes the most time, NOT the actual cooking.

So I found recipes that could be made up (rolls, pie, cranberries!) or prepped up
(stuffing, turkey, carrots, potatoes!) the day before and assembled and cooked quite nicely
and efficiently the following day.


Now this menu is for a small gathering: 2-6 people.
~~~~~~~~~~~~~~~~~~~~~~~~~~~~~~
Angie's 1 Day Prep-Ahead
Thanksgiving Menu
Links to ALL recipes at the bottom of this page!
Herb-Roasted Turnkey Breast with Basic Gravy
Cheddar and Jalapeno Stufing
The Best Damn Vegan Mashed Potatoes
Honeyed Carrots and Oranges
Bourbon-Cranberry Compote
Homemade Butter Flake Pull Apart Rolls
Chocolate Cream Pie
~~~~~~~~~~~~~~~~~~~~~~~~~~~~~~~
I'll take you through some steps here with some brief commentary on each dish.
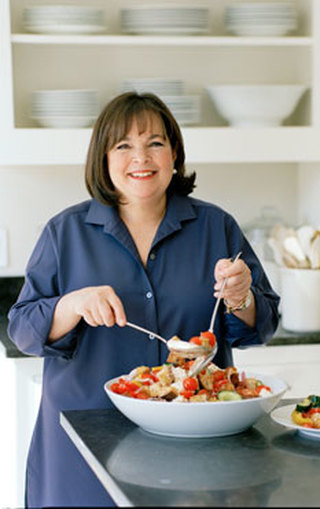
Herb-Roasted
Turnkey Breast
Ina Garten's recipe
Herb-Roasted
Turnkey Breast
Ina Garten's recipe
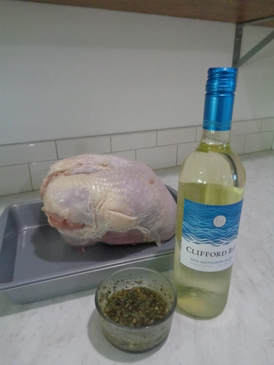
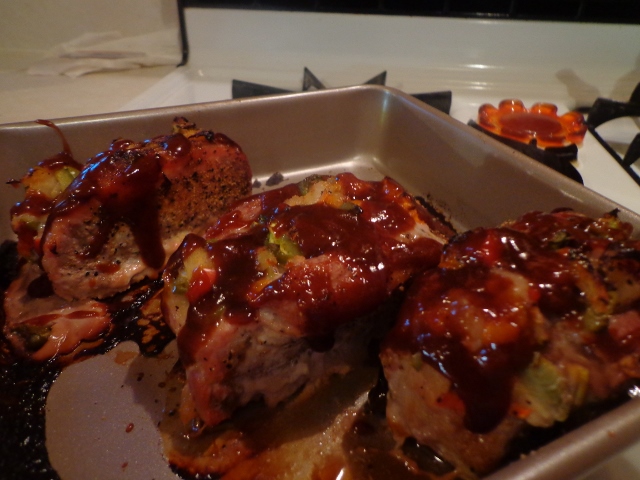
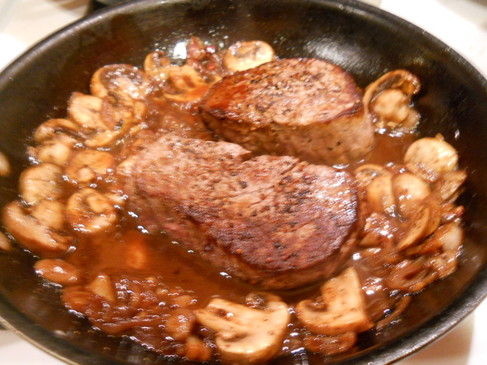
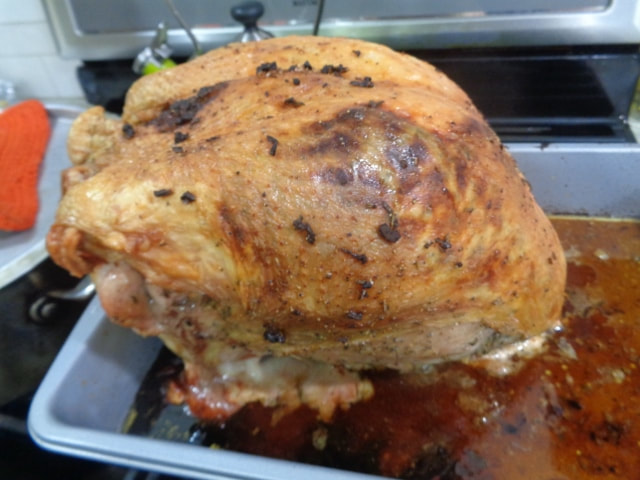
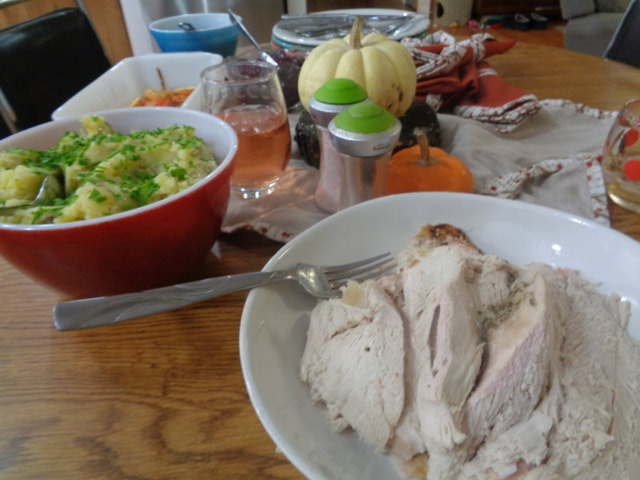
Let's start with the 7.3 lb turkey breast that cooked in two hours.
TWO hours!
Prep Day Ahead!
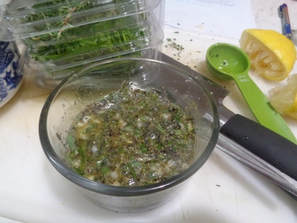
I made the herby olive oil paste up the night before, coated the turkey and put it back in fridge.
TWO hours!
Prep Day Ahead!
I made the herby olive oil paste up the night before, coated the turkey and put it back in fridge.
 | 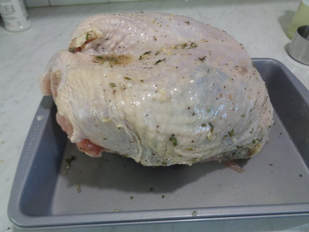 |
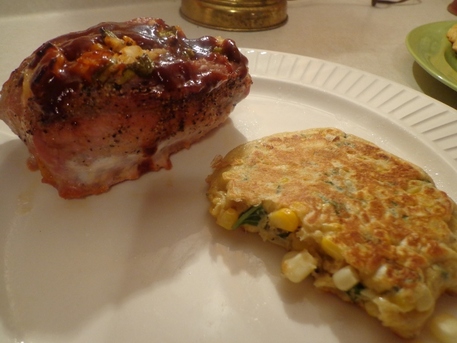
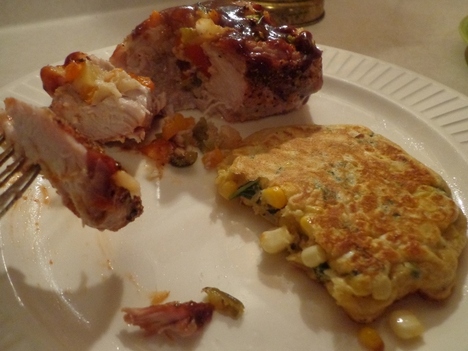
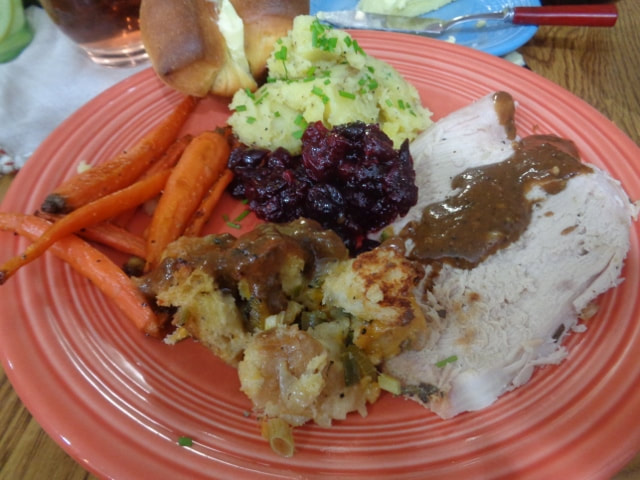
Cooks up beautifully and slices up nicely.
The herbed paste rubbed directly on the meat and on top of skin was fantastic!!
Juices were added to the Basic Gravy.

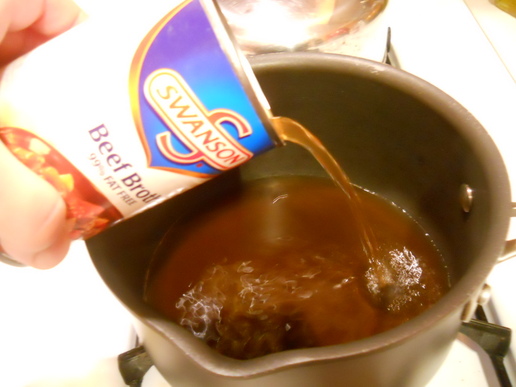
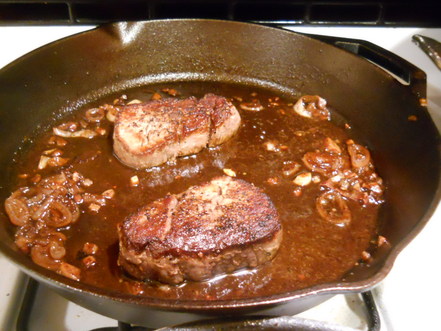
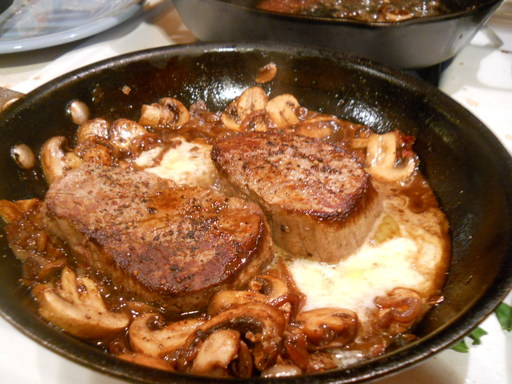
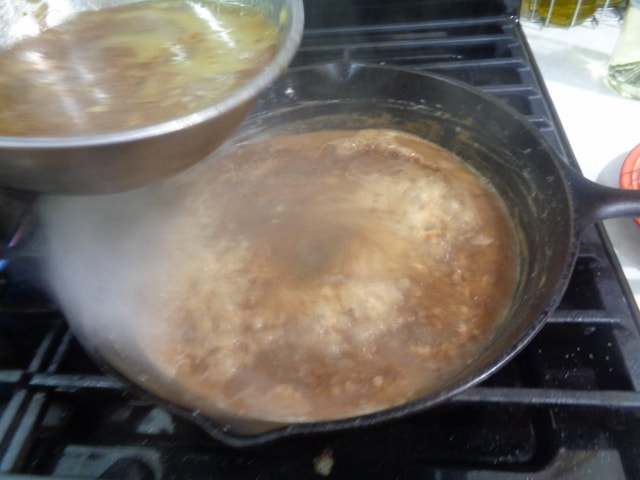
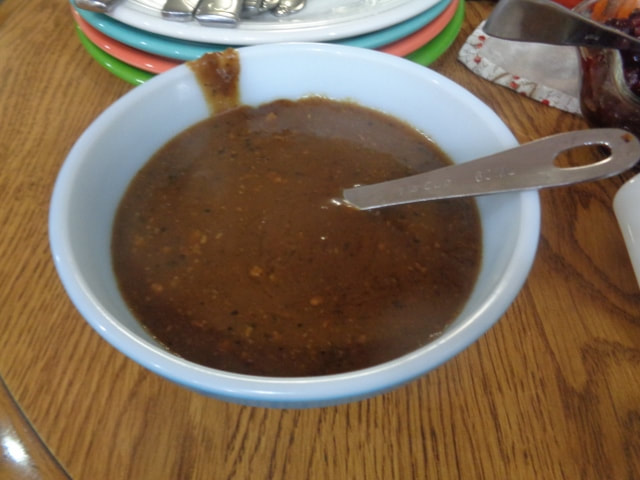
Let's move along to the Basic Gravy.
No prep-ahead of this. Day of only.
I made a roux.
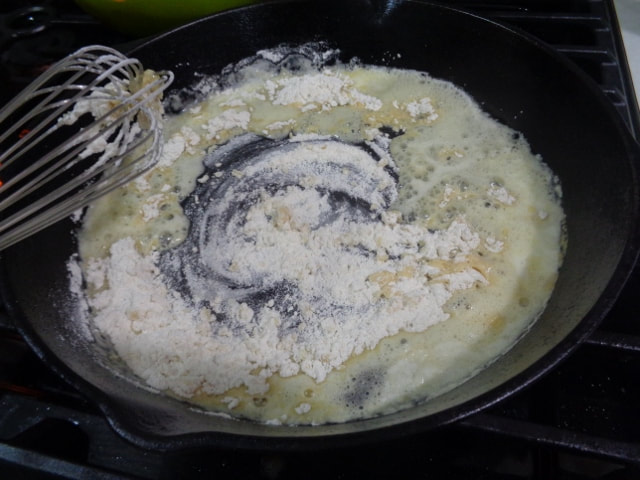
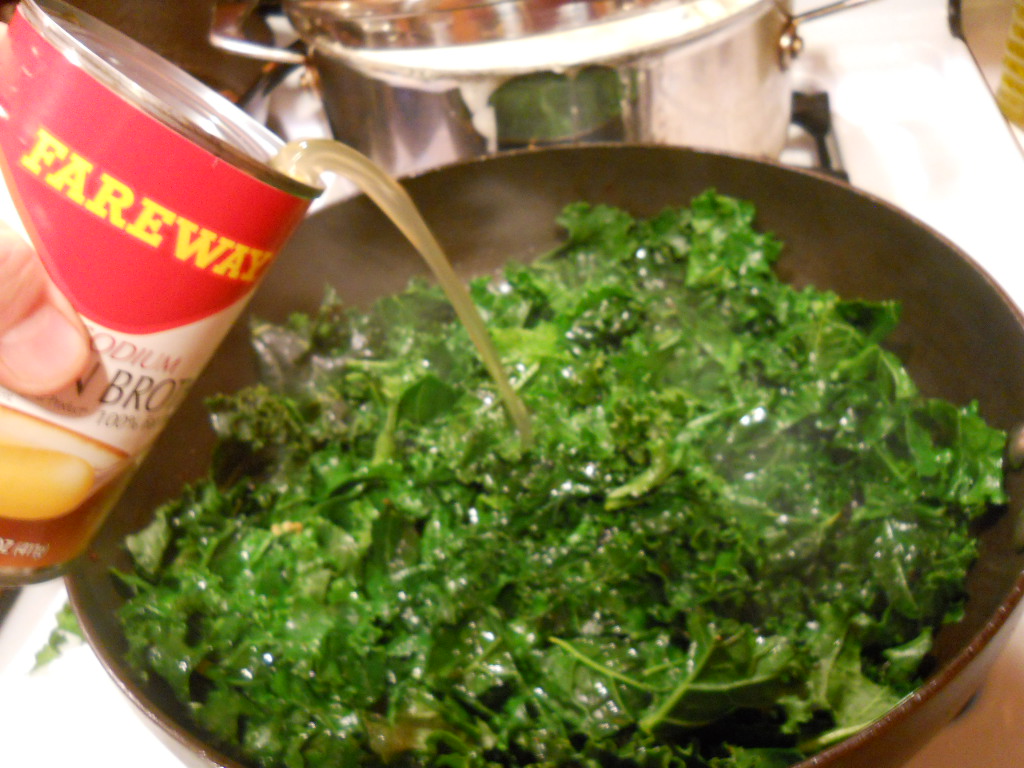
Add the drippings from the turkey roasting pan into the chicken broth.
I used
homemade chicken broth.
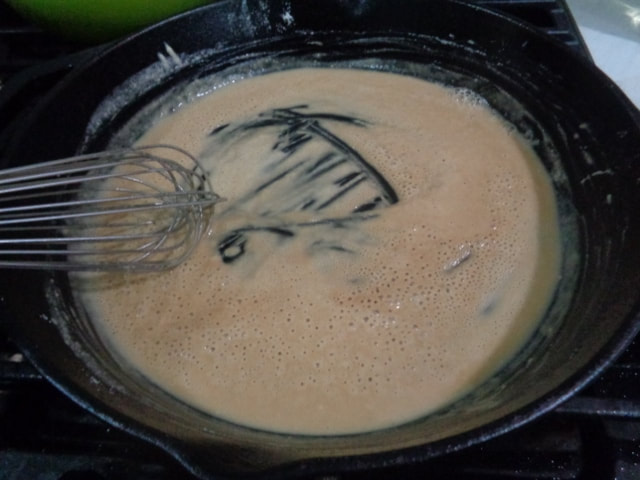
Whisk the broth and drippings into the skillet and bring to boil then simmer until thickened.
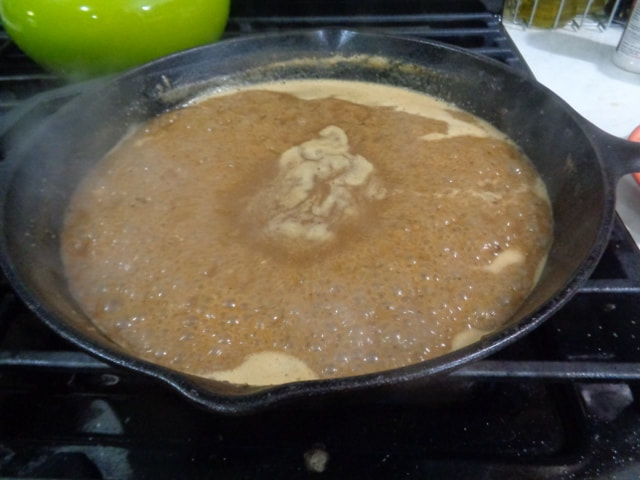
This gravy was hands down the star of the show.
*STAR OF THE SHOW*
I think the key is homemade chicken broth but I don't know that for sure. If you don't have homemade, buy the absolute best kind of broth you can.


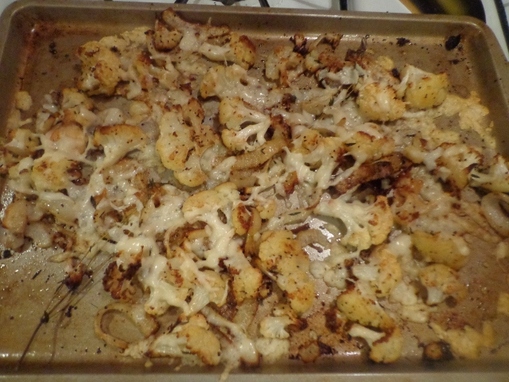
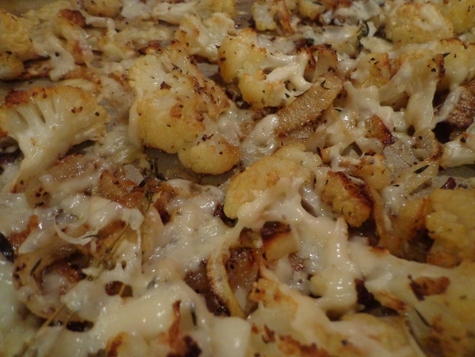
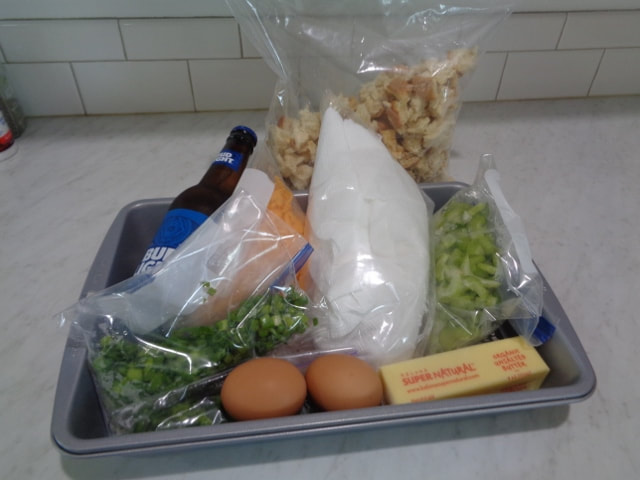
Let's move along to the PREP AHEAD
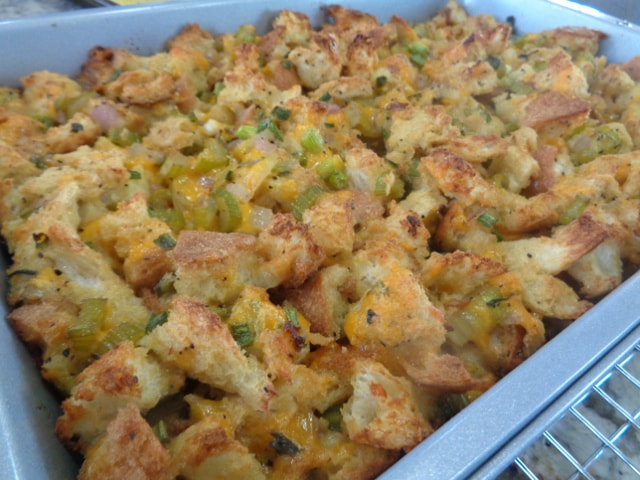
Cheddar and
Jalapeno Stuffing.
By the way, I believe this recipe could be assembled and cooked day ahead and just add some extra chicken broth when heating up next day.
Note: I could not taste the jalapeno really, add more jalapeno if you like heat.
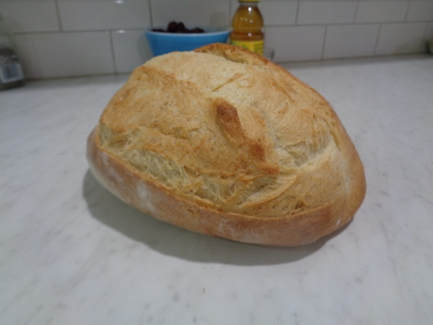
The recipe called for Italian bread so that's what I got was Italian bread.
By the way y'all, I do not know how to cook without a recipe.
Completely serious. So I tend to stay true to the recipe ingredients and amounts.
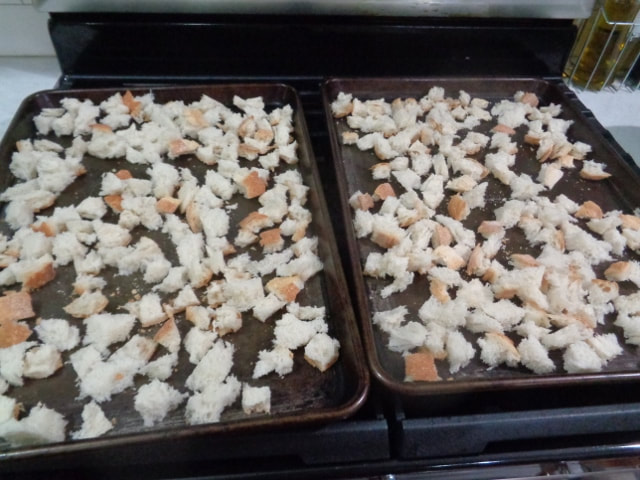
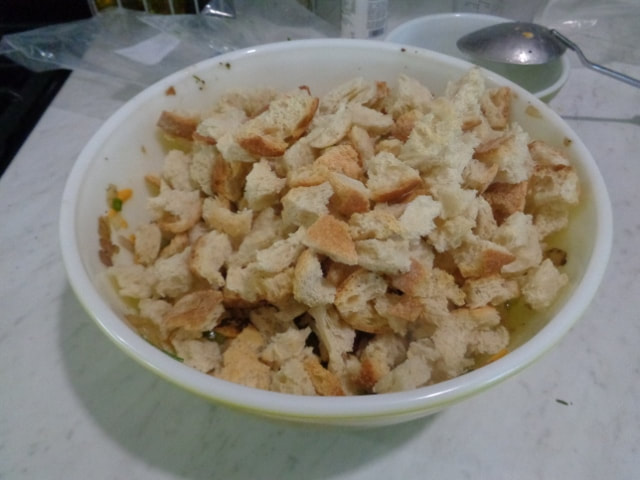
The day before...
cut or tear the bread up and bake in a 375 oven for 12 minutes, until dried out.
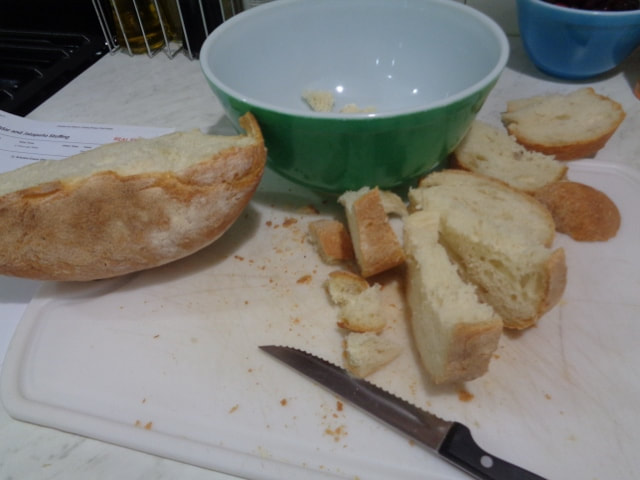
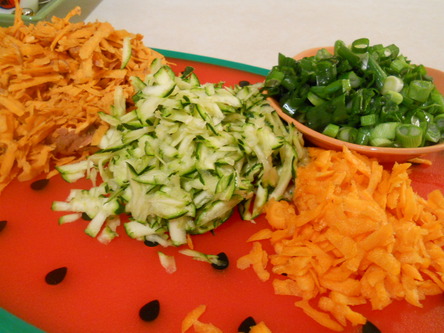
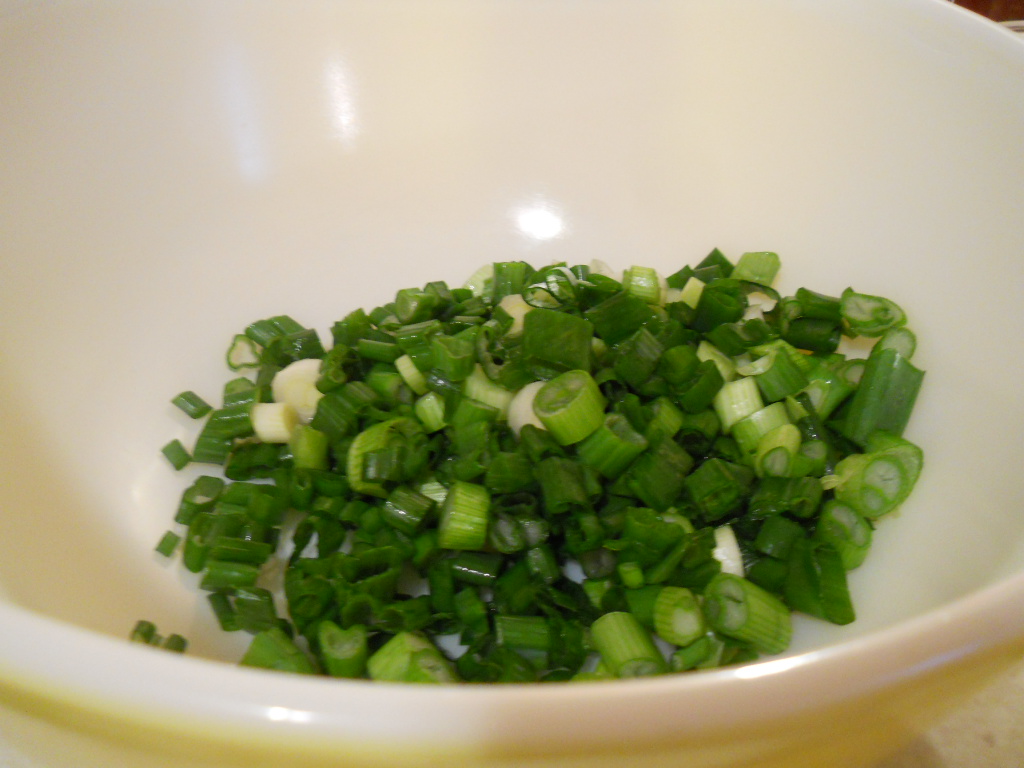
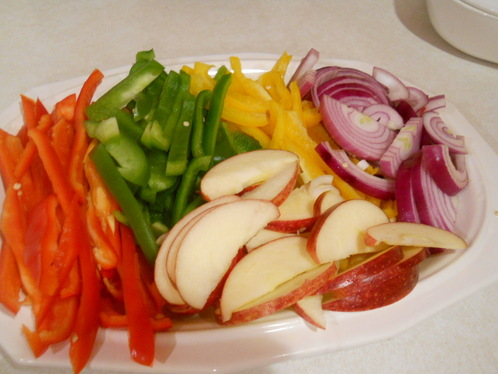
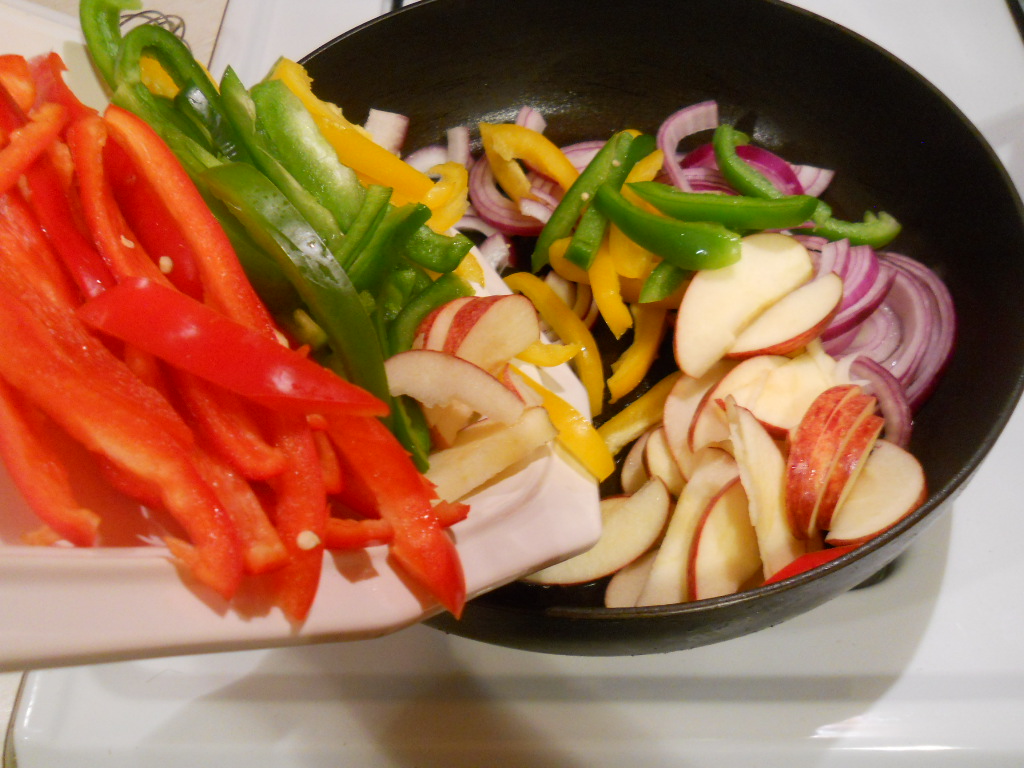
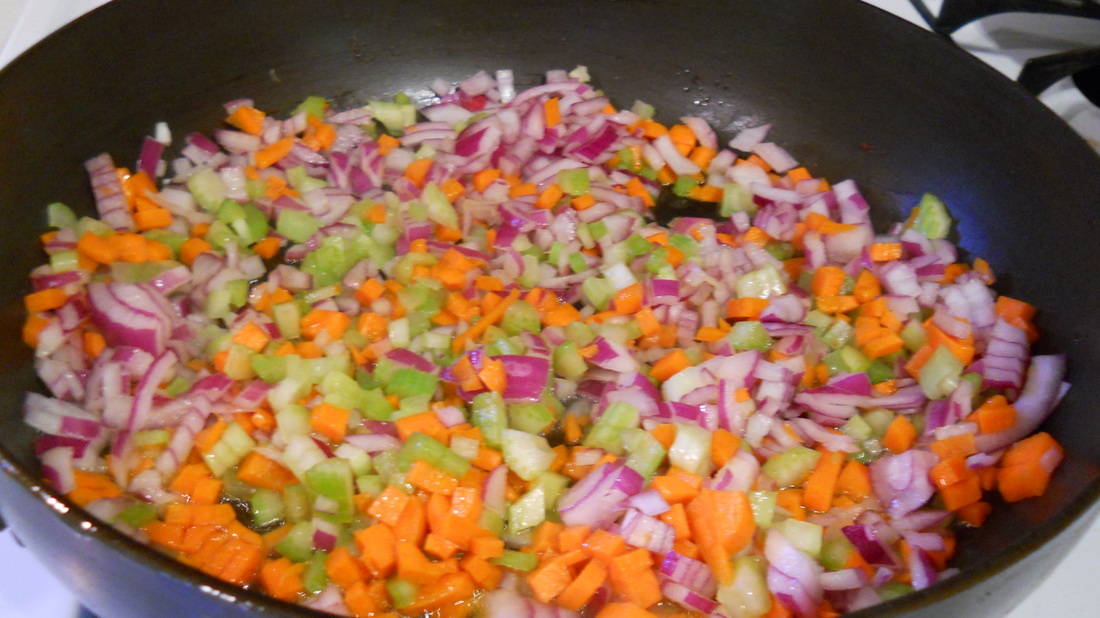
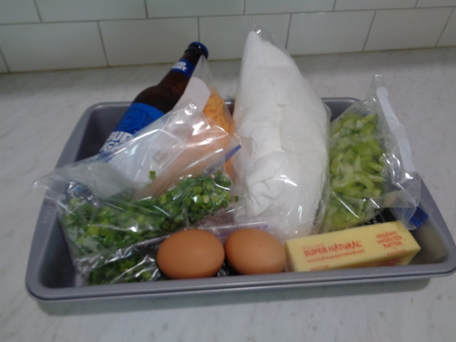
Cut up all the vegetables, grate up the cheese and deposit all ingredients into the pan you will use to bake the stuffing in tomorrow and
stick in the fridge.
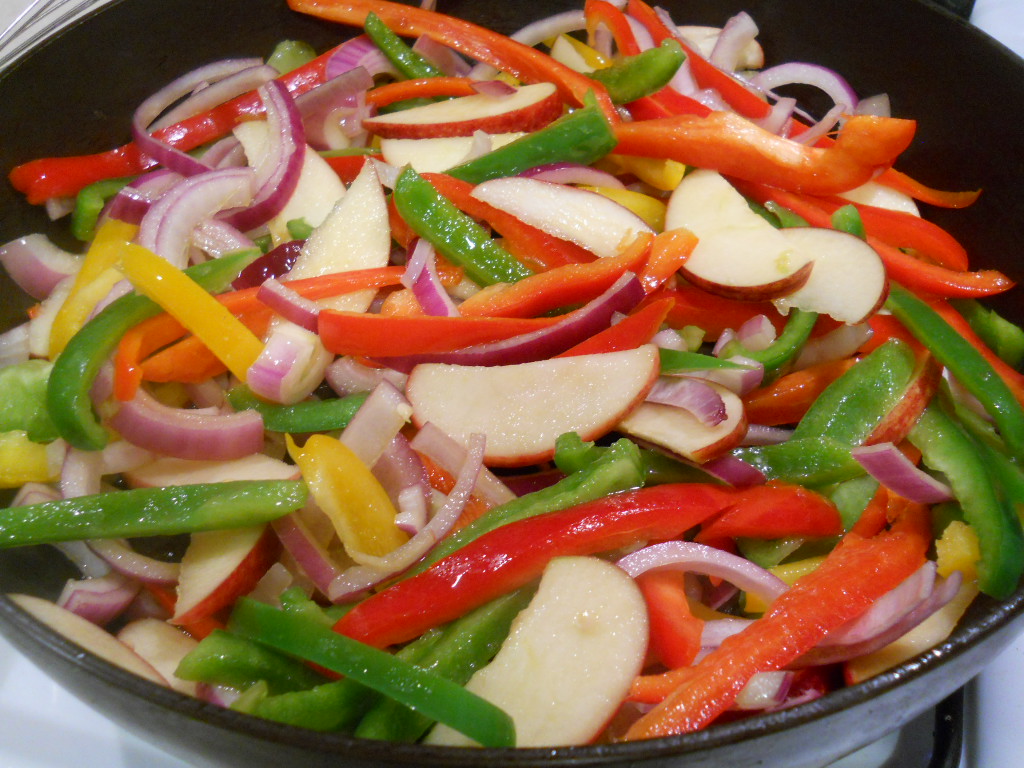
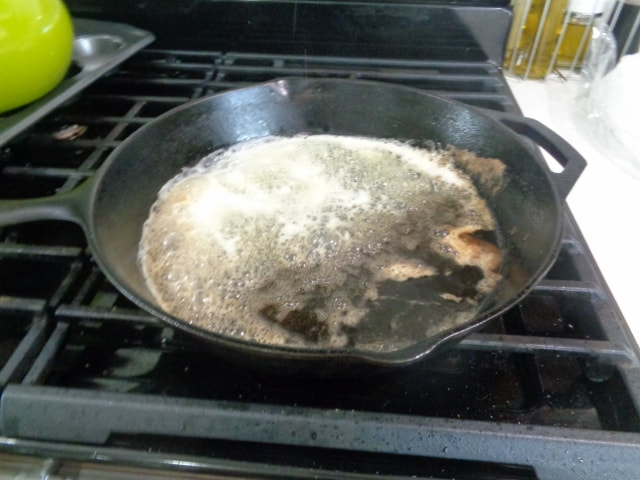
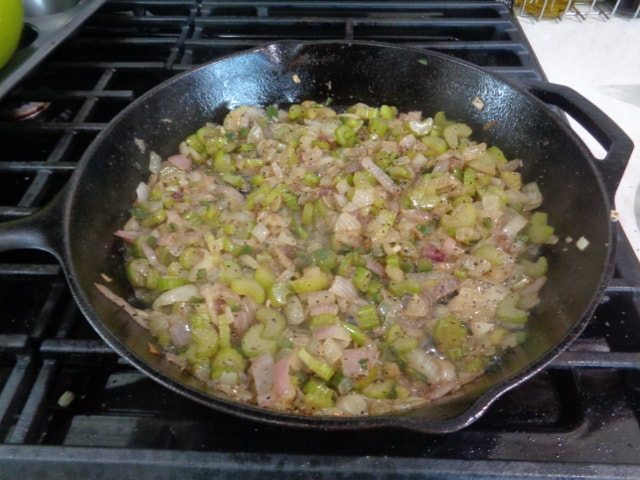
Day of, melt butter and saute the vegetables.
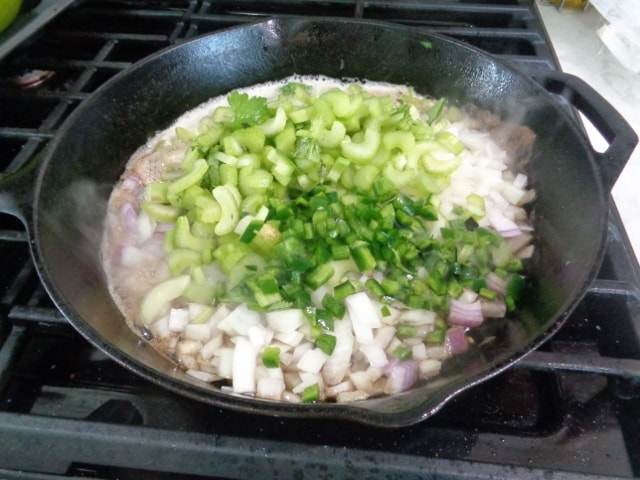

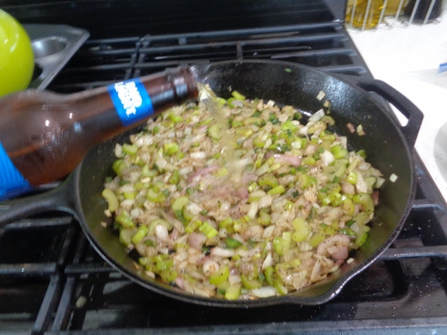
This recipe calls for a half cup beer.
It can also be left out completely.
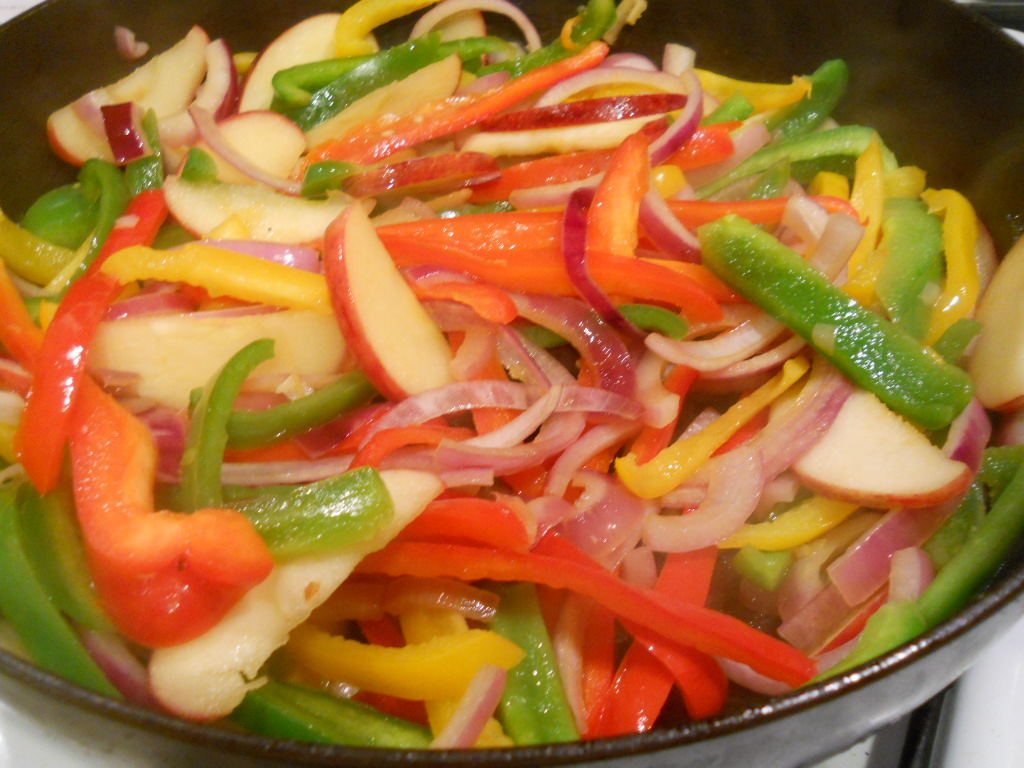
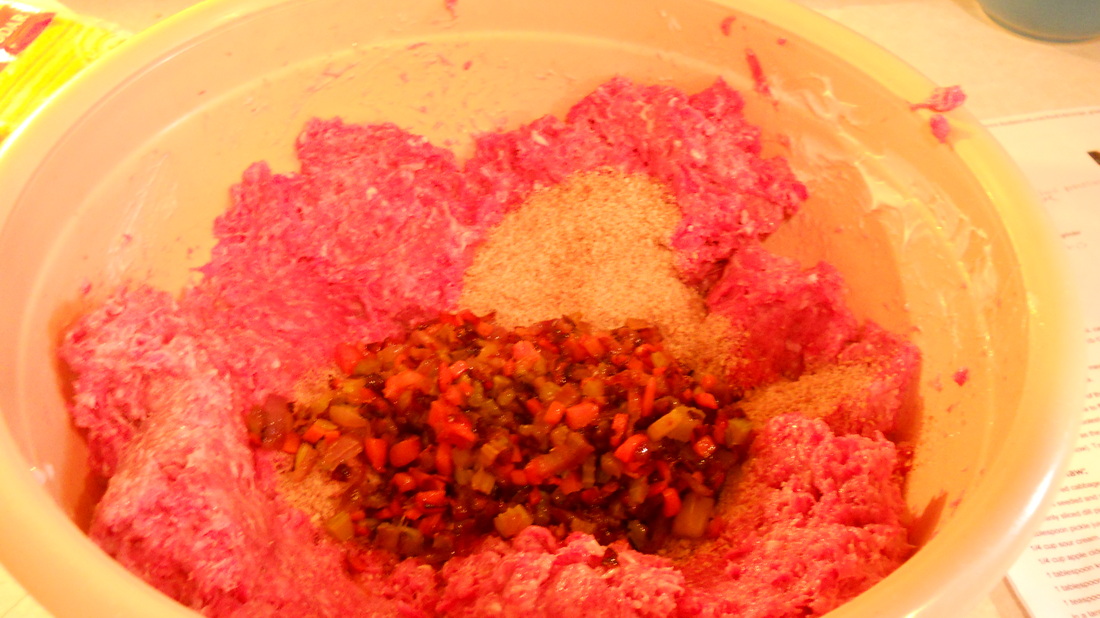
Cook until beer evaporates, then transfer mixture to a large bowl.

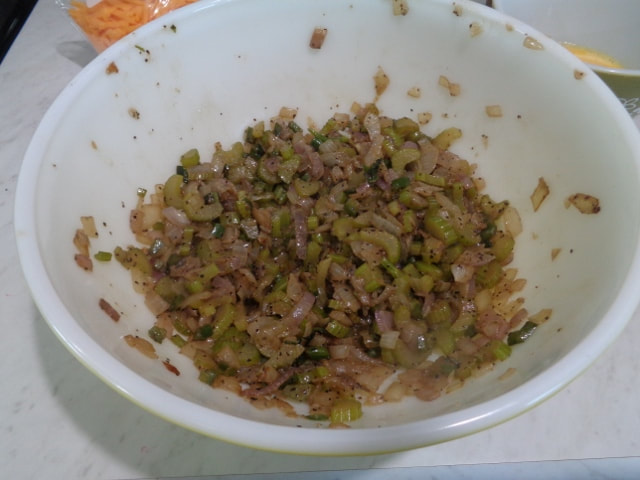
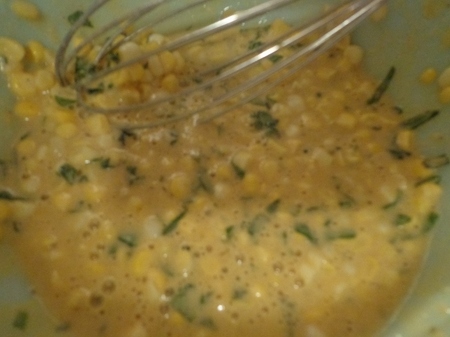
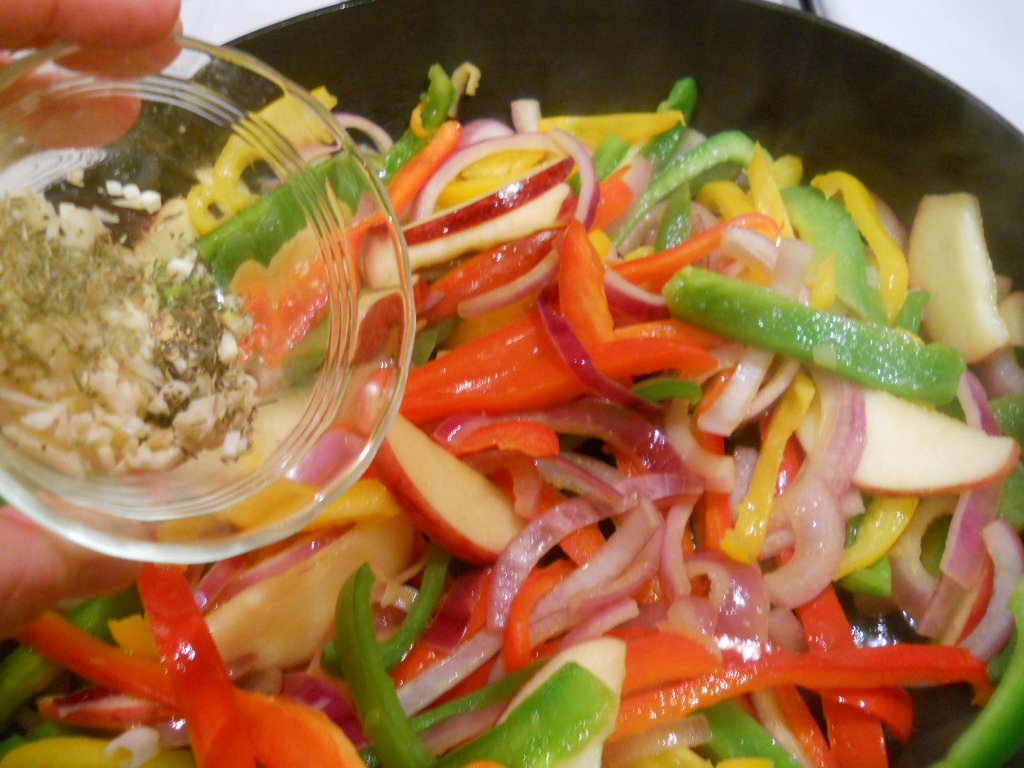
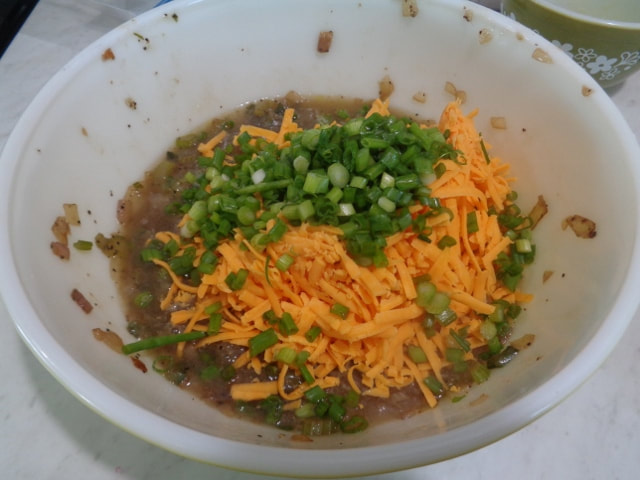
Add scallions, broth, eggs and cheddar to mixture and and toss in bread crumbs.

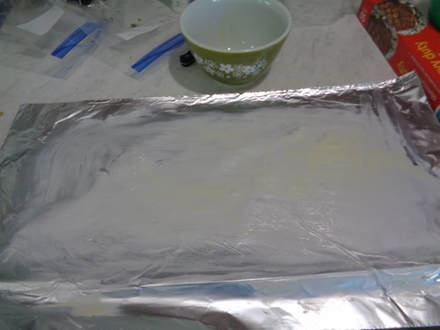
Okay,
I have this super exciting picture of buttered up aluminum foil to remind you to, you know, butter up your aluminum foil.
Cause if you don't,
all the good browned bits of stuffing will stick to the foil and you'll be sad.
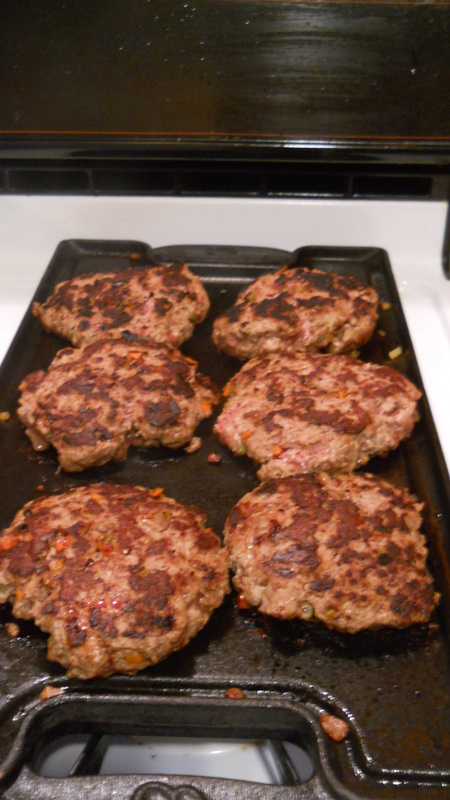
Pour stuffing into prepared pan and bake covered with foil, then remove foil and continue baking. I let mine stay in 10-15 minutes longer to get more browned.
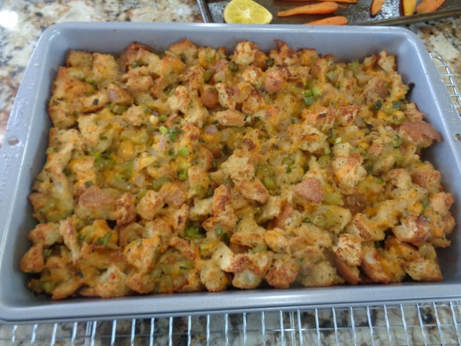
This stuffing dish really could be prepped, assembled and cooked the day before and just reheated day of with some extra chicken broth. I made this up in the morning, stuck it in fridge until dinner and then just reheated it in oven. This is why I used a metal pan too.


Another note with this dish: You can NOT taste the heat from the jalapenos. I used two seeded jalapenos just as the recipe states and there was no heat. Probably added flavor but there was no heat so it's safe for little kiddies.
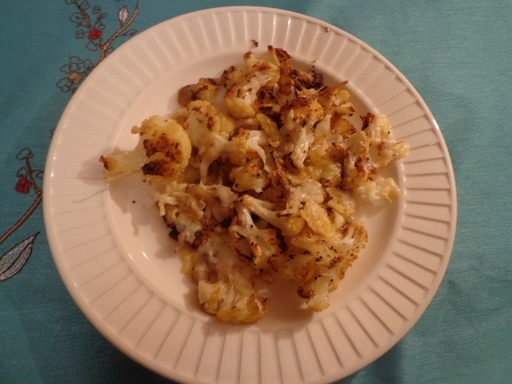
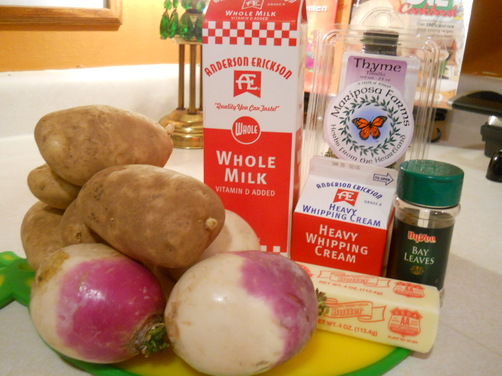
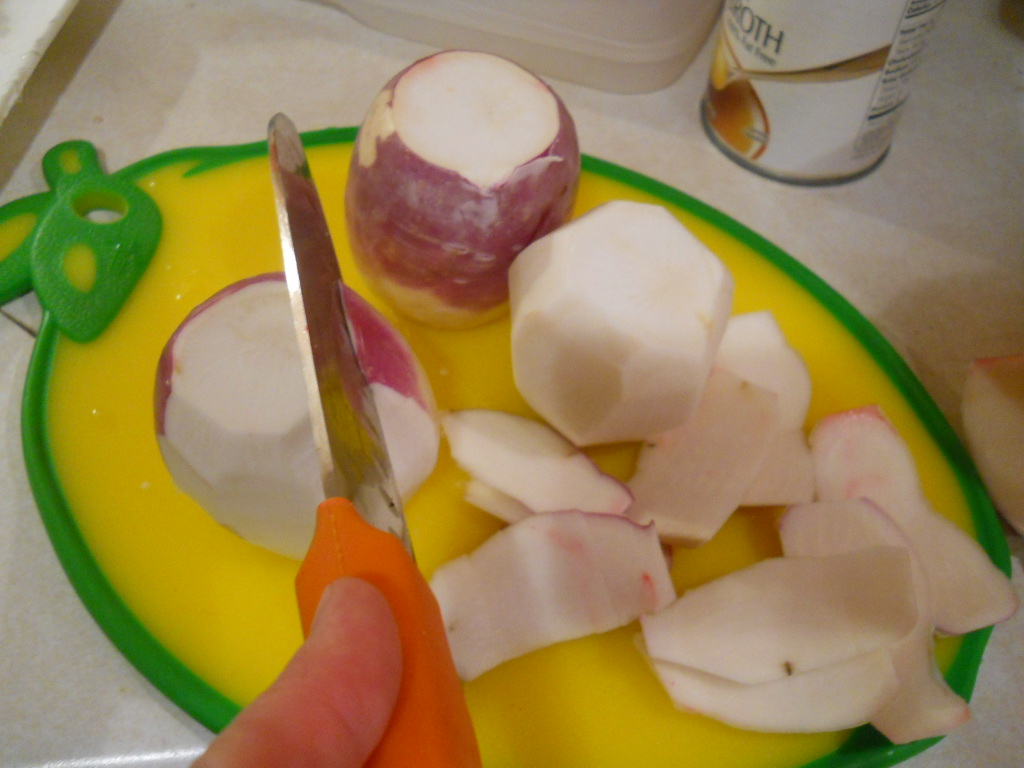
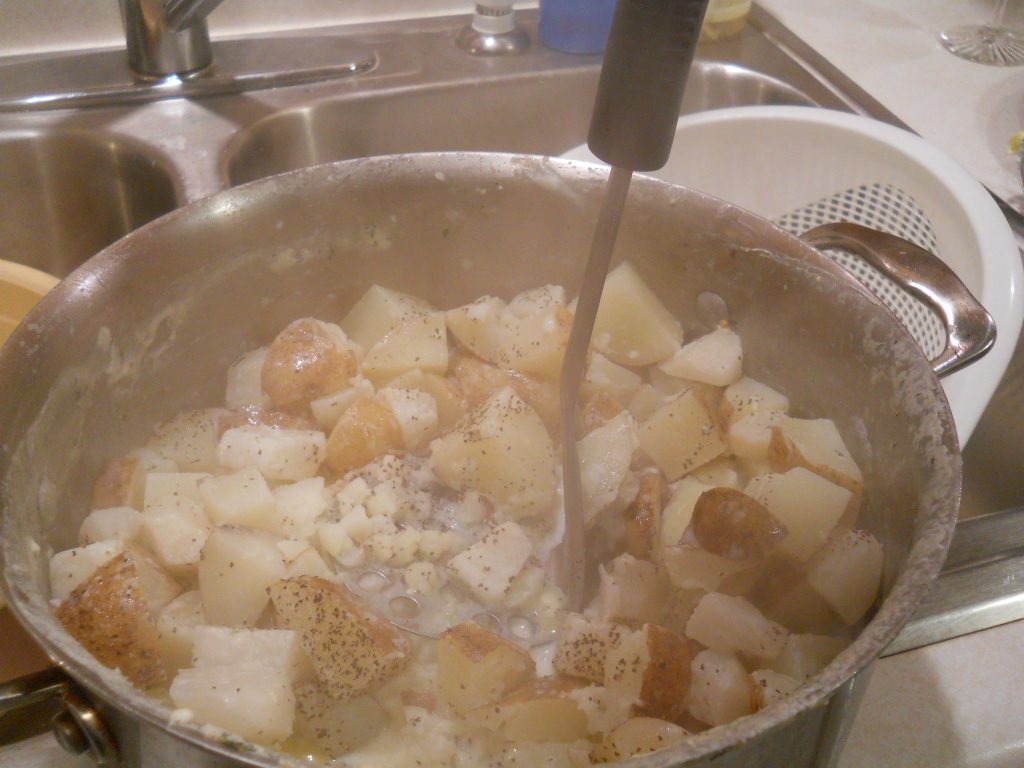
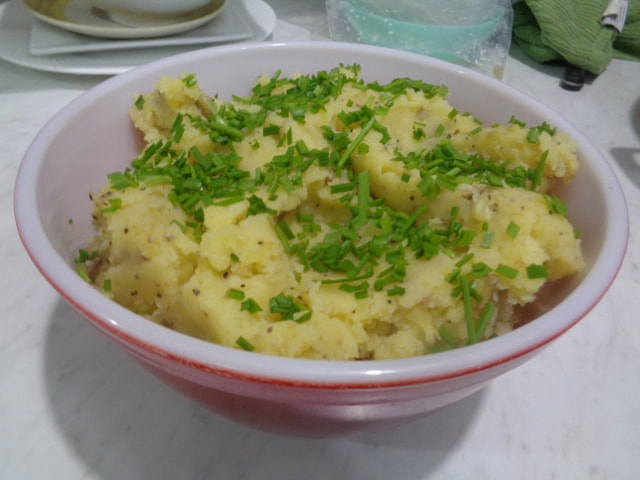
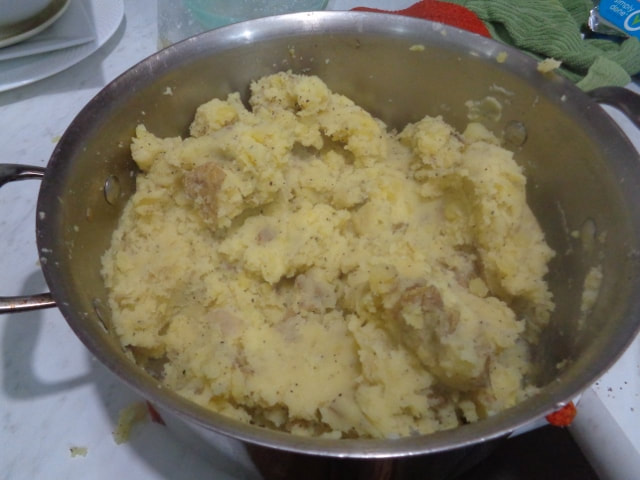
Okay, let's get these
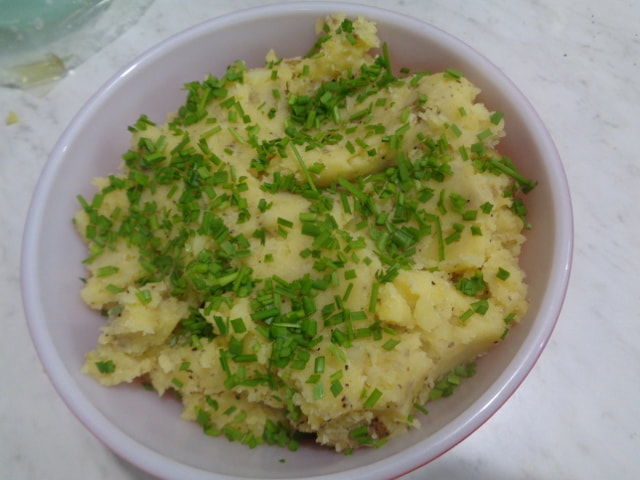
Best Damn Vegan
Mashed Potatoes made.
Disclaimer: I had full intentions of using vegan butter but I didn't, I used real butter.
Note: I wanted a mashed potato recipe that was different than the same old, same old, that's why I made these.
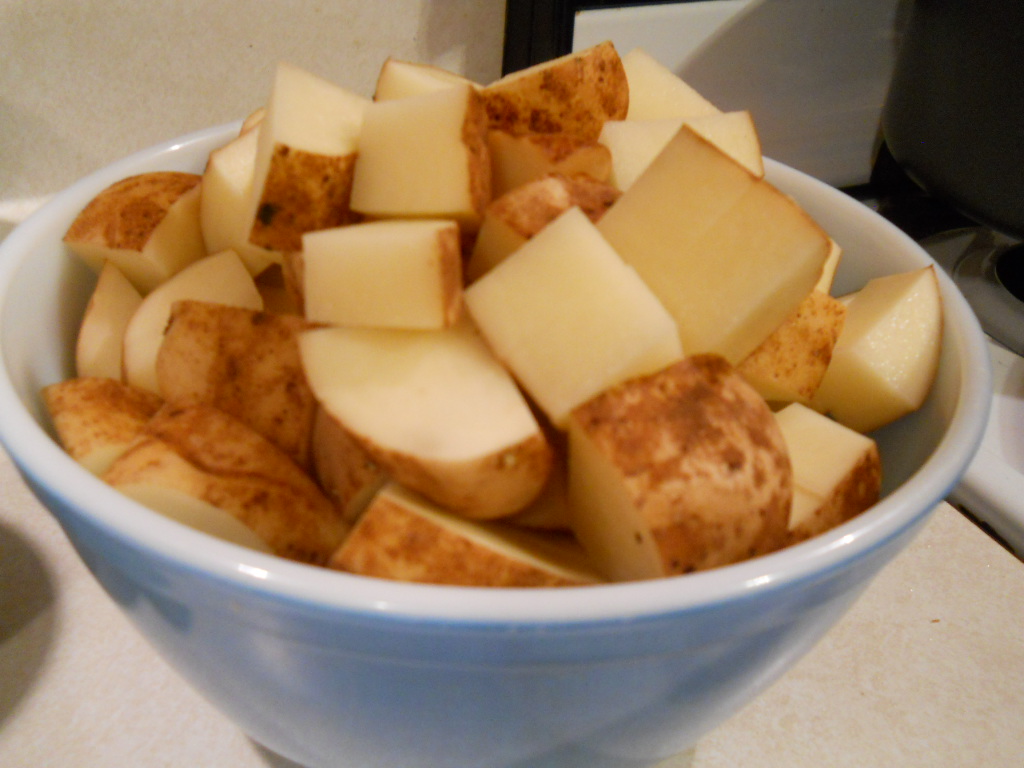
Also, Yukon gold potatoes are so naturally delicious buttery anyway.
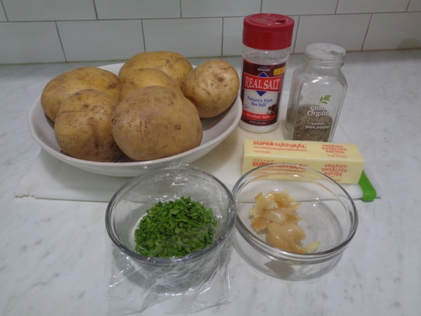
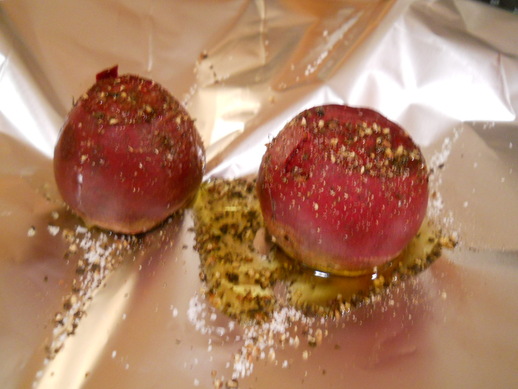
By the way, these CAN BE MADE DAY AHEAD but I just prepped everything the night before and made day of.
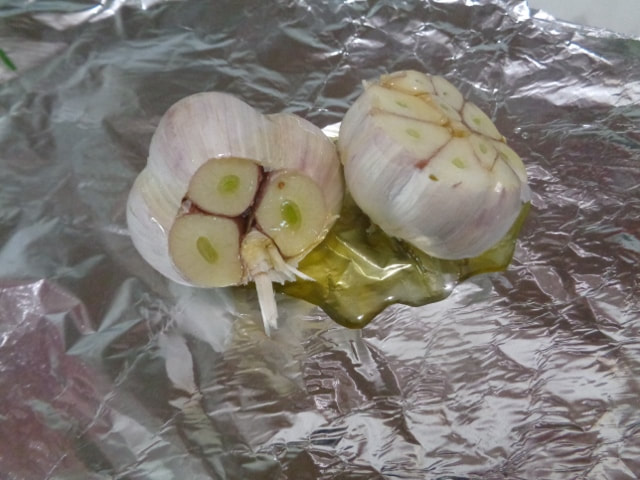
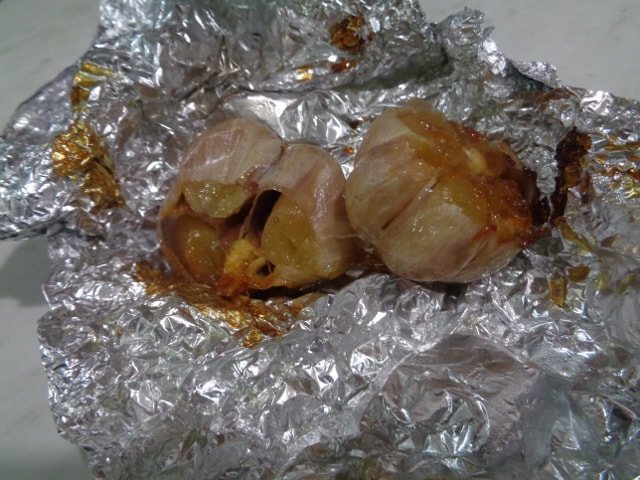
I washed all the potatoes and set them aside. I then roasted the garlic by cutting off the top third, rubbed the cloves with olive oil, wrapped up in foil and roasted for 50 minutes. Mmmmmmm, always smells awesome. Also, chop up those chives and store everything but potatoes in the fridge until next day.
I washed all the potatoes and set them aside. I then roasted the garlic by cutting off the top third, rubbed the cloves with olive oil, wrapped up in foil and roasted for 50 minutes. Mmmmmmm, always smells awesome. Also, chop up those chives and store everything but potatoes in the fridge until next day.
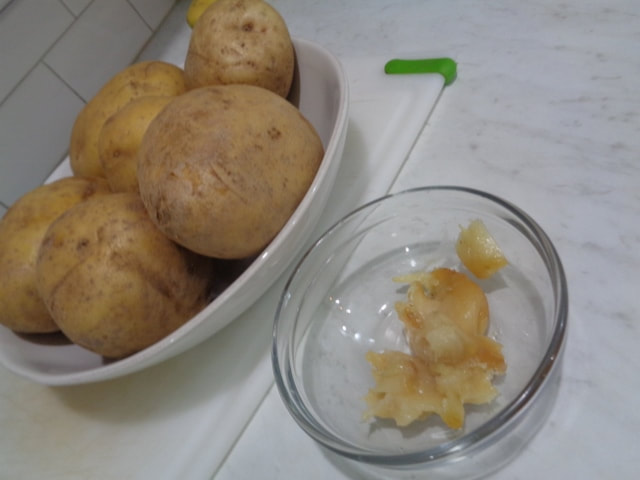
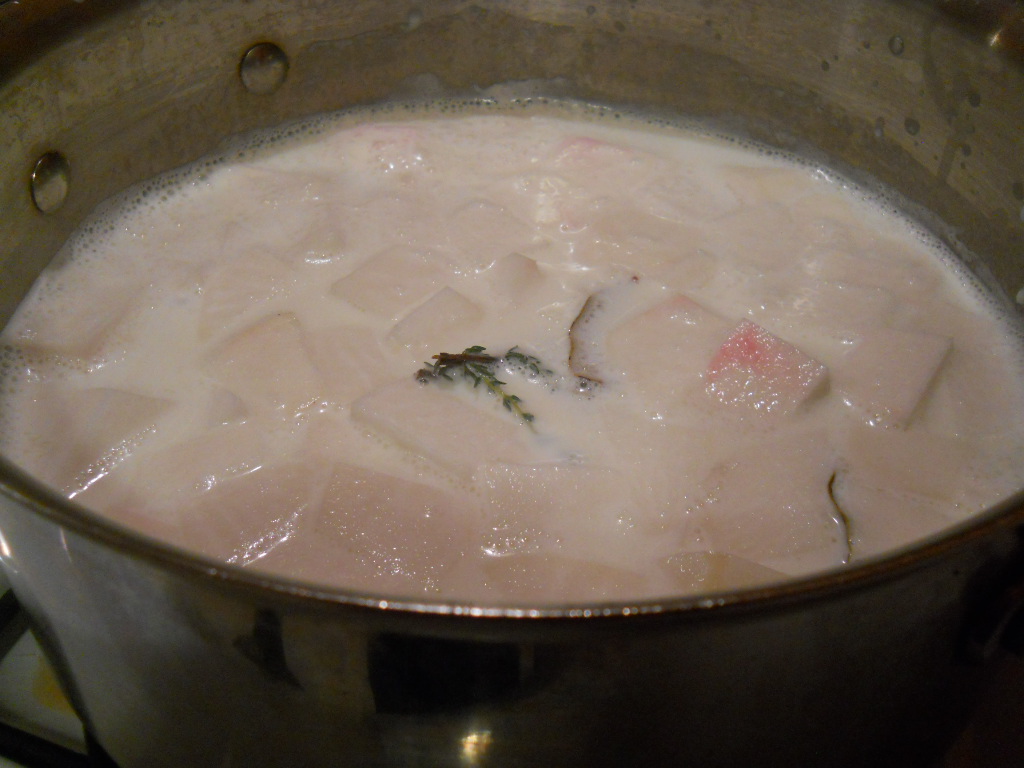
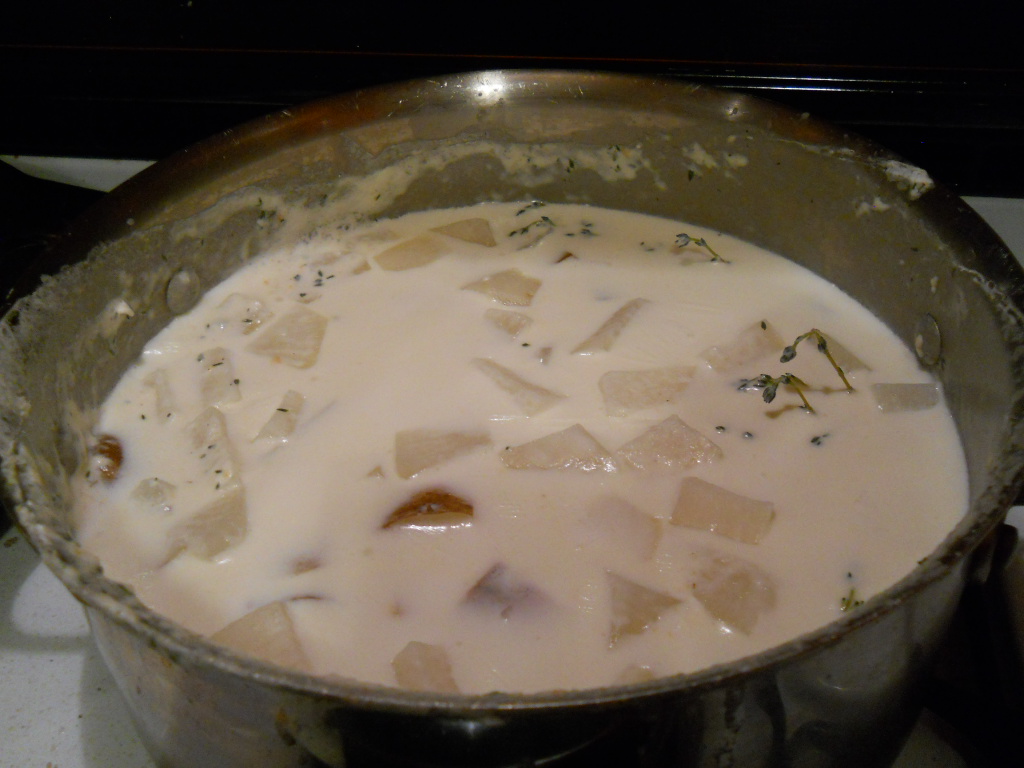
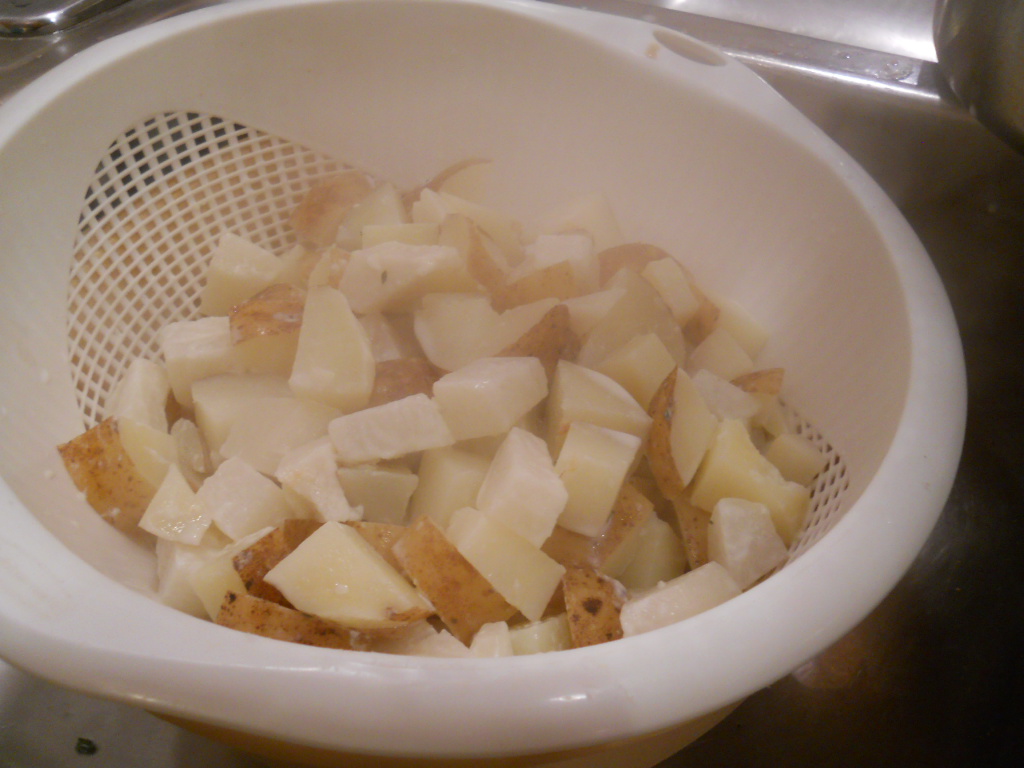
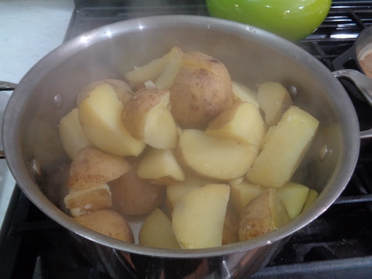
Before the meal, I threw the cut Yukon golds into boiling salted water and cooked until soft.
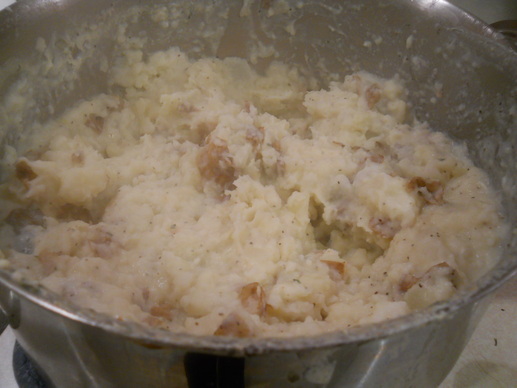
I mixed in butter, salt and pepper and the deeeelicious roasted garlic. I ate spoonfuls and then transferred the remaining into a bowl and topped with those chives. Yum!
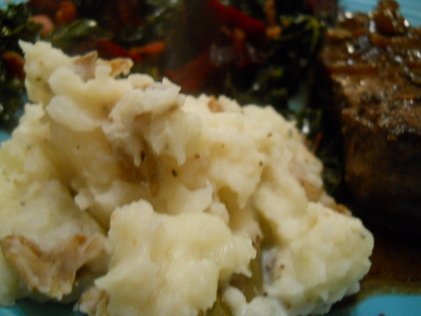
These potatoes are awesome with or without gravy!!
These potatoes are awesome with or without gravy!!

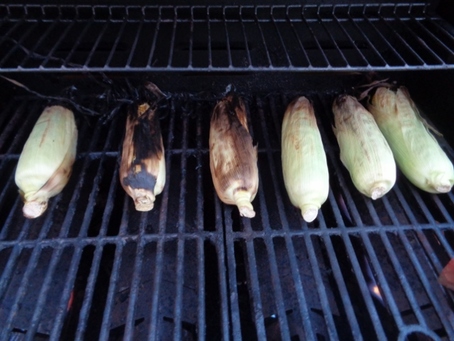
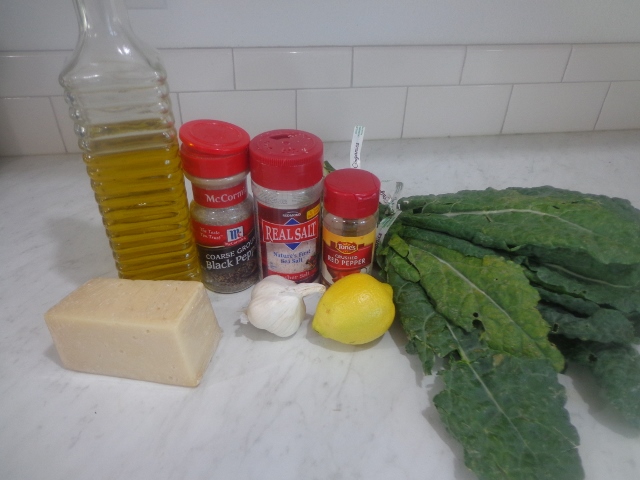
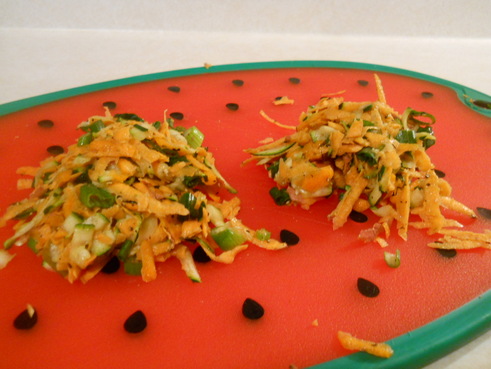
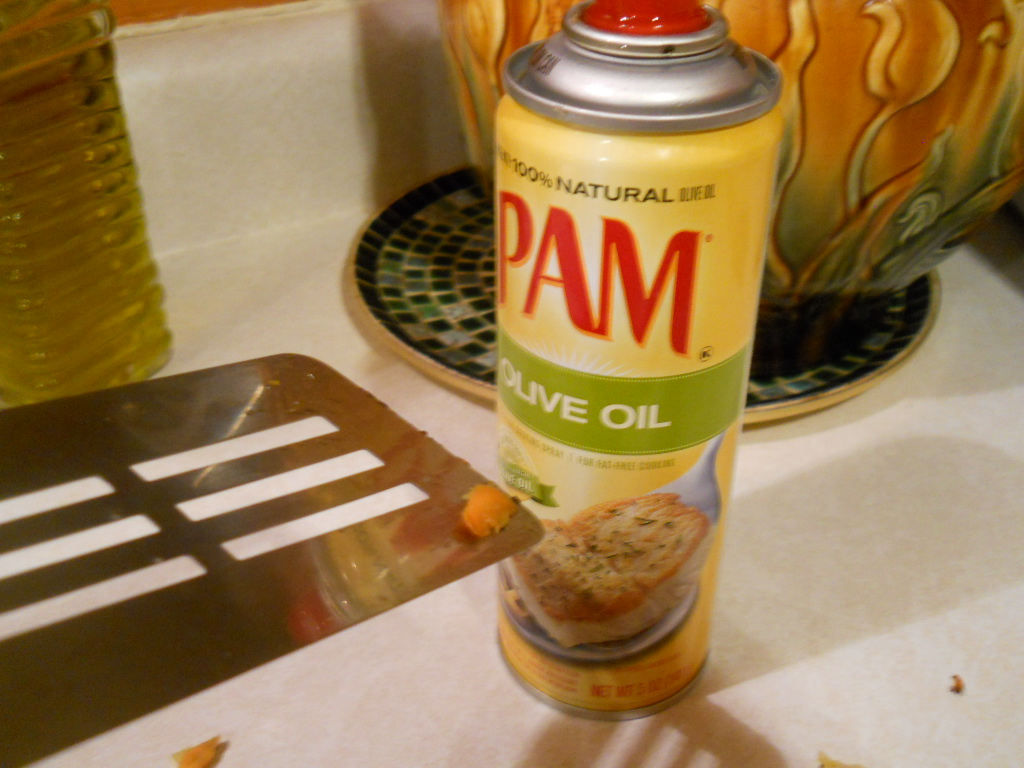
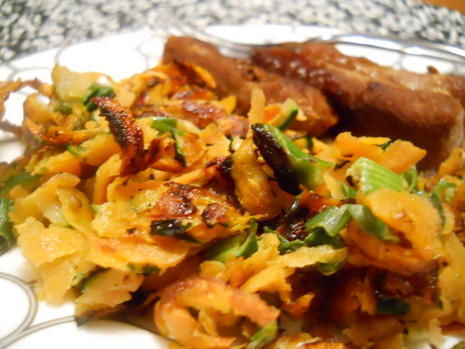
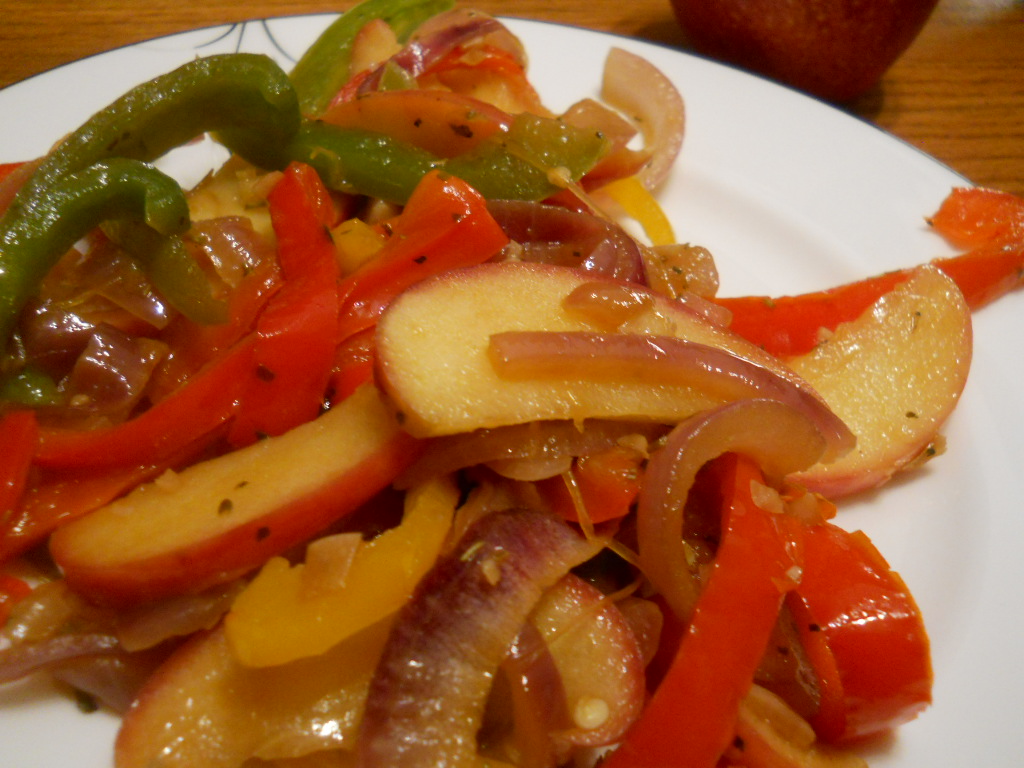
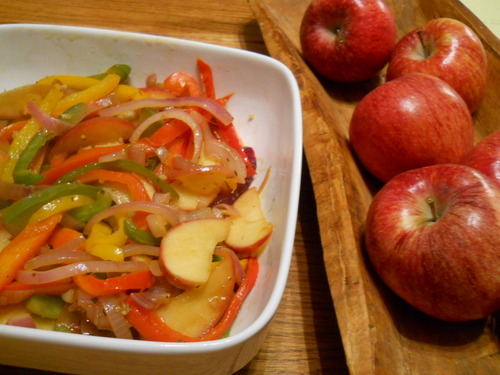
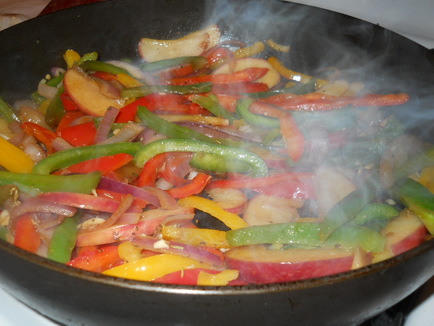
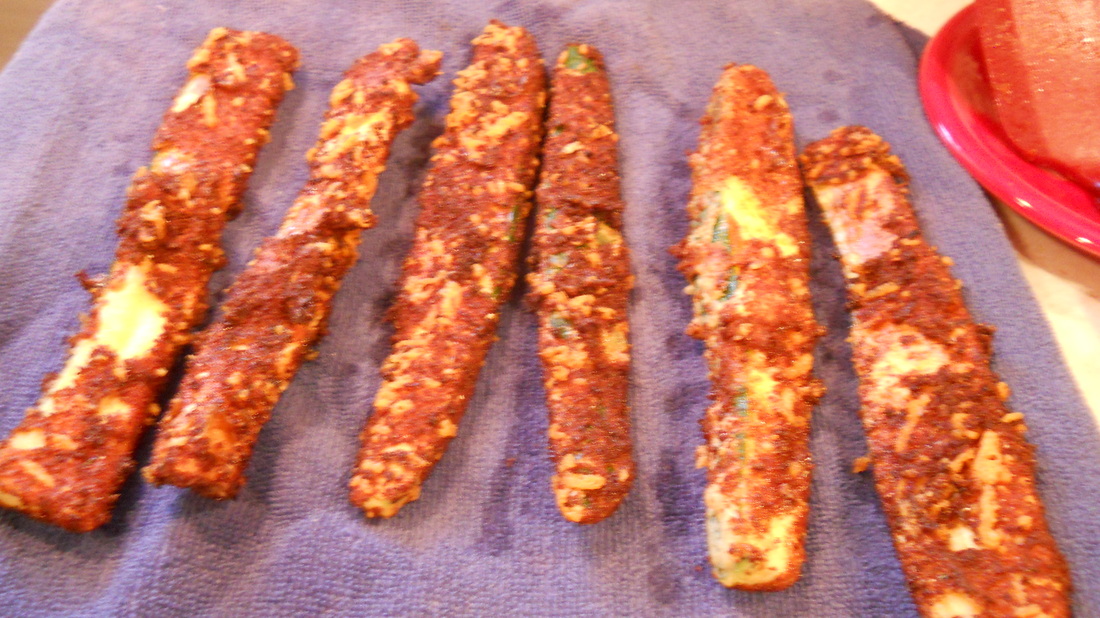
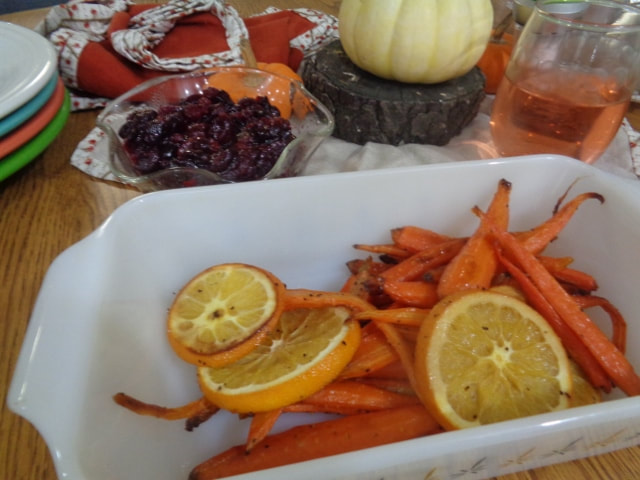
Now, y'all, let's get to these super easy peasy
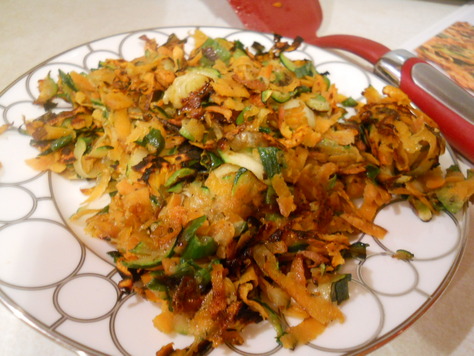
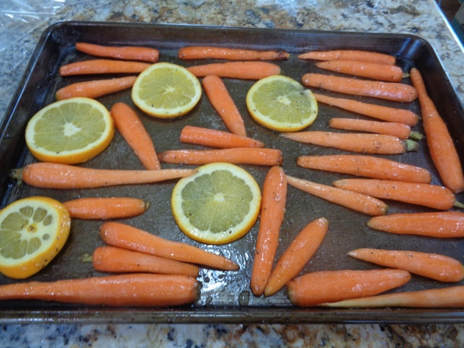
Honeyed Carrots
and Oranges.
I prepped everything night before and cooked them day of.
(I liked these so much I went out and bought more carrots to make this exact recipe again this week.)
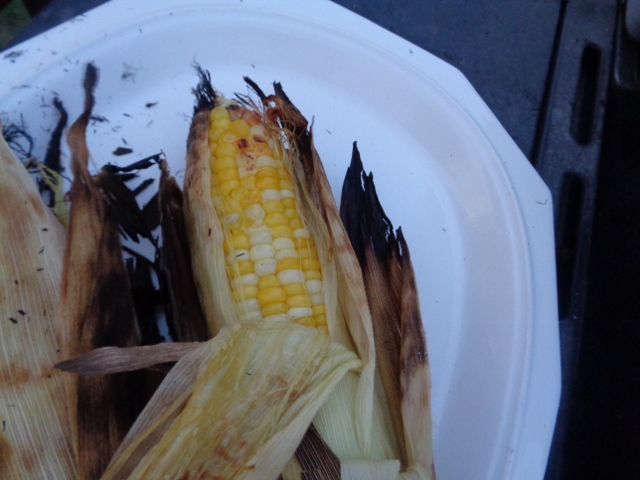
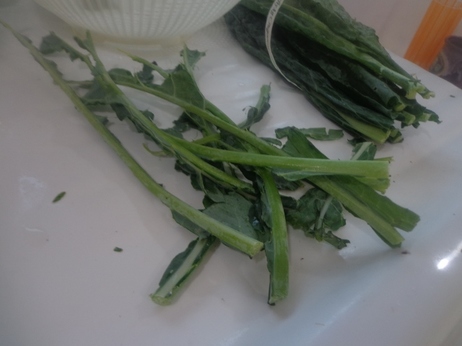
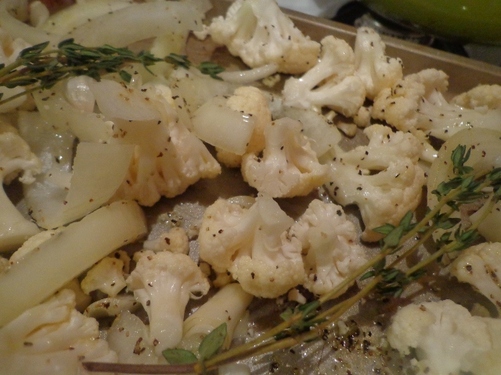
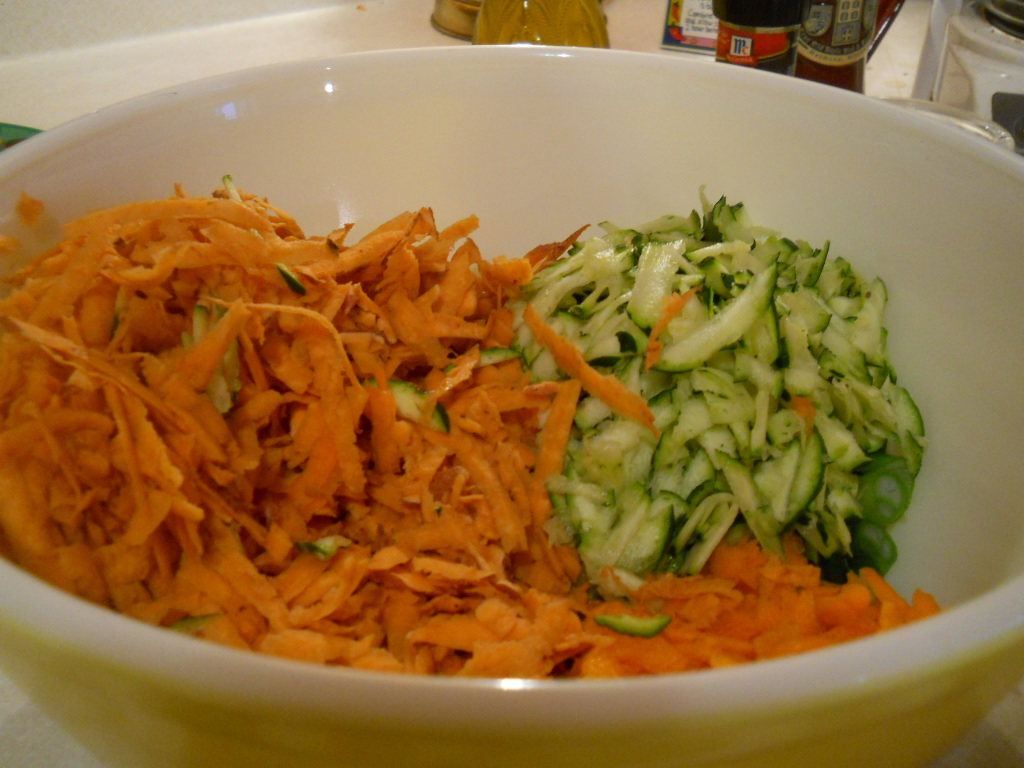
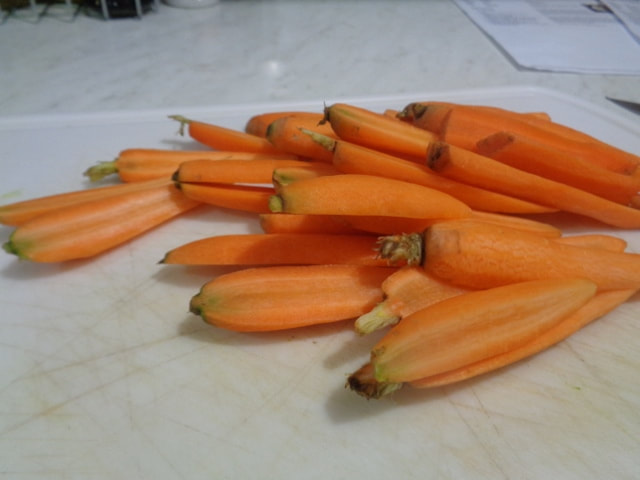
Please do NOT cut the carrots in half lengthwise like I did, just buy thin carrots, don't use thick ones. If you do use thick carrots, then okay, you can cut them in half lenghtwise. Mine were thin already. Also, dudes, don't be like me and leave the freaking top on. Just don't.
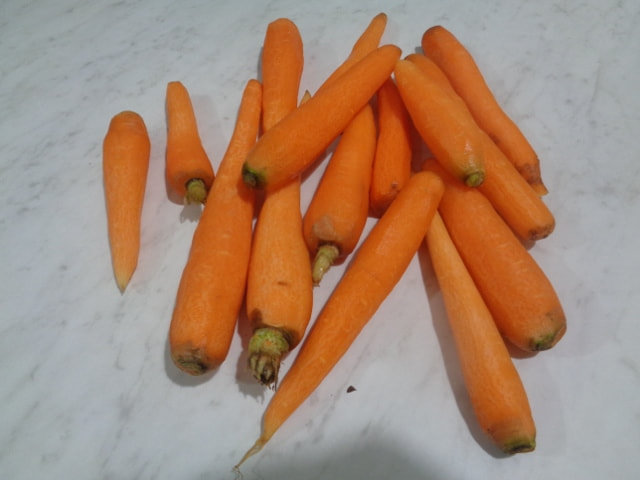
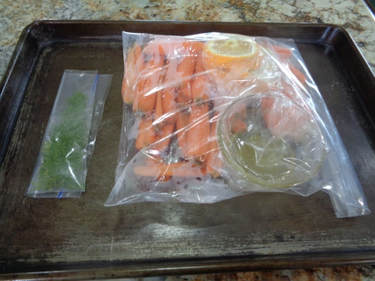
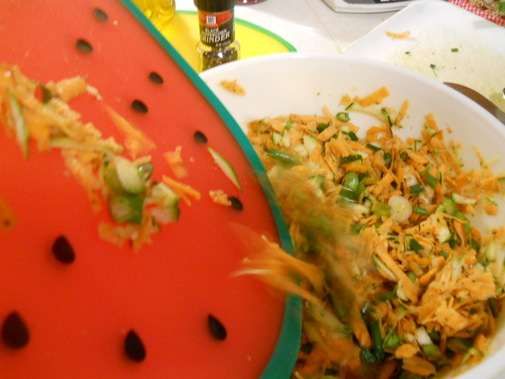
The night before, I peeled the carrots and sliced the orange and had the honey/oil all measured out.
I had chopped up some dill but decided not to use the dill on the finished dish, these were just too darn good on their own.
This was super easy to prepare as well as to assemble and cook.
I had chopped up some dill but decided not to use the dill on the finished dish, these were just too darn good on their own.
This was super easy to prepare as well as to assemble and cook.
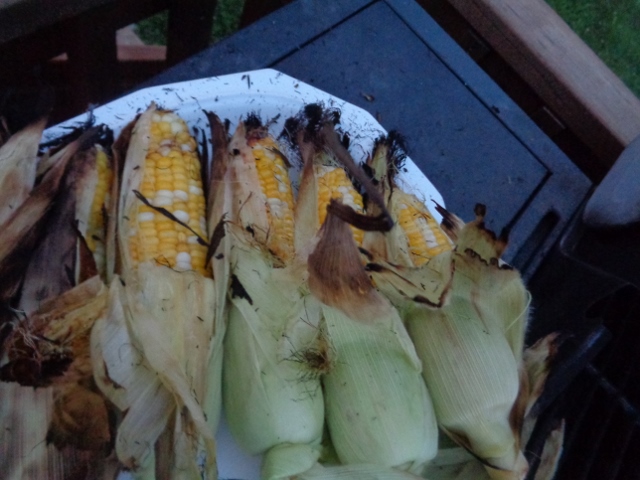
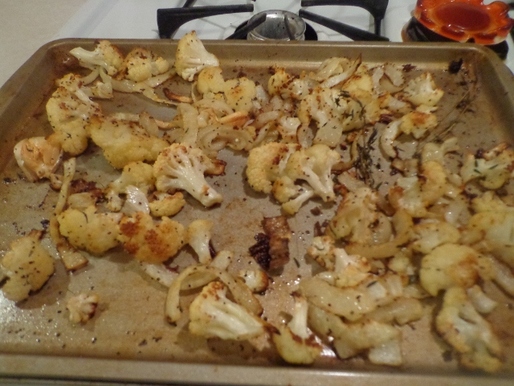
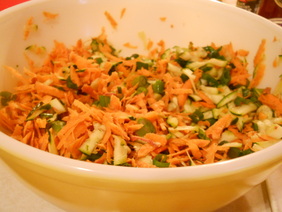
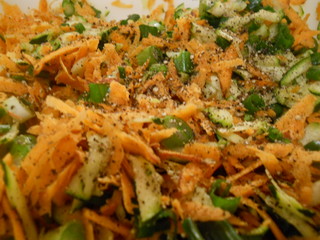
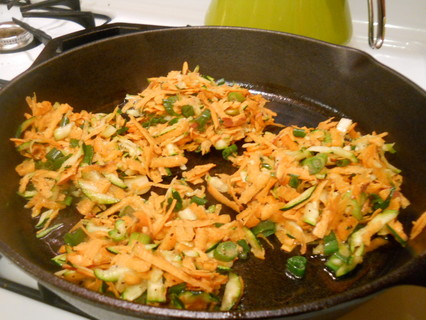
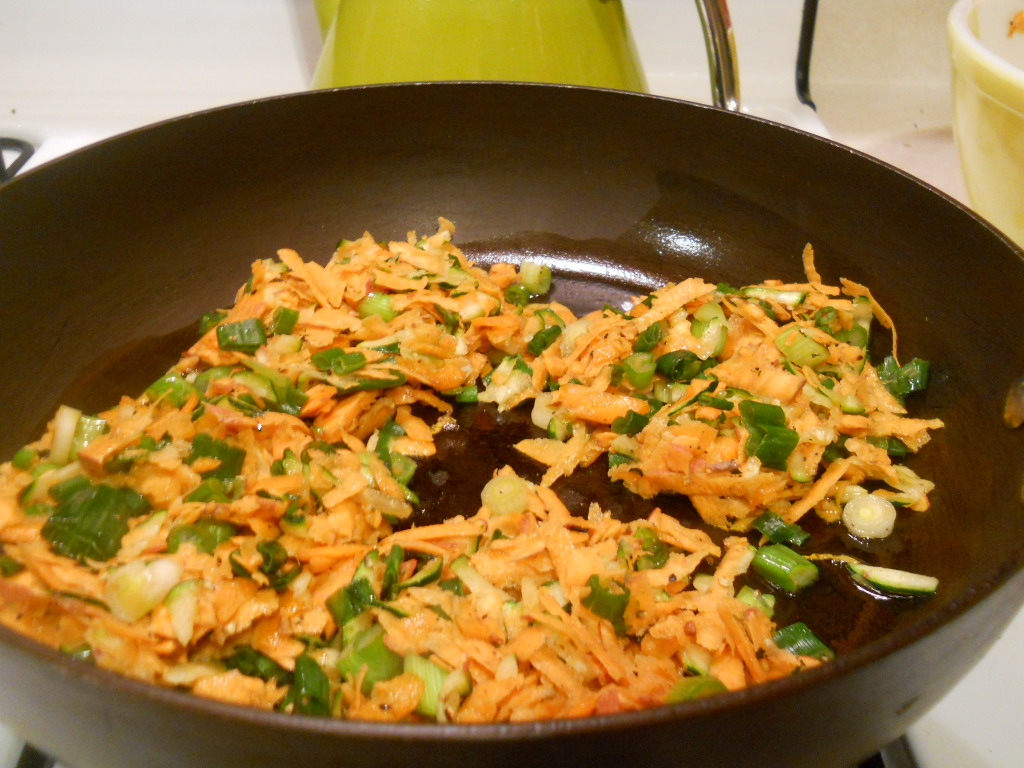
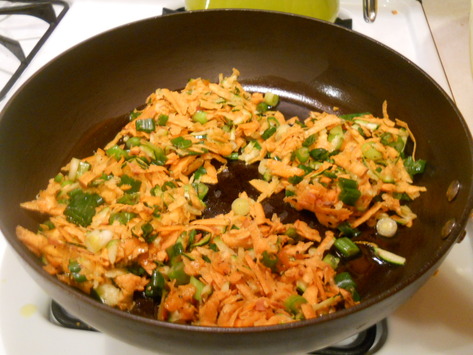
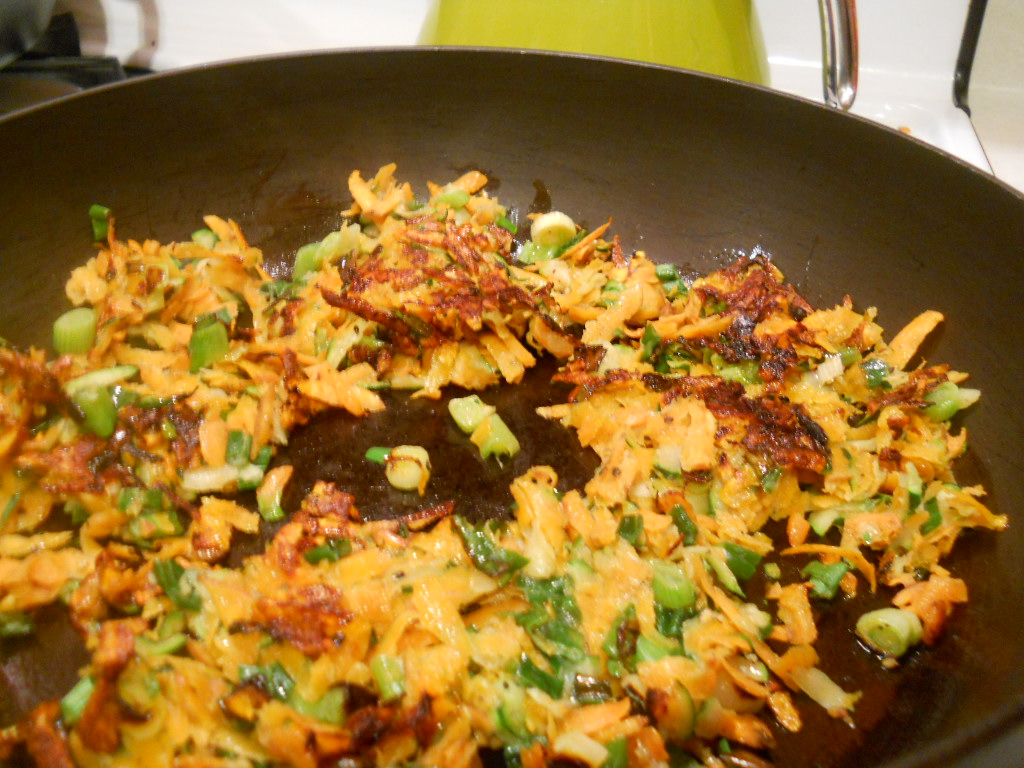
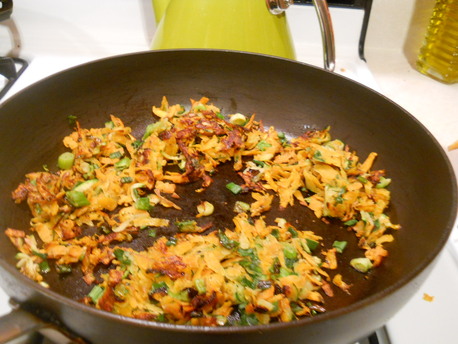
Day of, pull out the carrots and oranges, toss in olive oil and honey, salt and pepper, arrange on cookie sheet.
By the way, the aroma of the oranges and honey is fantastic!
By the way, the aroma of the oranges and honey is fantastic!
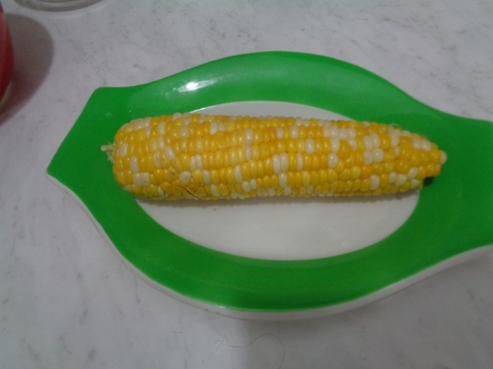
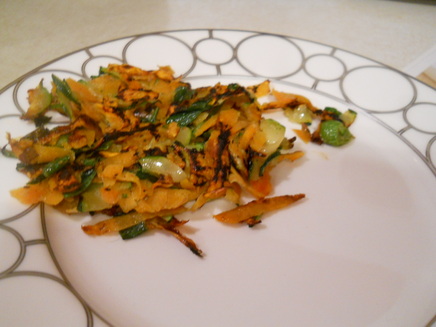
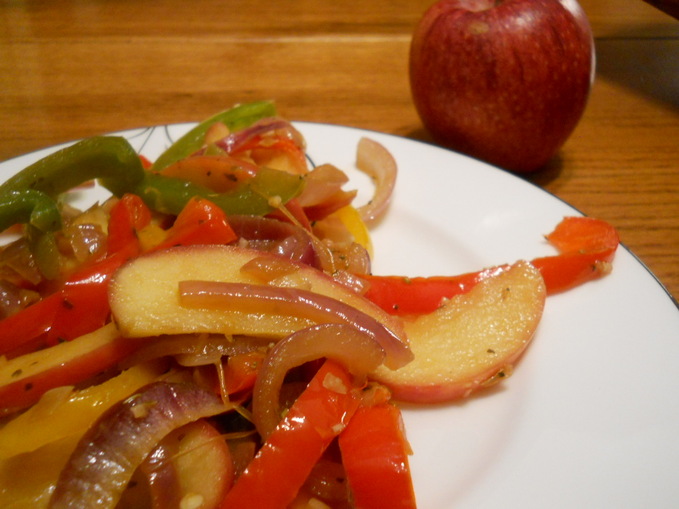
Cook until soft. So easy.
Again, cut off the tops of the carrots. I did not do that cause I am a fool.
Don't be a fool like your pal Angie, just do the right thing.
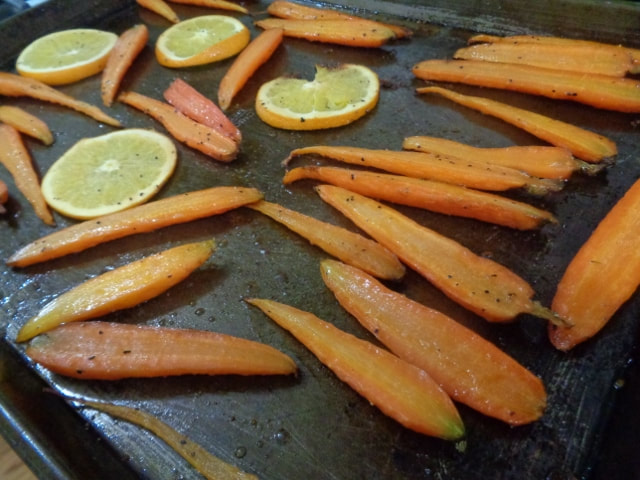
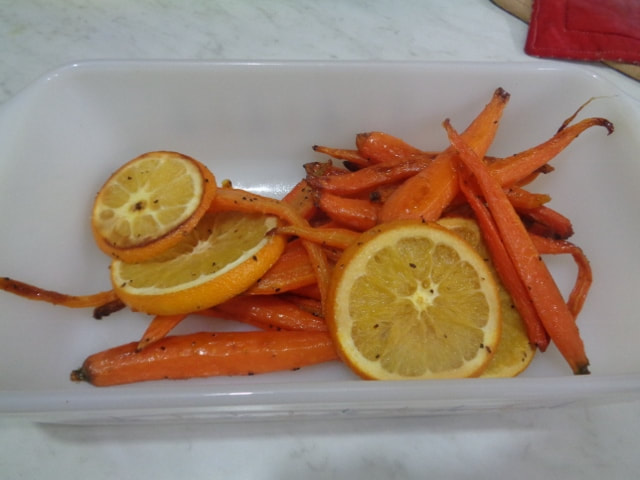
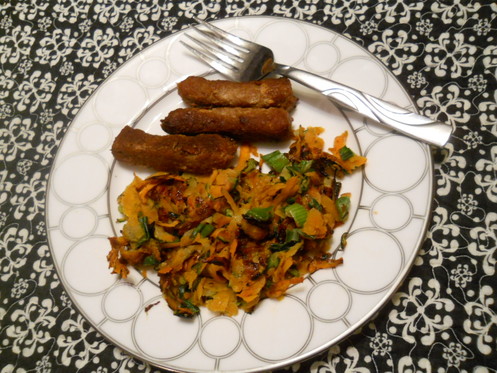
These carrots were absolutely delicious, just make sure to follow the directions exactly!
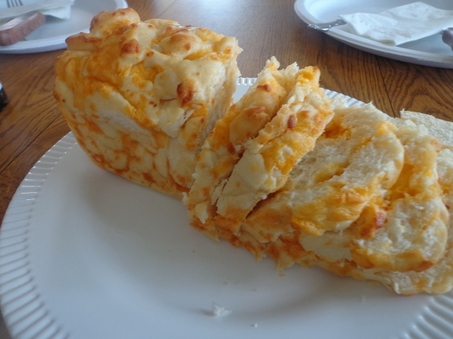
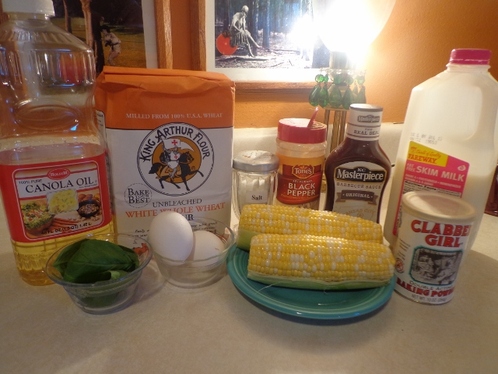
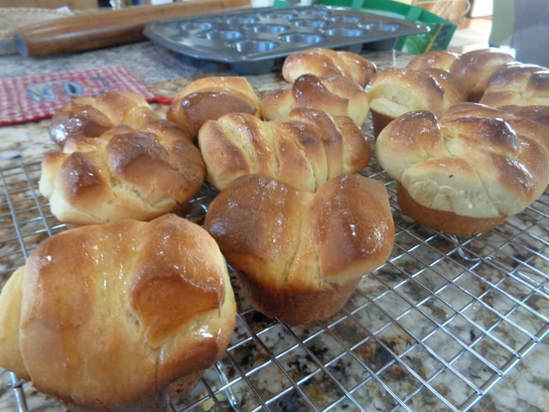
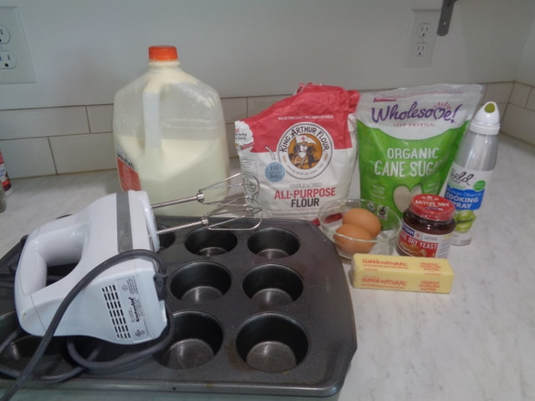
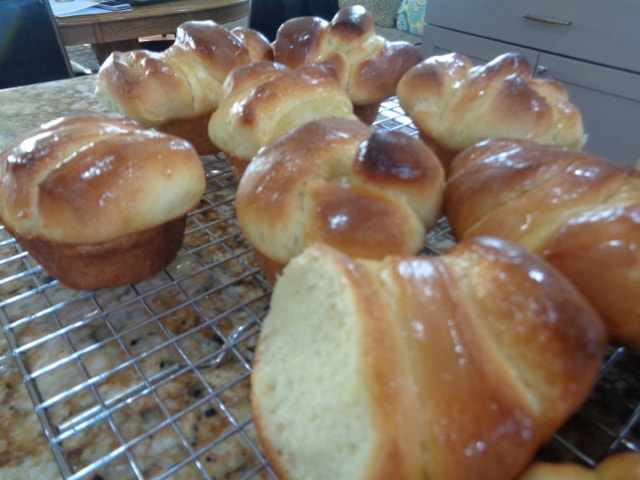
Y'all. These Butter Flake Pull Apart Rolls
are delicious!!
This is Alton Brown's recipe and I always get PTSD from baking cause I am horrible at it.
I actually was able to make these without using too many swear words. Maybe three.
Four. Five at the most. Okay, six. SHUT UP!
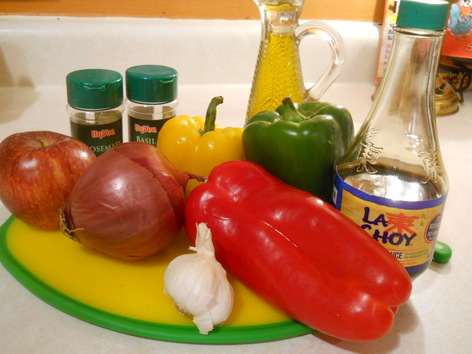
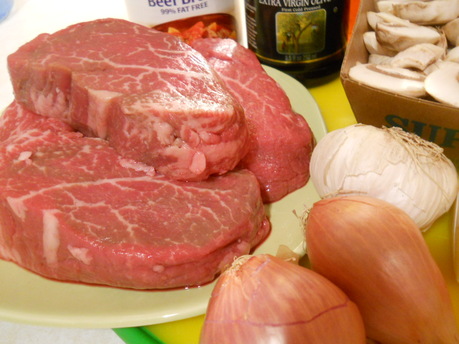
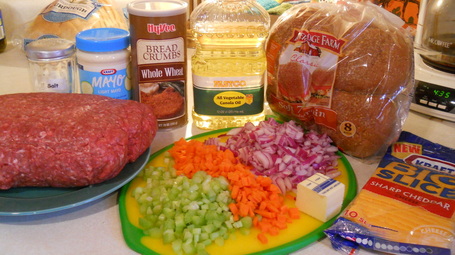
So these are the fixins for these pull apart rolls.
I did NOT make these up a day ahead of time. I do think they would be fine made up 24 hours ahead and then just reheated shortly before the meal the next day.
Also I do not own a stand mixer. I old-school used my hand mixer. Worked fine.

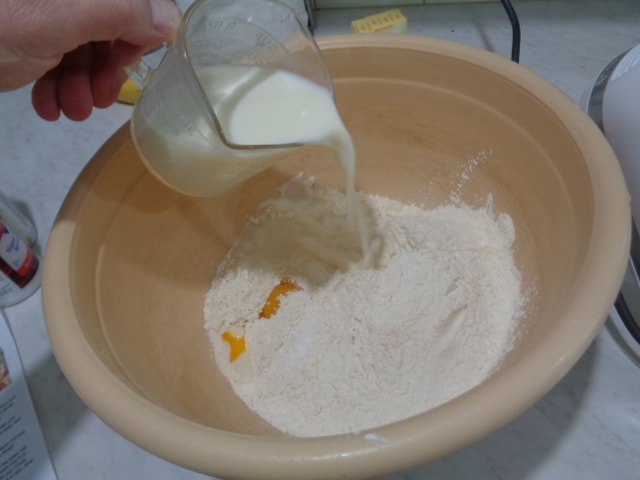
Now this recipe calls for some ingredients to be weighed.
Don't fight it, just do it.
These are baked items.
You want to use correct measurements even if you have to bring out the scale.
So mix the stuff according to directions.
I love how I am so technical with my language. Seriously dudes, I can not bake so I am just trying to get through this as quick as I can.
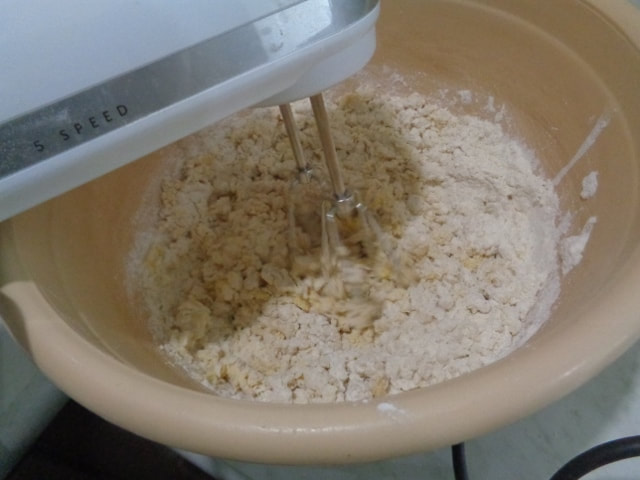

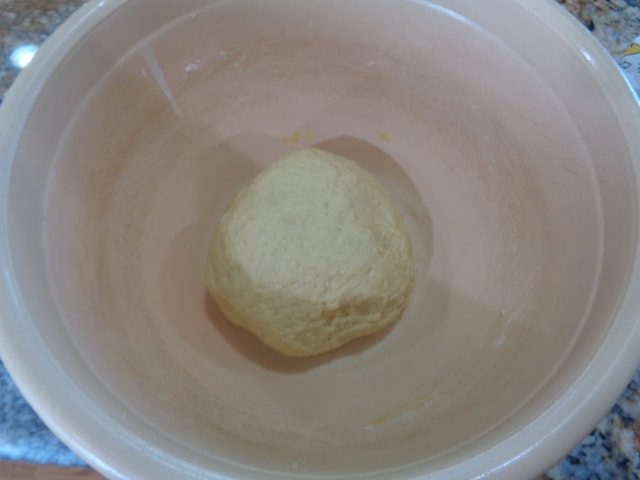
Dough before rising and dough after rising.
Now if *I* can do this correctly, anyone can!!!

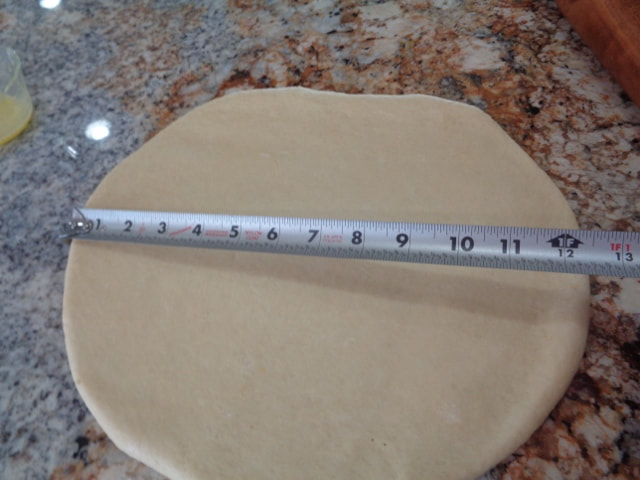
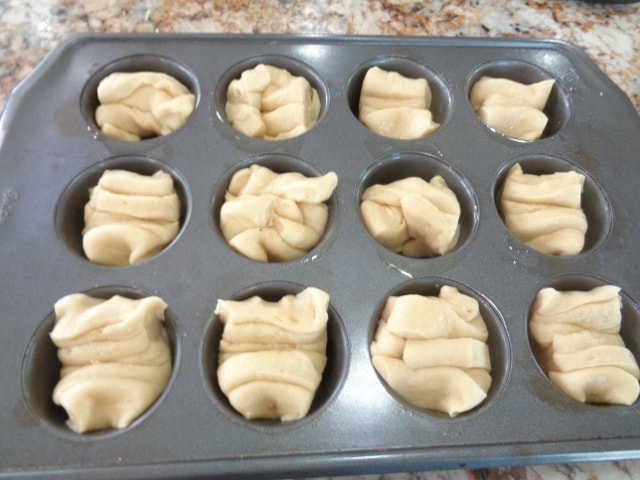
Okay, let's slow this down a bit.....let me explain...so roll the dough out to a 12" x 12"...

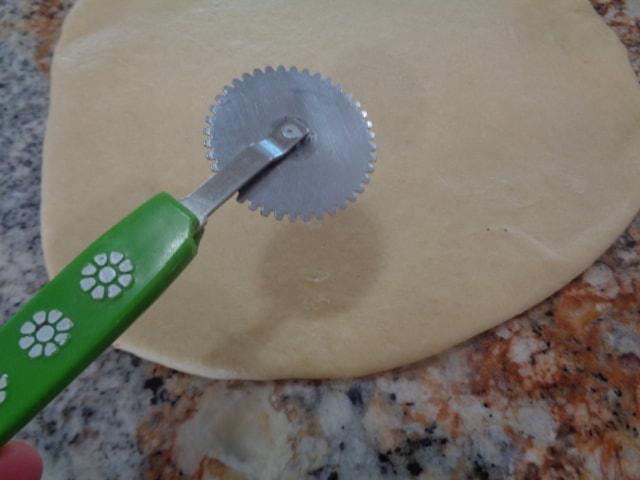
Cut 12 - 1" strips. Now I don't own a pizza cutter, so I pulled out this vintage pastry cutter I paid 50 cents for at a consignment store last year. Aaaaand this pastry cutter is broke and wobbly and doesn't make straight lines.
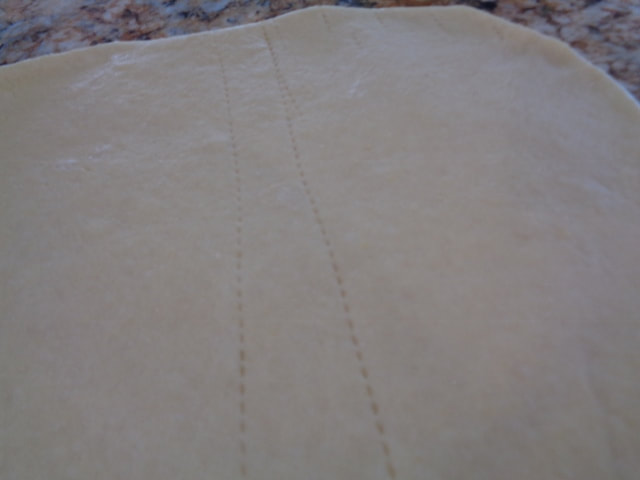
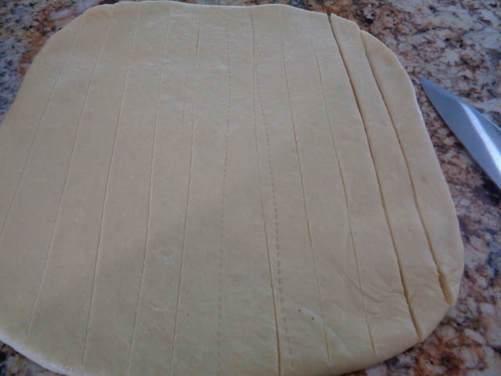
So I bring out my pizza cutter, also known as a plain ordinary knife, and cut 12 - 1" strips.
Okay, so this is my first try at the strips and stacking them.
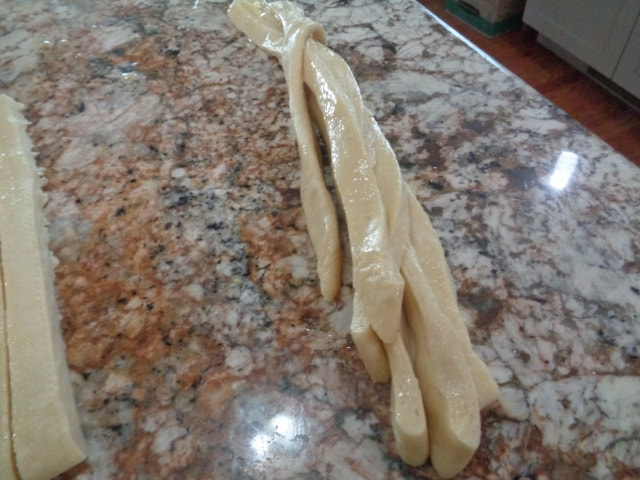


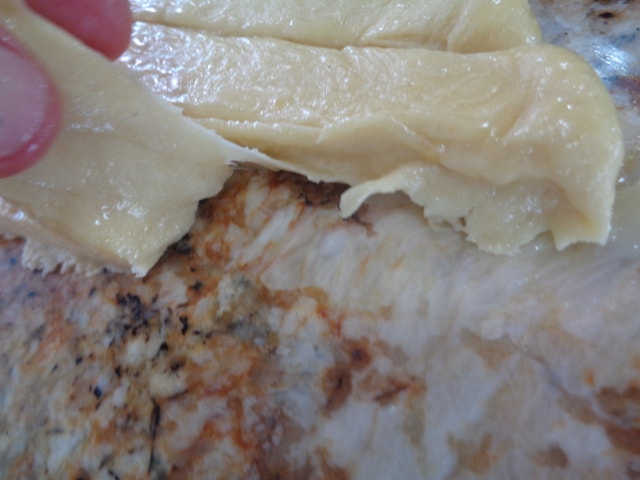
And this is my second try at the other half of the dough, I got much better, especially after I figured out I need to GENTLY pull up the strips
and not stretch them.

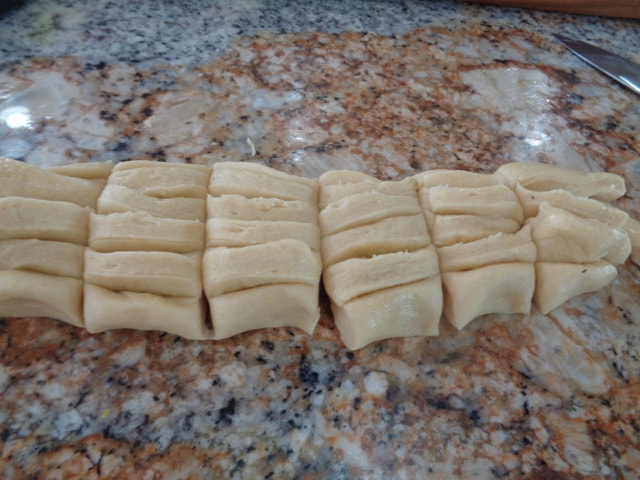
My initial attempt is at the bottom...Second try at the top.
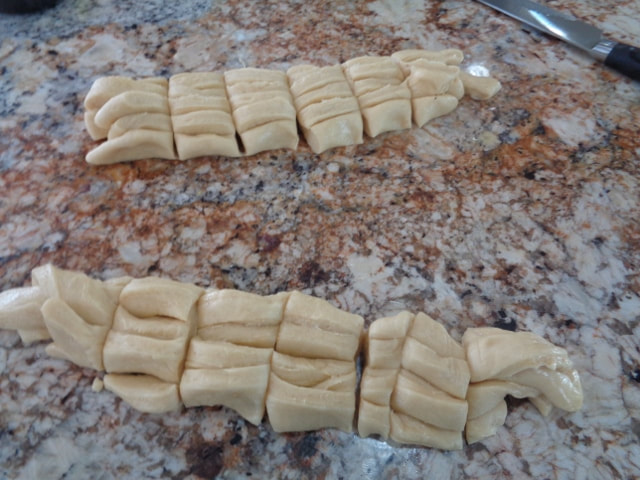
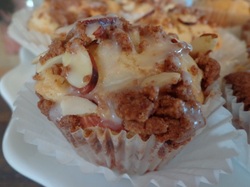
Set each section in a sprayed muffin cup.
Let rise until double.
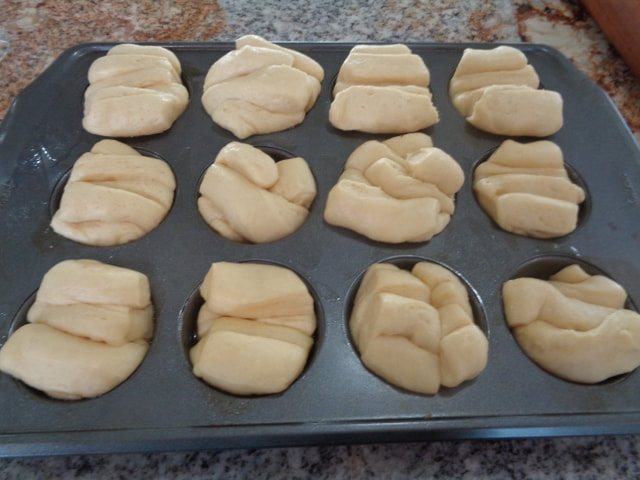
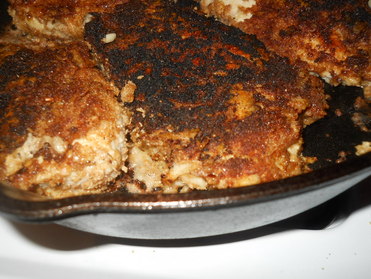
Then bake 8-10 minutes. Or overbake like I did but then brush a ton of melted butter on the tops. They were still delicious!!

Okay, only TWO more recipes left!!!!
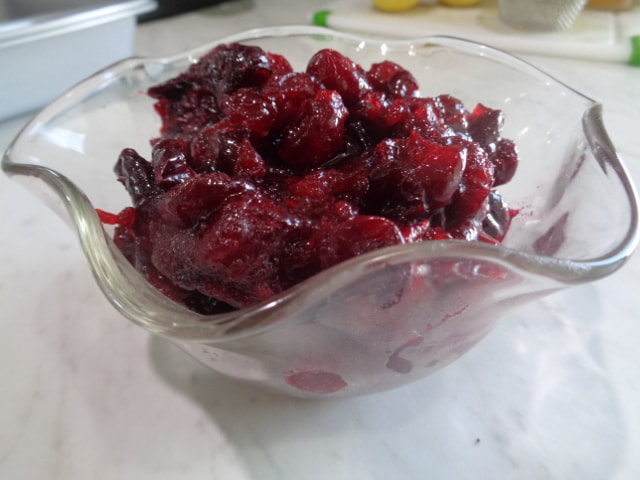
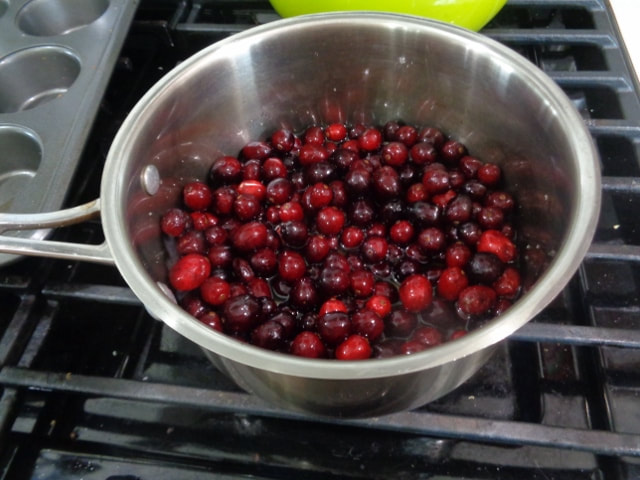
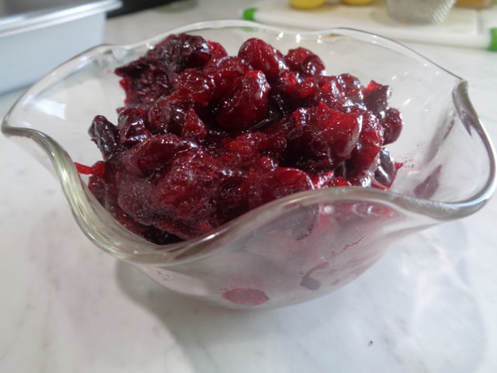
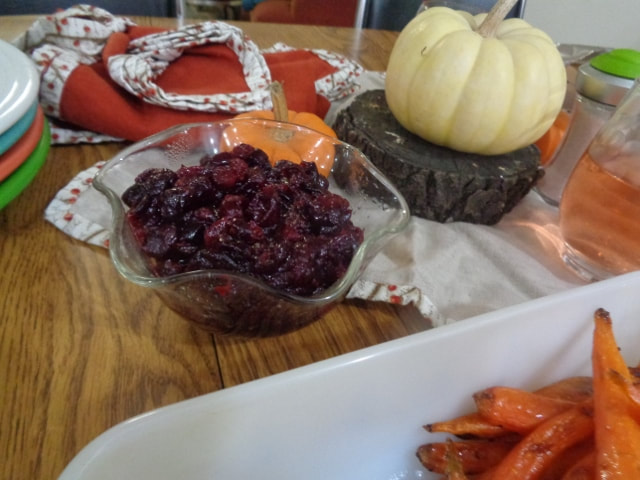
This one is so easy and delicious! Make it same day or day ahead, doesn't matter, it's delicious both days!
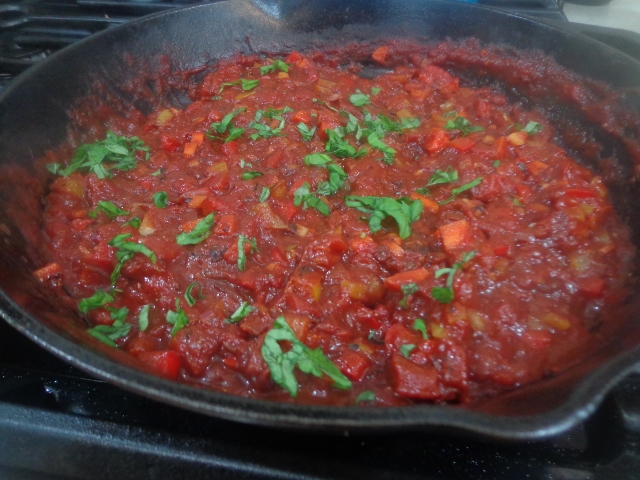
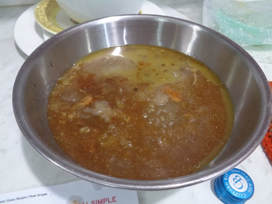
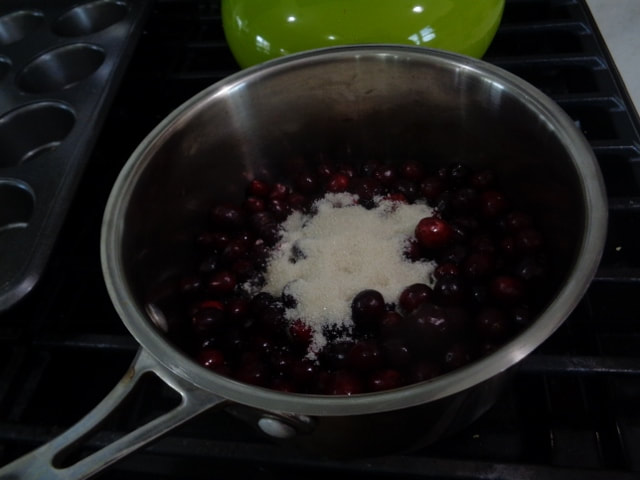
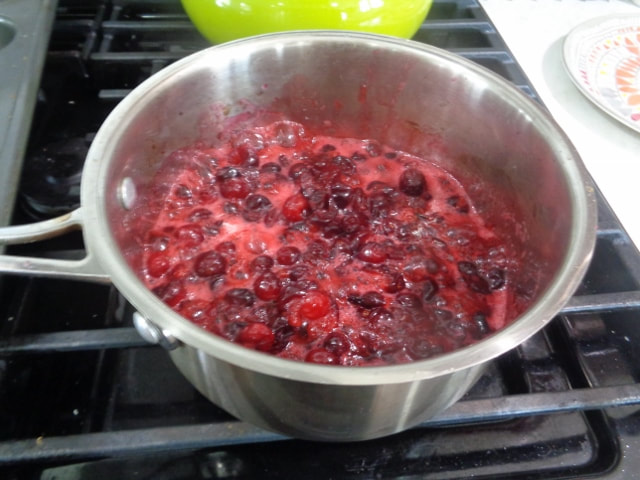
Bourbon-Cranberry Compote!

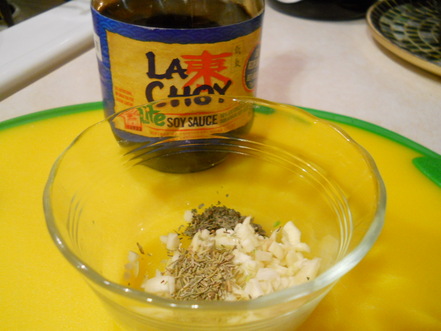
Combine and simmer.
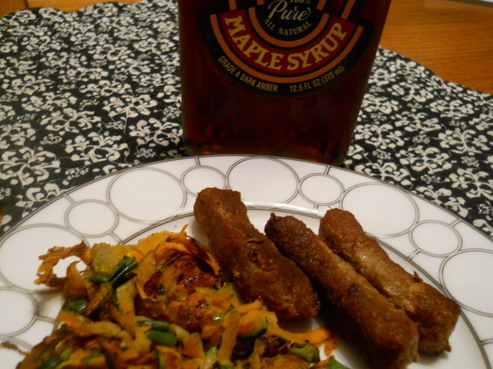
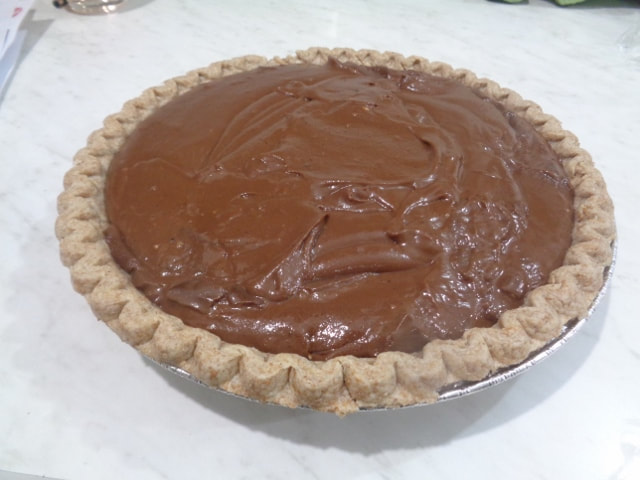
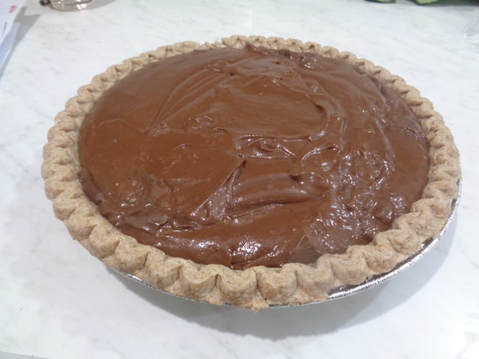
Okay Friends, last item on the menu is a
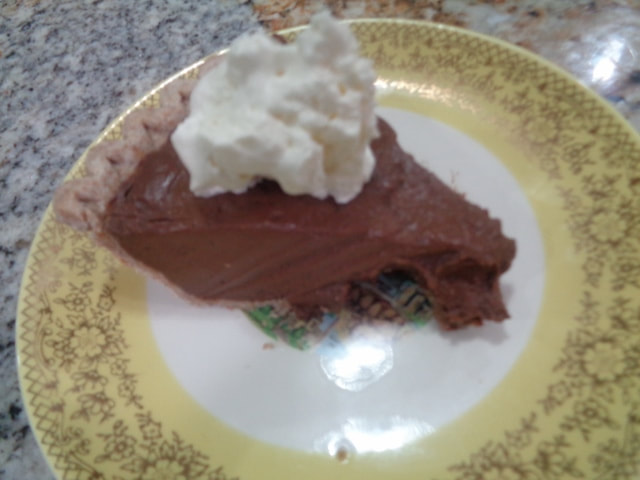
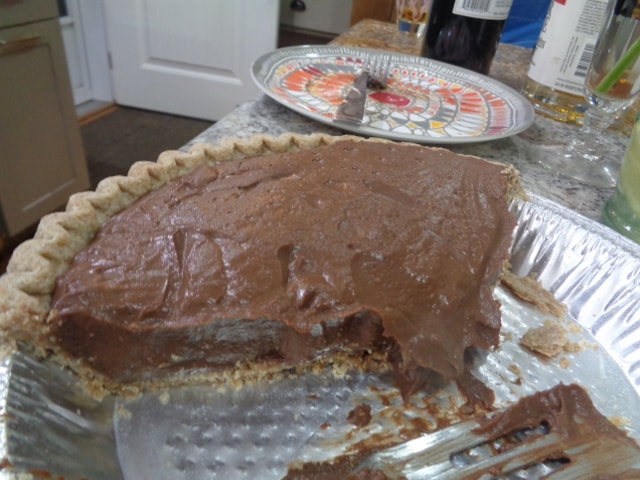
Chocolate Cream Pie!
Tim doesn't eat pumpkin pie so I made a Chocolate Cream Pie with a
store-bought whole wheat crust.
This can TOTALLY be made up a day ahead of time!!!


Okay, the piece on the right up there looks a little wonky but trust me, deeeelicious!!
These are the fixins.
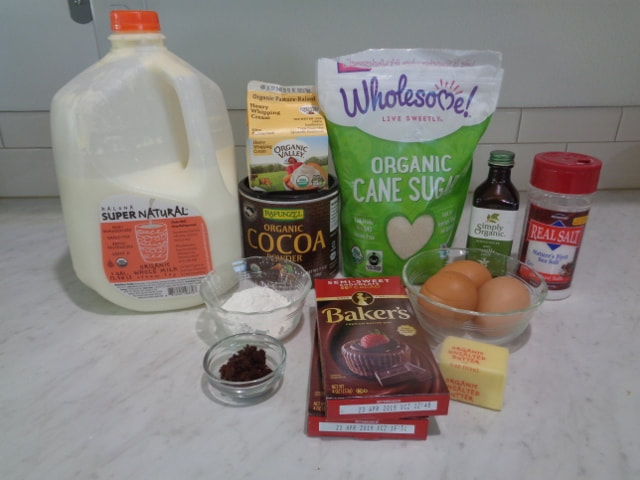
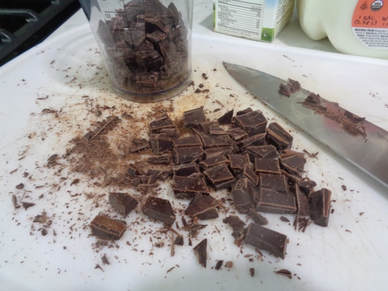
First,
chop up the semi sweet chocolate.
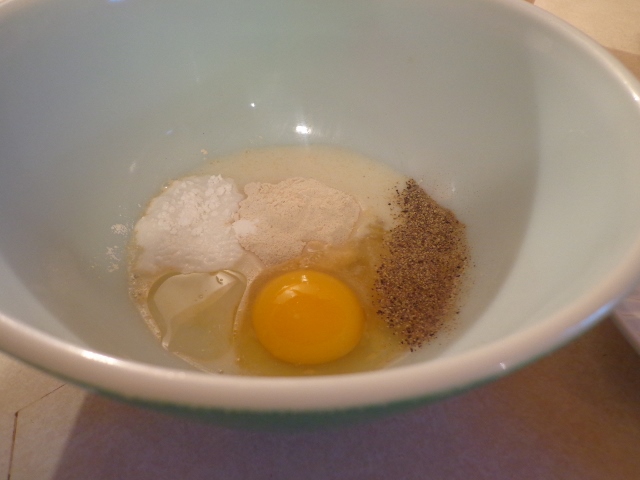
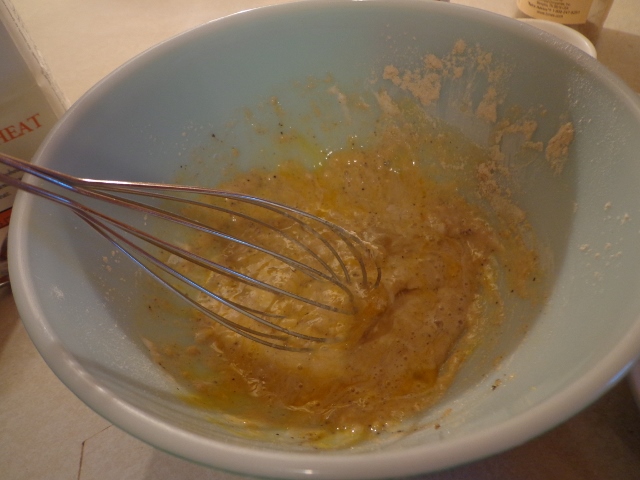
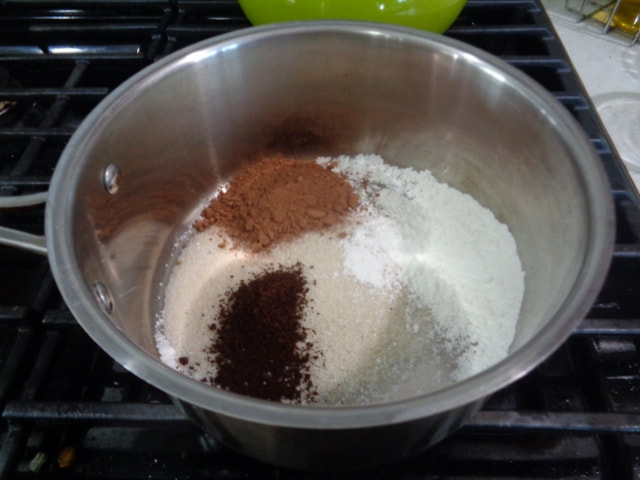
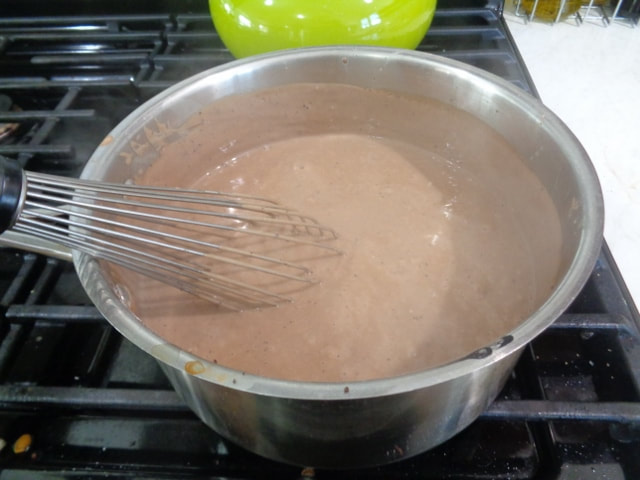
Whisk the dry ingredients together then add the heavy cream and eggs.
Don't forget the espresso powder!
Don't forget the espresso powder!
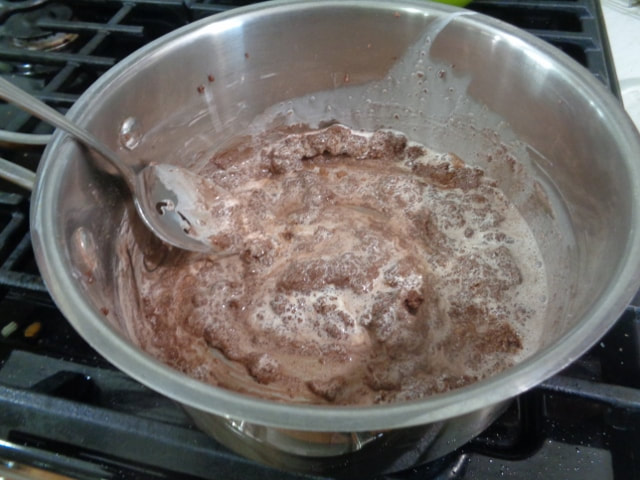

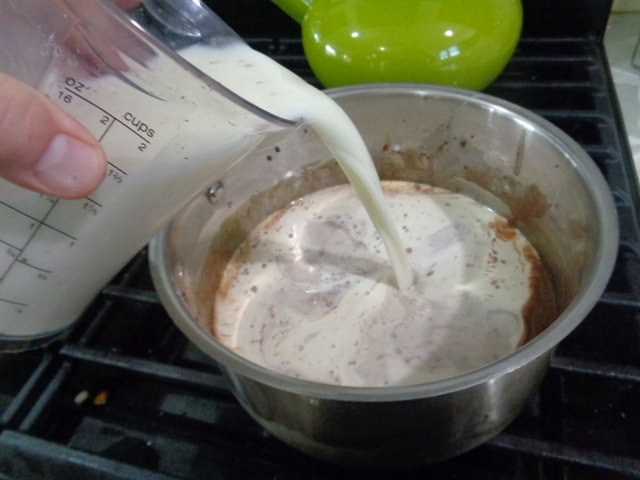
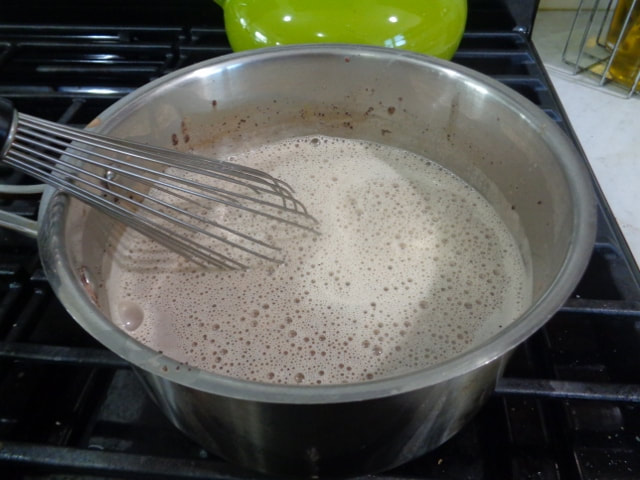
Whisk in the cream and milk over medium heat.
Pour that lusciousness over the chopped chocolate & butter and stir...
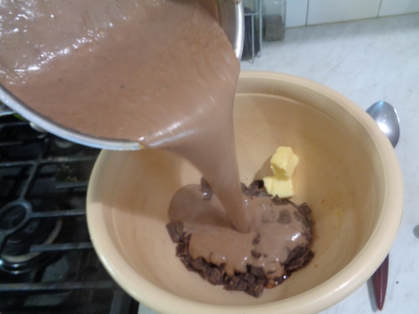
Mmmmm, lookin' good!
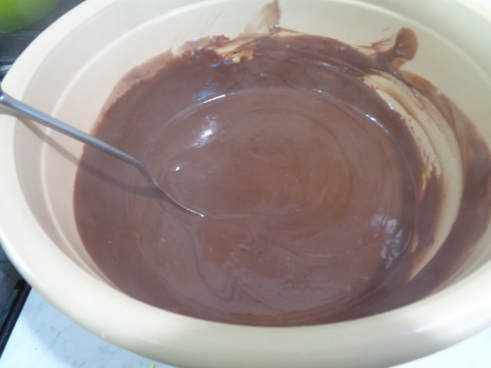
Pour into a pie shell...
Buy whipped cream OR make this super easy whipped topping...remember, chill the bowl AND the beaters!!
Homemade Whipped Cream:
In a chilled bowl (very important, a CHILLED bowl, meaning chill that sucker in the freezer), combine 1 cup whipping cream, 2 Tbsp sugar and 1/2 tsp vanilla. Beat with a mixer on medium speed until soft peaks form.
Or continue beating until stiff peaks form.

Here's the deal on this Chocolate Pie...it is really rich!
This Chocolate Cream Pie is not for people who do not appreciate
deep layers of chocolate.
If you want a boring, bland chocolate pie, do not make this!
Oh, make a strong pot of coffee cause it will go wonderfully with this dessert!
This Chocolate Cream Pie is not for people who do not appreciate
deep layers of chocolate.
If you want a boring, bland chocolate pie, do not make this!
Oh, make a strong pot of coffee cause it will go wonderfully with this dessert!
Okay guys, I will come clean here.
I was planning on making this menu for just
Tim and me as a trial run.
But then friends of ours called and wanted
to pop out Friday night.
heeeeeeeeeeeeeee....
I said fine...
just come hungry.
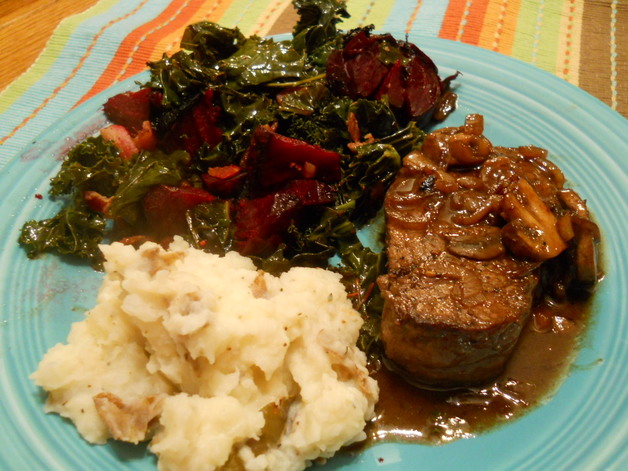
Once they got here, I bamboozled them that they were going to participate in my
1 Day Prep-Ahead Small Thanksgiving
Time Saver Meal blog post.
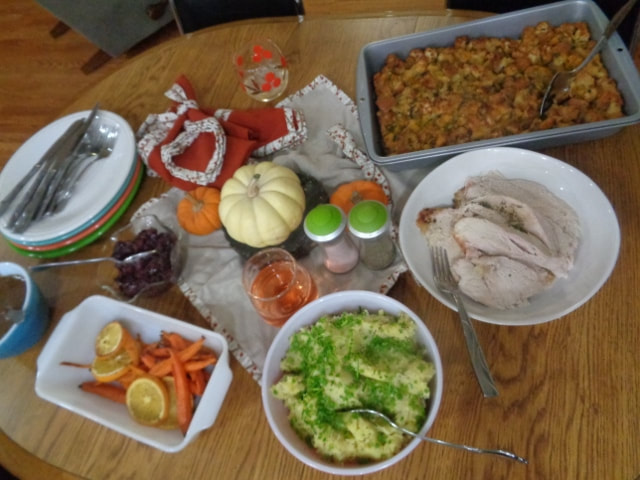
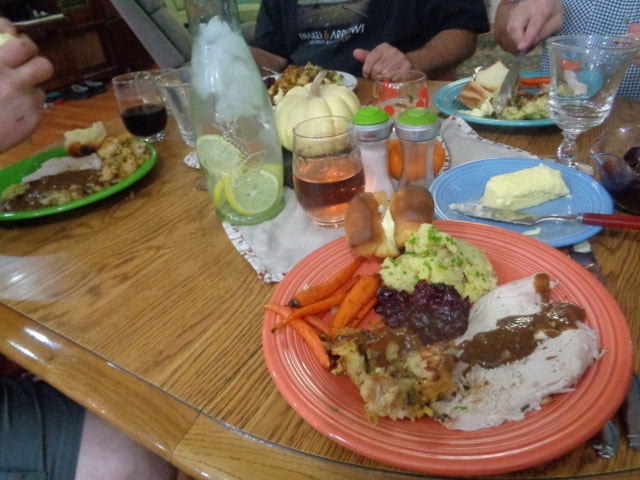


They didn't seem to mind :) :) :)
and we had a fantastic time!!!
Okay, so that's all the recipes, friends!
Below are all the links to
the recipes!!
the recipes!!
Herb-Roasted Turkey Breast with Basic Gravy
Cheddar and Jalapeno Stuffing
The Best Damn Vegan Mashed Potatoes
Honeyed Carrots and Oranges
Bourbon-Cranberry Compote
Homemade Butter Flake Rolls
Chocolate Cream Pie
If you have any questions at all,
contact me at the phone number or email address on the contact page or just ask away here in the comments!
contact me at the phone number or email address on the contact page or just ask away here in the comments!
Thanks for checking in!! I appreciate it!!
Have a great early holiday season!
Stay warm, have fun, eat delicious food,
and we'll be talking soon!!
:)