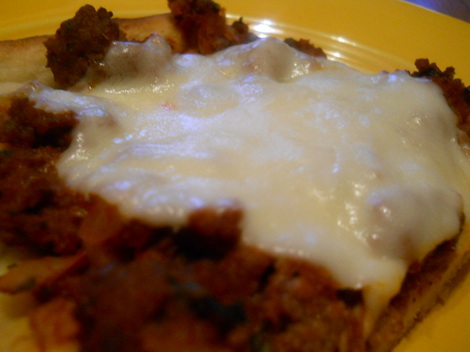
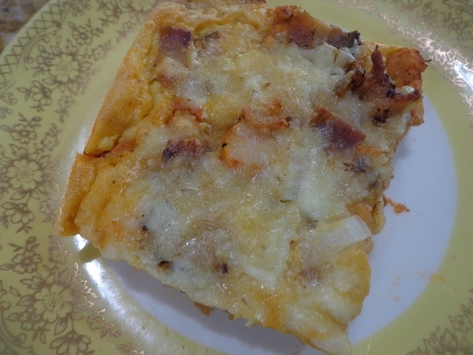
This is a slice of
Easy Bacon Cheeseburger Pie.
Easy Bacon Cheeseburger Pie.
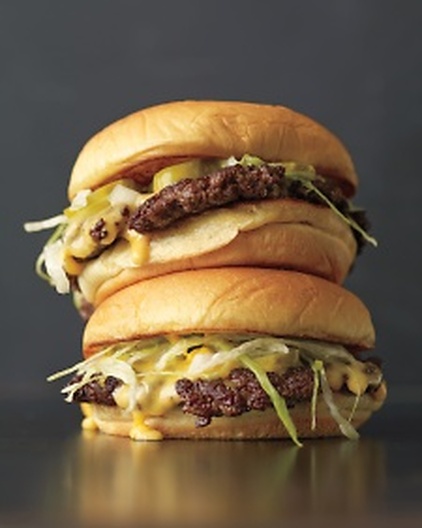
You likey burgers?
You likey bacon?
You likey cheese and a quick Bisquick mix?
Then you'll likey this super quick casserole.
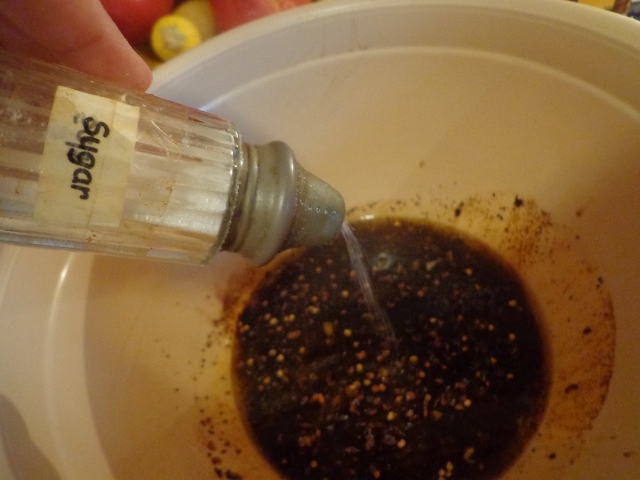
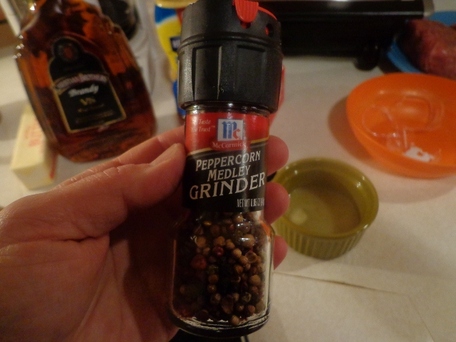
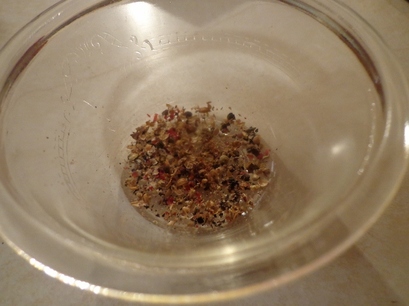
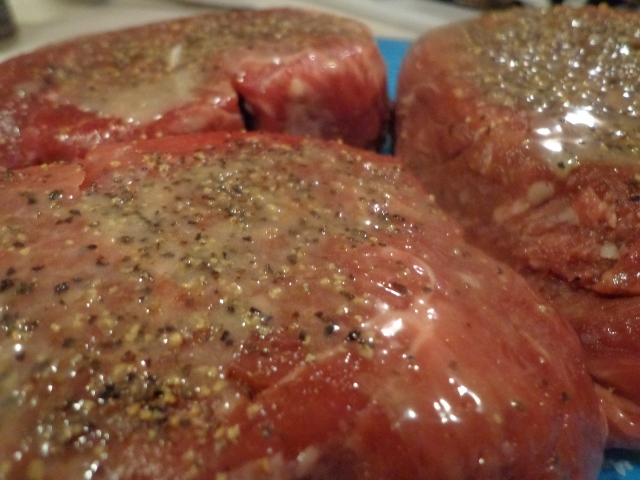
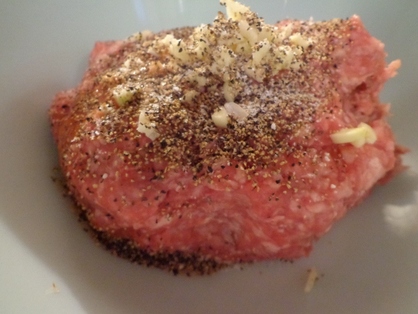
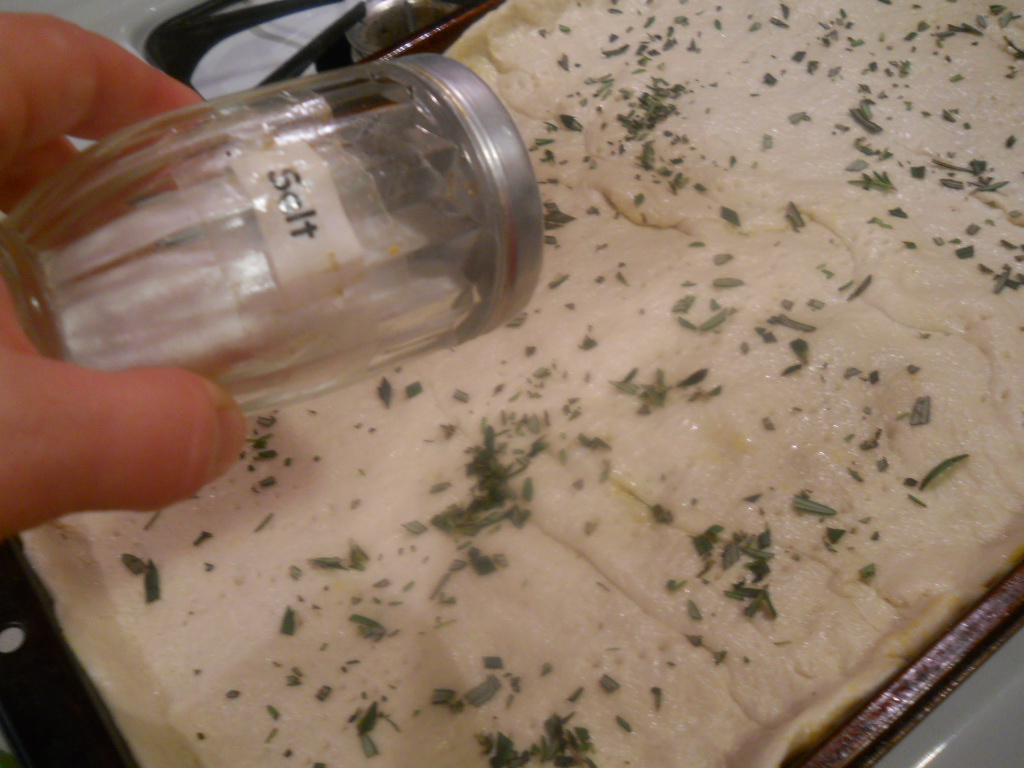
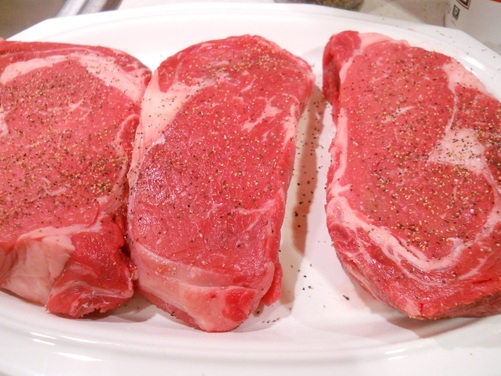
Use your spices liberally though!
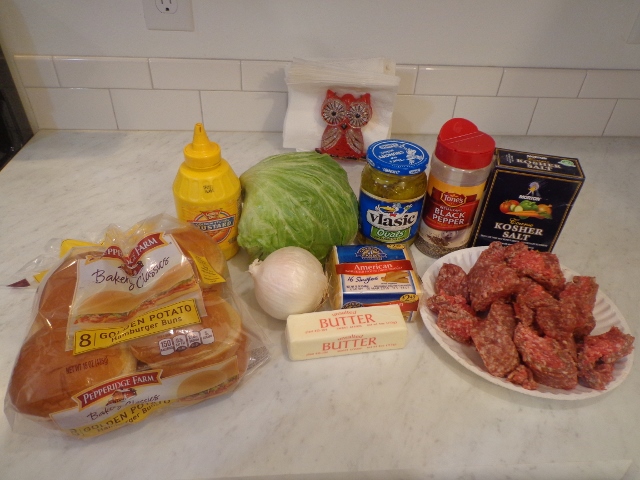
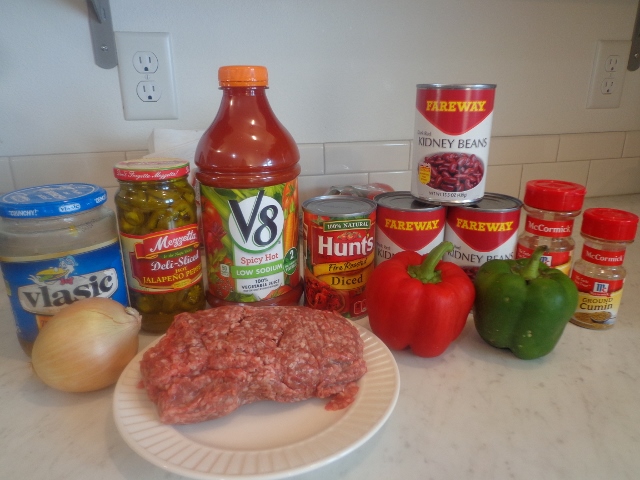
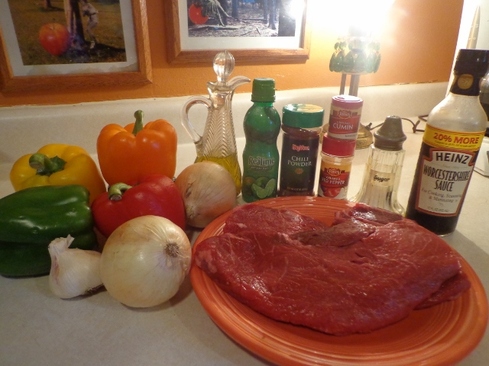
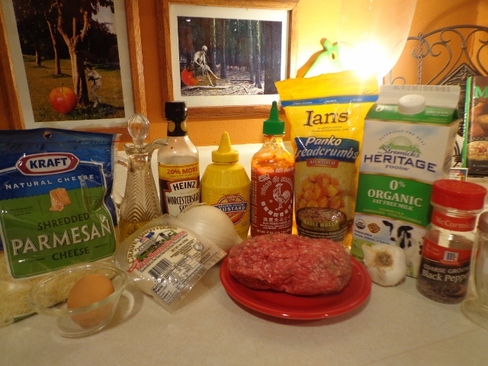
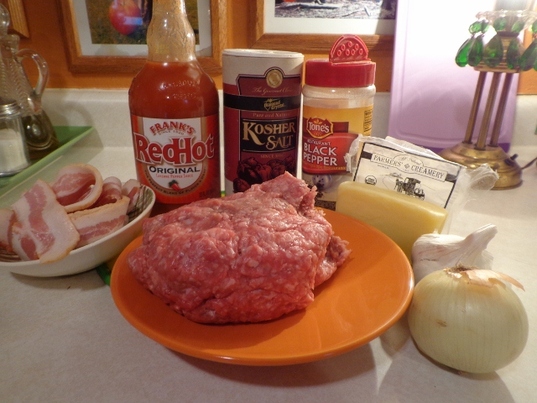
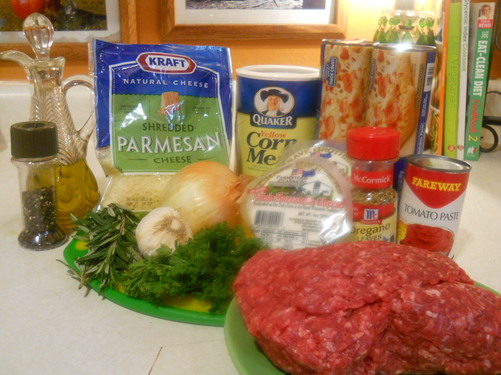
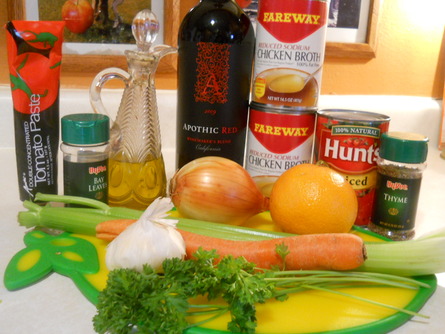
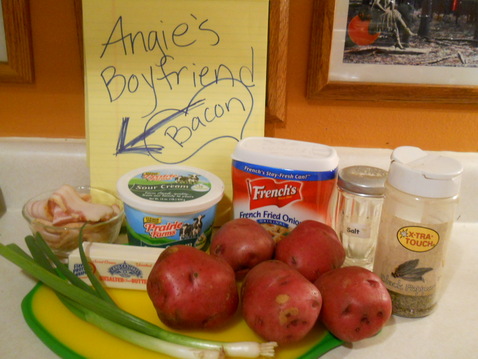
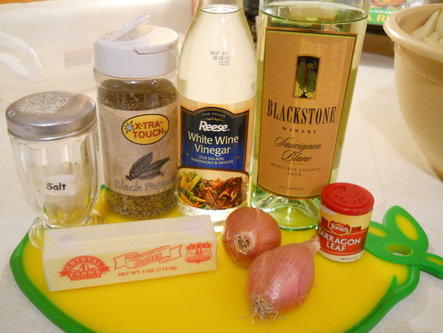
Okay, here's the fixins for this fine
Easy Bacon
Cheeseburger Pie!
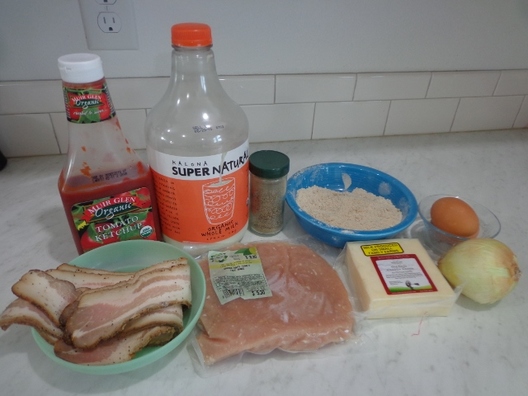
This recipe is from the Betty Crocker website. www.bettycrocker.com
Homemade Bisquick Mix
Straight outta www.kitchennostalgia.com
Serves: 2 cups
Ingredients
Straight outta www.kitchennostalgia.com
Serves: 2 cups
Ingredients
- 2 cups flour
- 3 teaspoon baking powder
- 1 teaspoon salt
- 2 Tablespoon shortening (butter or margarine)
- Mix all ingredients. Blend until mixture resembles fine crumbs.
- Use as a substitution for Bisquick mix. Store in a dry cool place.
Since I did not have Bisquick mix, here is a quick
4 ingredient recipe for a Bisquick substitute.
www.kitchennostalgia.com.
4 ingredient recipe for a Bisquick substitute.
www.kitchennostalgia.com.
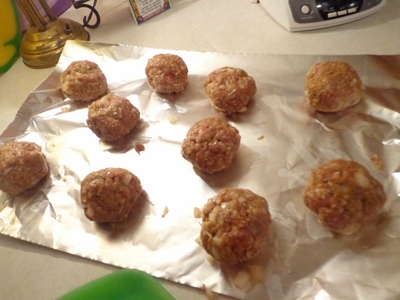
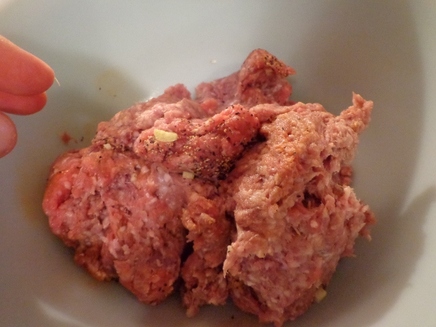
Anyhoo, let's get started on this quick,
tasty meal!
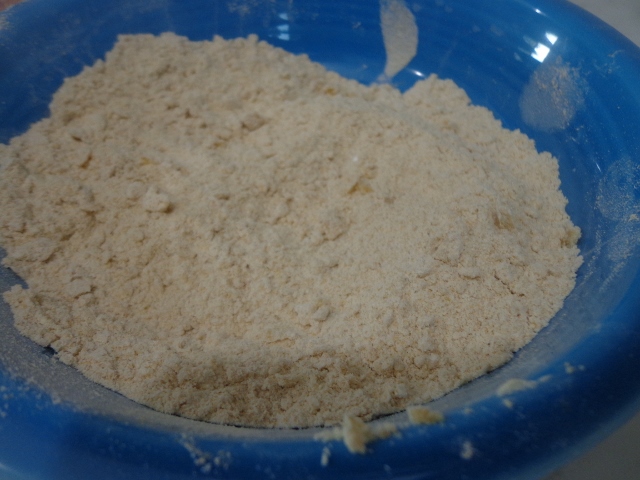
It's so easy to throw those 4 ingredients together and like magic,
there is your Bisquick mix!
there is your Bisquick mix!
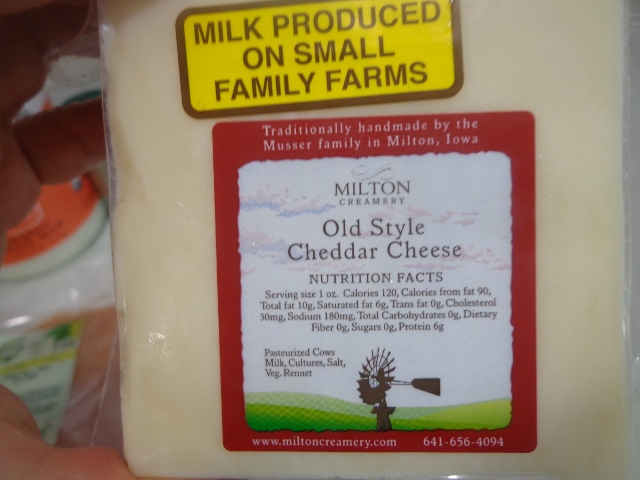
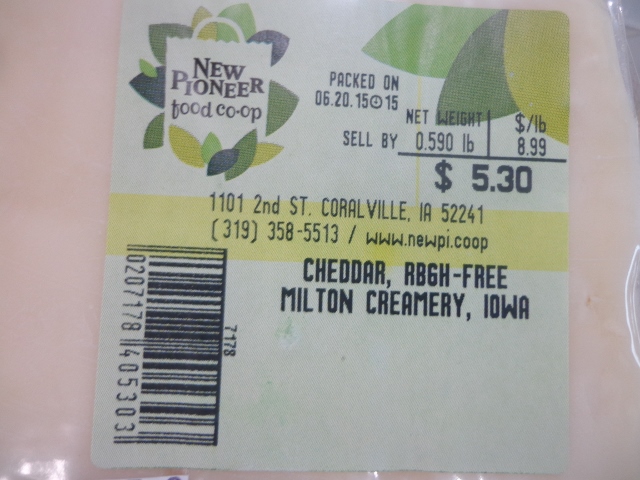

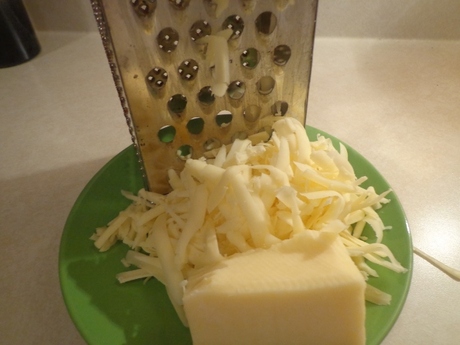
And the cheddar I have been buying lately,
is from Milton, Ia.
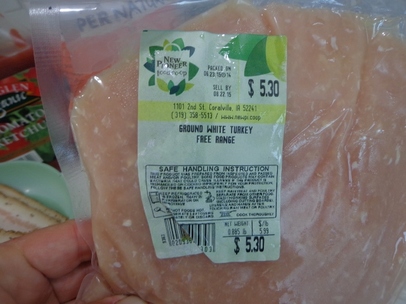
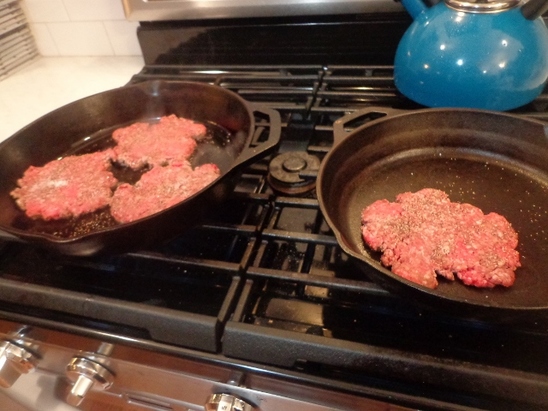
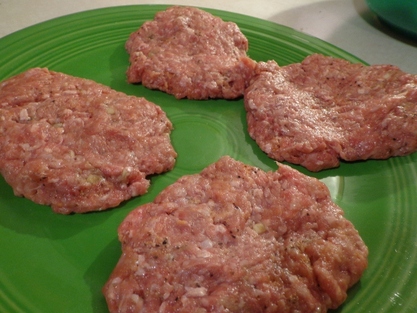
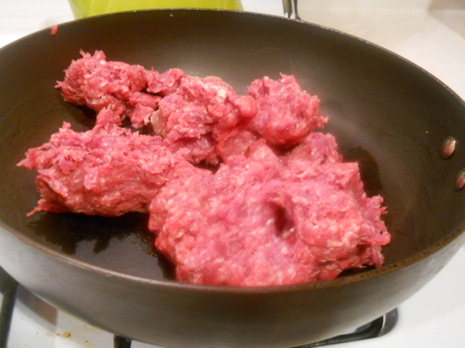
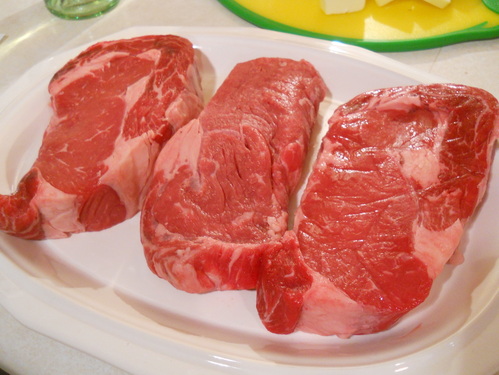
Now to lighten this recipe
a bit,
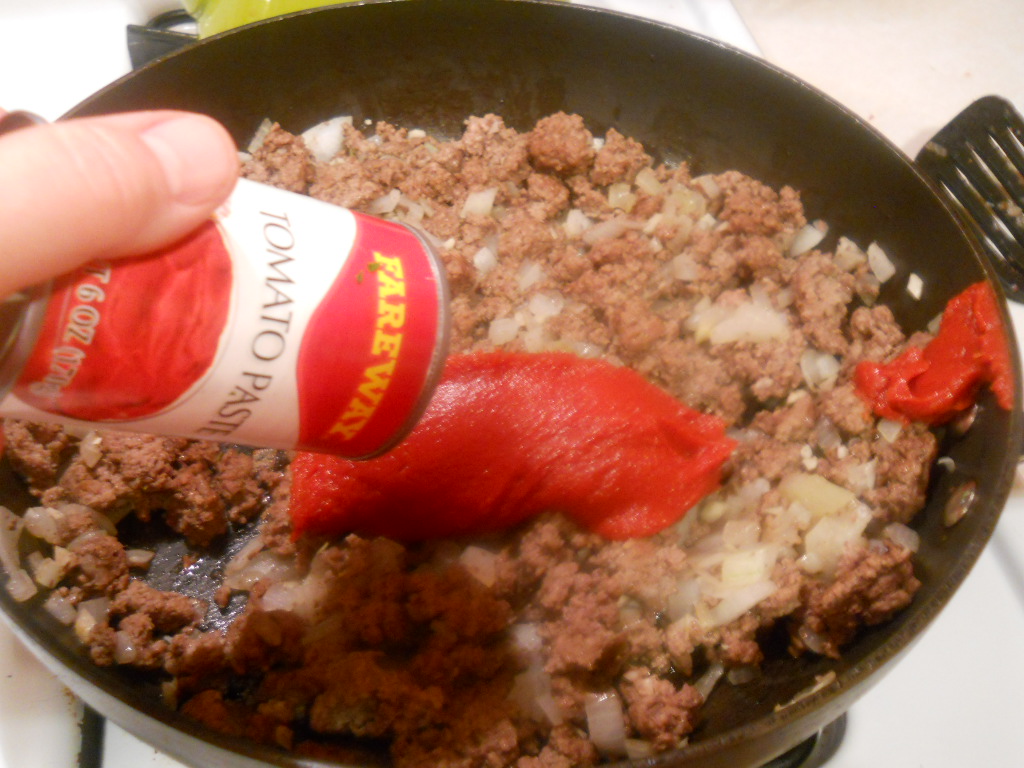
I used ground turkey breast instead of ground beef.
At Fareway grocery stores,
the price of ground turkey breast has risen to $7.99/lb.
I buy organic free range at the co-op and it's only $5.99/lb.
Go figure.
a bit,
I used ground turkey breast instead of ground beef.
At Fareway grocery stores,
the price of ground turkey breast has risen to $7.99/lb.
I buy organic free range at the co-op and it's only $5.99/lb.
Go figure.
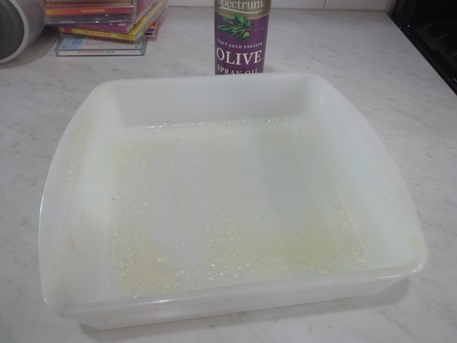
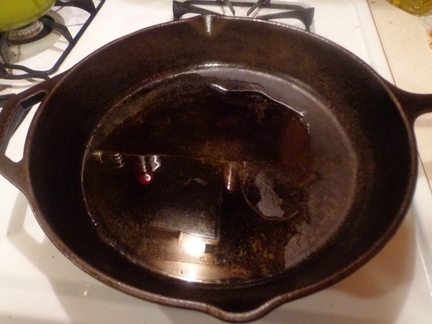
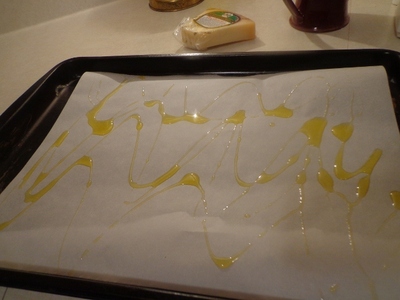
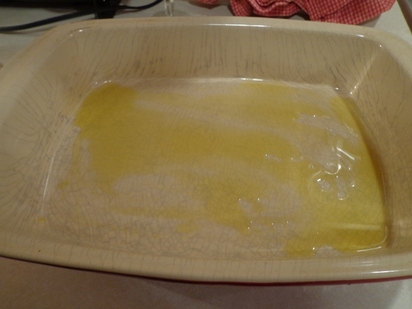
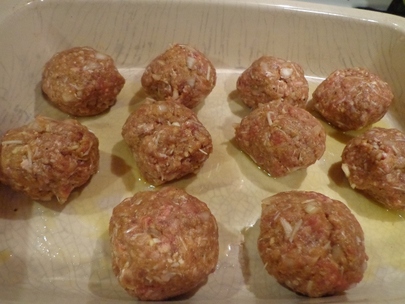
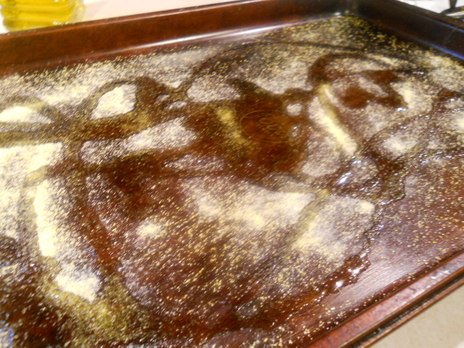
Spray up that casserole dish!
Oopsy....
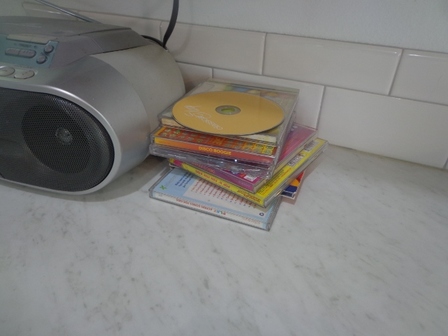
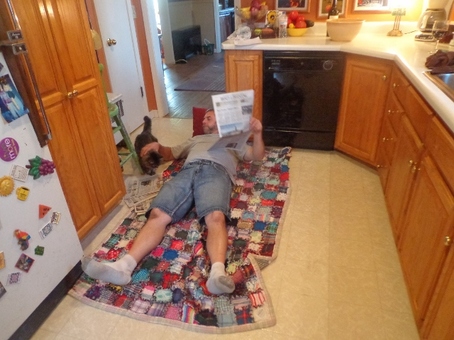
Gotta find a good old skool CD to plug into the player to get the party started....

Well, mostly what I had available up in the kitchen was kids' sing-a-long songs and 70s disco CDs.
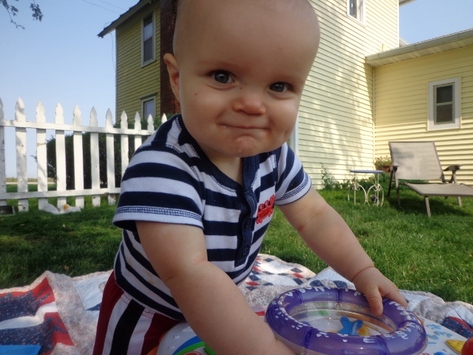
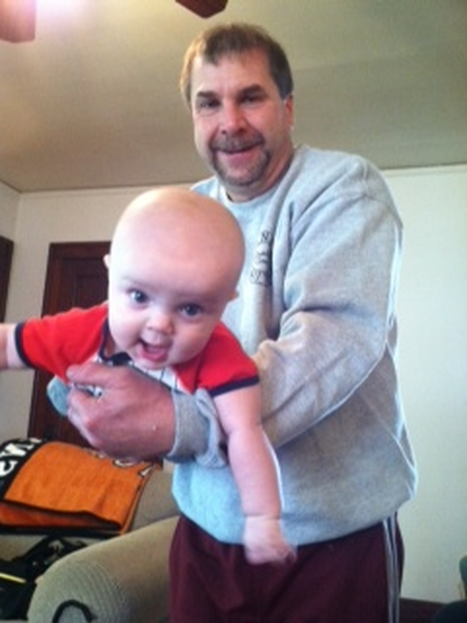
I was trying to introduce our one and only grandchild,
Little Boy Blue,
to disco last time he was here.
I was trying to introduce our one and only grandchild,
Little Boy Blue,
to disco last time he was here.
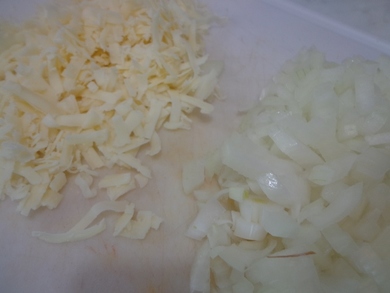
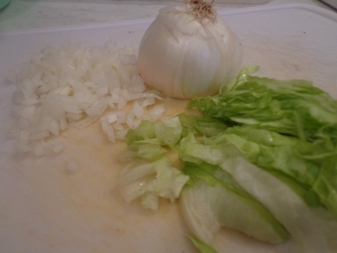
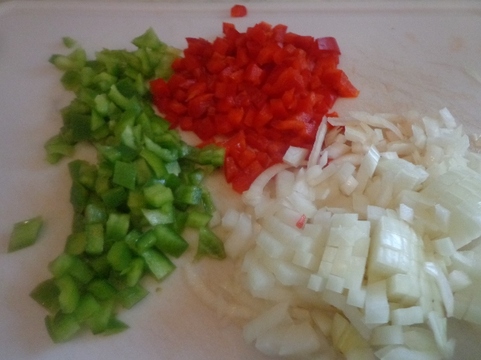
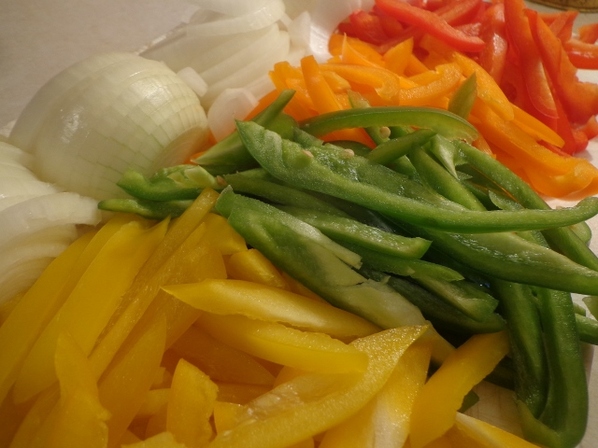
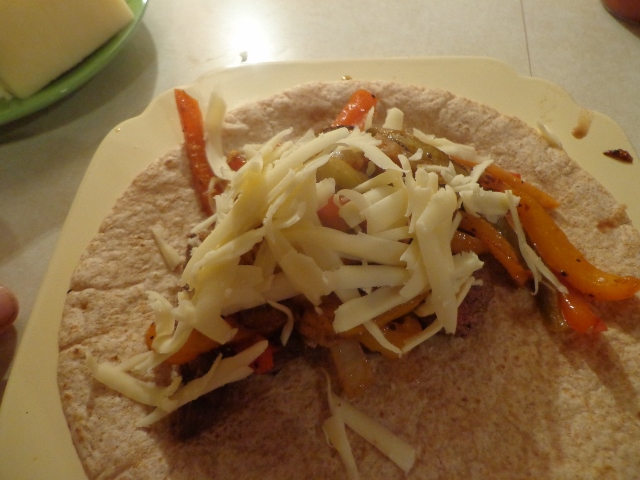
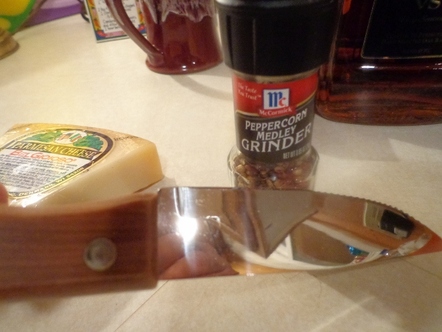
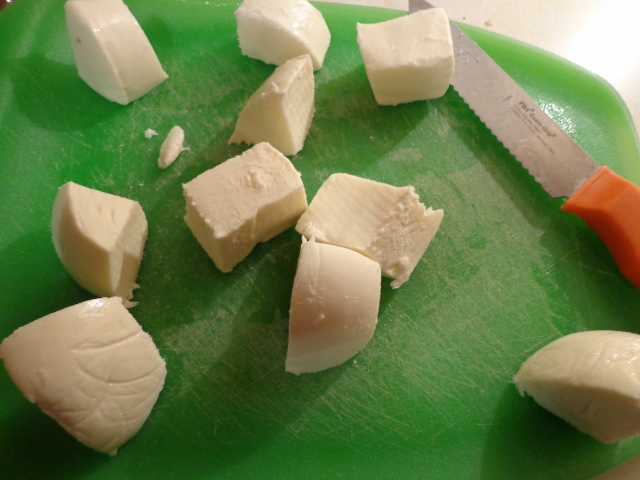
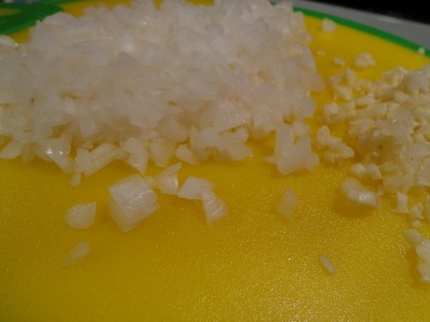
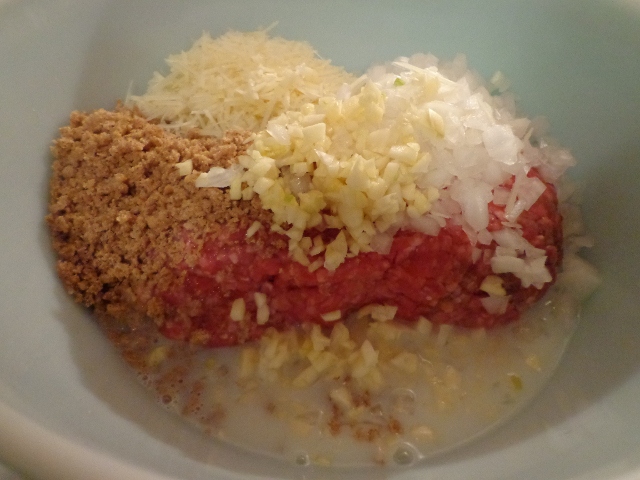
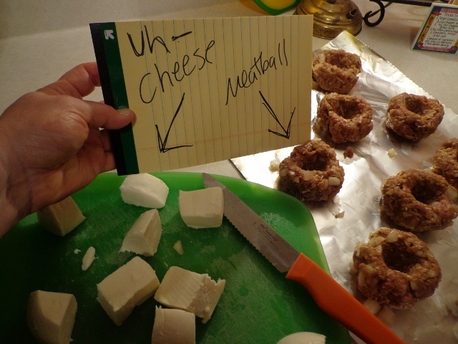
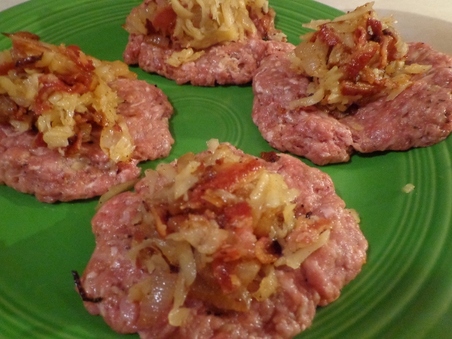
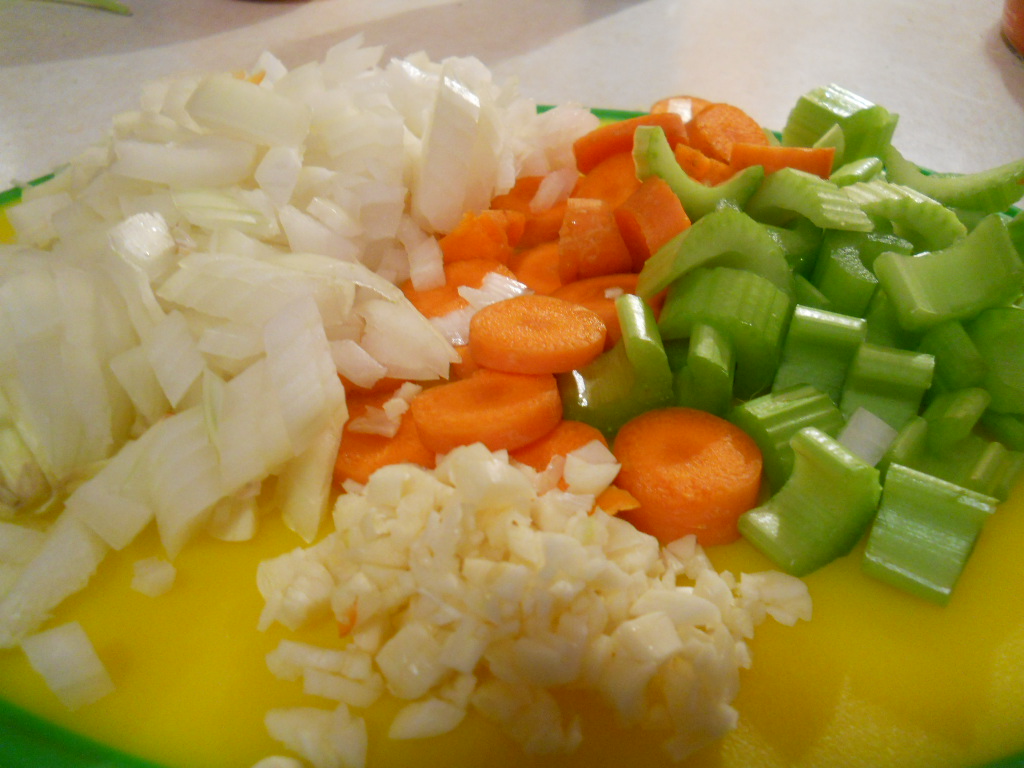
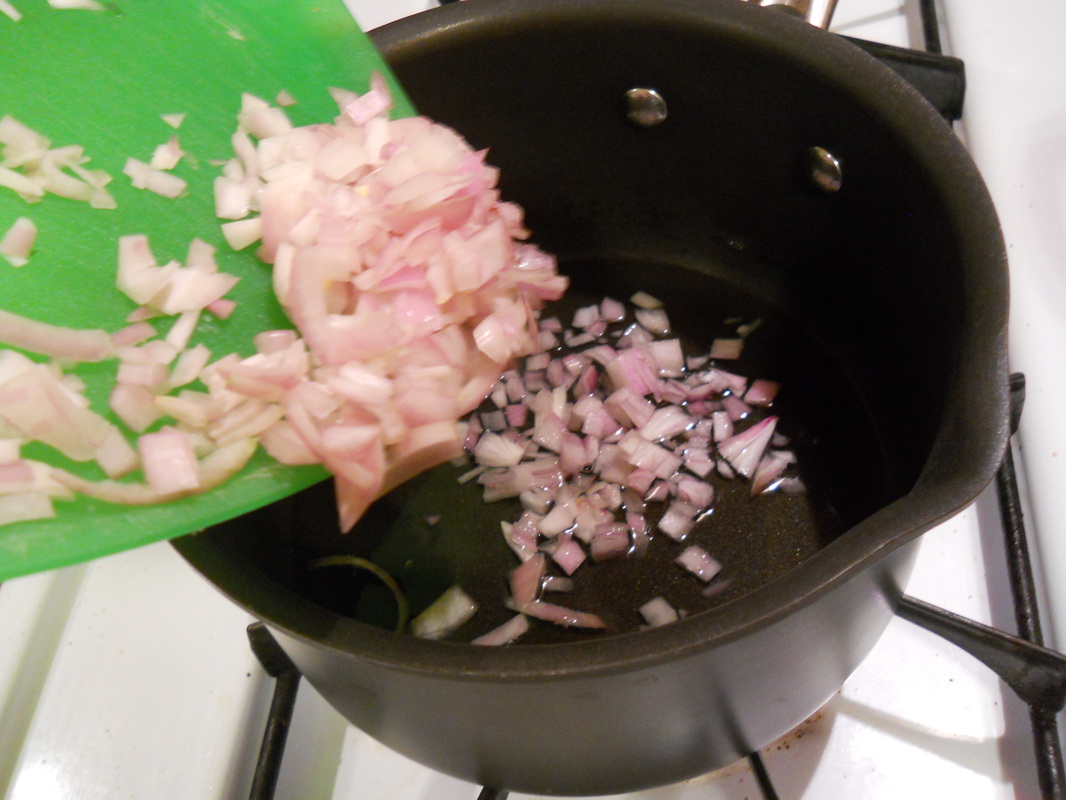
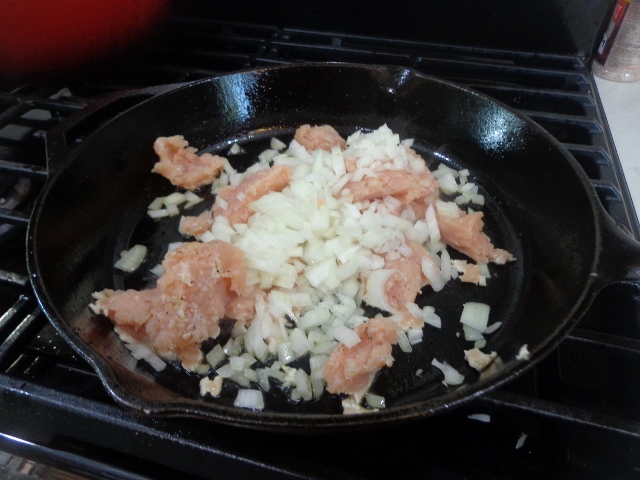
And shred up that cheddar cheese
and
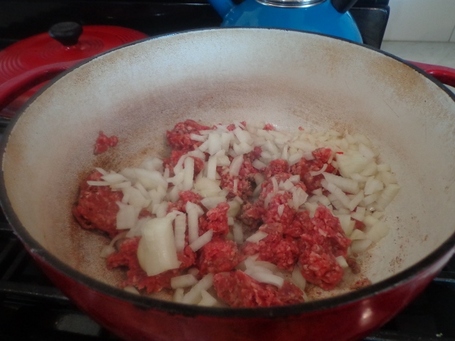
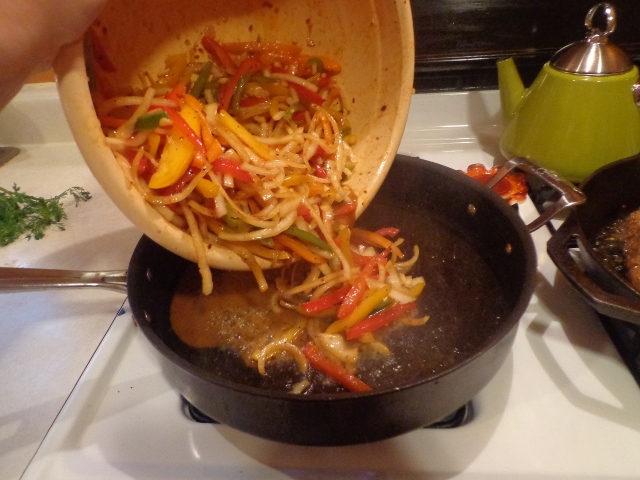
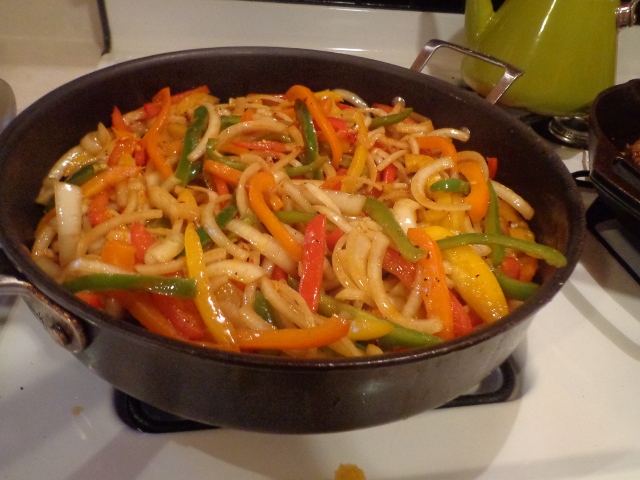
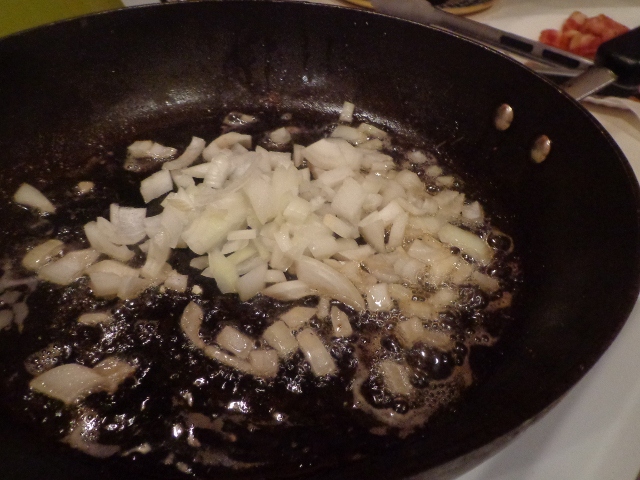
dice up that onion!
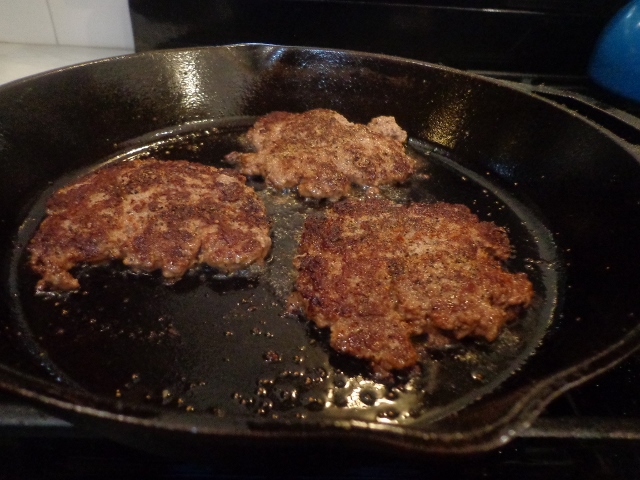
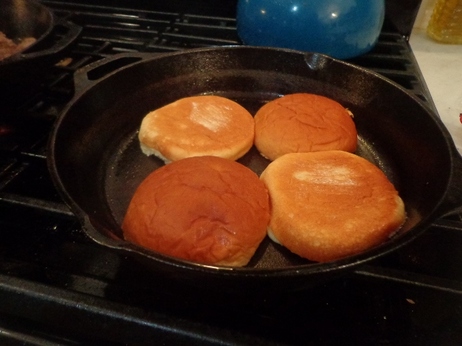
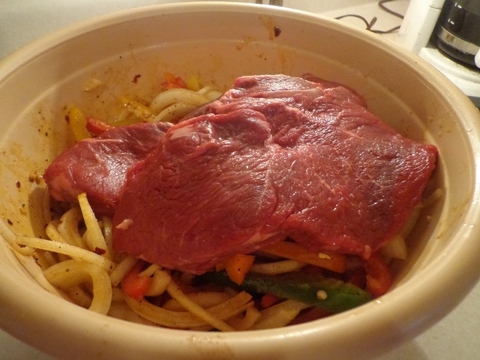
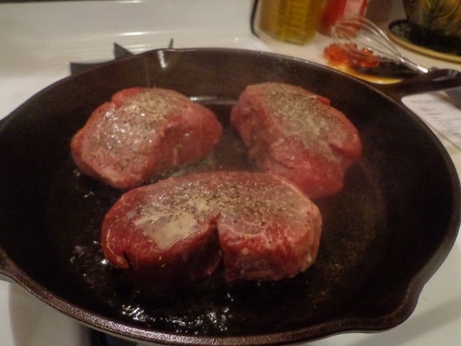
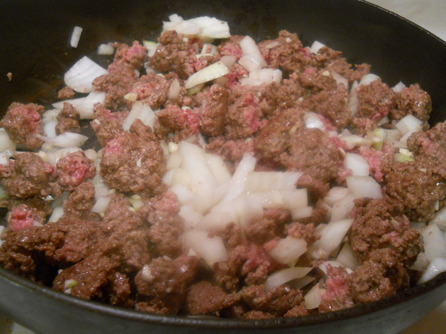
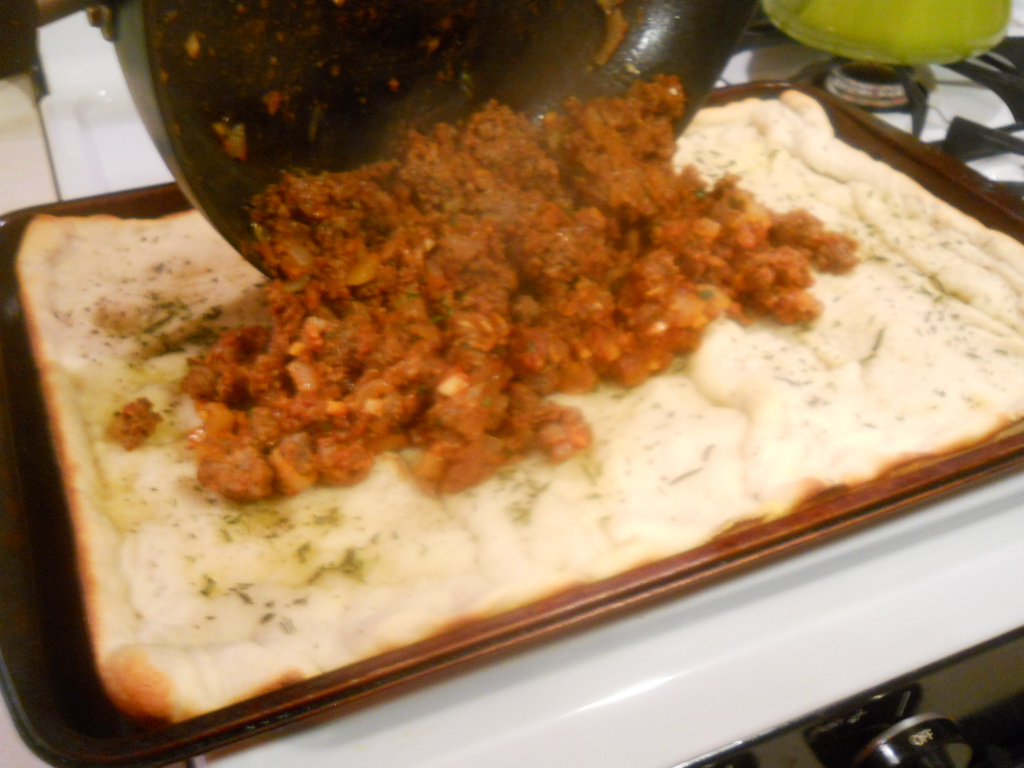
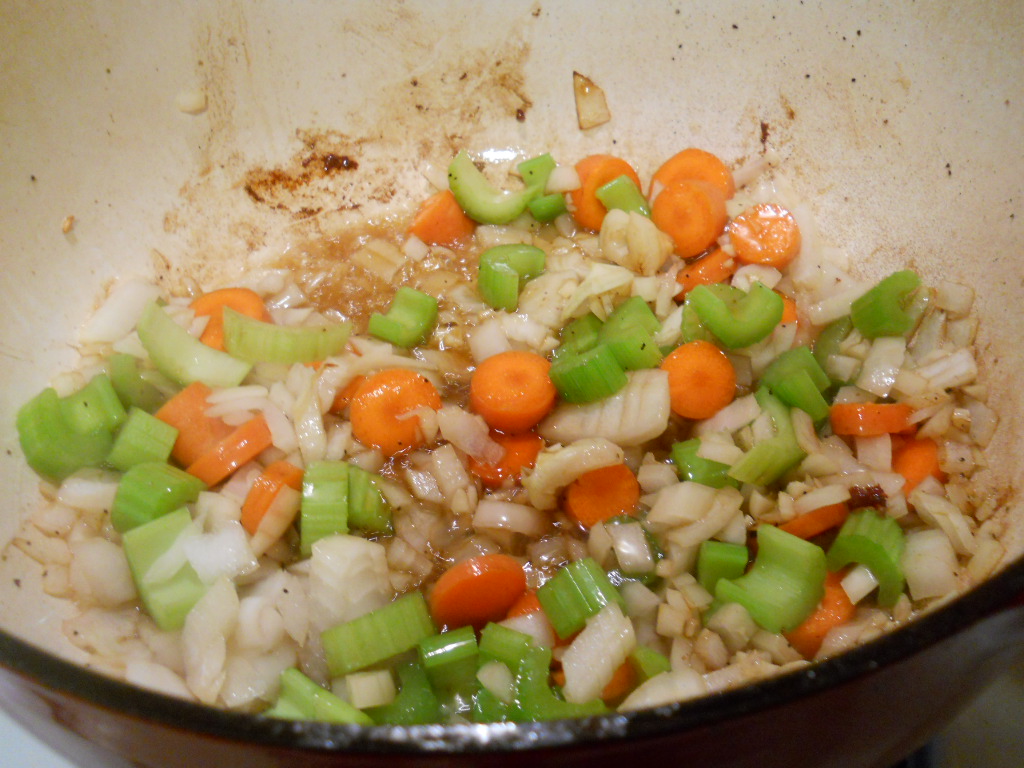
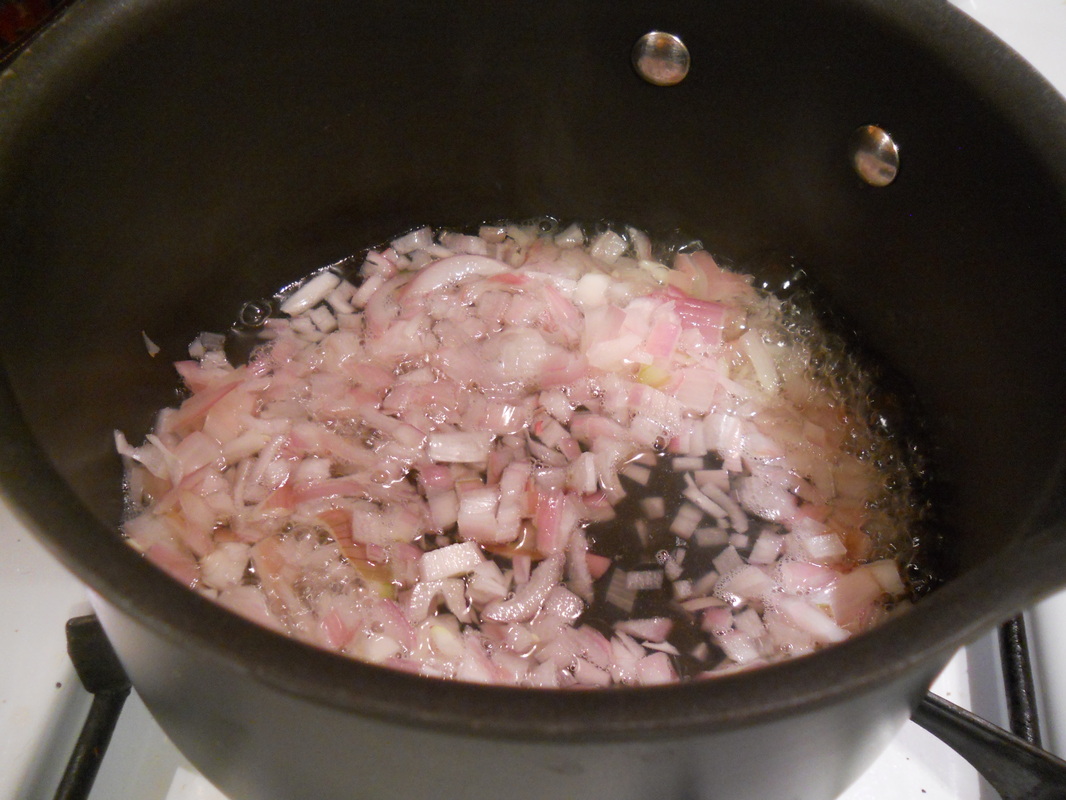
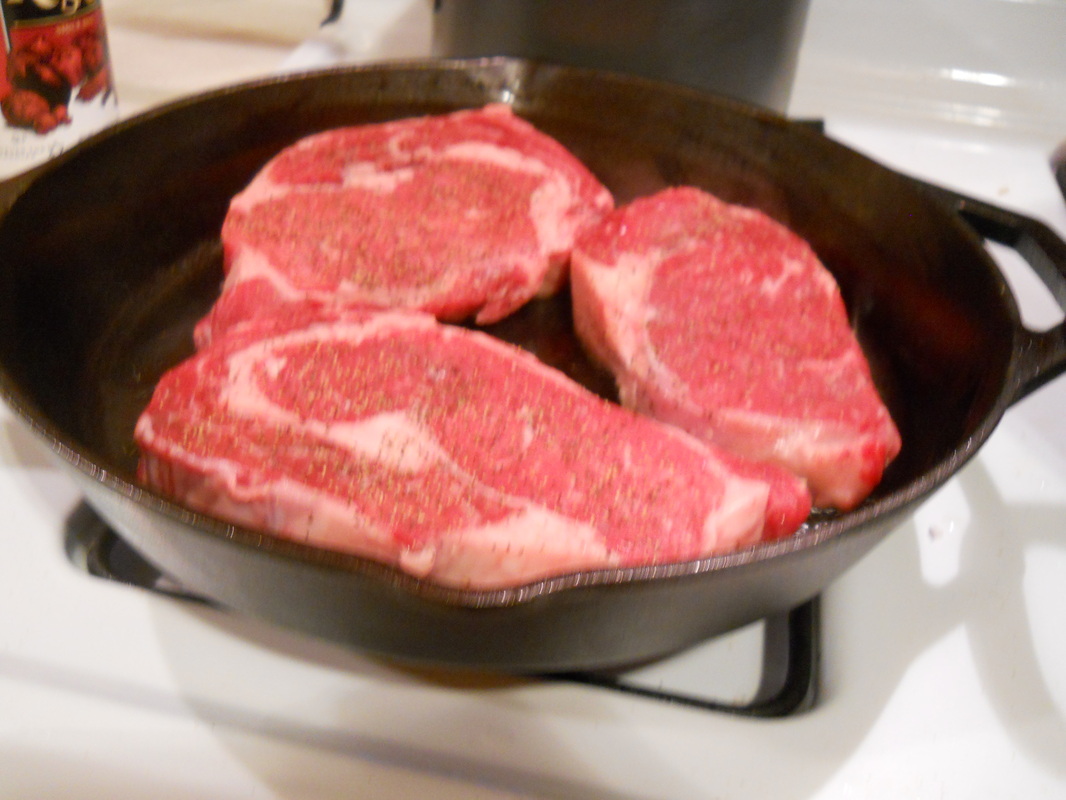
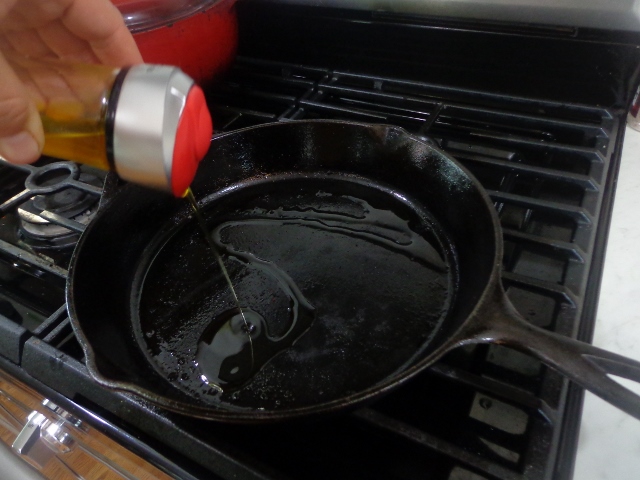
Now, one is supposed to leave all that good yummy
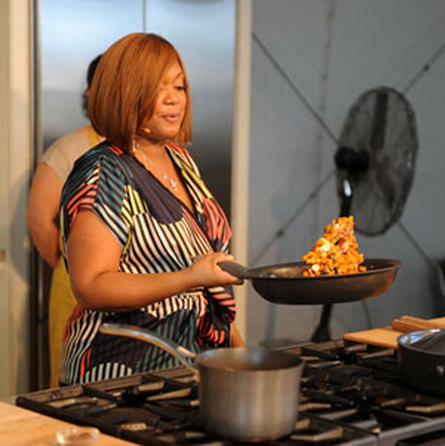
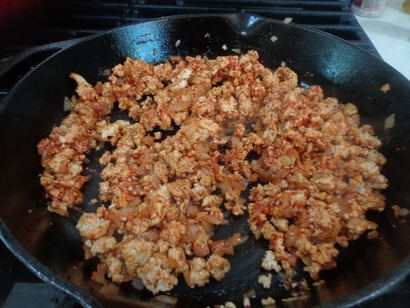
bacon grease in the pan to start cooking the ground beef, and onion, but....
threw olive oil in and the ground turkey breast and onions right in that skillet and started browning the onions and turkey!
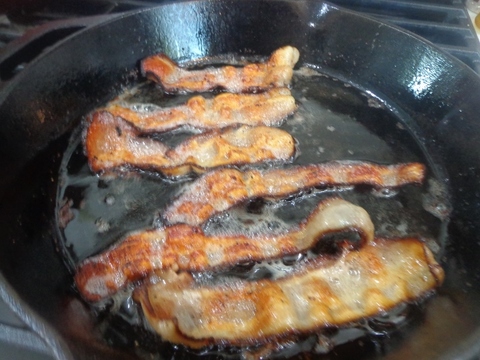
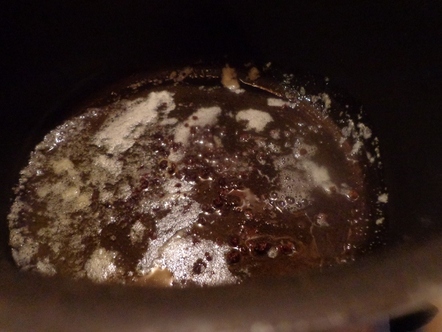
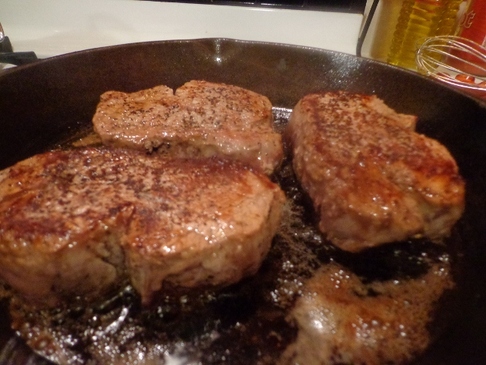
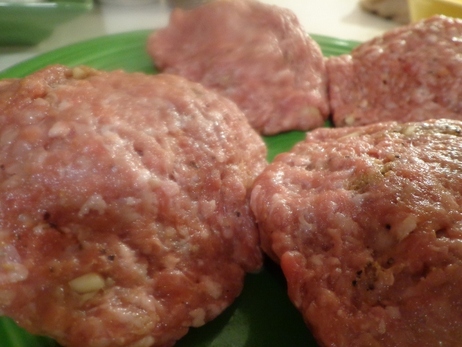
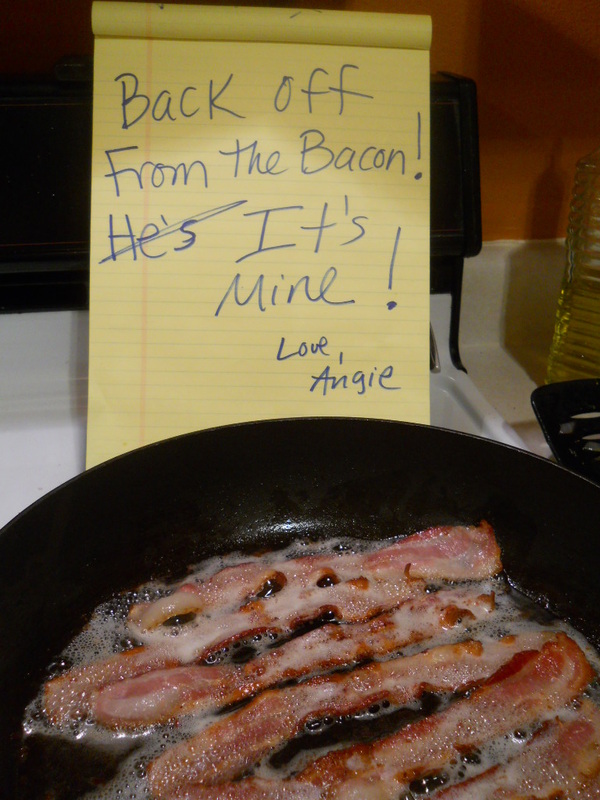
Anyway, back to the recipe,
cook that bacon up crisp!
cook that bacon up crisp!
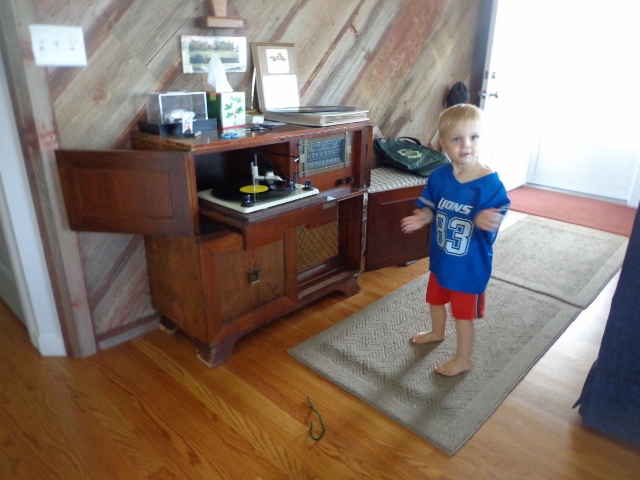

All Little Boy Boy Blue wanted to hear was 1970s Sesame Street vinyl albums though...he loves this 40s vintage player.
(Which is also a super cool short wave radio that gets all kinds of foreign stations in Italian, Portuguese, French and Asian languages.)
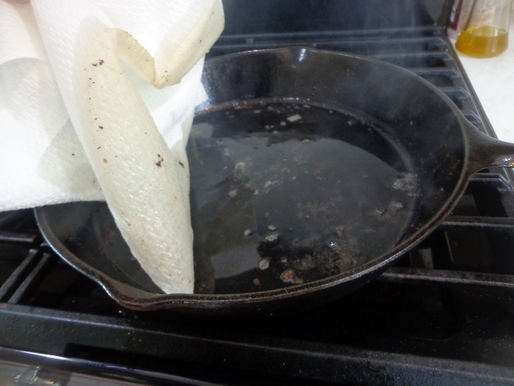
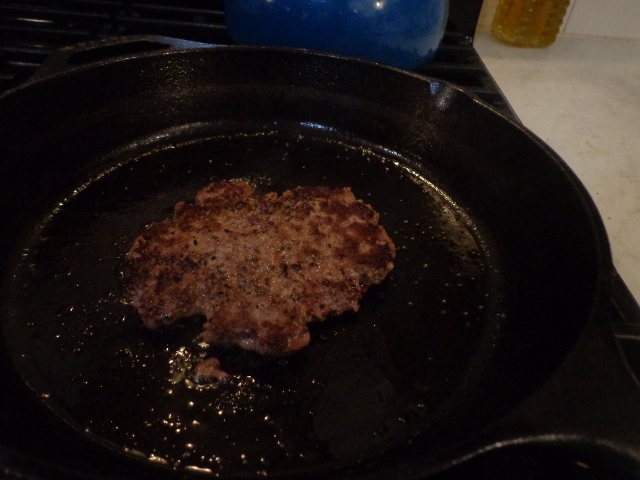
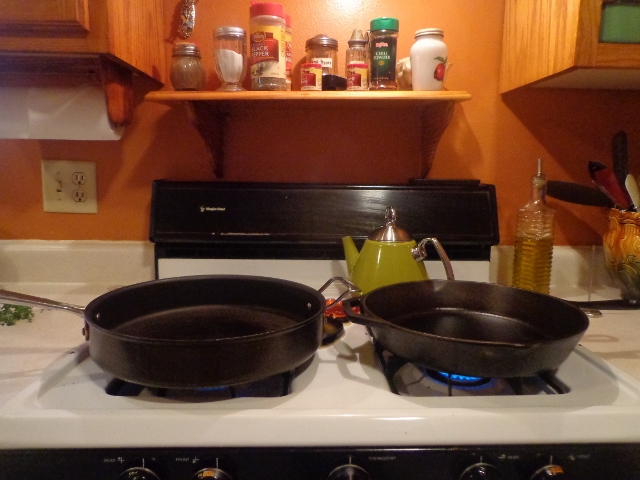
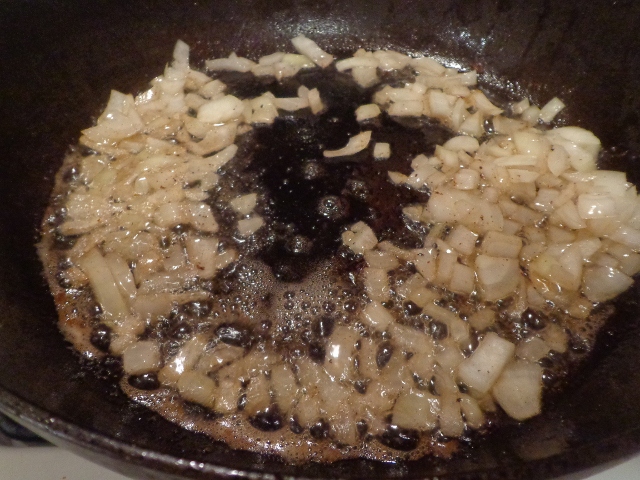
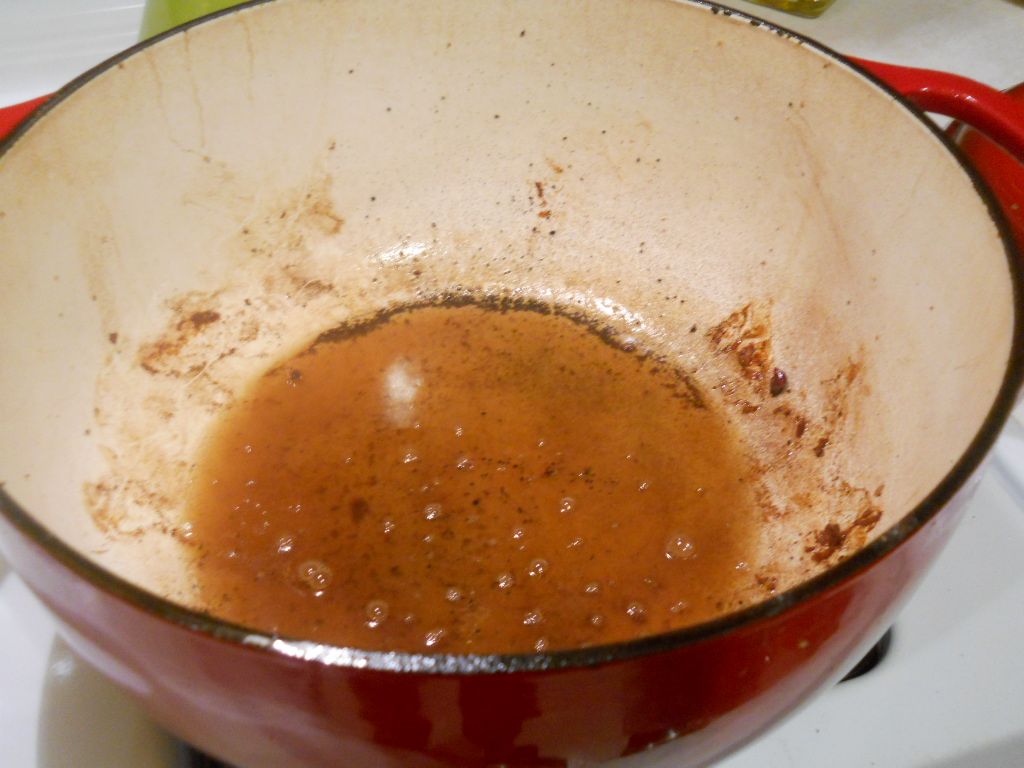
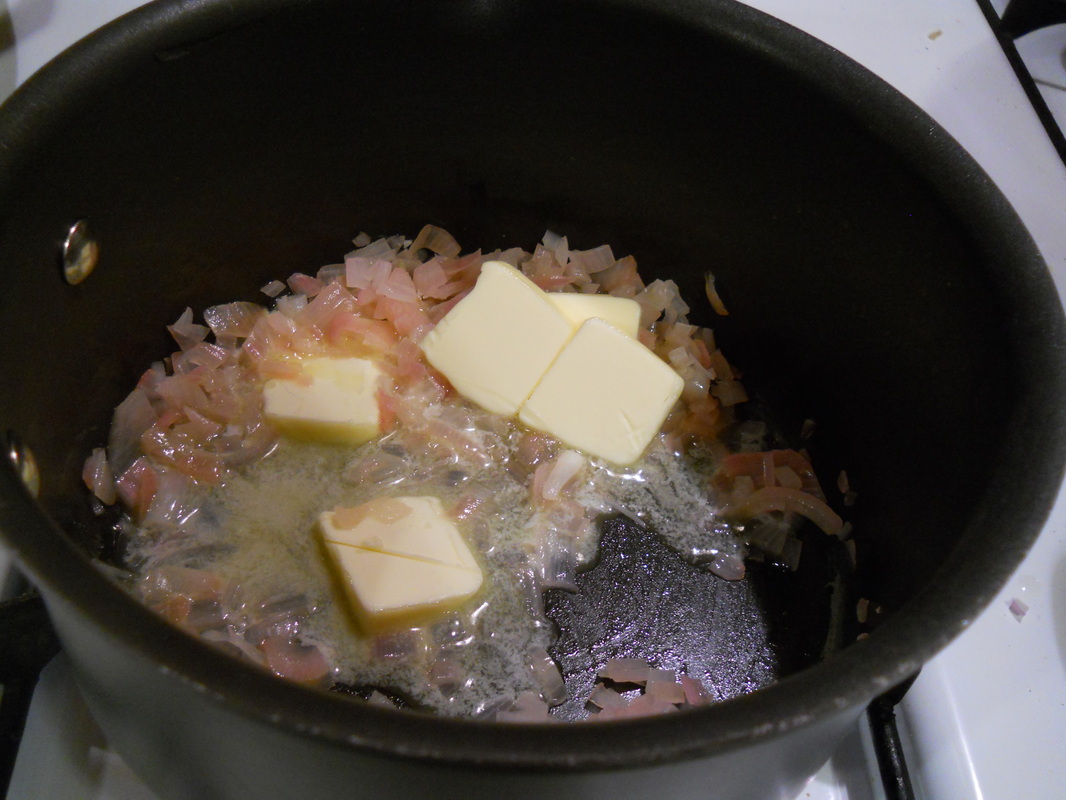
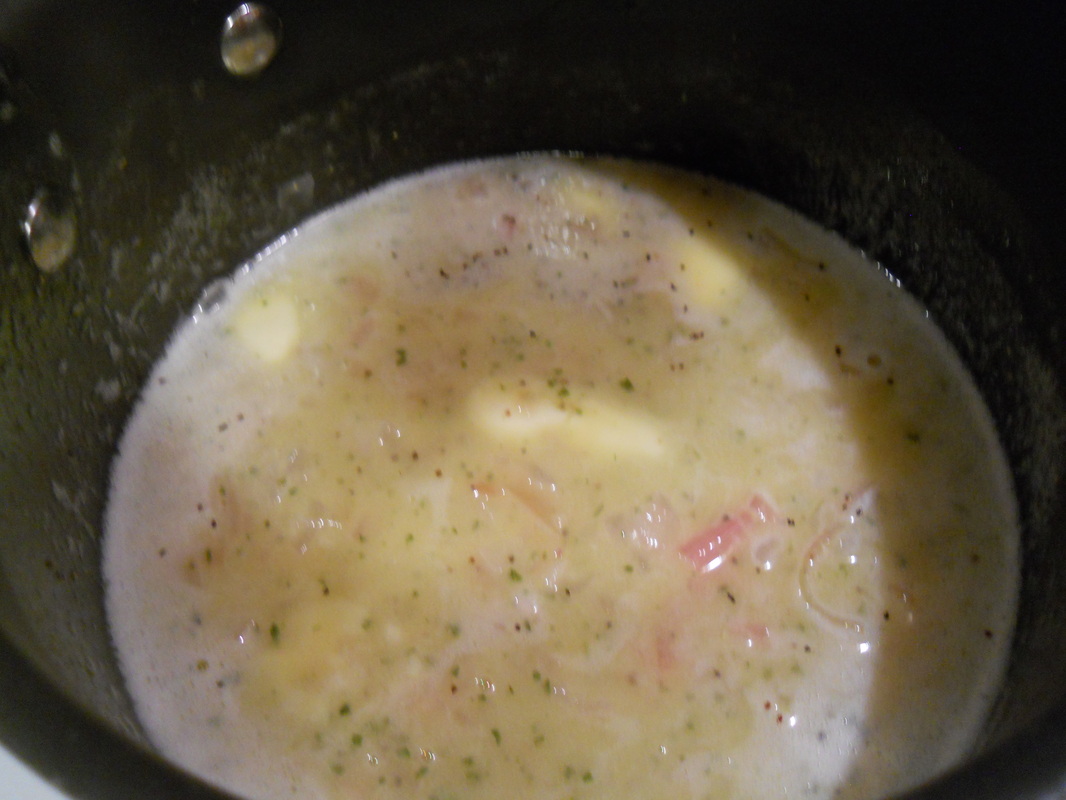
I'm a bit of a grease
buzz-kill,
so I cleaned out the skillet of the bacon grease and...
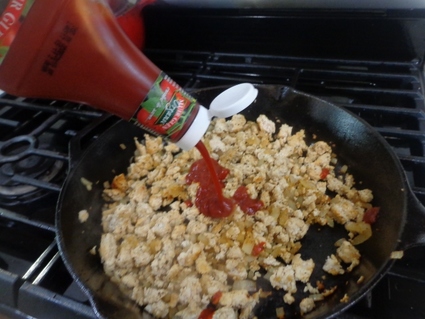
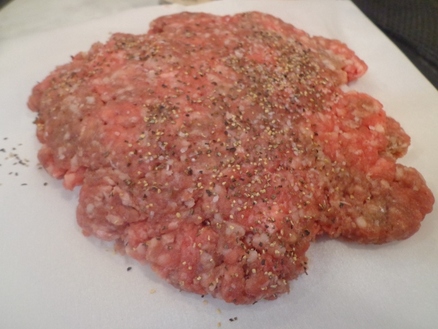
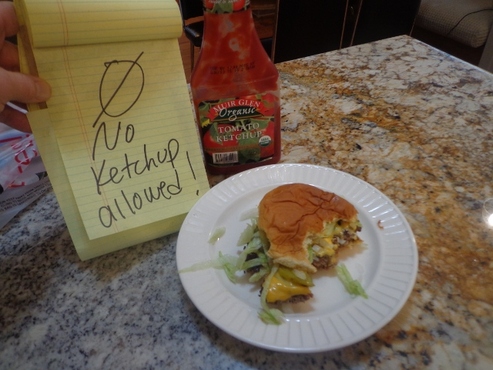
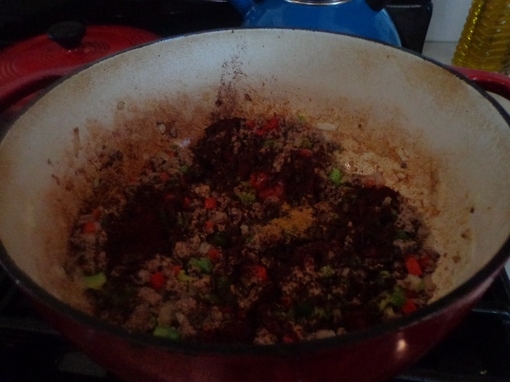
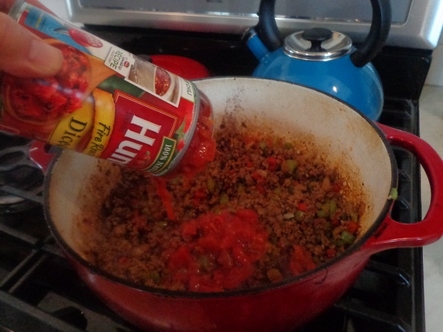
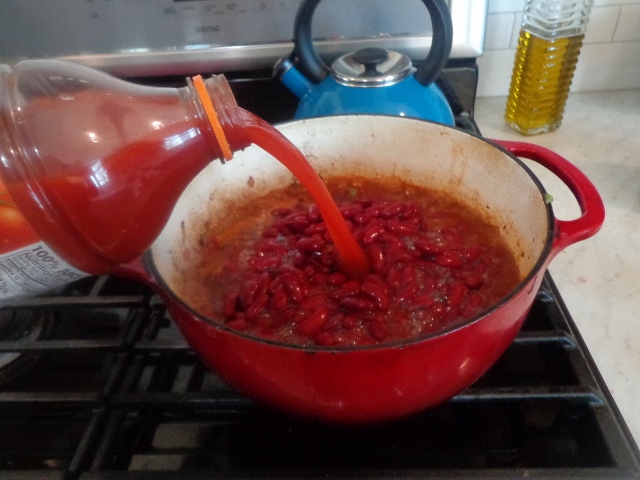
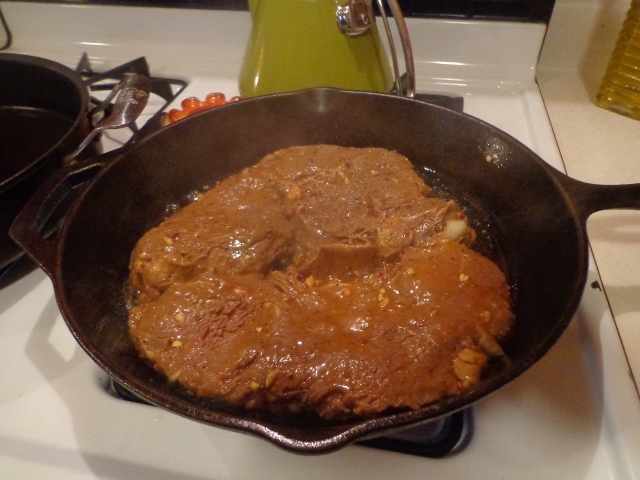
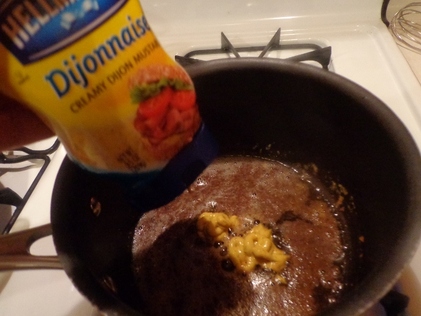
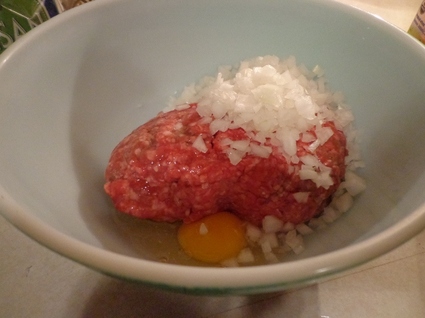
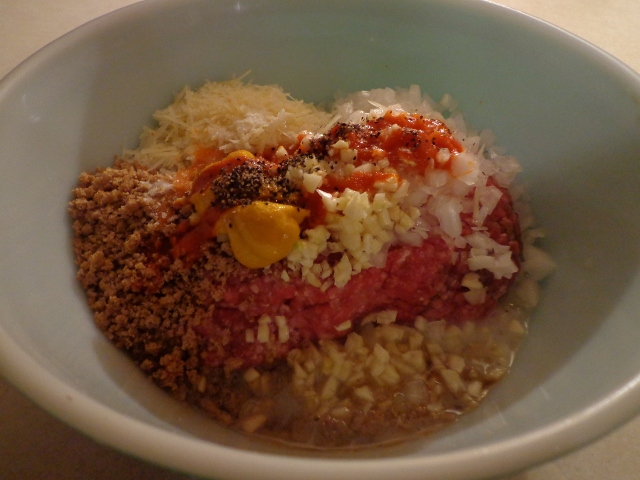
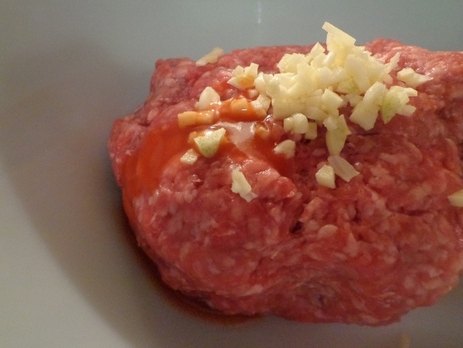
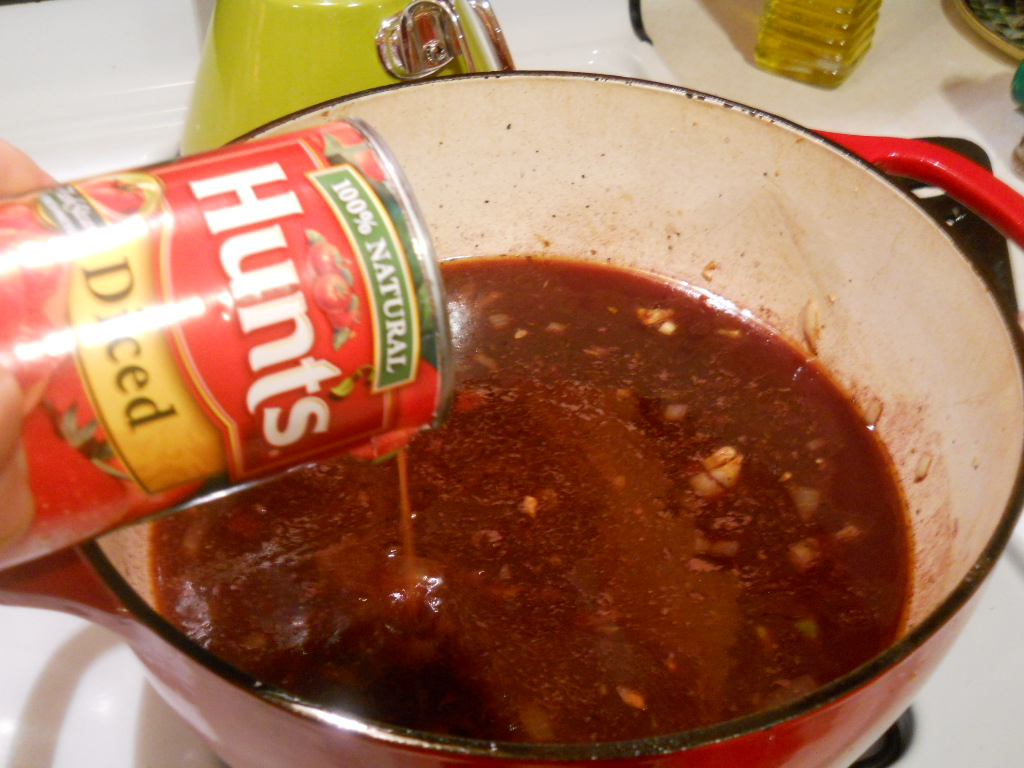
Don't forget
to add the ketchup to the
ground beef or turkey mix!
Helloooo,
Wonderful!
Yup!
Just like this.
I hope you made up two extra strips so you could sneakily
eat them...or four...five, six, whatever. It's all good.
Just like this.
I hope you made up two extra strips so you could sneakily
eat them...or four...five, six, whatever. It's all good.
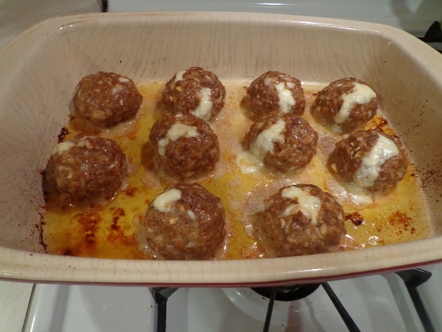
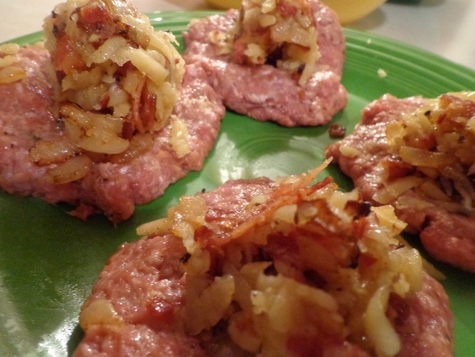
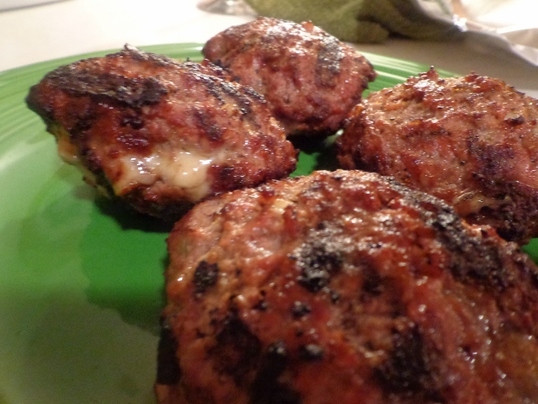
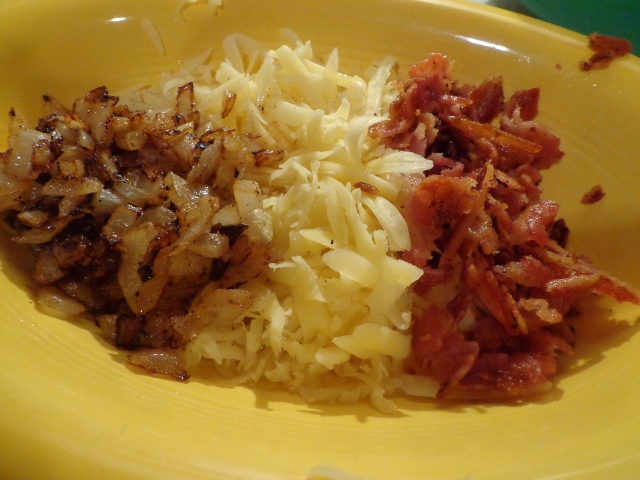
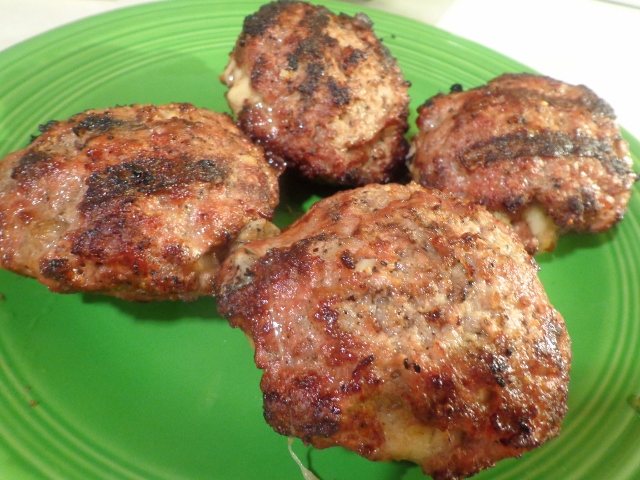
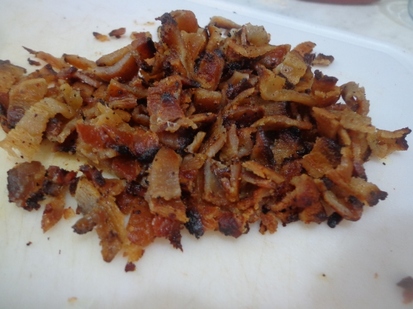
Now on to the best part...fry and chop up that yummy bacon!!! Bacon!!!

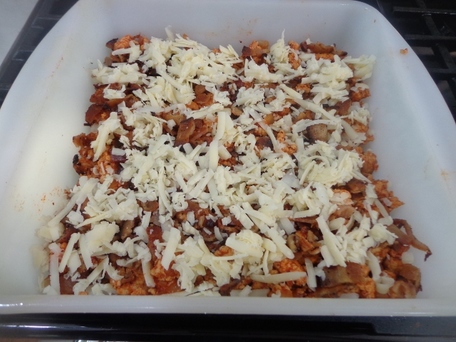
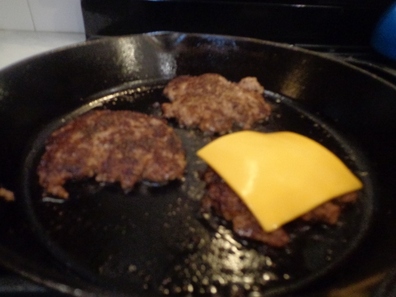
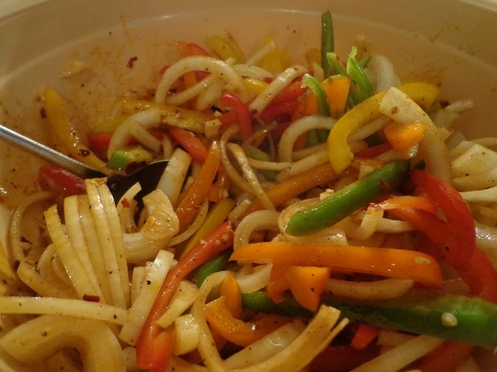
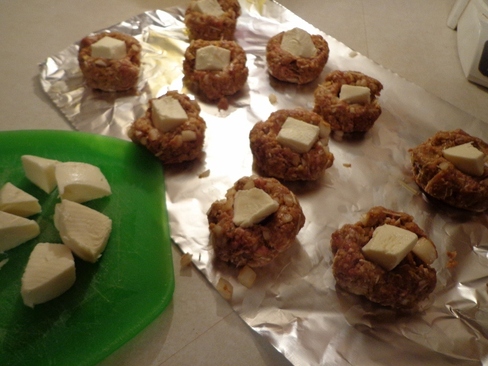
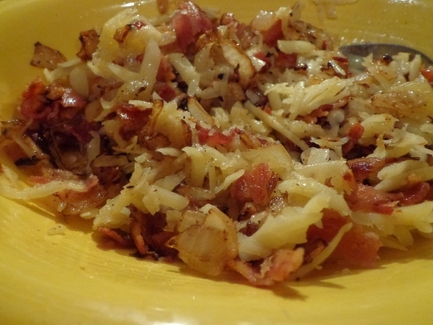
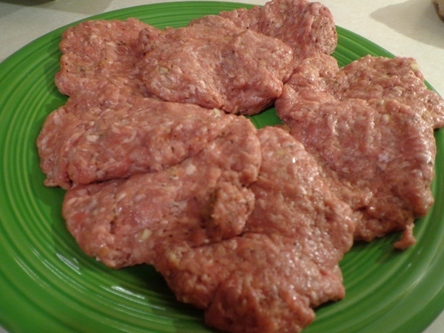
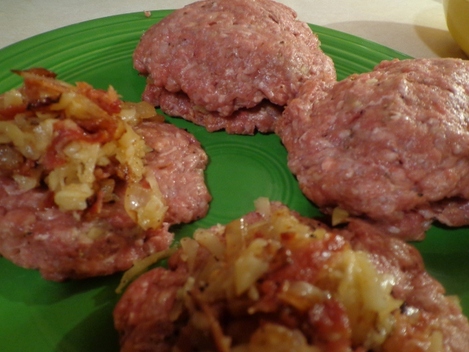
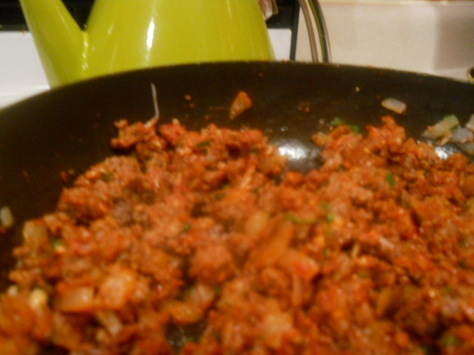
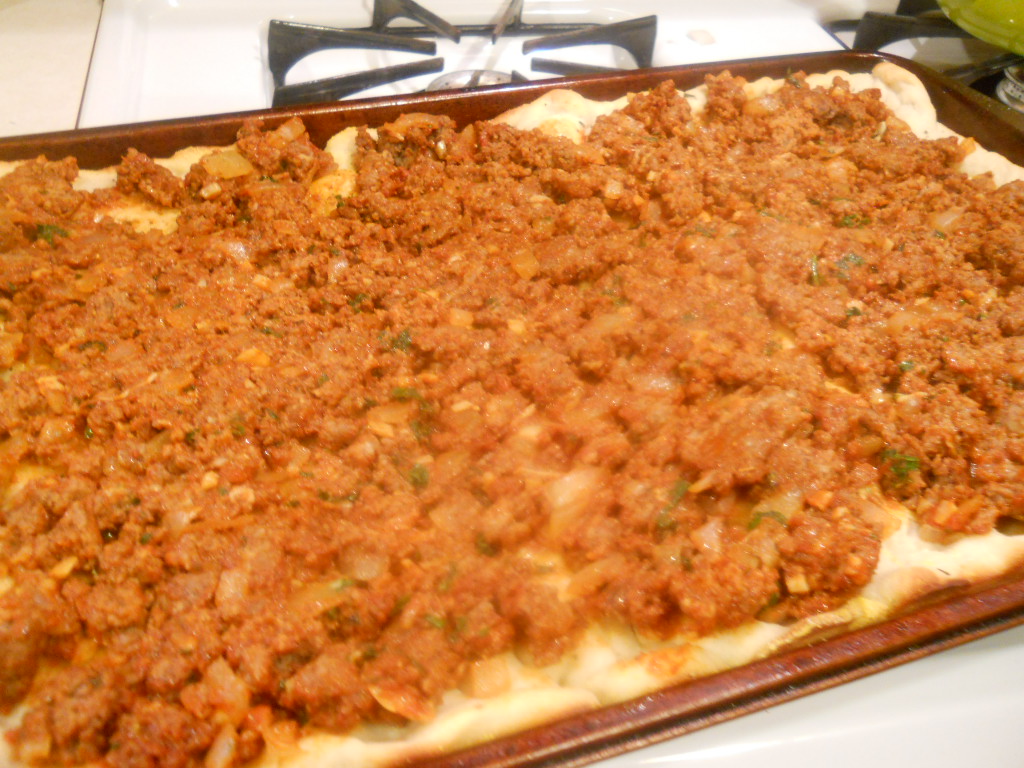
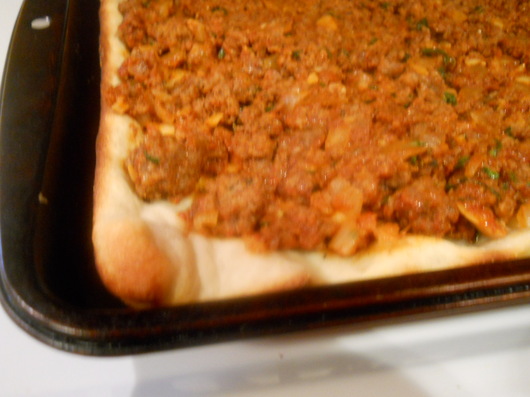
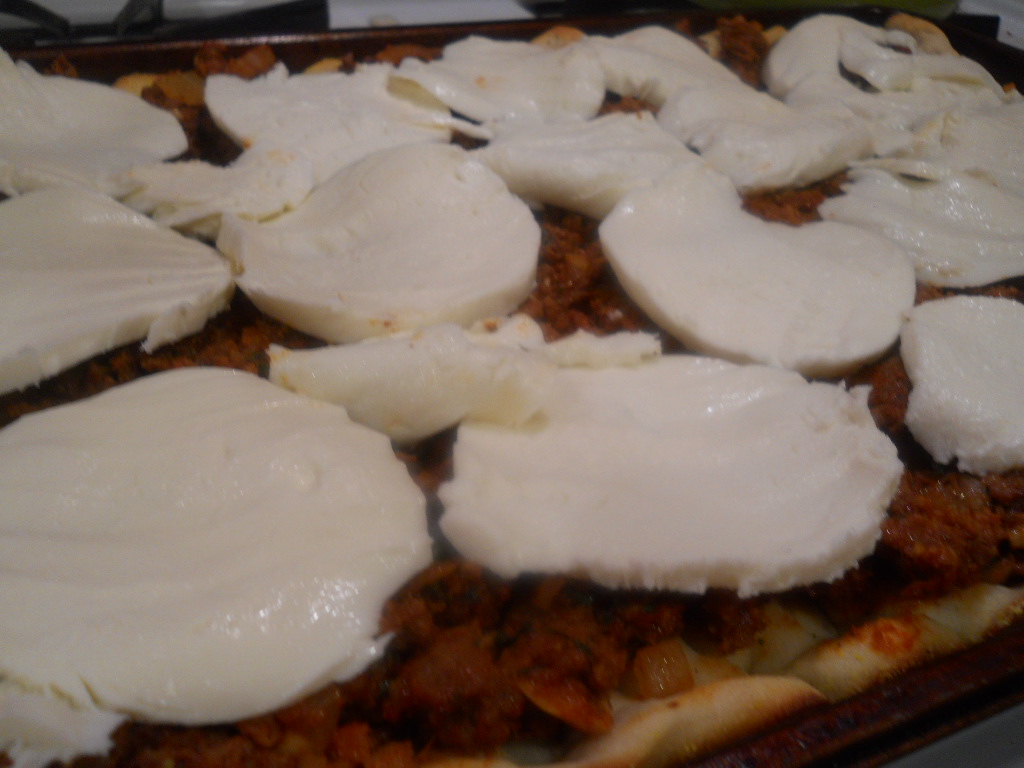
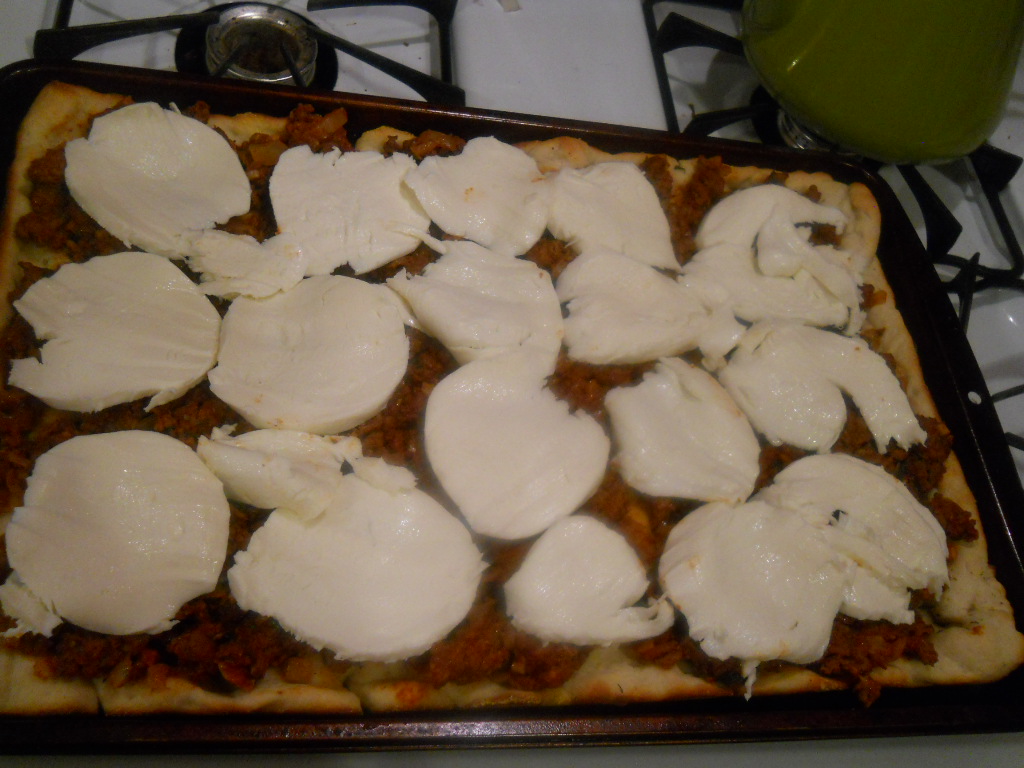
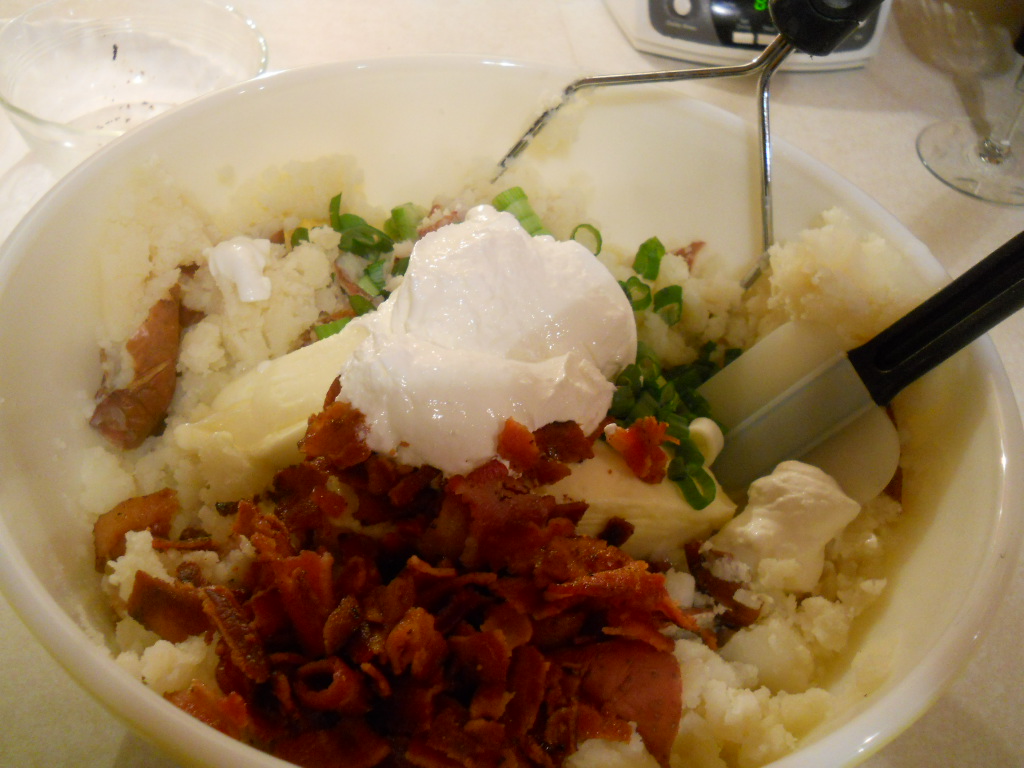
So now layer the meat in the dish
and throw the Cheddar cheese and bacon on top.
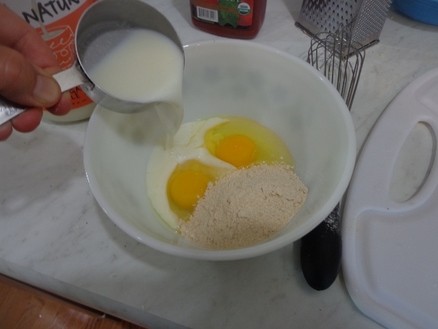
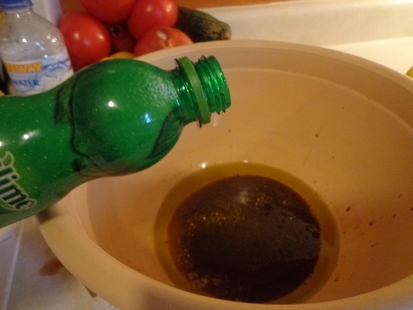
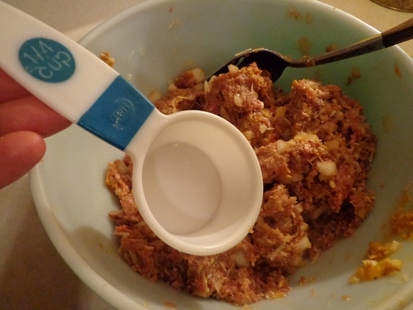
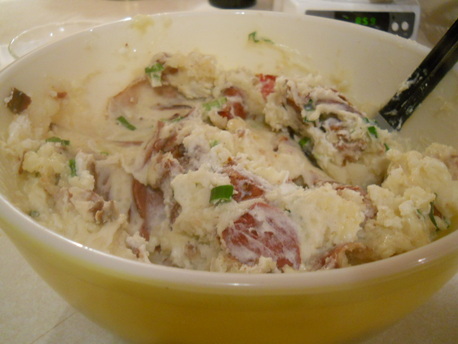
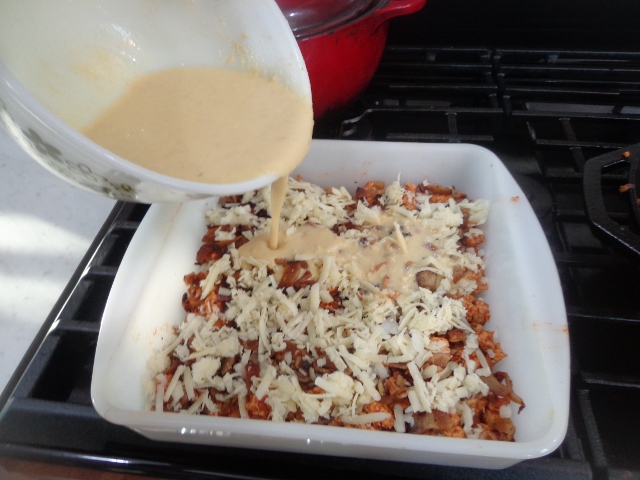
In a separate bowl,
mix up that Bisquick mix, the eggs
and
milk.
Pour into the casserole dish...
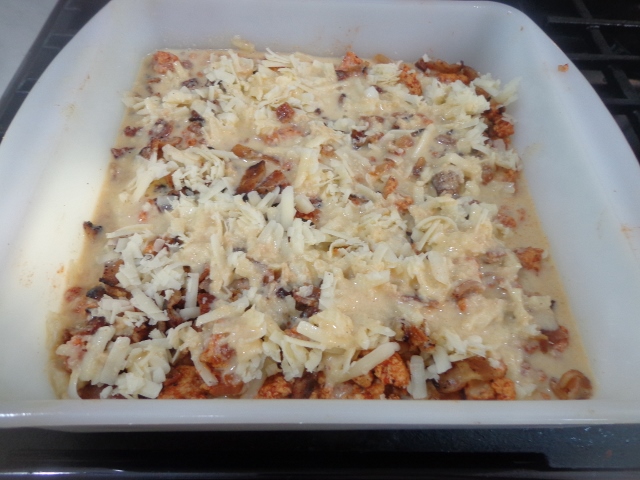
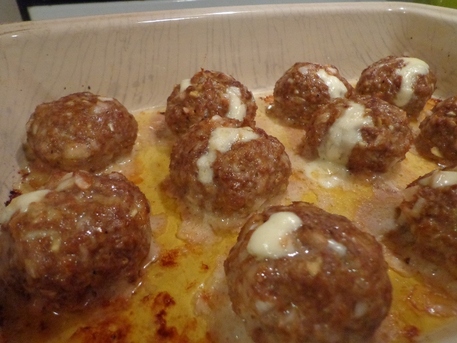
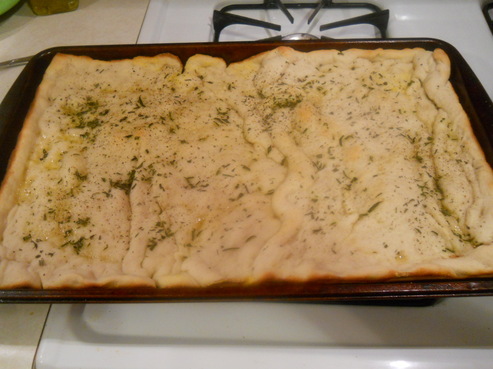
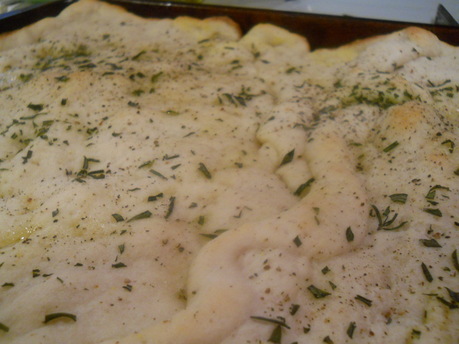
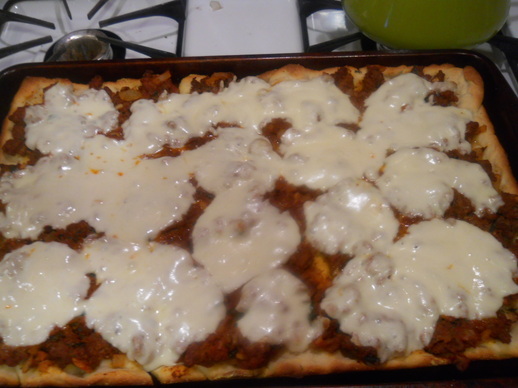
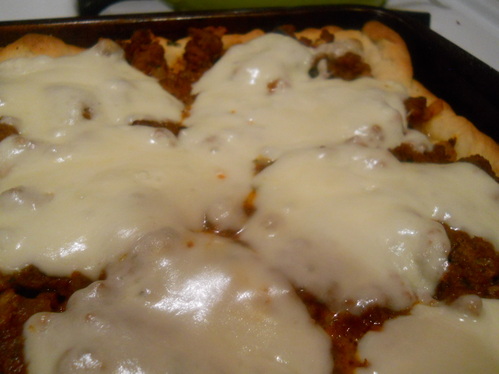
Now bake in a 400 degree oven for 20-25 minutes...Mine was in for 25 minutes...
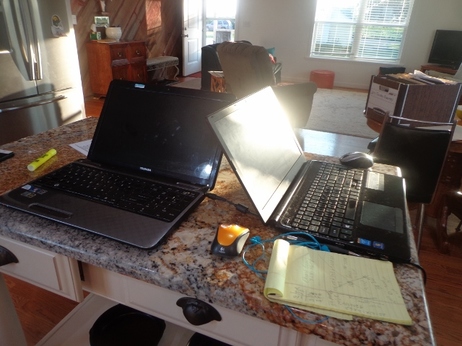
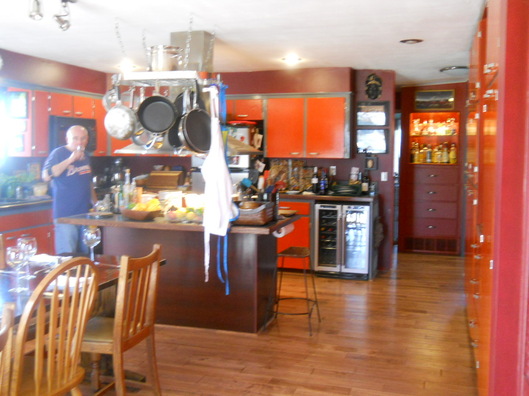
I notice on the island,
that Tim and Angie's laptops are dueling for space....
the theme to Deliverance comes to mind....
Dueling Banjos.
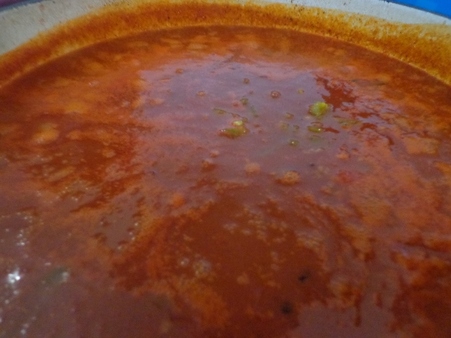
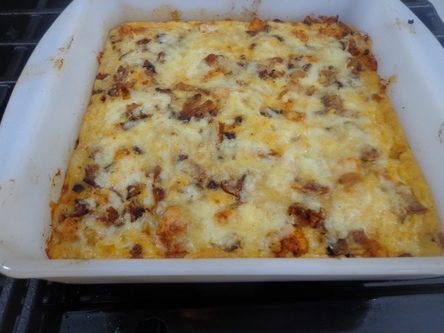
This casserole looks and smells fantastic!!!!
Here's Glen Campbell and Ashley Campbell from Glen's Farewell Tour in 2012 playing Dueling Banjos....
And here is legend Glen Campbell singing one of my (and many others) all time favorite songs evah...Wichita Lineman...
But let's get back to more important stuff...
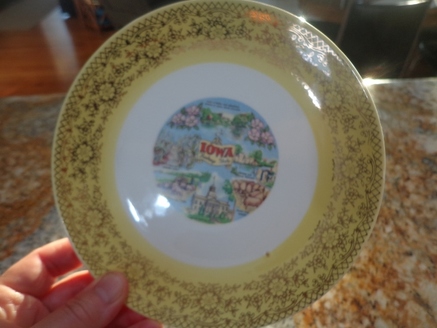
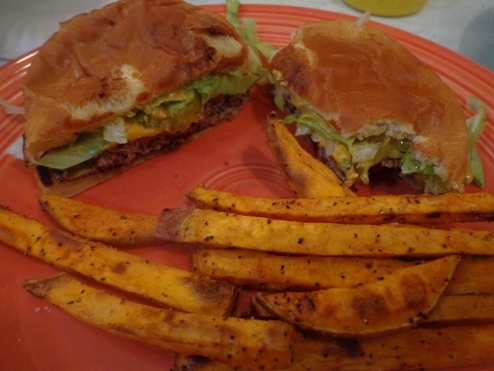
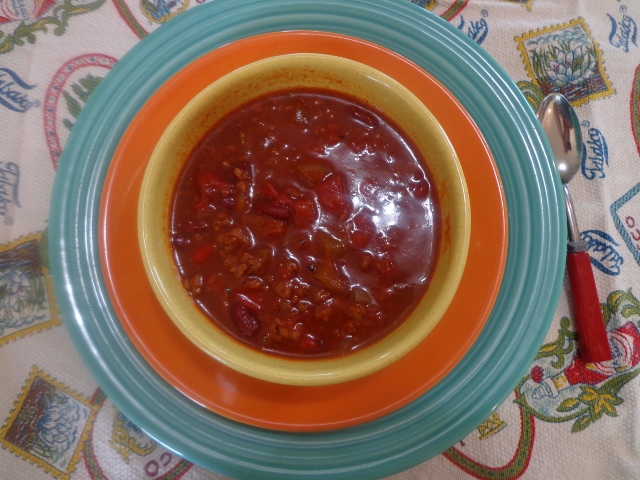
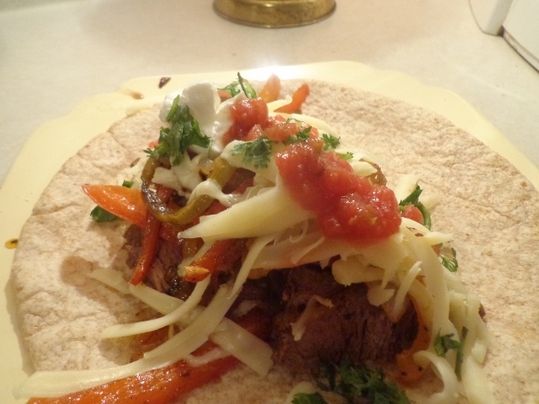
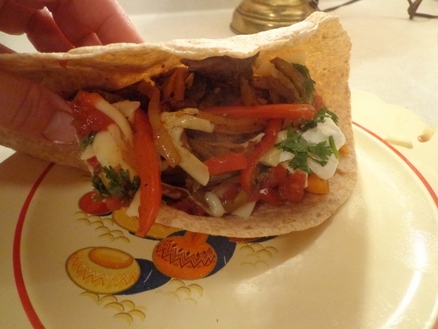
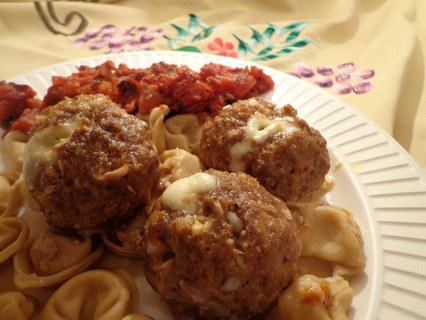
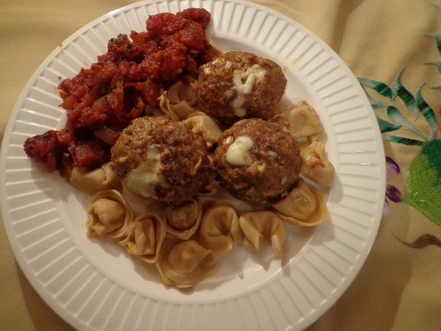
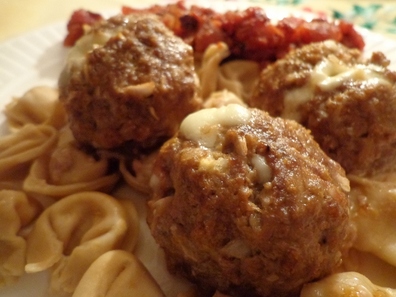
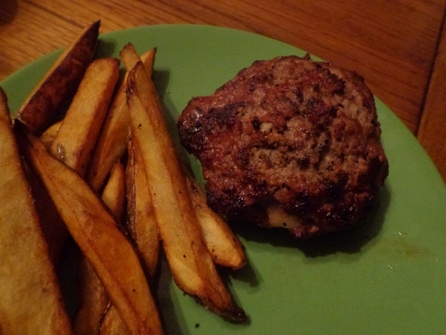
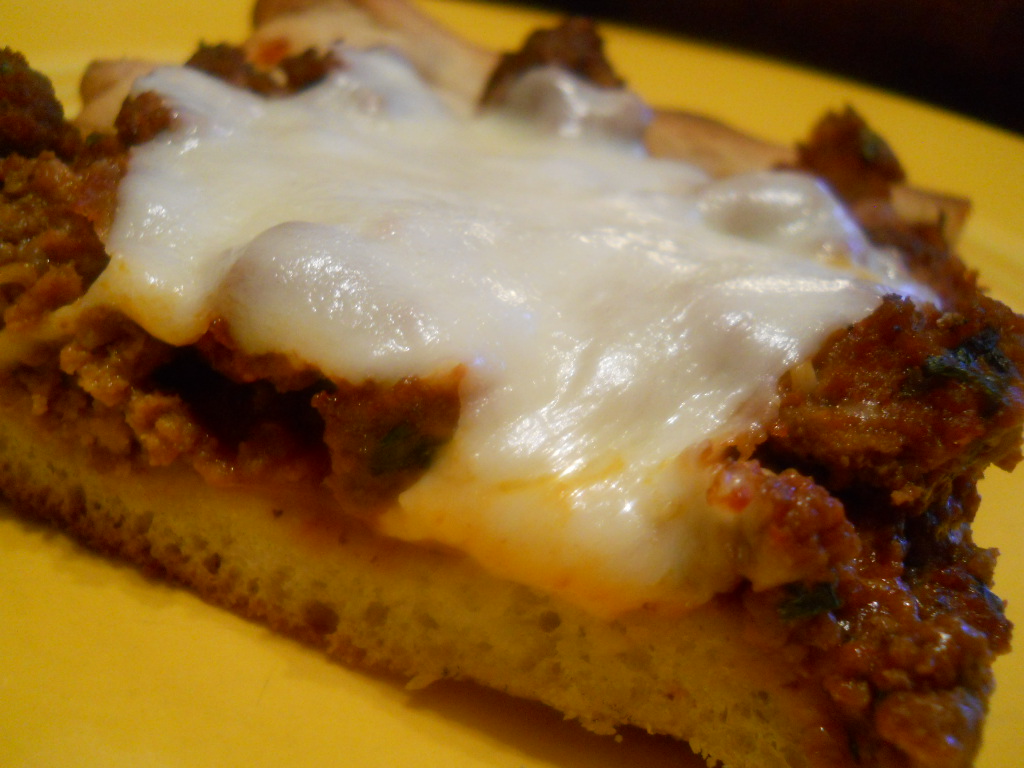
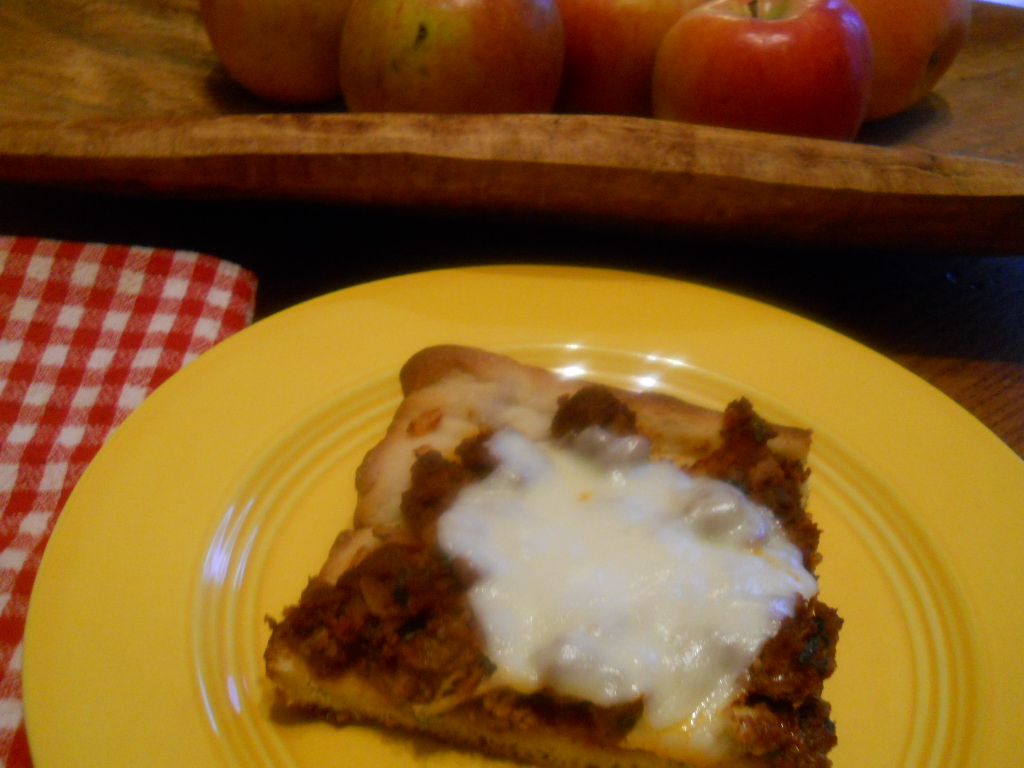
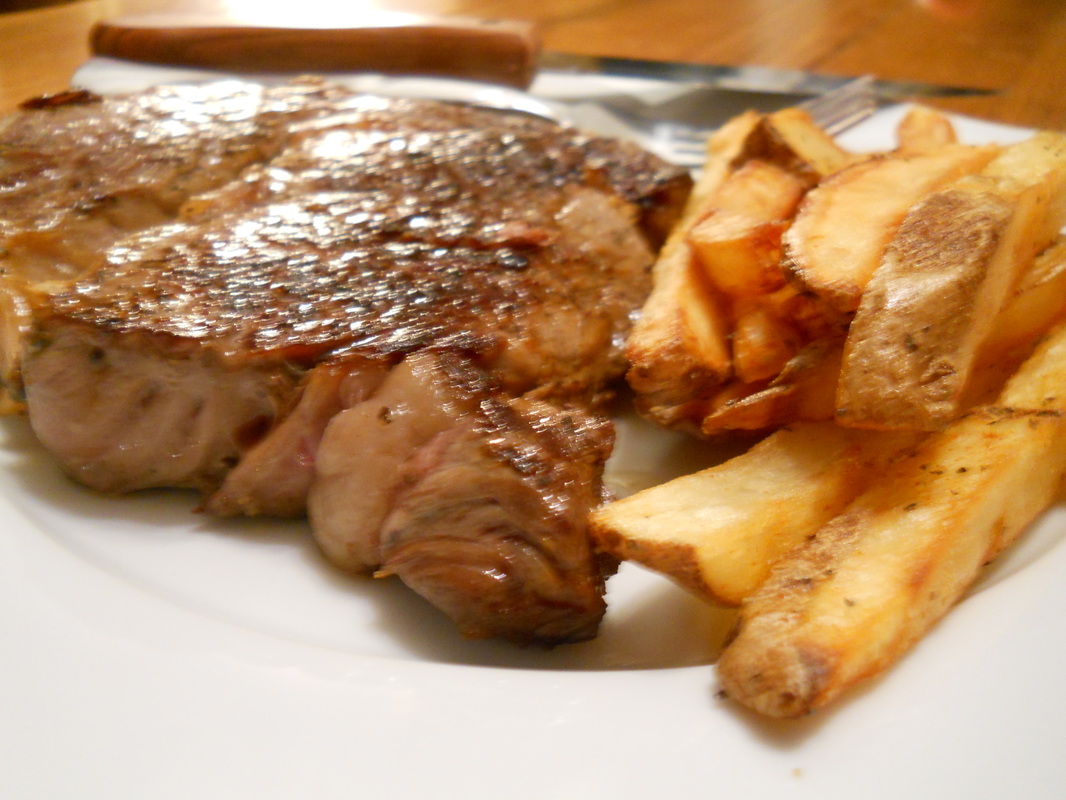
...like this cute Iowa plate that I am going to use to showcase this delicious
Impossibly Easy Bacon Cheeseburger Pie...
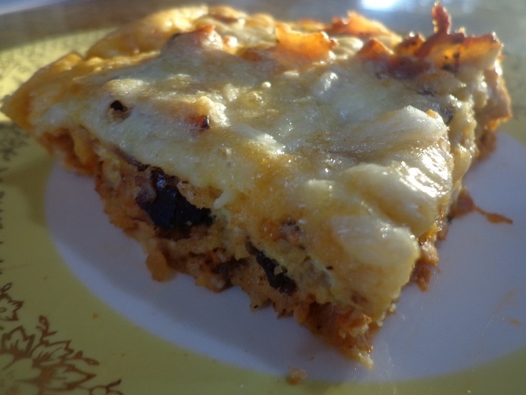
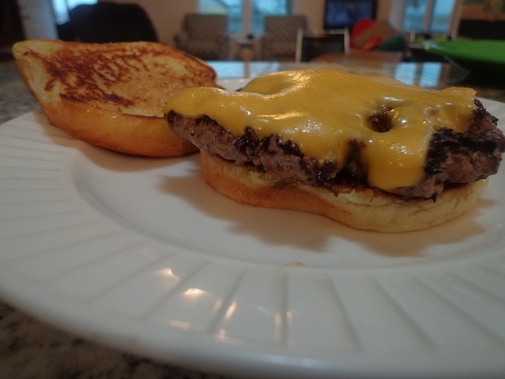
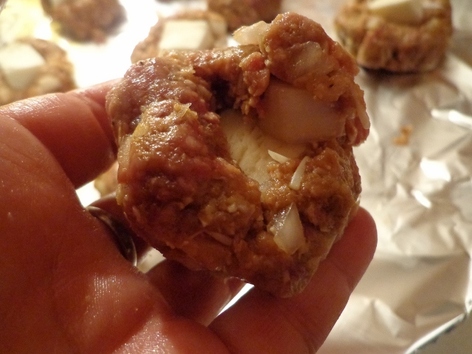
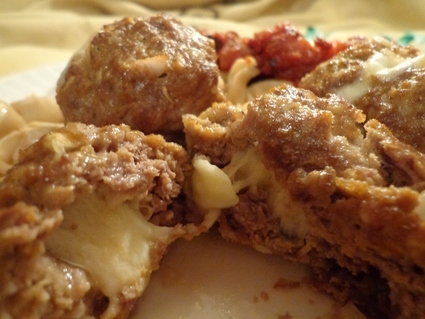
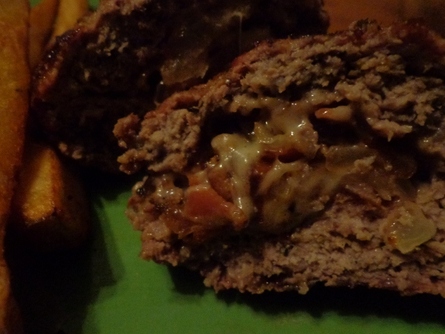
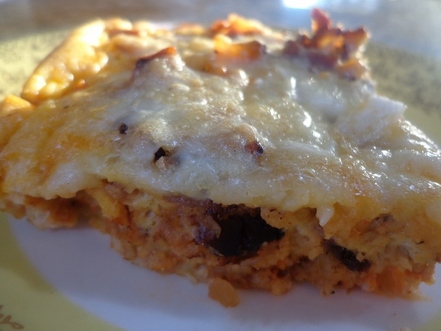
This little slice of Cheeseburger Pie is deceptive.
Even made with ground turkey breast like I did, it is hearty,
fun
and
deee-licious!
Even made with ground turkey breast like I did, it is hearty,
fun
and
deee-licious!
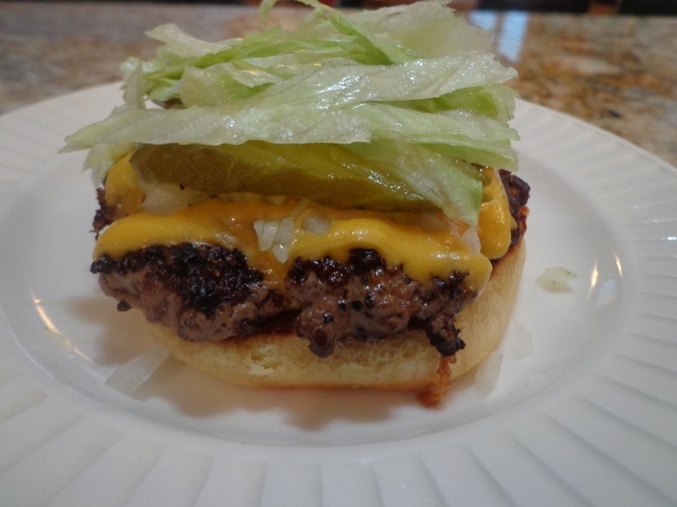
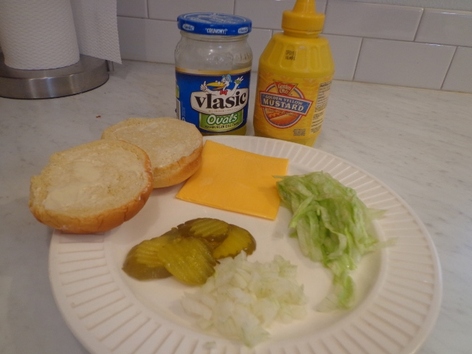
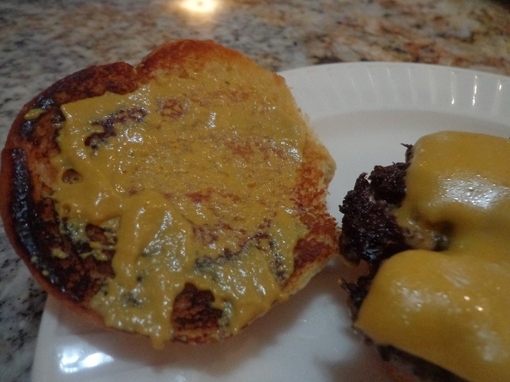
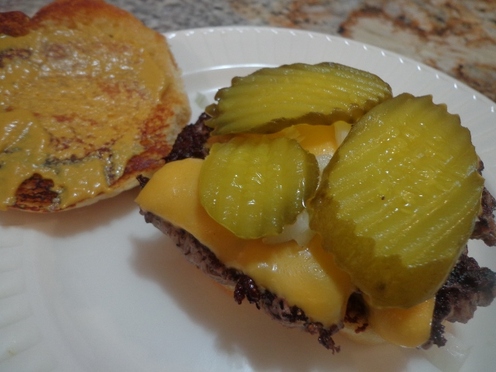
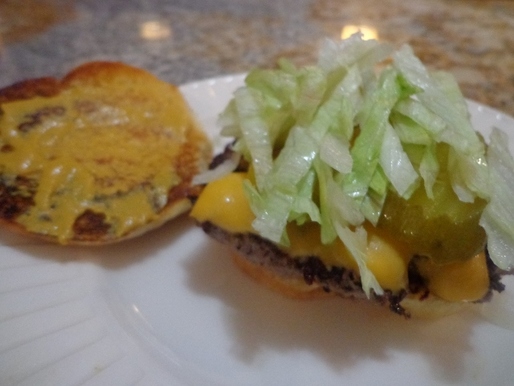
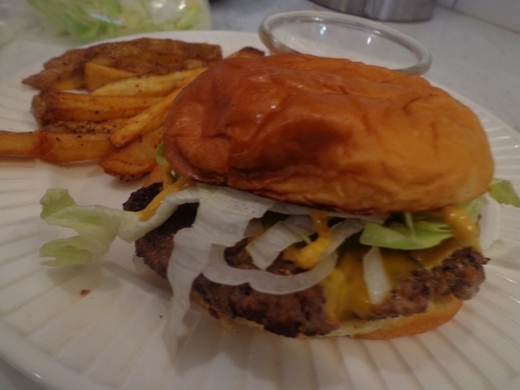
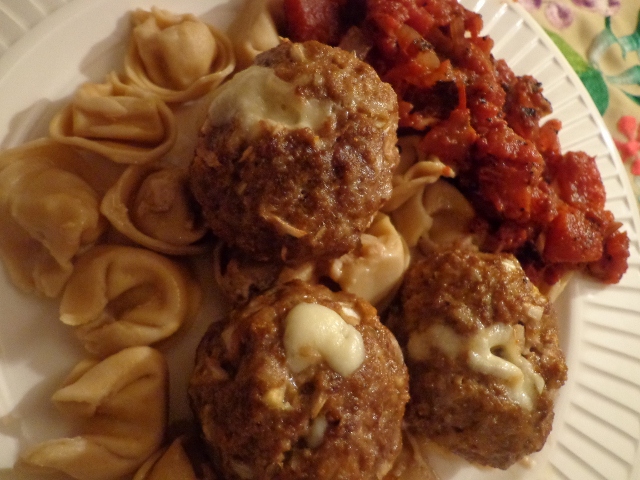
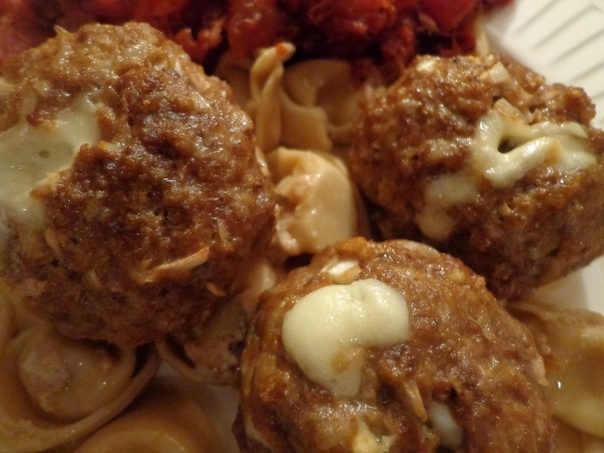
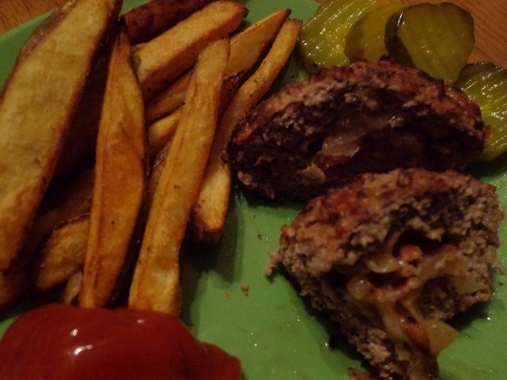
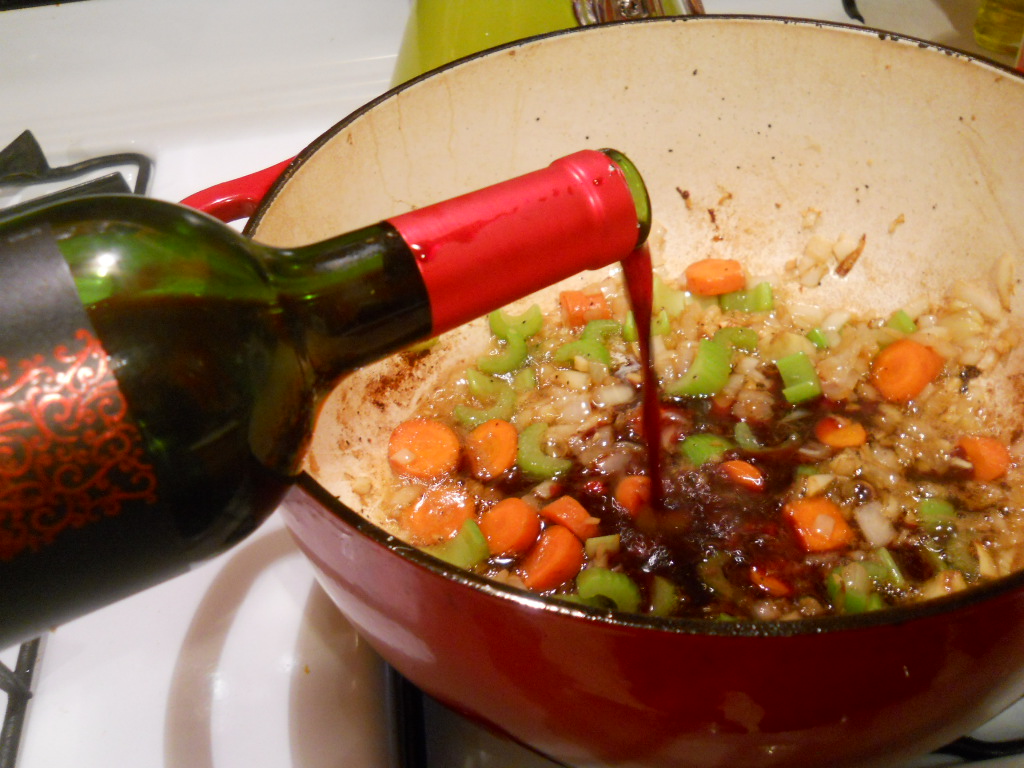
Now we paired this with a
side condiment of ketchup,
and it was pretty awesome....

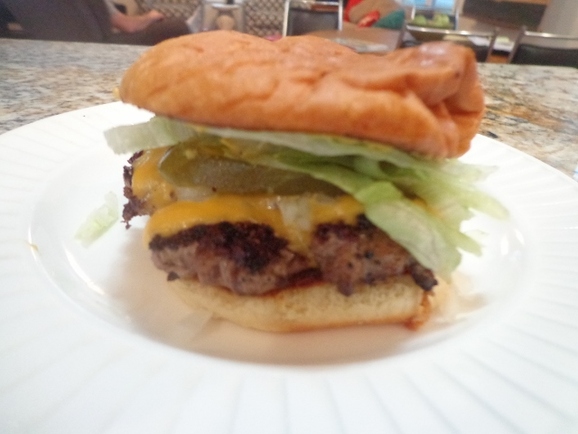
But one of my friends said she would have paired it with pickles too....
DOY!!!
That's what I did the next day for leftovers and it was fantastic!!!!!
DOY!!!
That's what I did the next day for leftovers and it was fantastic!!!!!
Okay kiddos, that's all I have for today's edition of Angie Makes Readers Kind Of-Sort Of Interested In This Easy, Quick, Tasty, Bacon Cheeseburger Pie...
OH CRAP, WAIT!
Must post recipe.....
To go directly to the Betty Crocker website recipe, click HERE
Impossibly Easy Bacon Cheeseburger Pie
Straight outta www.bettycrocker.com
Ingredients
6 slices bacon
1 lb lean (at least 80%) ground beef
1/4teaspoon pepper
1large onion, chopped (1 cup)
1/4cup ketchup
1cup shredded Cheddar cheese (4 oz)
1/2cup Original Bisquick mix
1cup milk
2eggs
Directions
1. Heat oven to 400°F. Spray 9-inch glass pie plate with cooking spray. In 10-inch skillet, cook bacon over medium-high heat 5 to 7 minutes, turning once, until crisp; drain on paper towels. Crumble bacon; set aside.
2. In same skillet, cook beef, pepper and onion over medium-high heat 5 to 7 minutes, stirring occasionally, until beef is thoroughly cooked; drain. Stir in ketchup. Spread in pie plate; sprinkle with cheese and bacon.
3. In medium bowl, stir remaining ingredients with wire whisk or fork until blended. Pour into pie plate.
4. Bake 20 to 25 minutes or until knife inserted in center comes out clean. Serve with additional ketchup if desired.
So in closing I will post a couple pictures...
can you even believe some of the sunsets lately here
this month????

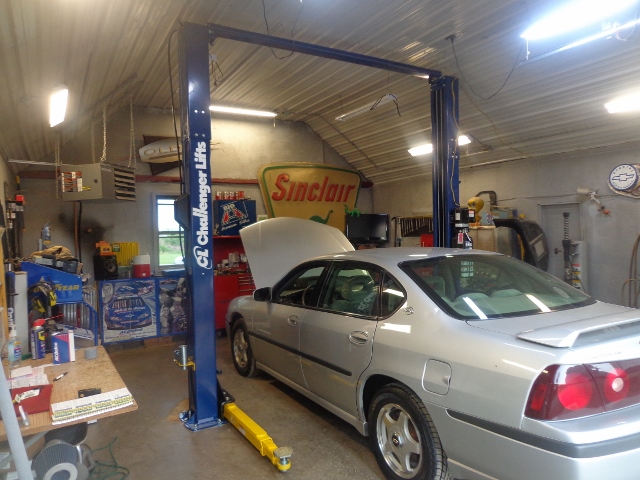
Also, a formal introduction to the brand new lift at the
Turnkey Auto World Headquarters in Frytown, Iowa :):)
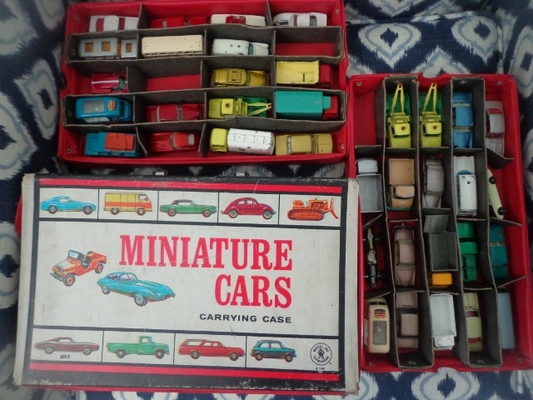
And last but not least are these three little vintage guys wishing y'all a good week and telling y'all to check back soon cause I have some real doozies of recipes to blog about under cooking misadventures!
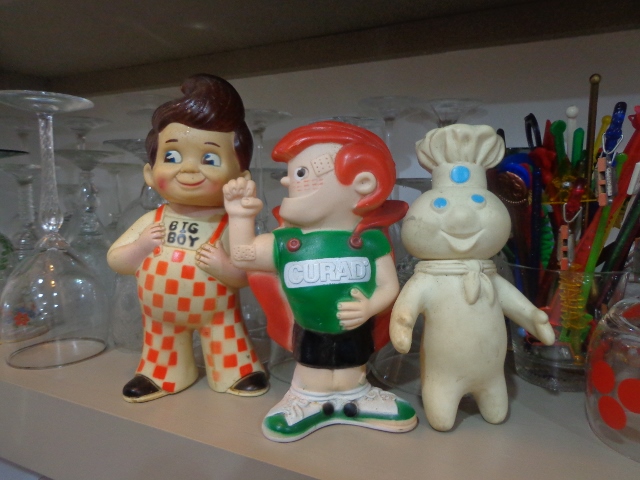
No judging on the dirty Pillsbury Dough Boy, these were scrounged out of a box in my barn for this wonderful photo opportunity.
Okay guys, thanks for checking in!!
Have a great rest of the week,
stay cool,
and we'll talk at ya soon!!!