So this week turned out to be a
little frosty, eh?!
little frosty, eh?!
.
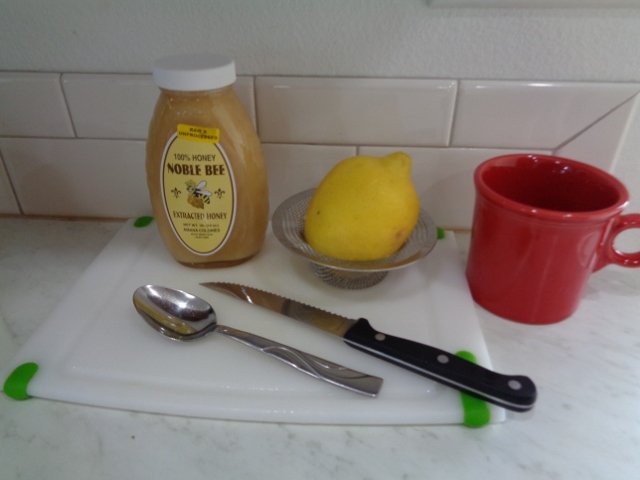
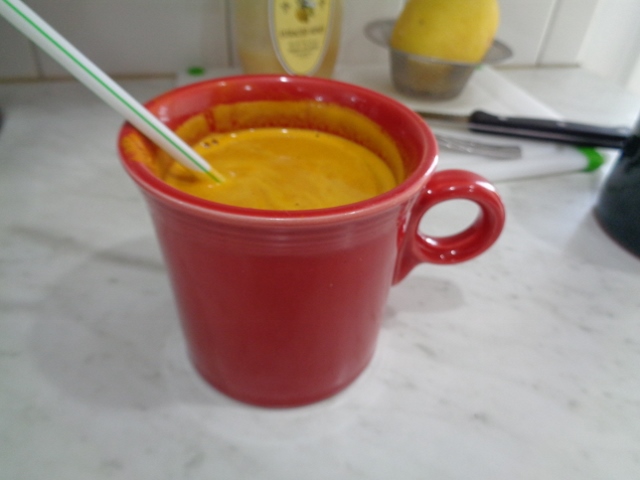
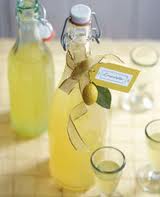
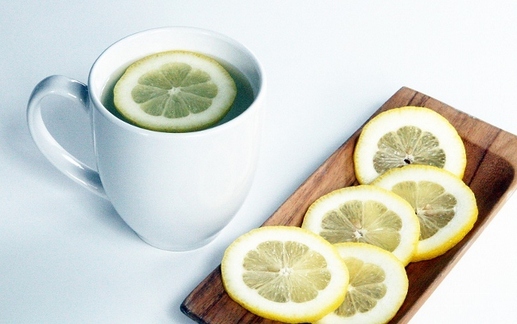
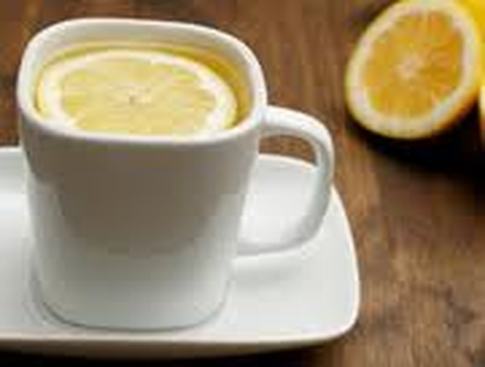
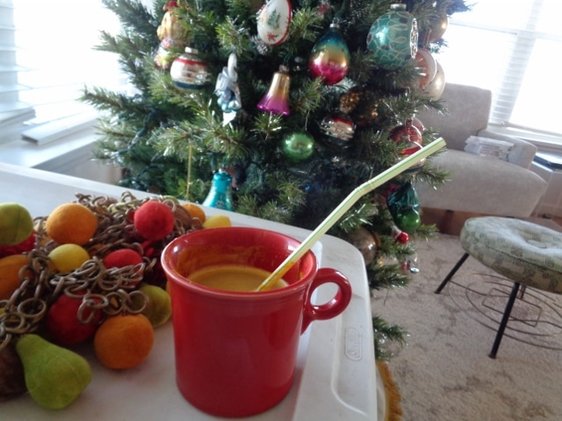
Always nice to drink a warm comforting tonic first thing
in the morning though.
This is a mug of warm water with:
Juice of One Lemon
3/4 Tbsp Apple Cider Vinegar
1 1/2 tsp. turmeric
1 Tbsp. Raw Honey
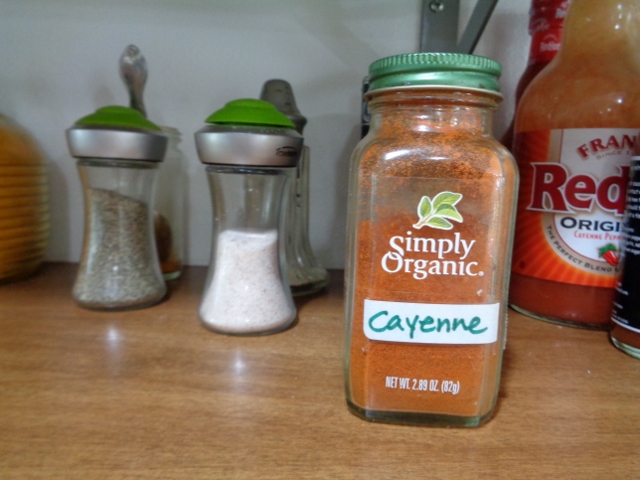
One dash Cayenne Pepper
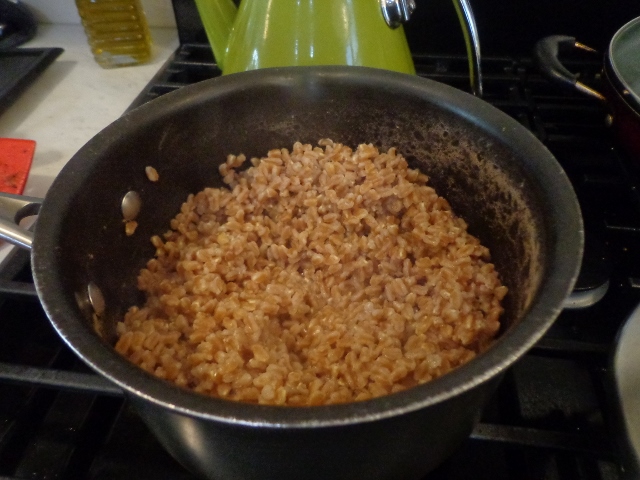
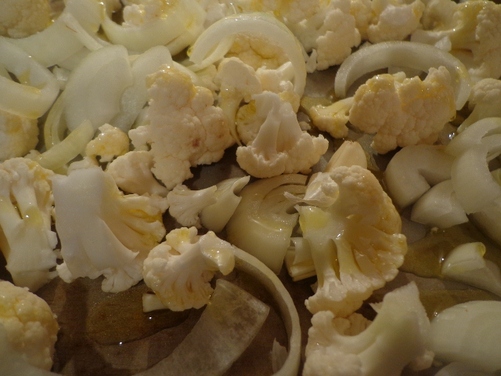
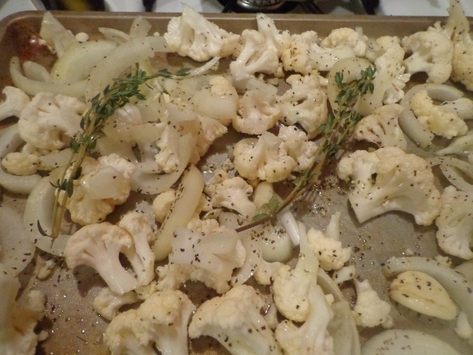
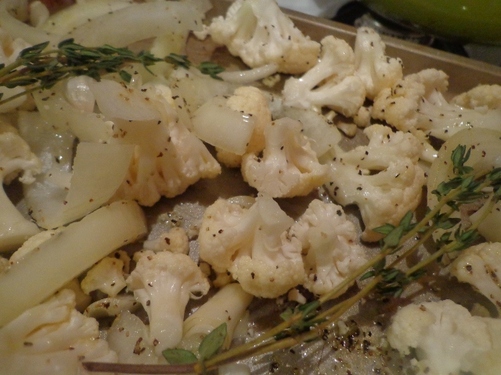
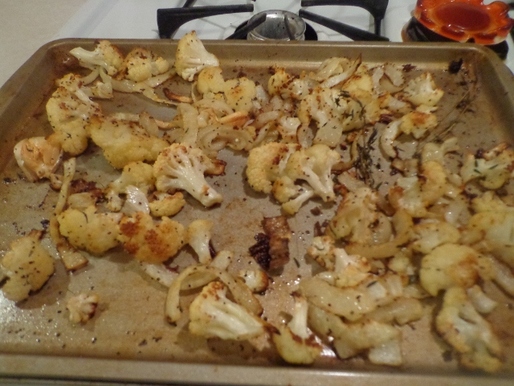
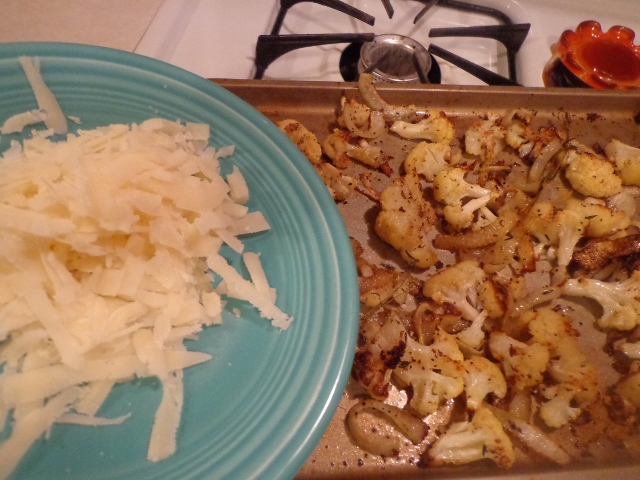
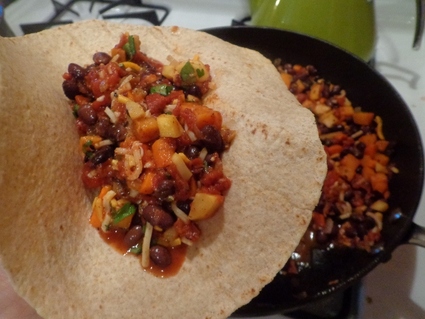
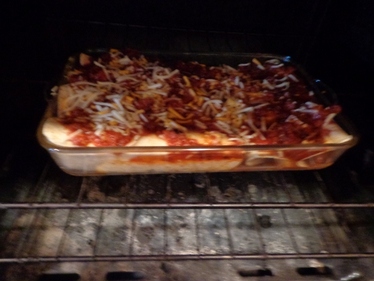
Something else warming up the inside spaces is this dehydrator with beef jerky drying in it.
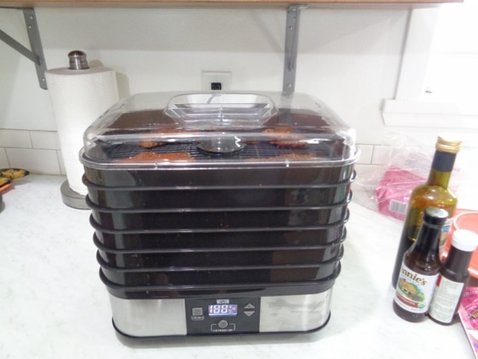
Quick note: The recipe as written will handle
THREE lbs. of meat, not just ONE lb.
I made 26 lbs of beef total this season.
26 lbs!!!!
After all that beef dried in the dehydrator, it netted like 18 pieces.
Exaggeration a bit but still,
they shrink like the old Shrinky Dinks from the 70s.
THREE lbs. of meat, not just ONE lb.
I made 26 lbs of beef total this season.
26 lbs!!!!
After all that beef dried in the dehydrator, it netted like 18 pieces.
Exaggeration a bit but still,
they shrink like the old Shrinky Dinks from the 70s.
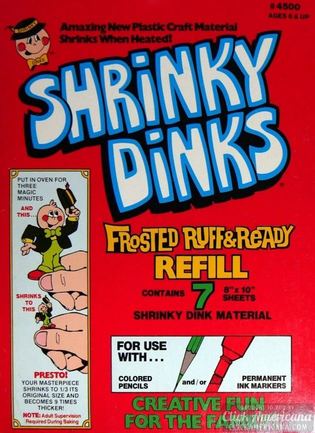
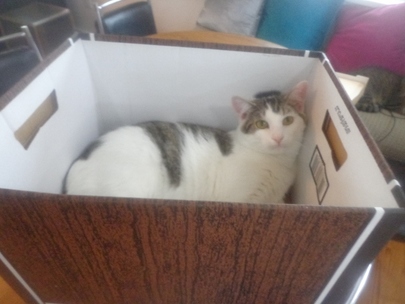
Remember those??? Remember burning yourself on the oven and pan?

Frankly I don't remember my Ma (or anybody's Ma) ever being this excited to help kids shrink dinks in the oven in the 70s. :)
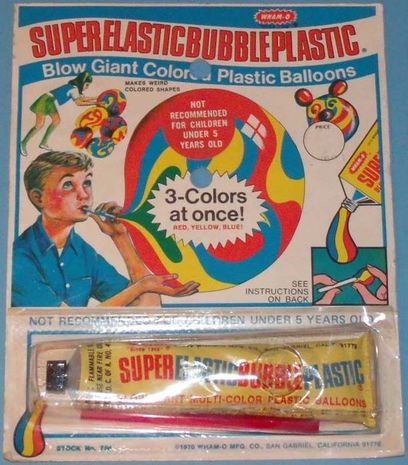
But hey, at least those same 70s parents made up for it by letting us kids blow giant super elastic bubble plastic balloons that I'm sure had
no toxicity in them whatsoever.
And what about the Click Clacks...aka Clackers.
Man, I LOVED THOSE THINGS!!
Did you know they were banned? Cause they broke up into little shards of glass. Probably poked someone's eye out, too.
But I digress, let's get to what this post is really about:
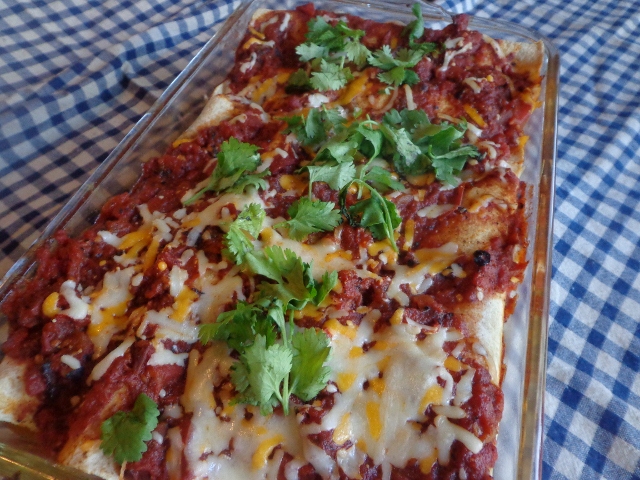
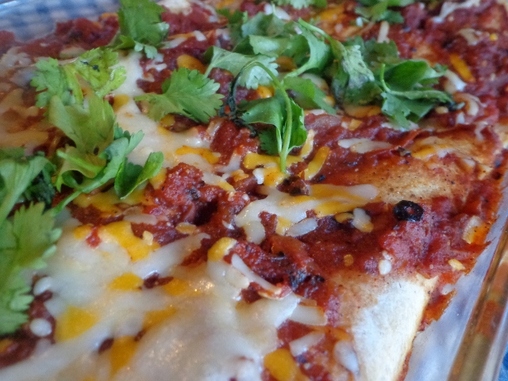
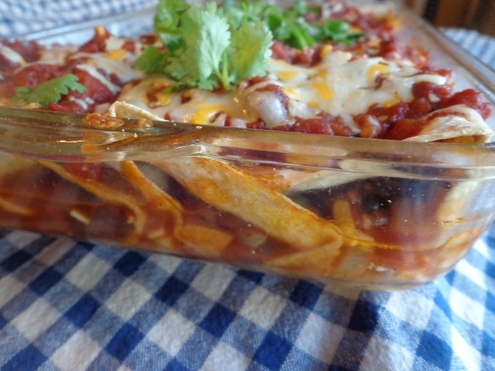
Roasted Red Pepper Soup!
Roasted Red Pepper Soup!
Do you like spicy? This soup is spicy!
It's also super healthy, has delicious flavor and is packed full of red peppers.
Red peppers are full of vitamin C and are an anti-inflammatory and antioxidant.
It's also super healthy, has delicious flavor and is packed full of red peppers.
Red peppers are full of vitamin C and are an anti-inflammatory and antioxidant.
The spiciness comes from that ONE lone jalapeno,
which gets seeded and deveined even.
If you want less heat, just use ***HALF*** a jalapeno.
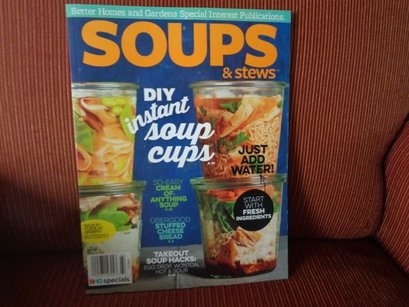
This recipe is
from the
Better Homes and Gardens Publication
Soups & Stews.
This mag is on newstands right now.
from the
Better Homes and Gardens Publication
Soups & Stews.
This mag is on newstands right now.
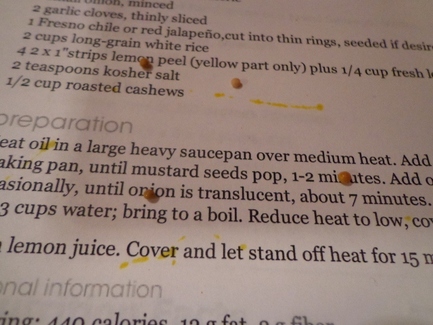
Roasted Garlic and Red Pepper Soup
From Better Homes and Gardens Soups & Stews Publication 2016
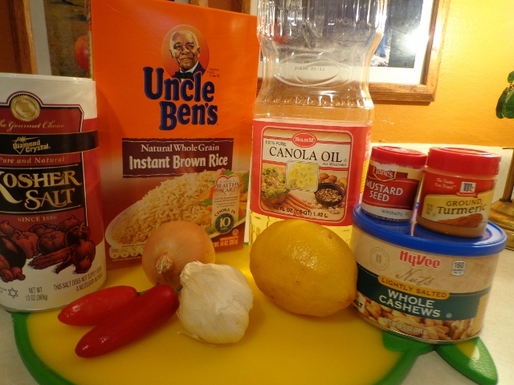
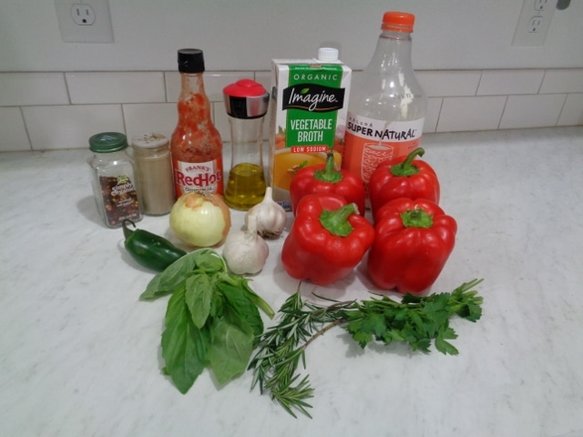
Ingredients
From Better Homes and Gardens Soups & Stews Publication 2016
Ingredients
- 2 whole garlic bulbs
- 1 large onion, sliced
- 1 tablespoon snipped fresh rosemary or 1 teaspoon dried rosemary, crushed
- 1 tablespoon olive oil
- 4 large red sweet peppers
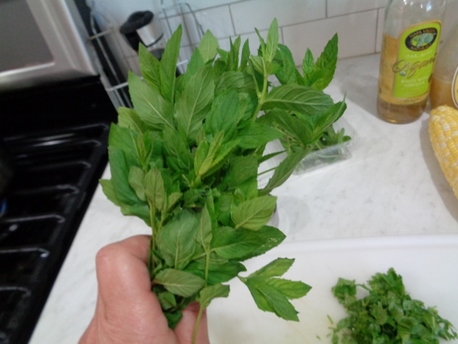
- 1/3 cup firmly packed stemmed fresh parsley sprigs
- 1/3 cup firmly packed stemmed fresh basil leaves
- 1 fresh jalapeno chile pepper, seeded and chopped* Angie's note: Use only 1/2 jalapeno for kids
- 1/4 teaspoon ground black pepper
- 1/4 teaspoon crushed red pepper
- Bottled hot pepper sauce
- 1 32 ounce carton chicken broth
- 1/2 cup half-and-half or light cream
- Shredded fresh basil (optional)
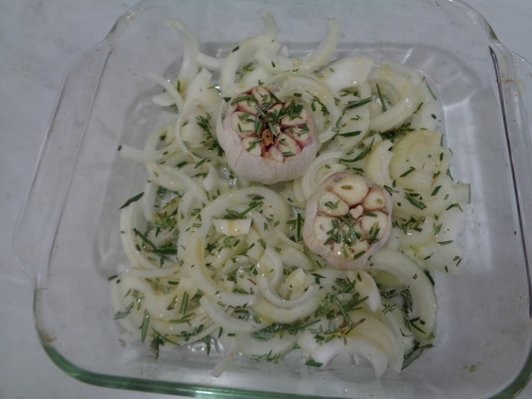
- Preheat oven to 425 degrees F. Cut off the top 1/2 inch of the garlic bulbs to expose ends of individual cloves. Leaving garlic bulbs whole, remove any loose, papery outer layers. Place bulbs, cut ends up, and onion in a small baking dish. Sprinkle with rosemary; drizzle with oil. Quarter sweet peppers lengthwise; remove stems, seeds, and membranes. Place peppers, cut sides down, on a foil-lined baking sheet. Roast garlic,onion, and sweet peppers for 20 to 25 minutes or until garlic feels soft when squeezed and peppers are charred and very tender.
- Bring foil up around peppers and fold edges together to enclose. Let stand about 15 minutes or until cool enough to handle. Using a sharp knife, loosen edges of skins; gently pull off skins in strips and discard. When garlic is cool enough to handle, squeeze garlic paste from individual cloves. Discard skins.
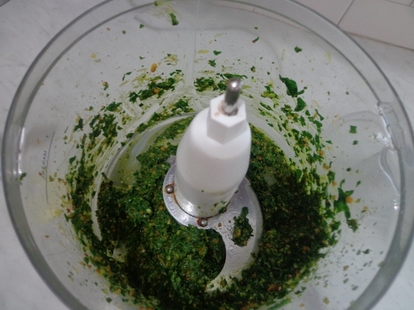
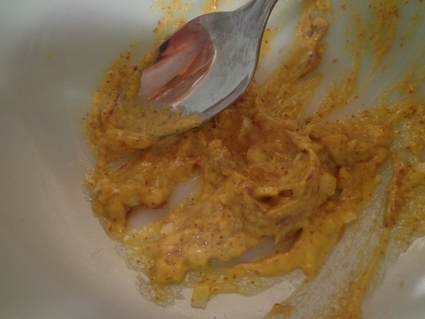
- In a blender or food processor combine garlic paste, onion, sweet peppers, parsley, basil leaves, jalapeno pepper, black pepper, crushed red pepper, and hot pepper sauce. Cover and blend or process until nearly smooth. Add 1 cup of the broth; cover and blend or process until smooth.
- Pour pureed mixture into a large saucepan. Stir in the remaining broth and the half-and-half. Cook over medium-low heat until warm. If desired, top servings with shreded basil.
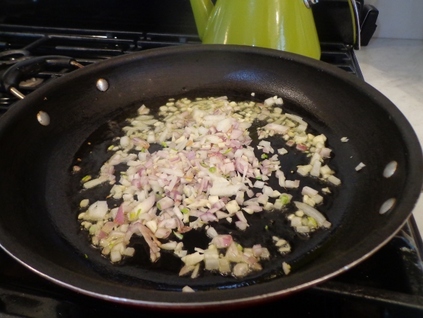
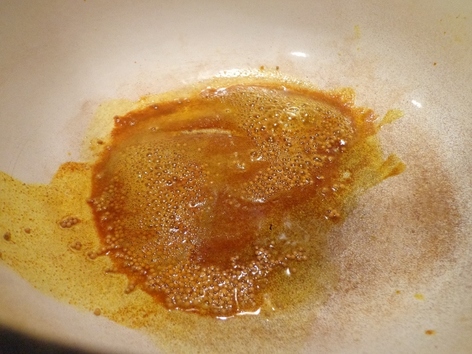
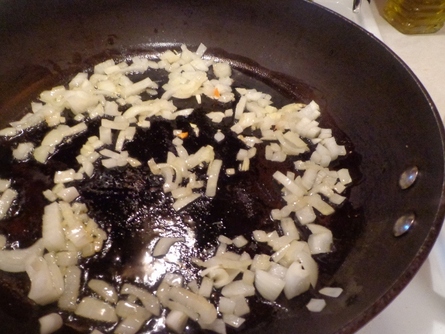
So let's start this soup by roasting two full heads of garlic and an onion.
Drizzle with olive oil, sprinkle with fresh rosemary and pop in the oven.
After about 20-30 minutes the garlic bulbs and onions are roasted.
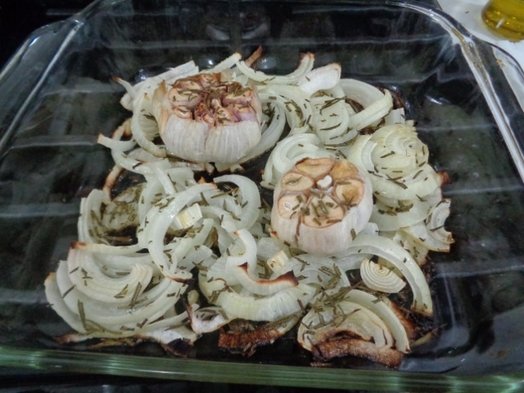
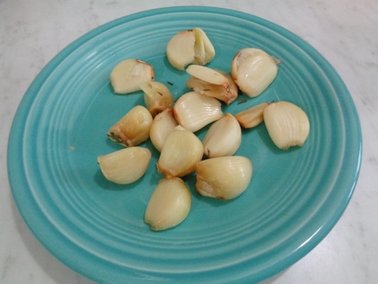
Okay, so I should have kept the bulbs in longer cause when I popped them out of their paper,
they certainly weren't of a
"paste" consistency,
but they were roasted and soft.
they certainly weren't of a
"paste" consistency,
but they were roasted and soft.
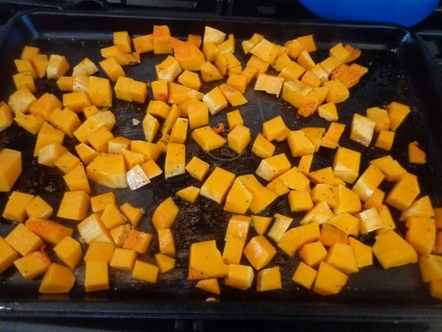
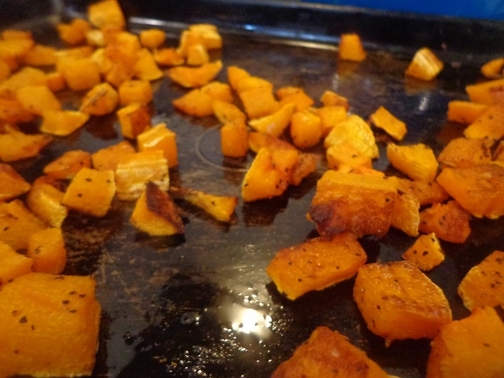
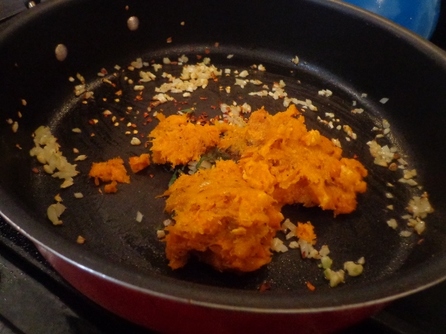
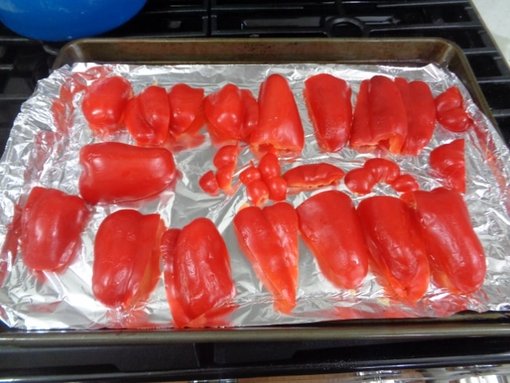
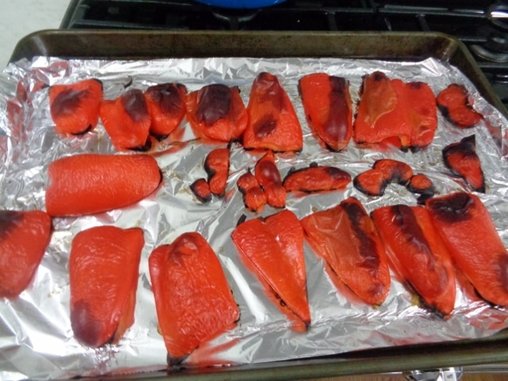
I threw the quartered red peppers in to roast and
blister up...
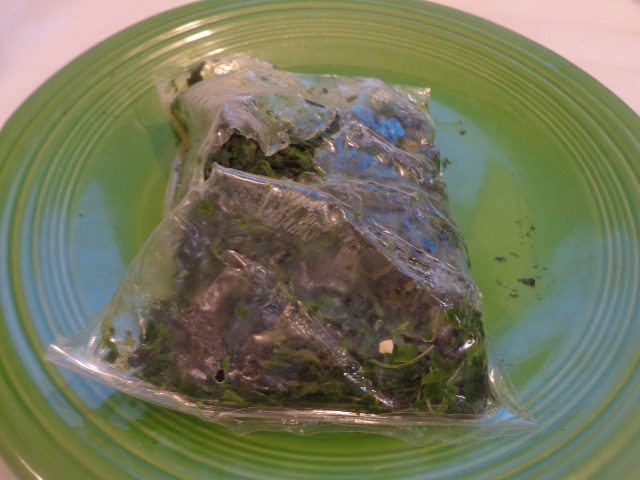
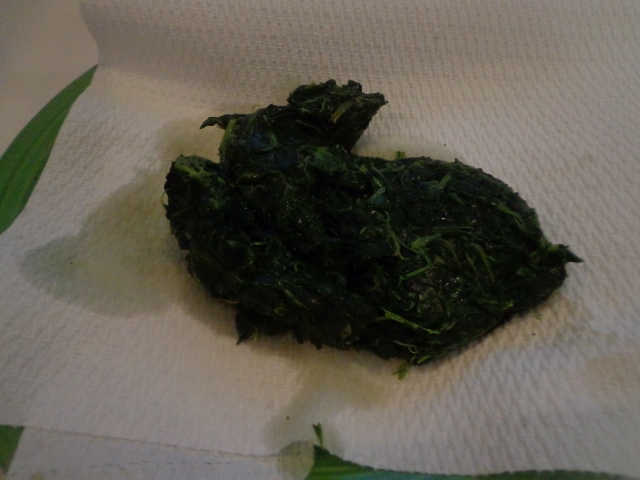
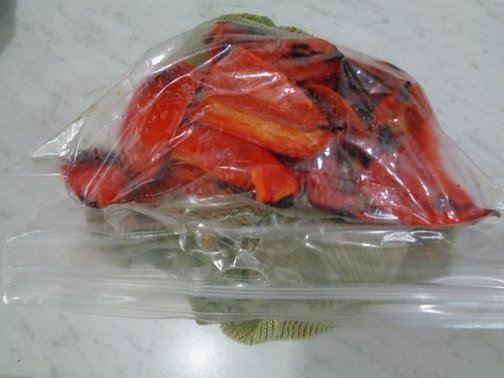
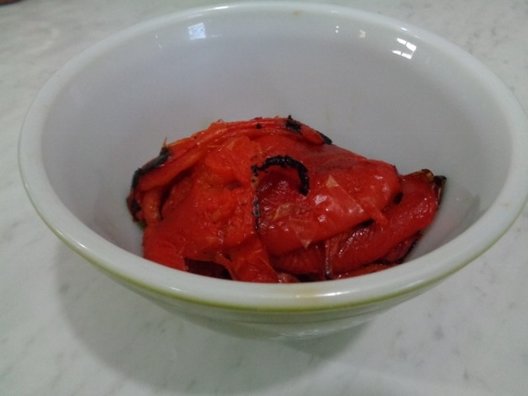
I stuck the roasted peppers in a plastic baggie for ten minutes so it would be easy to remove the skins...
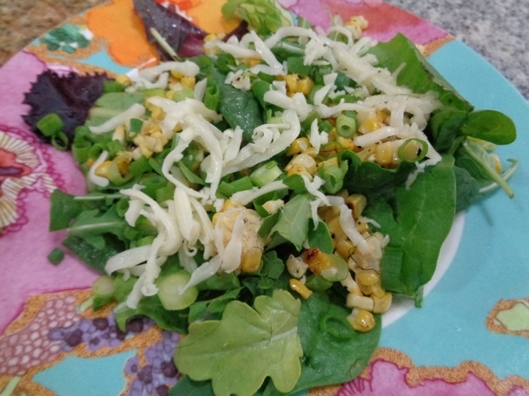
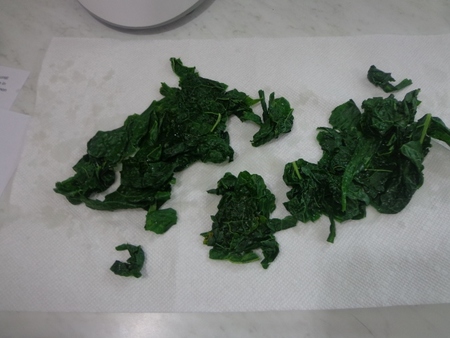
A bowl of yummy smoky, roasted sweet peppers
just waiting to go into soup.
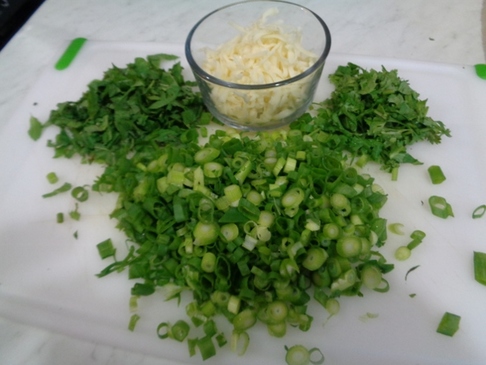
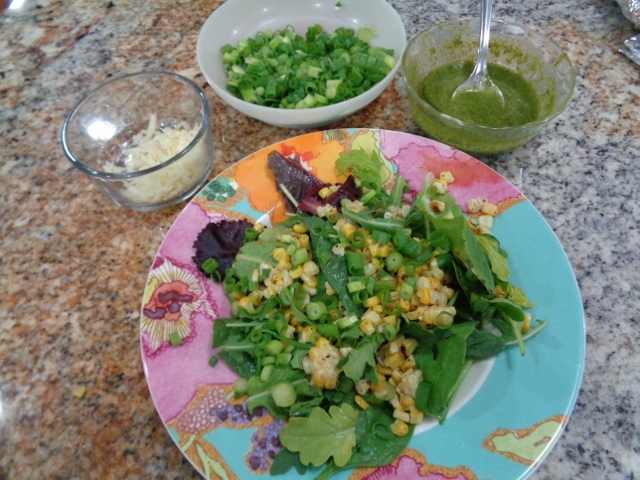
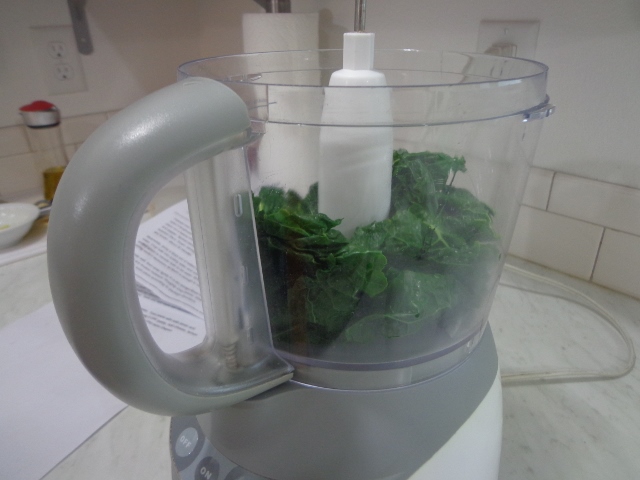
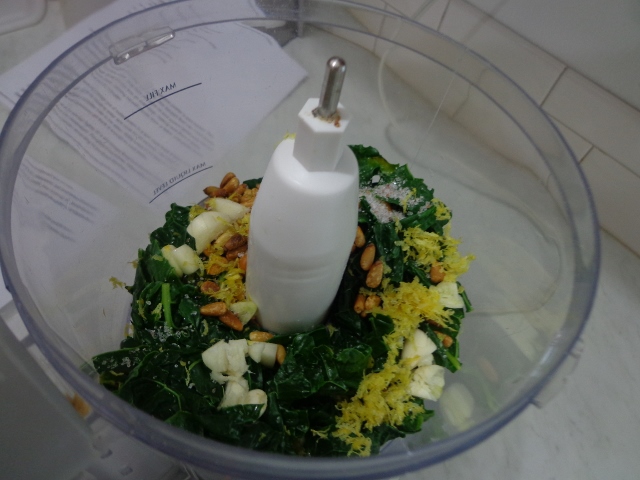
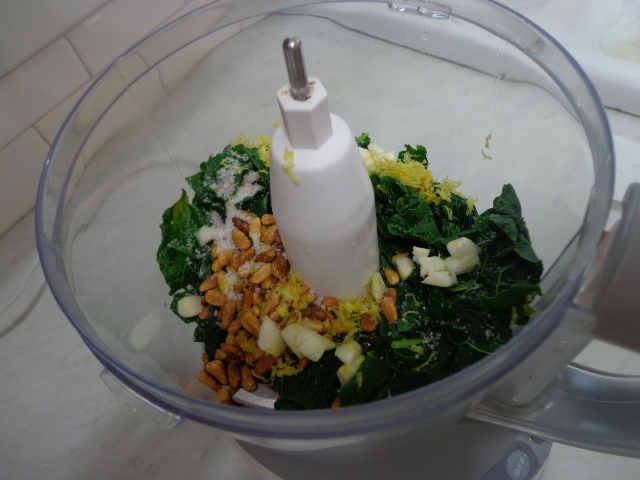
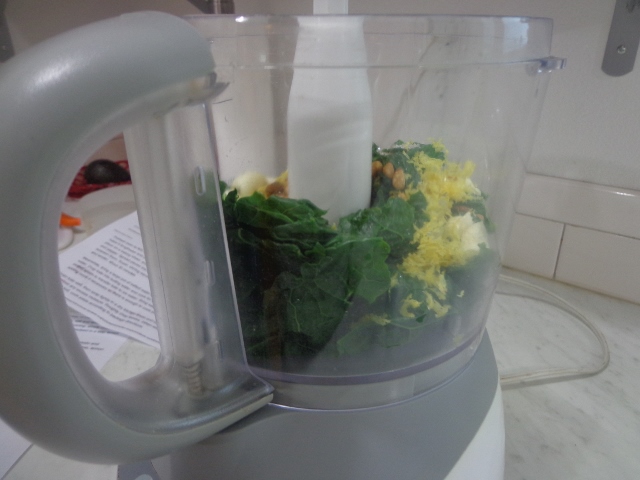
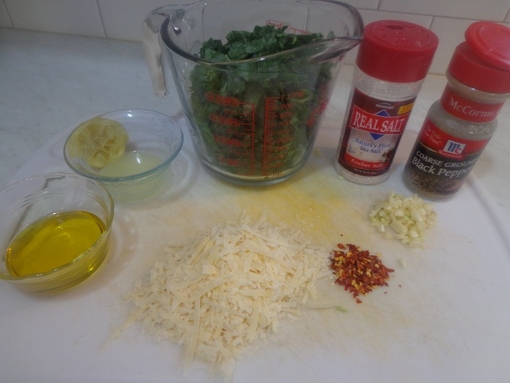
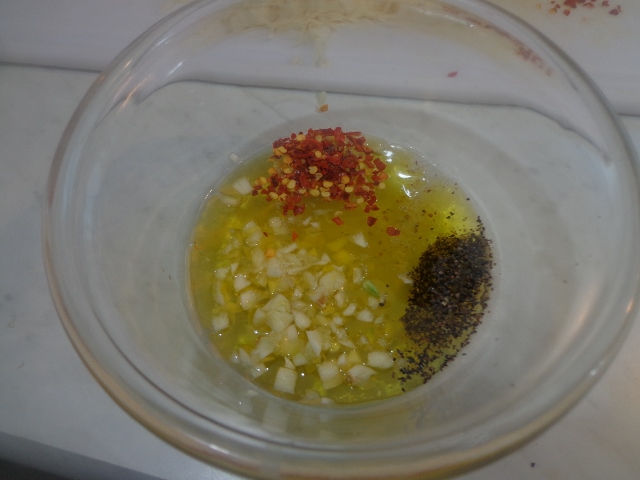
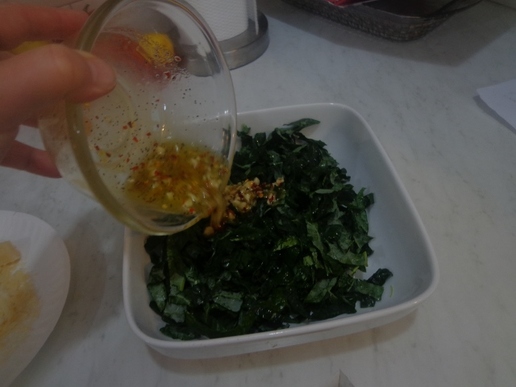
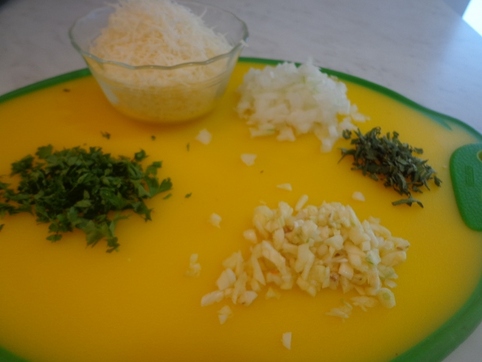
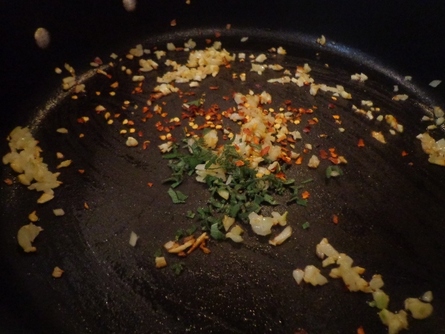
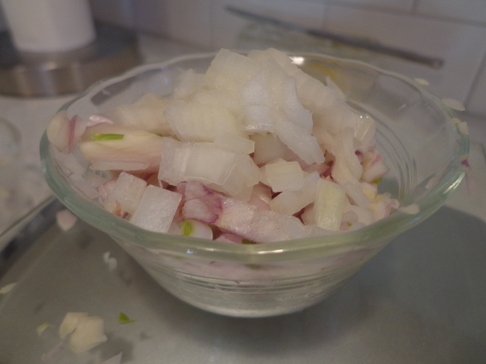
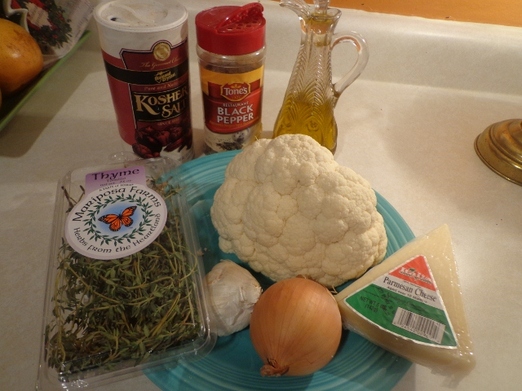
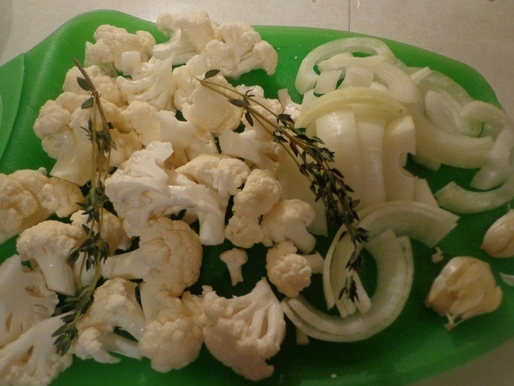
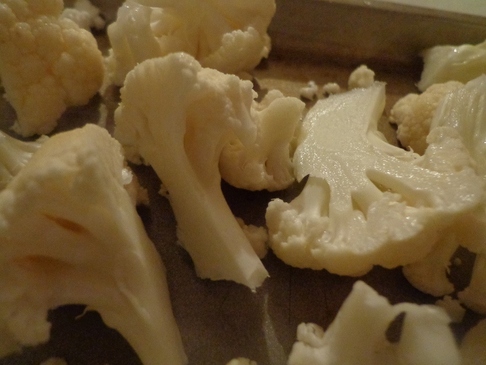
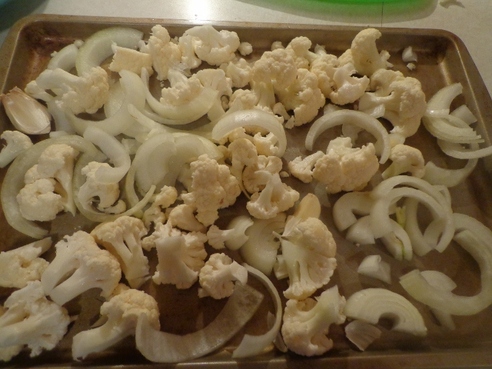
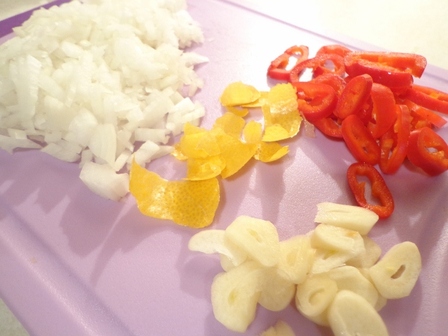
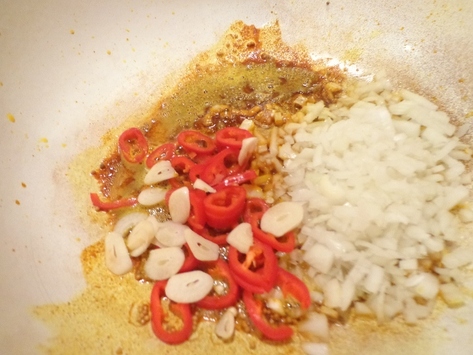
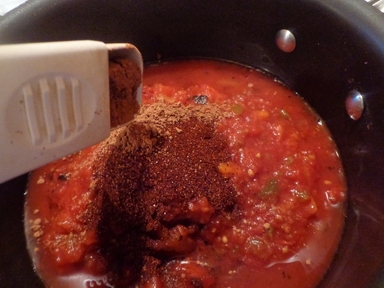
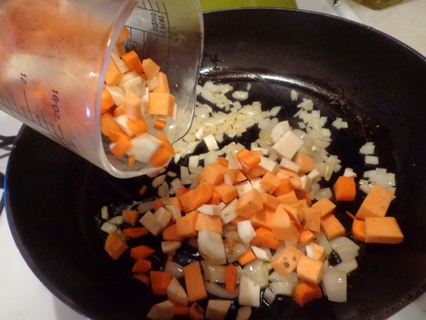
I prepped the remaining ingredients...
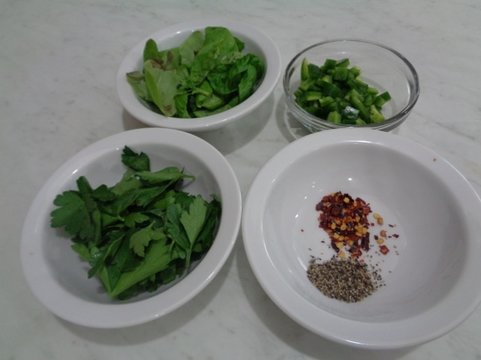
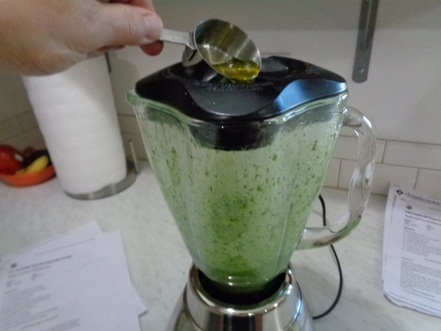
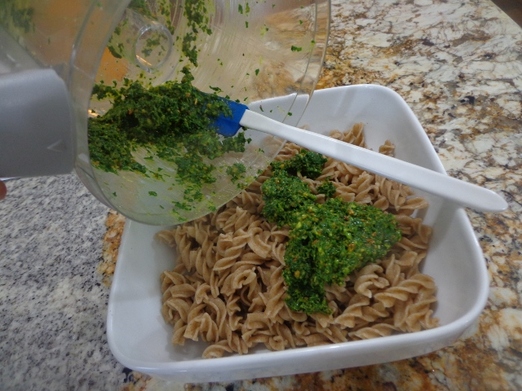
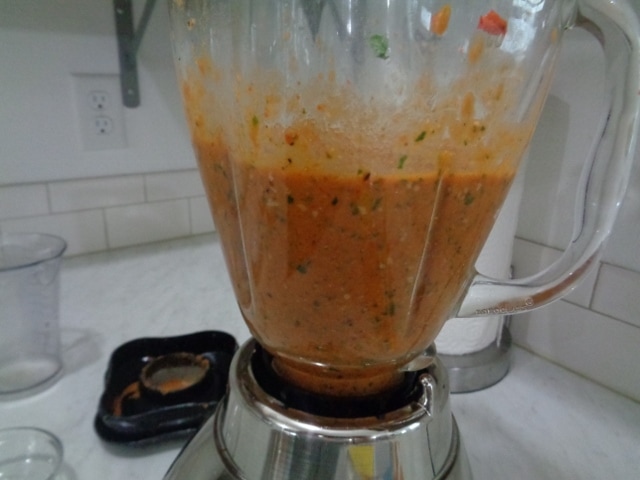
Because I have attention issues, I arranged everything on the counter in an effort to stay focused when blending the ingredients in the correct order.
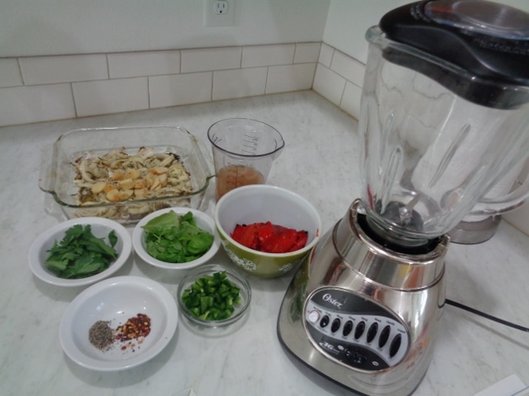
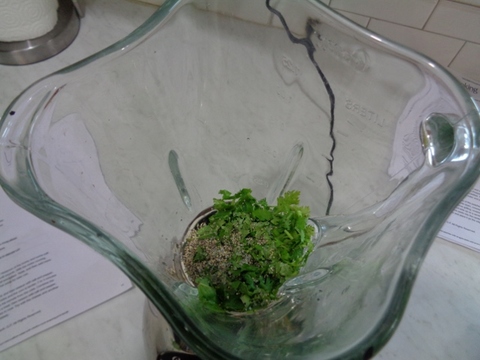
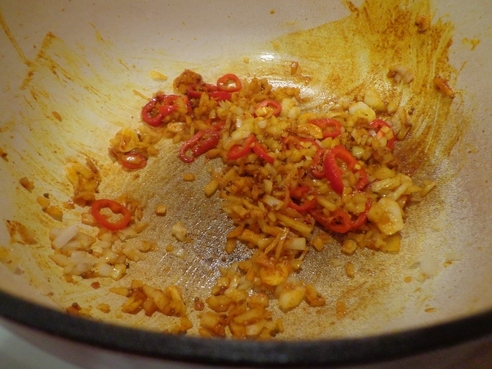
So basically all that arranging was a waste of time, you pretty much throw everything in the blender at the same time except the chicken stock.
By the way, throw the stock in the blender at this time too, otherwise the blender will just gum up with the peppers and such.
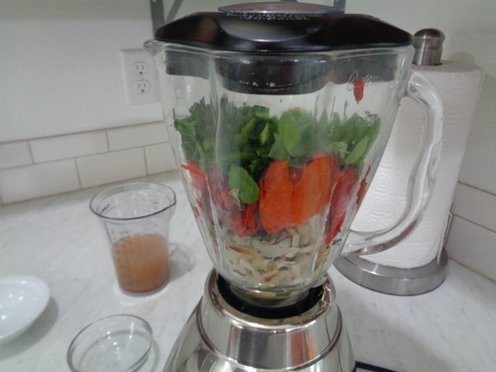
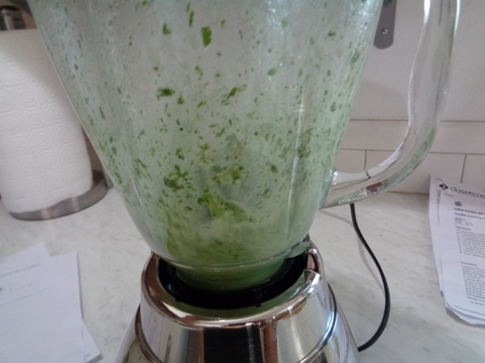
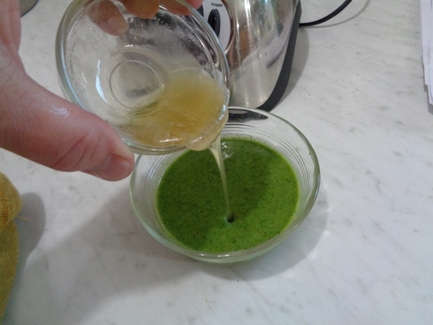
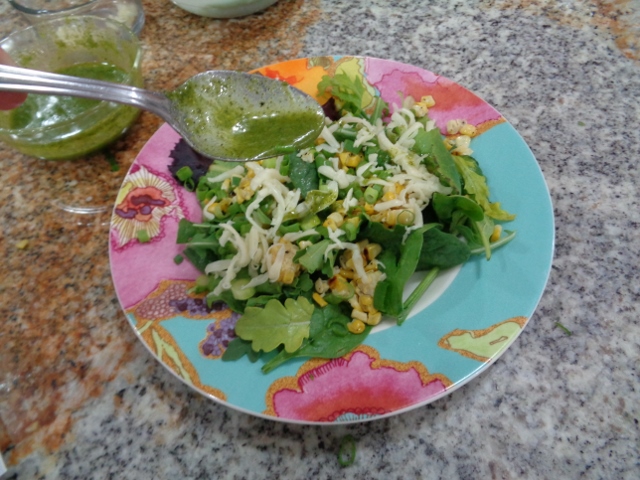
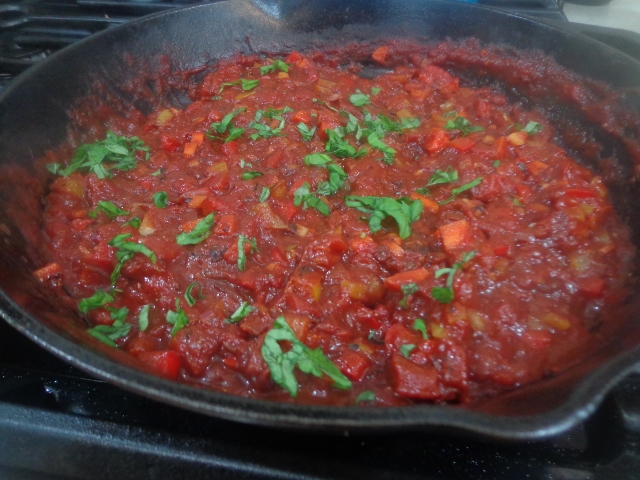
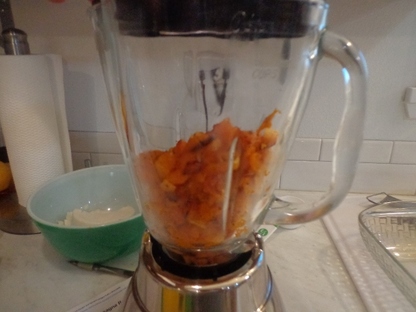
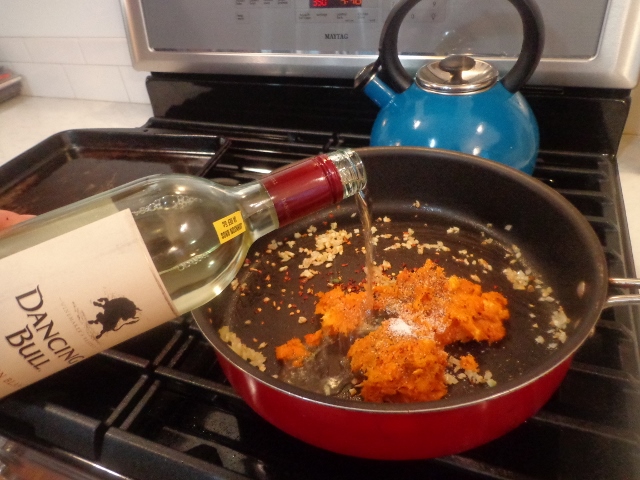
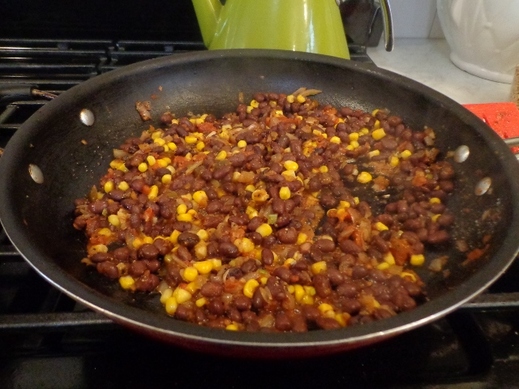
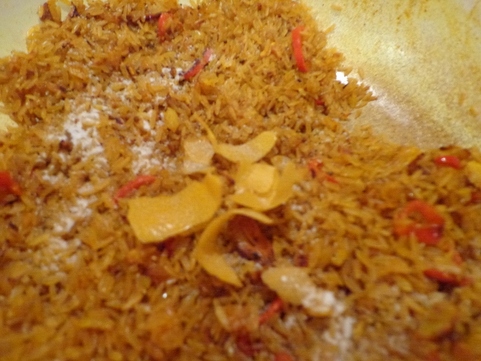
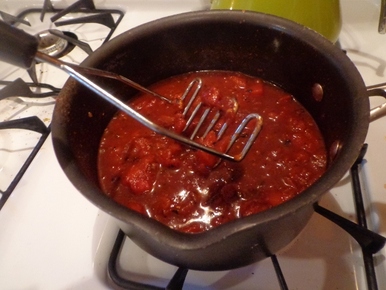
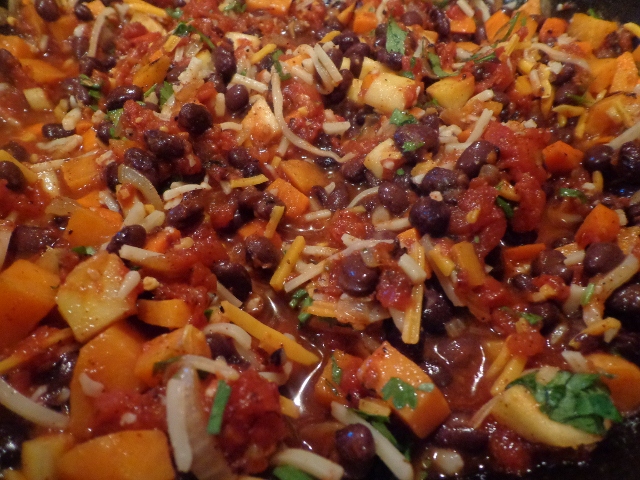
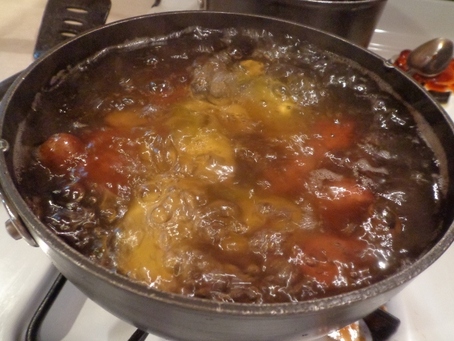
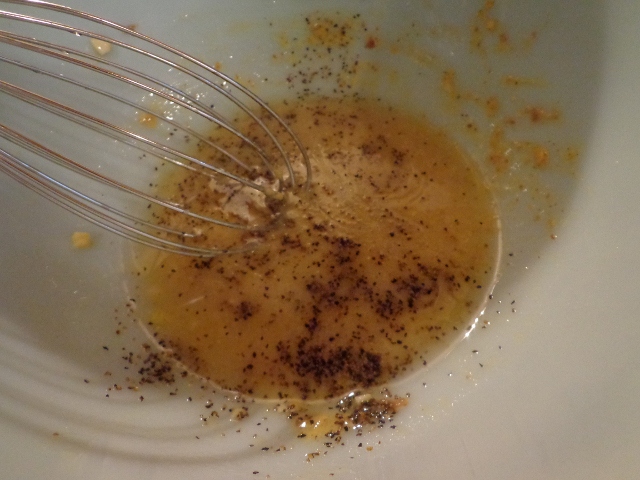
And this is the base for your soup!
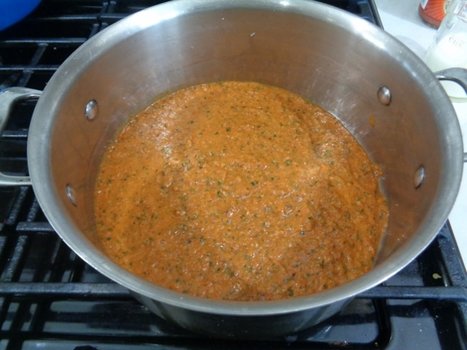
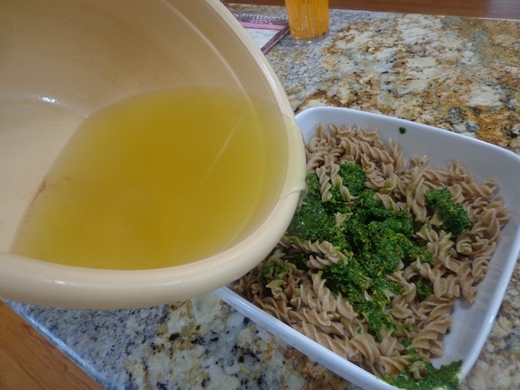
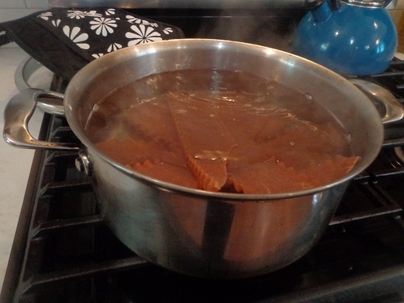
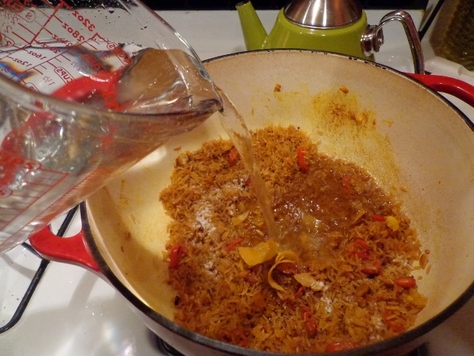
Throw
the soup base into a pan on the stove on medium-low heat.
the soup base into a pan on the stove on medium-low heat.
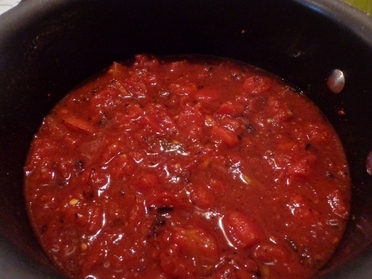
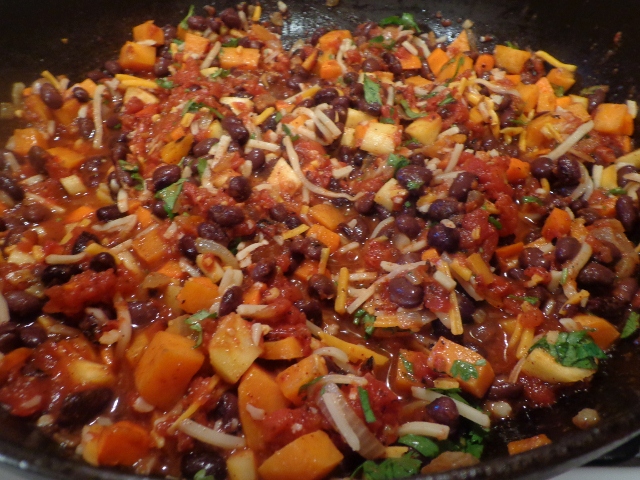
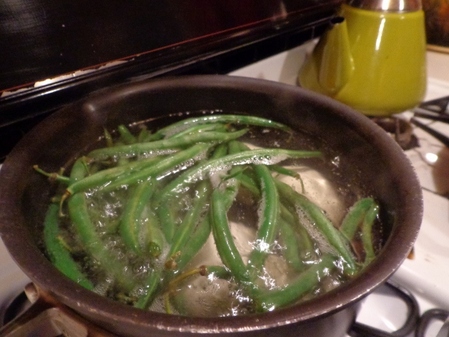
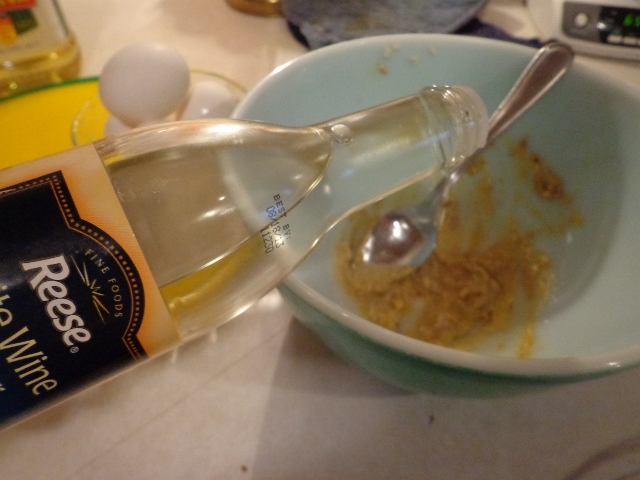
Pour in the remaining chicken stock (I used vegetable stock cause I wanted this to be completely vegetarian) and the
half-and-half (I used whole milk).
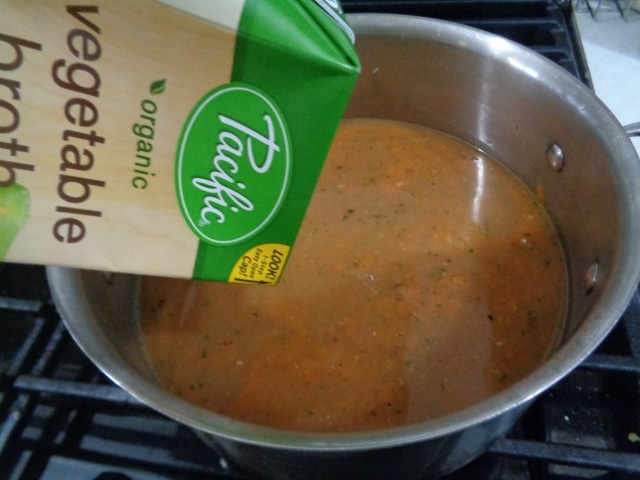
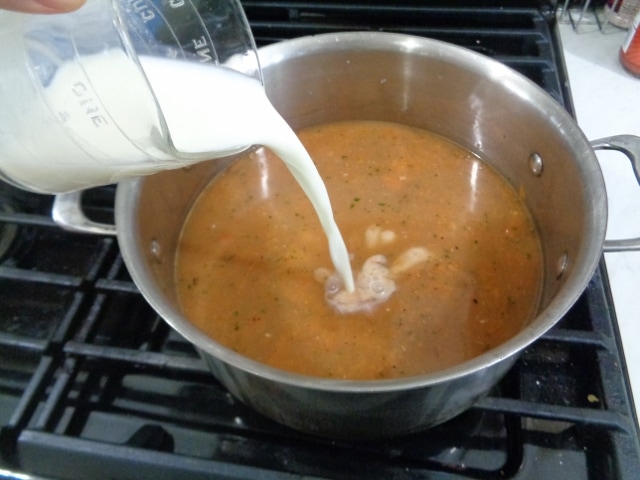
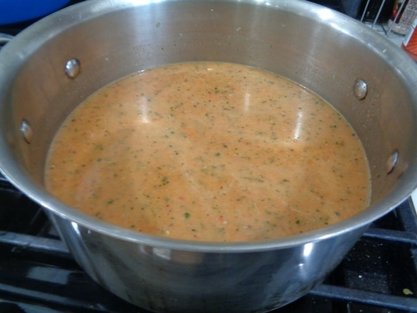
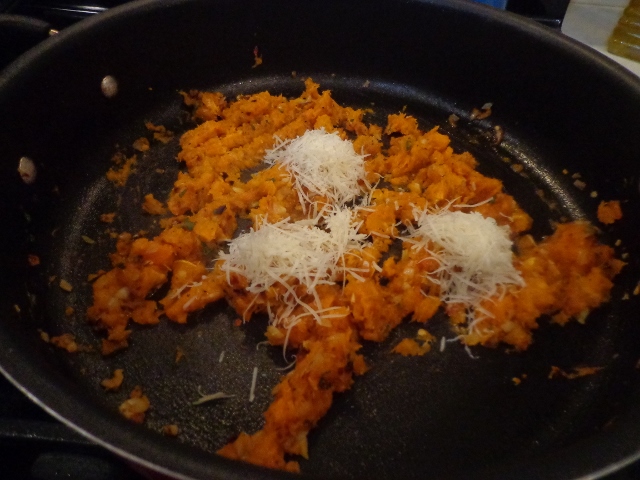
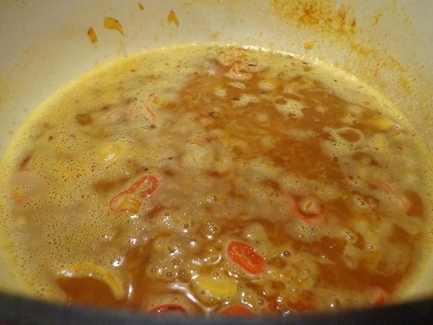
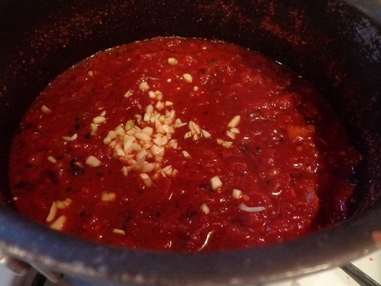
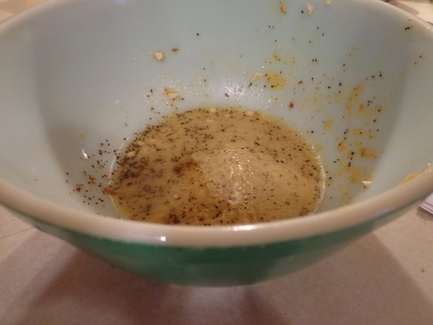
Heat until warm.
The soup will regain it's sharp red color as it heats up.
The soup will regain it's sharp red color as it heats up.
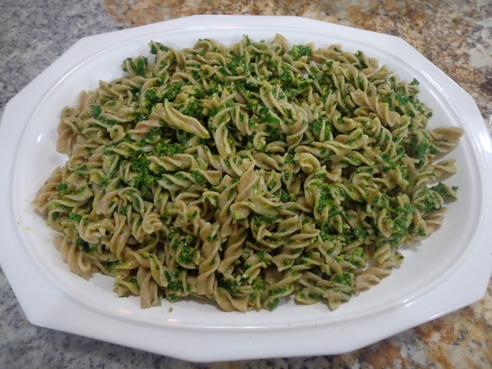
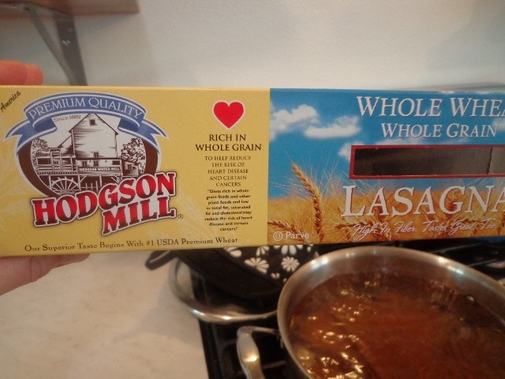
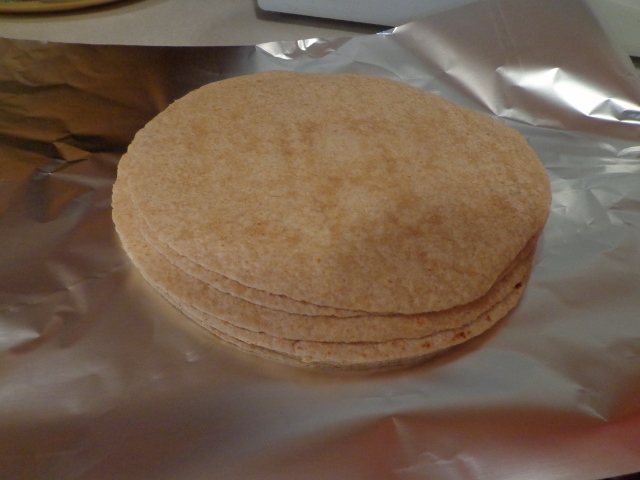
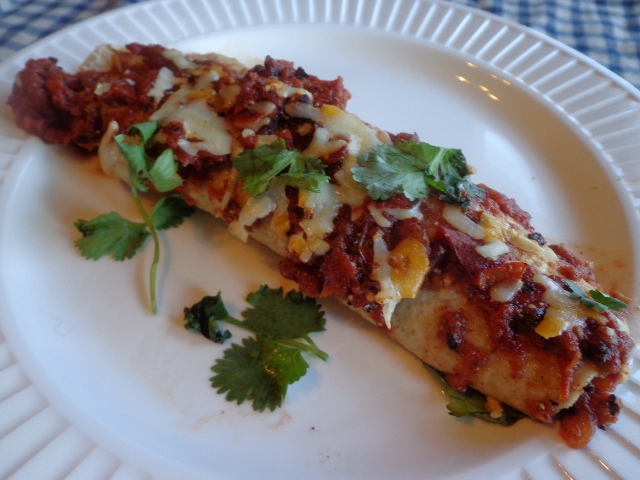
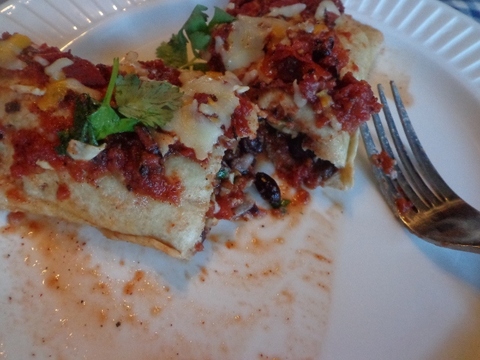
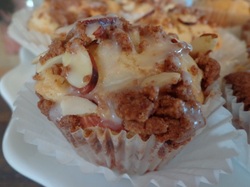
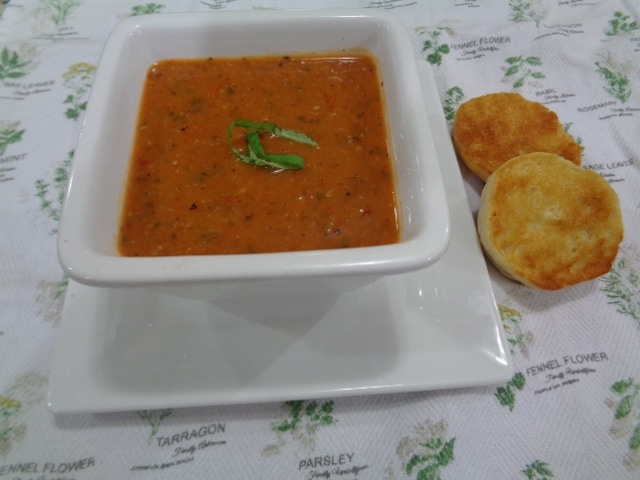
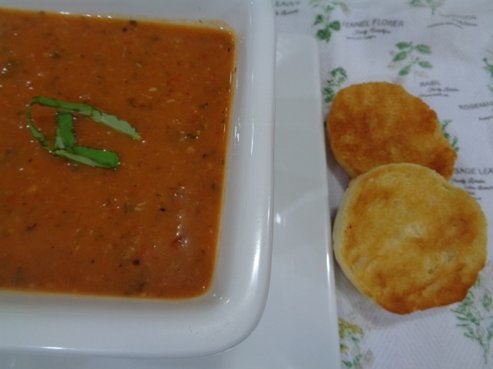
Fill up a bowl and grab a couple biscuits
to dunk.

Now this recipe as directed is SPICY, due to the whole albeit de-seeded jalapeno. Tim and I loved this!!
HOWEVER if you have little kiddos, DIAL DOWN THE JALAPENO SPICE BY HALF!!
This is such a super healthy soup.
If made with vegetarian broth instead of chicken broth,
this is a completely vegetarian dish.
Having said that I do think chicken broth adds a
wonderful warming flavor addition.
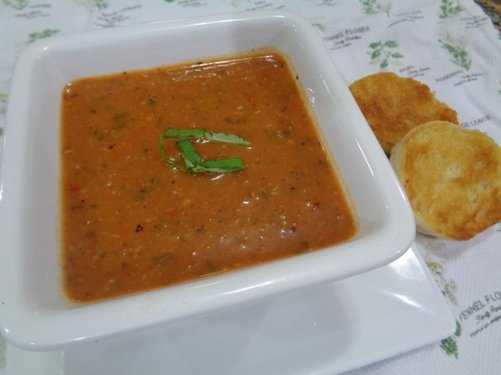
I hope you try out this soup recipe sometime!
So remember when we were discussing the toys of the 70s our moms bought us?
Well...
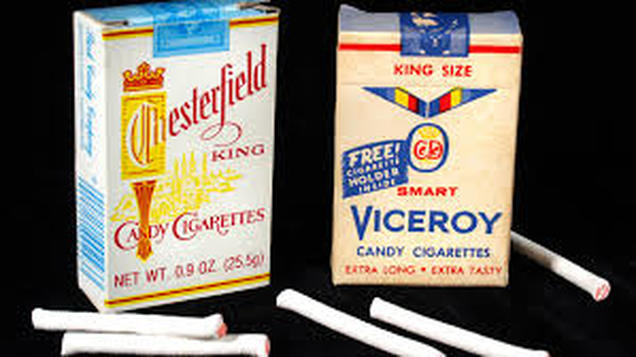
Remember these??
Well...
Remember these??
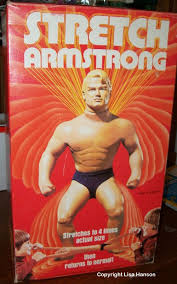

And of course we played with all those toys up above with these hanging off our childhood lips.
Now, if you were a girl in the 70s,
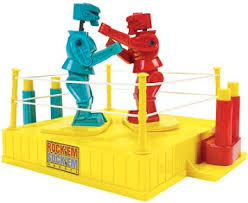
besides playing Rock em Sock em Robots with candy cigs hanging out of our mouths,
does anyone remember wearing these capes???

This is me. In my pink cape.
c 1972 ish
My mom made this. It was lined with a white satin type of material if I remember correctly.
Oh how I loved it!
I mean LOVED it.
Wore it everywhere.
Look at those buttons, so cute!!
It looks like I have a button on the end of my nose and am hoarding them in my cheeks too.
Anyway, this isn't the 70s anymore,
so my Ma makes me QUILTS instead of capes now!
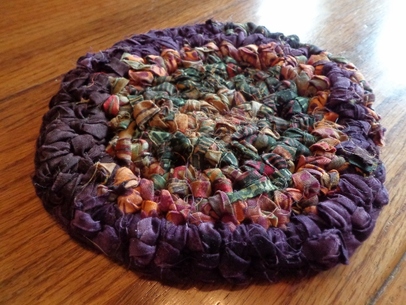
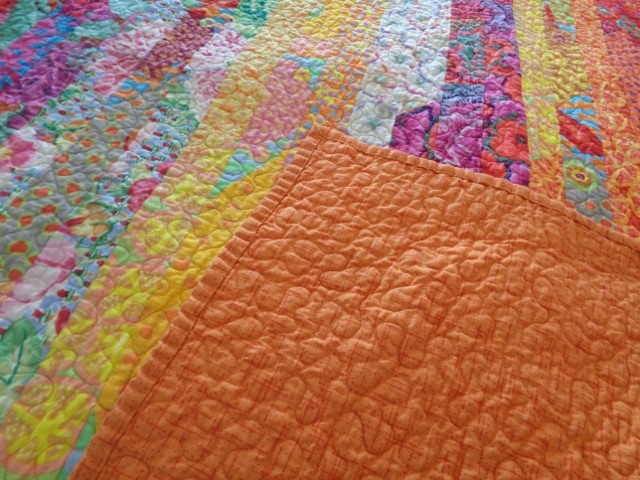
This quilt is in the guest bedroom.

This is the quilt opened up.
Isn't it gorgeous??!!!!!!!
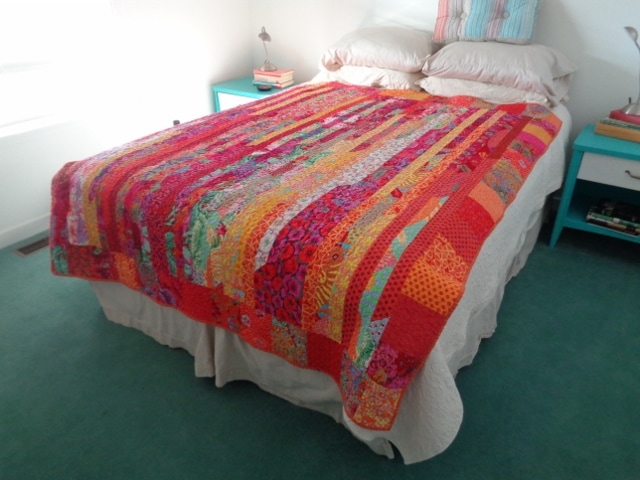
I love the jelly roll pattern, so fun and fresh.
I asked mom for bright oranges, turquoises, yellows, greens, you know, happy colors!
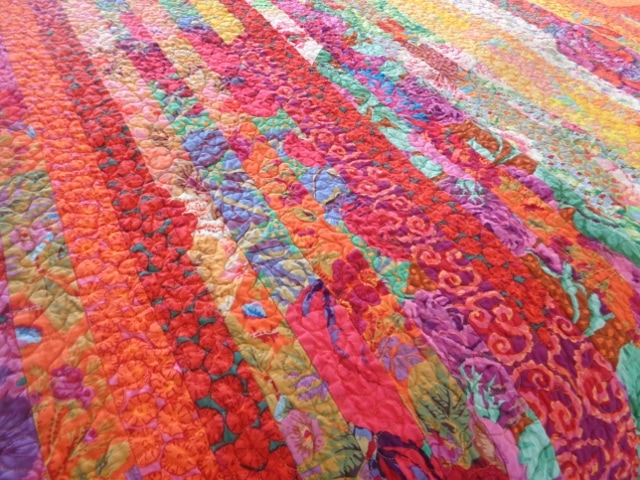
She nailed it with this Kaffe Fassett fabric!
I LOVE Kaffe Fassett fabric!!!!! It feels sooooo rich, luxurious, and the
different patterns and colors he designs is visually breathtaking!
Modern, fresh. Speaks to his many travels.
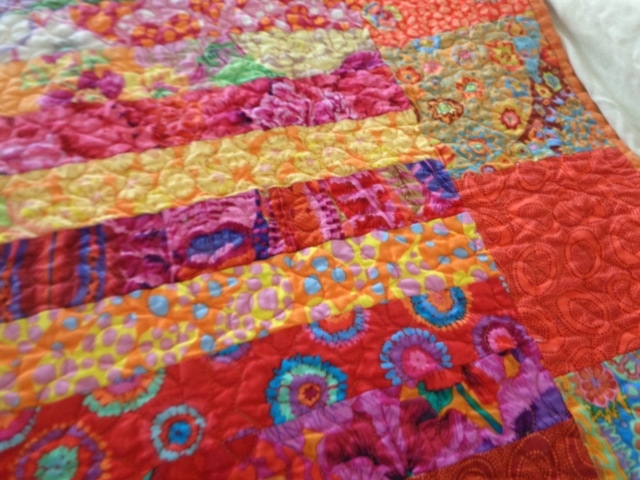
Here's the real kicker though,
Ma does all her own quilting, too!
Now my Ma is not a flashy or flamboyant person at all,
she's very modest and humble,
especially when it comes to the beautiful work she does.
Dear Ma,
IT'S *MY* BLOG AND I CAN SHOW PICTURES OF MY BEAUTIFUL QUILT IF
I WANT TO!!
So there.
Love,
Angie
P.S. I burned the top of my hand on Kim's Easy-Bake Oven one day when I wasn't supposed to be playing with it.
P.P.S. That yellow and orange Barbie camper was the best all time present ever. I can still smell how the plastic smelled on the back fold-down table.
P.P.S. Um. Candy cigarettes? ???? ?????
IT'S *MY* BLOG AND I CAN SHOW PICTURES OF MY BEAUTIFUL QUILT IF
I WANT TO!!
So there.
Love,
Angie
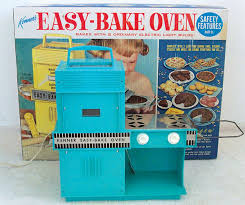
P.S. I burned the top of my hand on Kim's Easy-Bake Oven one day when I wasn't supposed to be playing with it.
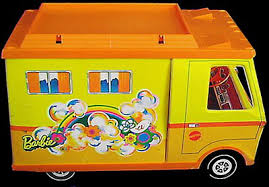
P.P.S. That yellow and orange Barbie camper was the best all time present ever. I can still smell how the plastic smelled on the back fold-down table.
P.P.S. Um. Candy cigarettes? ???? ?????
Okay Friends, that's all I got for today!!!!
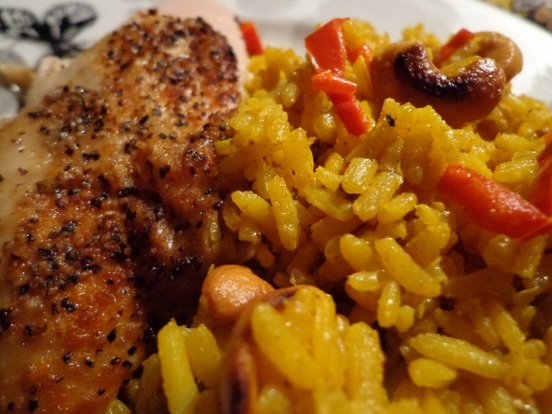
Stay tuned for another riveting blog post where I share a baked chicken thigh recipe that tastes JUST LIKE fried chicken out of a pan!
I know, right!!
Thanks for checking in!!!!
Have a good rest of the weekend y'all
and we'll talk at ya soon!!