TurnKey Auto Call: 319-683-2850 Text: 319-331-8796
  • Home
  • Inventory
  • Recently Sold
  • About Us
  • Contact
  • Angie's Blog/Recipes

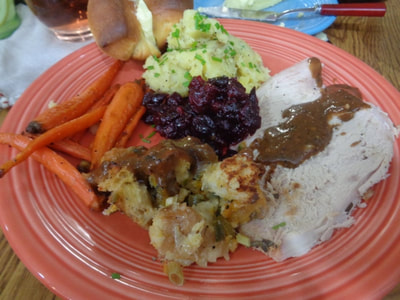
1 Day Prep-Ahead Small Thanksgiving Time Saver Meal

11/5/2017

 
Greetings, All!!!
Picture
*Thanksgiving* 
A day of food, family & friends or just hanging out in your pajamas! AmIRight :)

So I was on a mission to find time saver recipes for traditional Thanksgiving dishes, 
when it occurred to me it's really the prep work that takes the most time, NOT the actual cooking.
 

So I found recipes that could be made up (rolls, pie, cranberries!) or prepped up
(stuffing, turkey, carrots, potatoes!) the day before and assembled and cooked quite nicely
​and efficiently the following day.
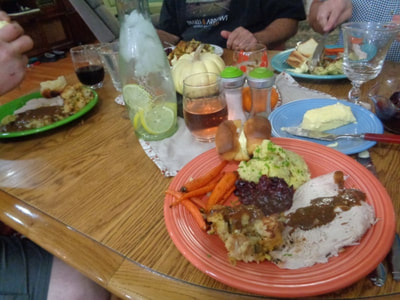
Now this menu is for a small gathering: 2-6 people.

~~~~~~~~~~~~~~~~~~~~~~~~~~~~~~
Angie's 1 Day Prep-Ahead
Thanksgiving Menu

Links to ALL recipes at the bottom of this page!
​Herb-Roasted Turnkey Breast with Basic Gravy
Cheddar and Jalapeno Stufing
The Best Damn Vegan Mashed Potatoes
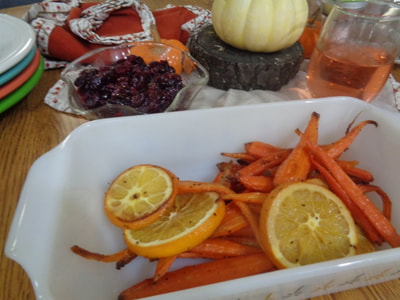
Honeyed Carrots and Oranges
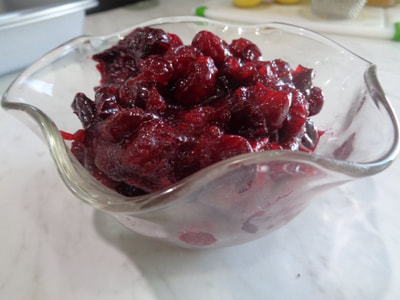
Bourbon-Cranberry Compote
Homemade Butter Flake Pull Apart Rolls
Chocolate Cream Pie

~~~~~~~~~~~~~~~~~~~~~~~~~~~~~~~
​
I'll take you through some steps here with some brief commentary on each dish.
​


​Herb-Roasted
​Turnkey Breast  

Ina Garten's recipe
Picture
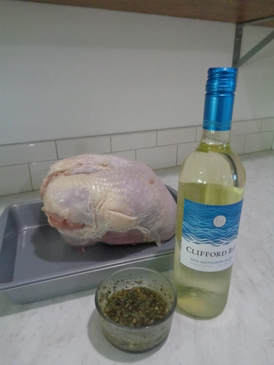
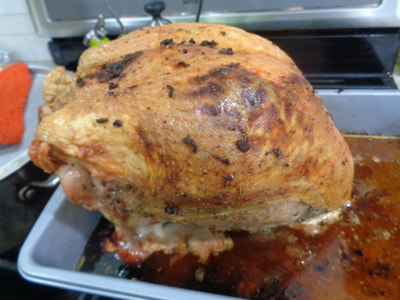
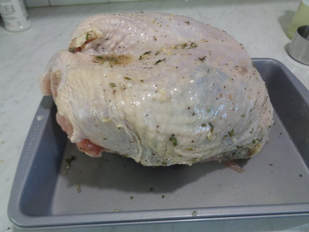
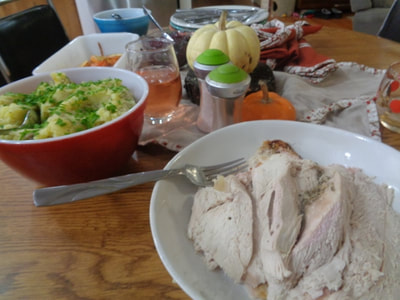
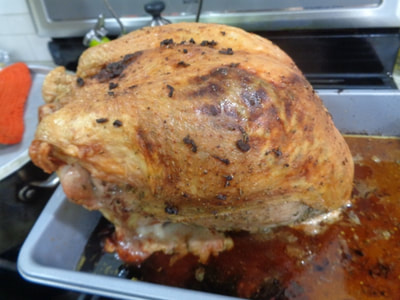
Let's start with the 7.3 lb turkey breast that cooked in two hours.
​ TWO hours!


Prep Day Ahead!
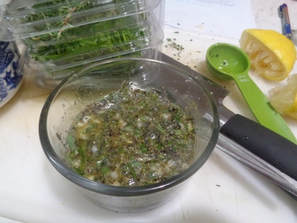
​I made the herby olive oil paste up the night before, coated the turkey and put it back in fridge.

Picture
Picture

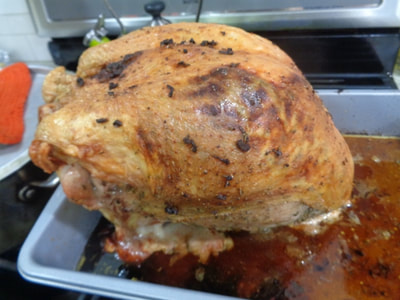
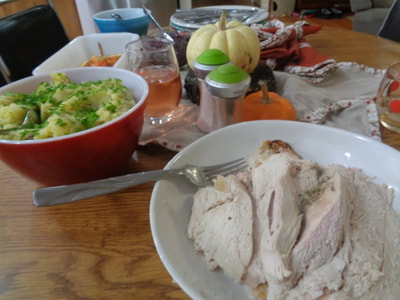
​Cooks up beautifully and slices up nicely.
The herbed paste rubbed directly on the meat and on top of skin was fantastic!!
Juices were added to the Basic Gravy.


​​
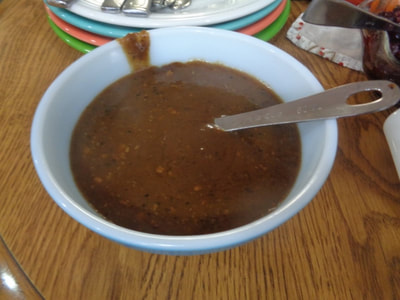
Let's move along to the Basic Gravy.

No prep-ahead of this. Day of only.
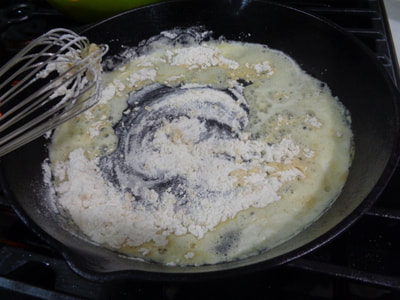
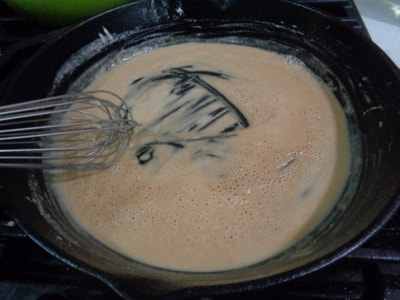
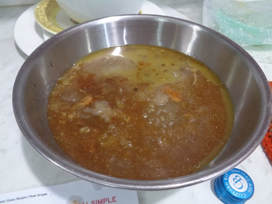
I made a roux.
Picture

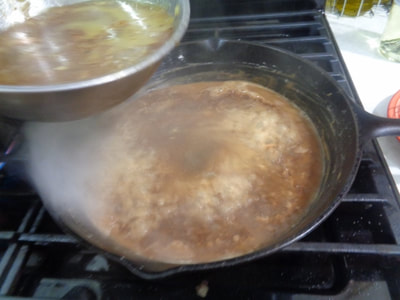
Add the drippings from the turkey roasting pan into the chicken broth.
 
I used
​homemade chicken broth.


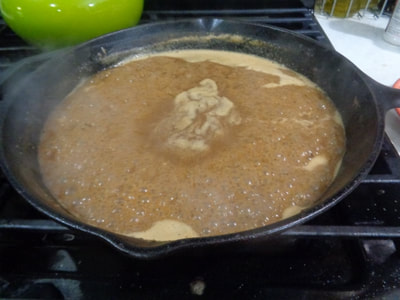
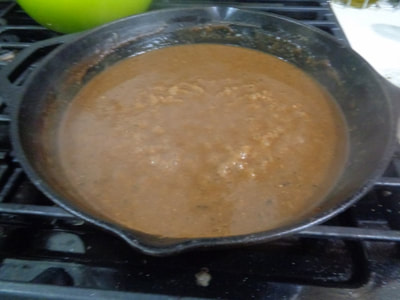
​Whisk the broth and drippings into the skillet and bring to boil then simmer until thickened.


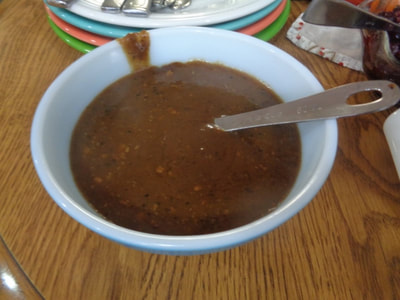
This gravy was hands down the star of the show.
*STAR OF THE SHOW*

​I think the key is homemade chicken broth but I don't know that for sure. If you don't have homemade, buy the absolute best kind of broth you can.


​Let's move along to the PREP AHEAD
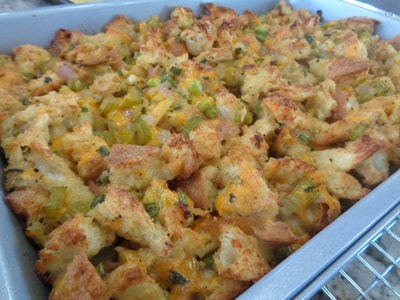
Cheddar and
​Jalapeno Stuffing.

By the way, I believe this recipe could be assembled and cooked day ahead and just add some extra chicken broth when heating up next day.

Note: I could not taste the jalapeno really, add more jalapeno if you like heat.
Picture

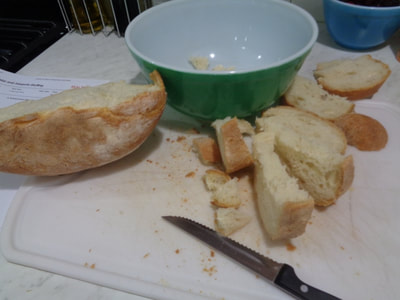
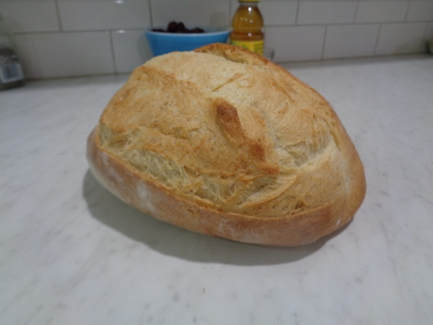
​The recipe called for Italian bread so that's what I got was Italian bread.

By the way y'all, I do not know how to cook without a recipe.

Completely serious. So I tend to stay true to the recipe ingredients and amounts.


​The day before...
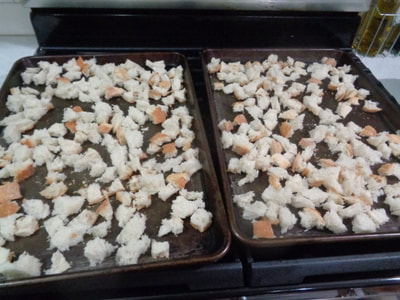
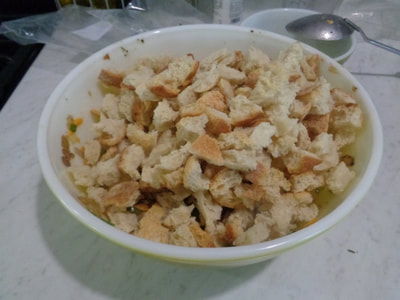
​cut or tear the bread up and bake in a 375 oven for 12 minutes, until dried out.

Cut up all the vegetables, grate up the cheese and deposit all ingredients into the pan you will use to bake the stuffing in tomorrow and
​stick in the fridge.
Picture

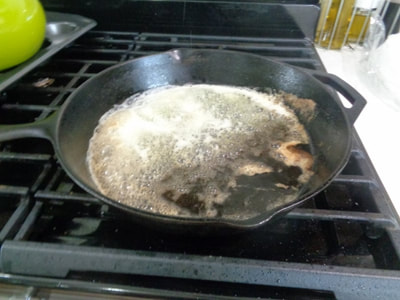
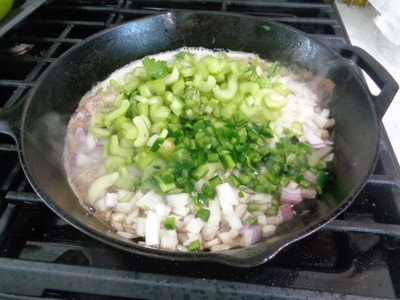
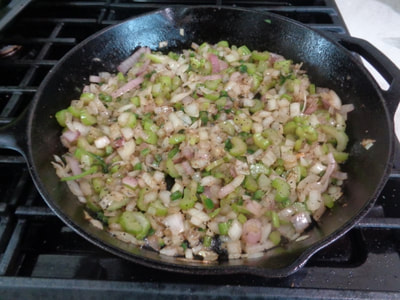
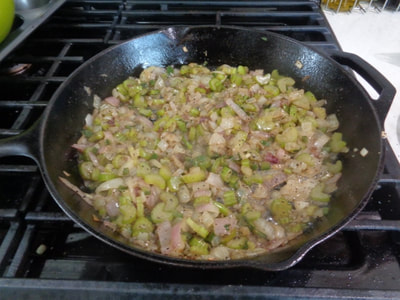
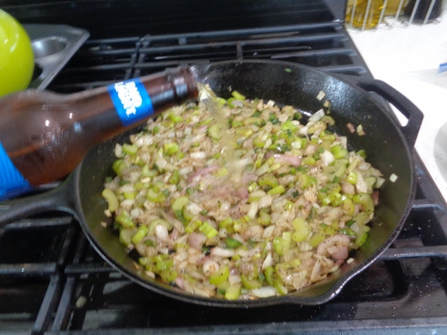
​Day of, melt butter and saute the vegetables.
Picture


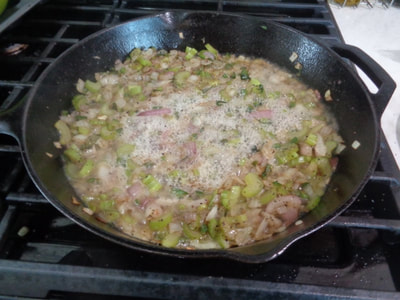
This recipe calls for a half cup beer.

It can also be left out completely.

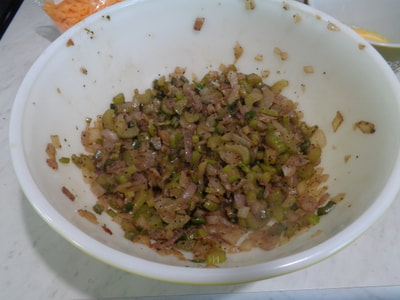
Cook until beer evaporates, then transfer mixture to a large bowl. 

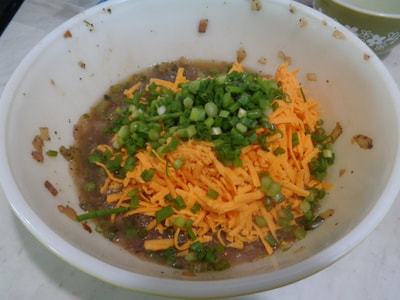
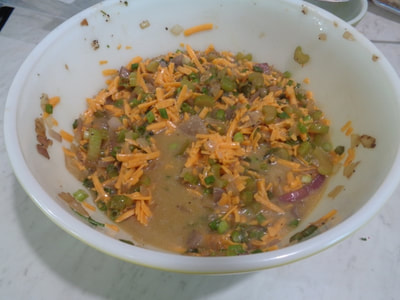
Add scallions, broth, eggs and cheddar to mixture and and toss in bread crumbs.
Picture

​Okay,

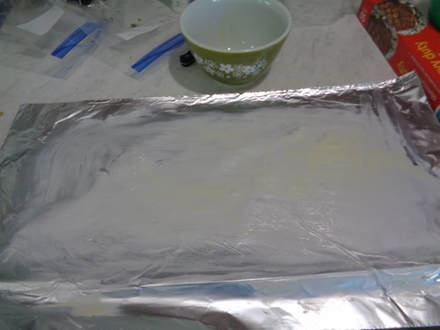
I have this super exciting picture of buttered up aluminum foil to remind you to, you know, butter up your aluminum foil.

Cause if you don't,
all the good browned bits of stuffing will stick to the foil and you'll be sad.


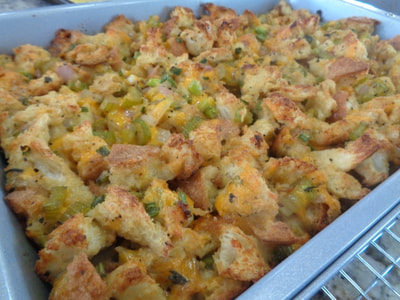
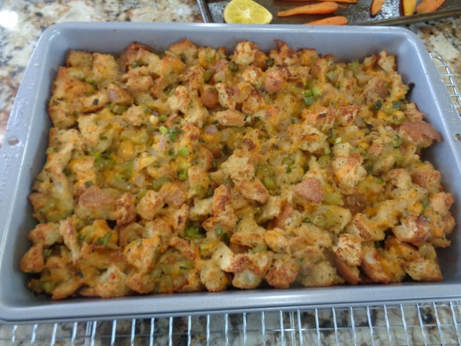
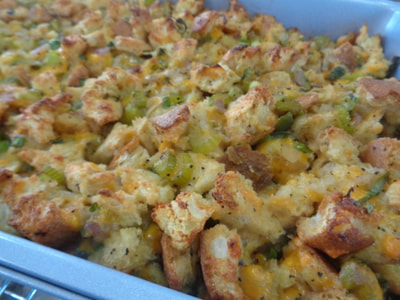
Pour stuffing into prepared pan and bake covered with foil, then remove foil and continue baking. I let mine stay in 10-15 minutes longer to get more browned.
Picture
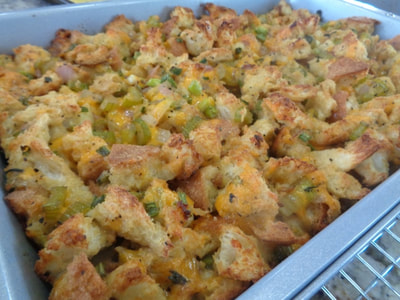
This stuffing dish really could be prepped, assembled and cooked the day before and just reheated day of with some extra chicken broth. I made this up in the morning, stuck it in fridge until dinner and then just reheated it in oven. This is why I used a metal pan too.
Another note with this dish: You can NOT taste the heat from the jalapenos. I used two seeded jalapenos just as the recipe states and there was no heat. Probably added flavor but there was no heat so it's safe for little kiddies.


​
​O
kay, let's get these
Best Damn Vegan
​Mashed Potatoes
made.

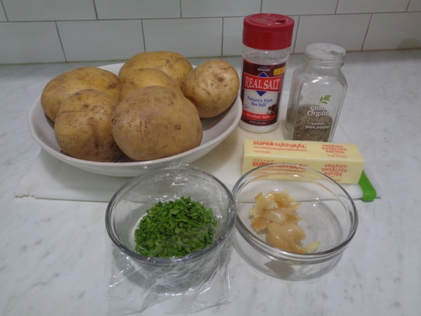
Disclaimer: I had full intentions of using vegan butter but I didn't, I used real butter. 
Note: I wanted a mashed potato recipe that was different than the same old, same old, that's why I made these.
​Also, Yukon gold potatoes are so naturally delicious buttery anyway.
Picture
By the way, these CAN BE MADE DAY AHEAD but I just prepped everything the night before and made day of.
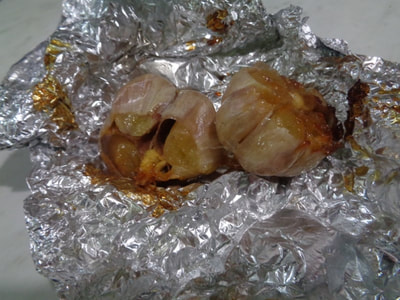
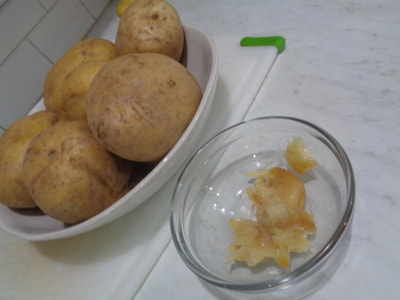
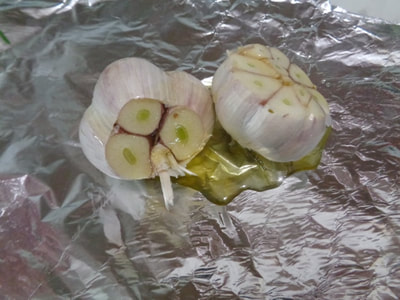
I washed all the potatoes and set them aside. I then roasted the garlic by cutting off the top third, rubbed the cloves with olive oil, wrapped up in foil and roasted for 50 minutes. Mmmmmmm, always smells awesome. Also, chop up those chives and store everything but potatoes in the fridge until next day.

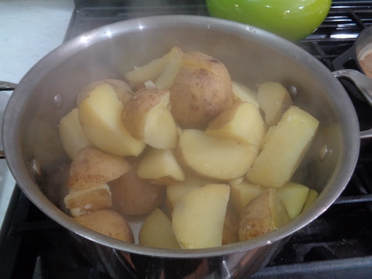
Before the meal, I threw the cut Yukon golds into boiling salted water and cooked until soft.
Picture
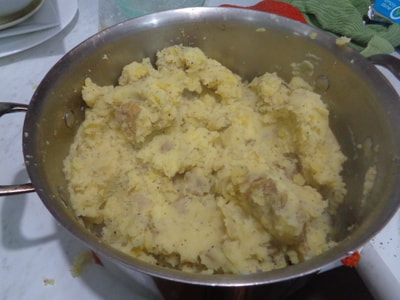
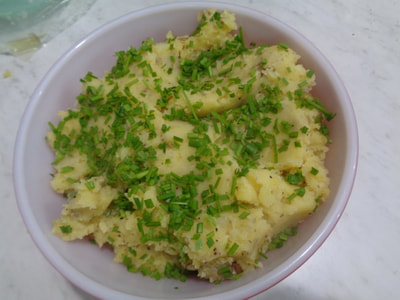
I mixed in butter, salt and pepper and the deeeelicious roasted garlic. I ate spoonfuls and then transferred the remaining into a bowl and topped with those chives. Yum!
These potatoes are awesome with or without gravy!!


​Now, y'all, let's get to these super easy peasy
Honeyed Carrots
​and Oranges.

 I prepped everything night before and cooked them day of.
(I liked these so much I went out and bought more carrots to make this exact recipe again this week.)
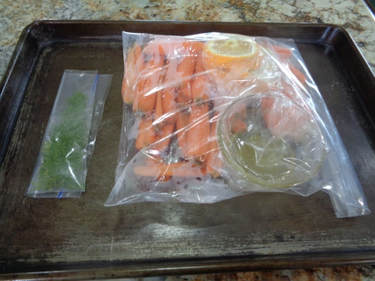
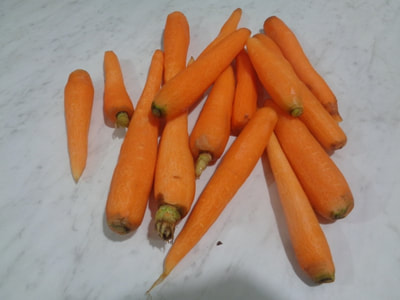
Please do NOT cut the carrots in half lengthwise like I did, just buy thin carrots, don't use thick ones. If you do use thick carrots, then okay, you can cut them in half lenghtwise. Mine were thin already. Also, dudes, don't be like me and leave the freaking top on. Just don't.
Picture
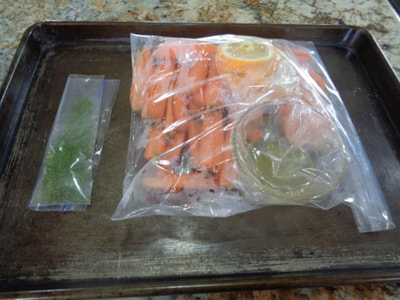
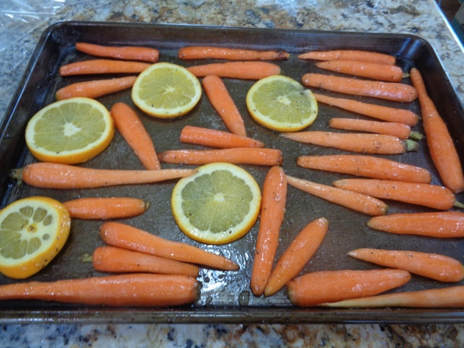
The night before, I peeled the carrots and sliced the orange and had the honey/oil all measured out.

I had chopped up some dill but decided not to use the dill on the finished dish, these were just too darn good on their own.

This was super easy to prepare as well as to assemble and cook.

​

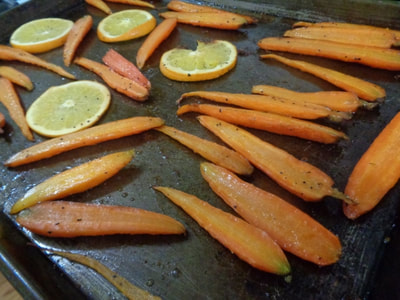
Day of, pull out the carrots and oranges, toss in olive oil and honey, salt and pepper, arrange on cookie sheet.
​By the way, the aroma of the oranges and honey is fantastic!
Picture

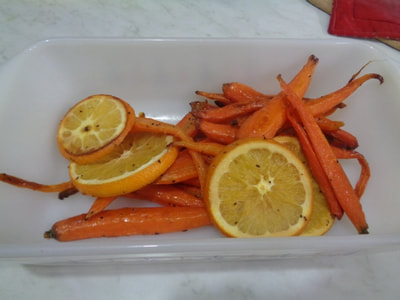
Cook until soft. So easy. 
Again, cut off the tops of the carrots. I did not do that cause I am a fool.
Don't be a fool like your pal Angie, just do the right thing.

​
These carrots were absolutely delicious, just make sure to follow the directions exactly!


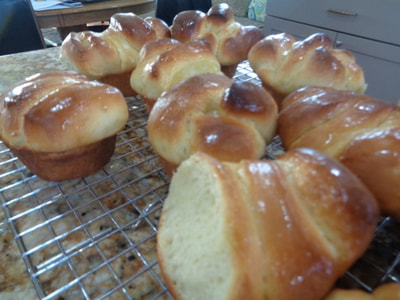
Y'all. These Butter Flake Pull Apart Rolls
are delicious!!
This is Alton Brown's recipe and I always get PTSD from baking cause I am horrible at it.
​I actually was able to make these without using too many swear words. Maybe three.
Four. Five at the most. Okay, six. SHUT UP!  
Picture

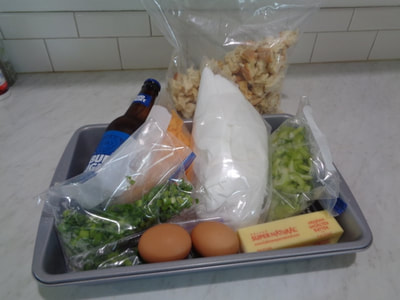
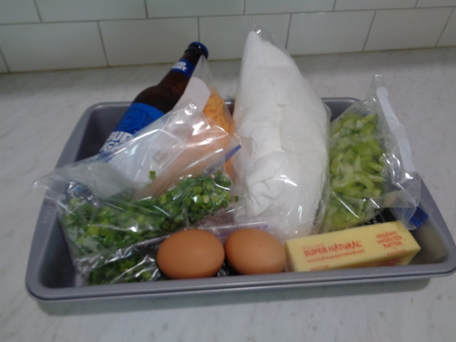
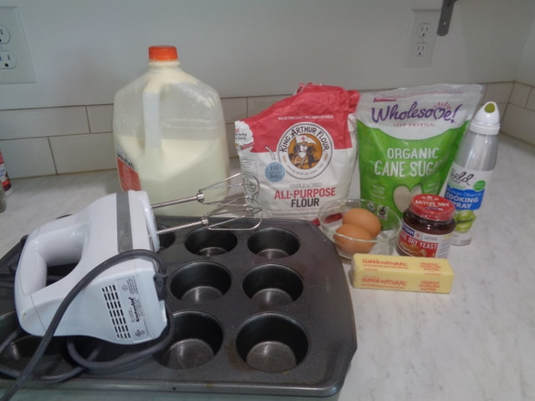
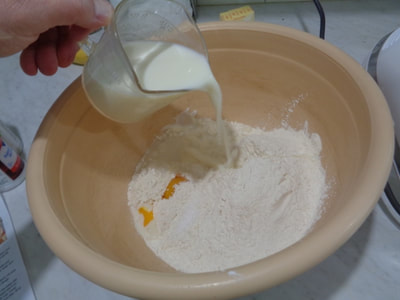
​So these are the fixins for these pull apart rolls.
I did NOT make these up a day ahead of time. I do think they would be fine made up 24 hours ahead and then just reheated shortly before the meal the next day.
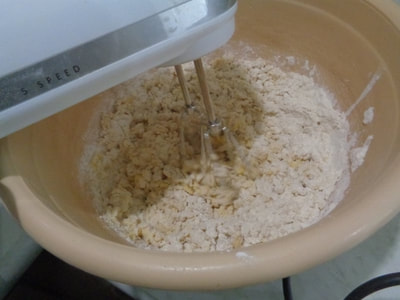
Also I do not own a stand mixer. I old-school used my hand mixer. Worked fine.
Picture

​
Picture

Now this recipe calls for some ingredients to be weighed. 

Don't fight it, just do it.

​These are baked items.
You want to use correct measurements even if you have to bring out the scale.


​S
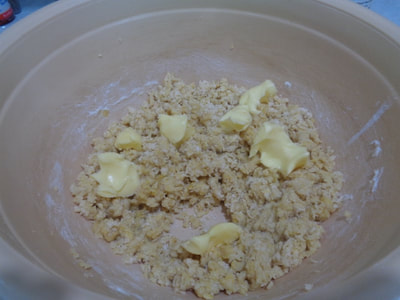
o mix the stuff according to directions.
I love how I am so technical with my language. Seriously dudes, I can not bake so I am just trying to get through this as quick as I can.

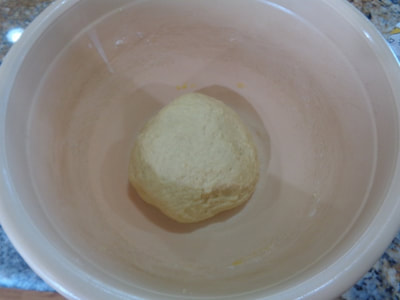
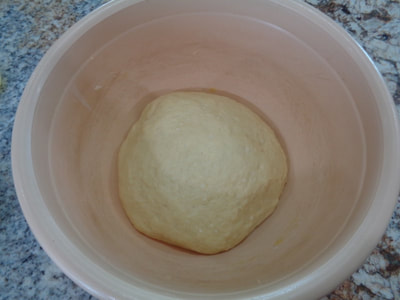
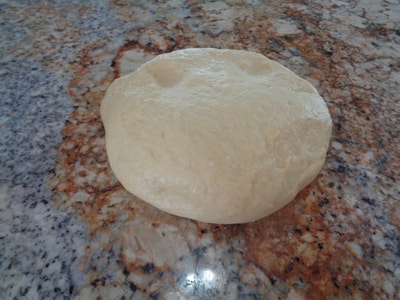
Dough before rising and dough after rising.
​Now if *I* can do this correctly, anyone can!!!

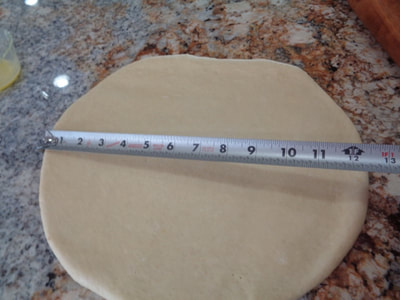
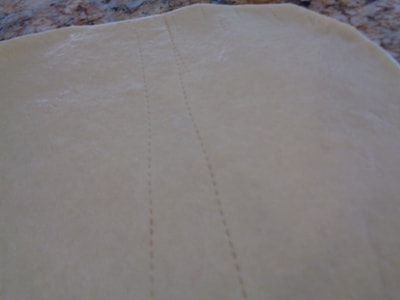
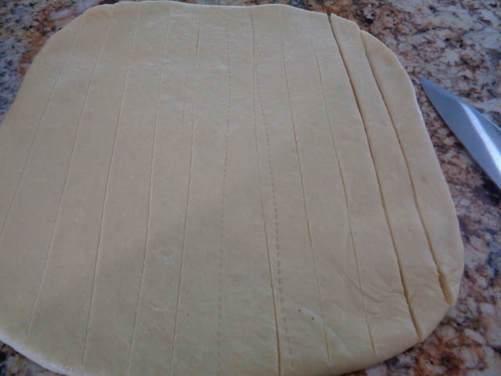
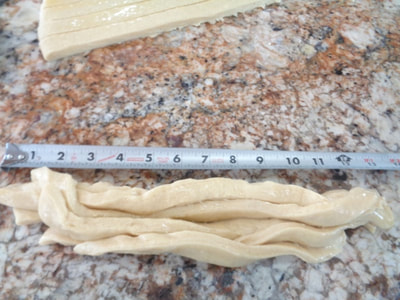
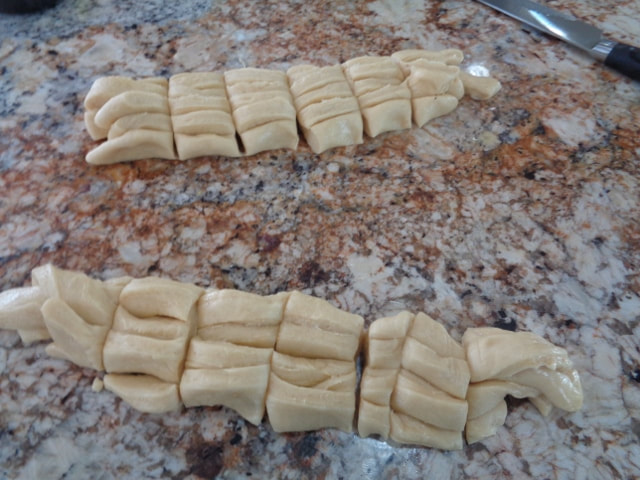
​Okay, let's slow this down a bit.....let me explain...so roll the dough out to a 12" x 12"...

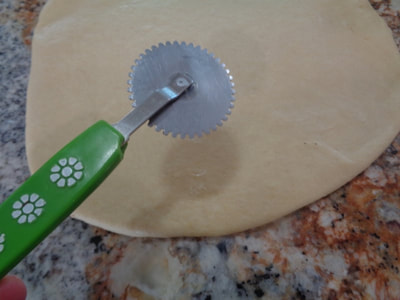
Cut 12 - 1" strips. Now I don't own a pizza cutter, so I pulled out this vintage pastry cutter ​I paid 50 cents for at a consignment store last year. Aaaaand this pastry cutter is broke and wobbly and doesn't make straight lines.


So I bring out my pizza cutter, also known as a plain ordinary knife, and cut 12 - 1" strips.
Picture


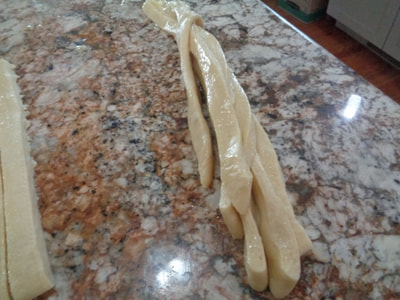
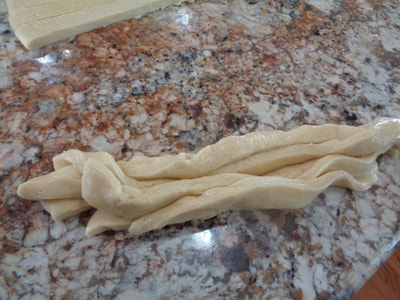
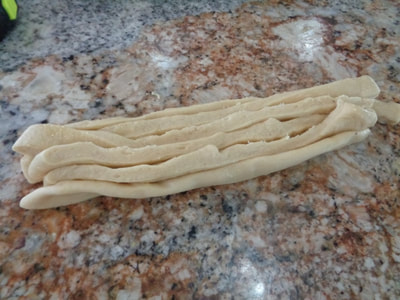
Okay, so this is my first try at the strips and stacking them. 

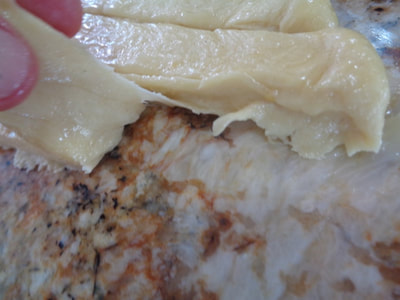
And this is my second try at the other half of the dough, I got much better, especially after I figured out I need to GENTLY pull up the strips
and not stretch them.

My initial attempt is at the bottom...Second try at the top.
Picture


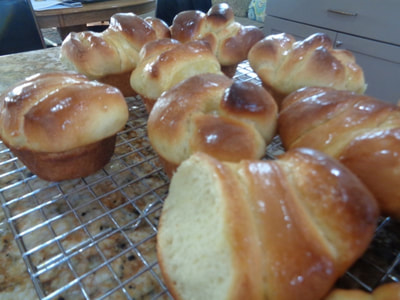
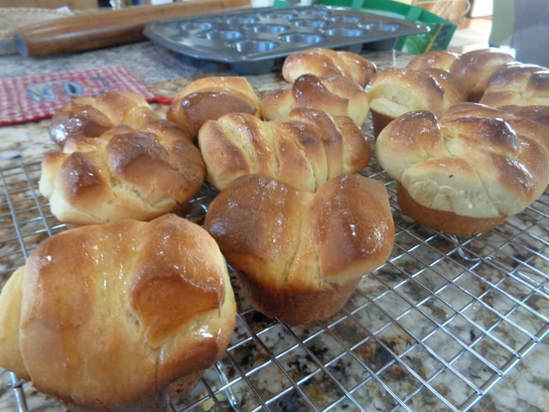
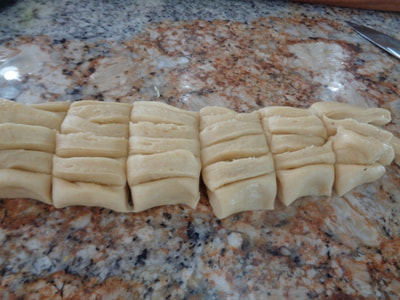
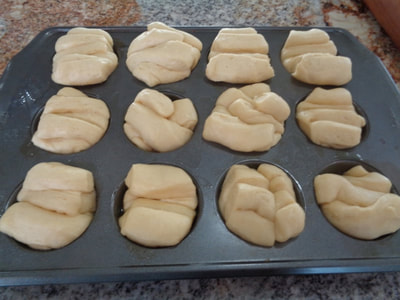
Set each section in a sprayed muffin cup.
​Let rise until double.


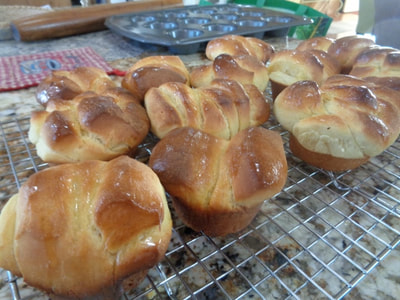
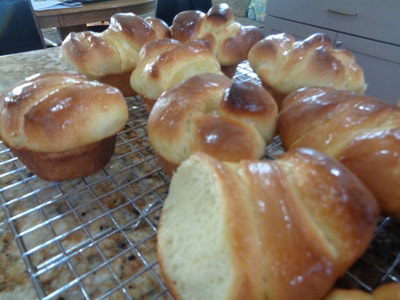
Then bake 8-10 minutes. Or overbake like I did but then brush a ton of melted butter on the tops. They were still delicious!!


Okay, only TWO more recipes left!!!!
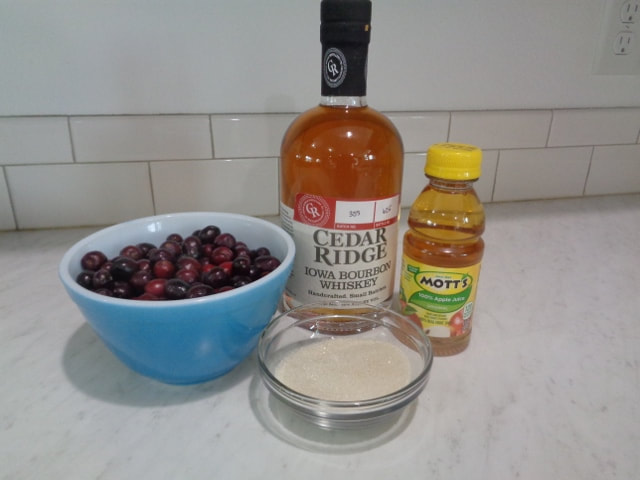
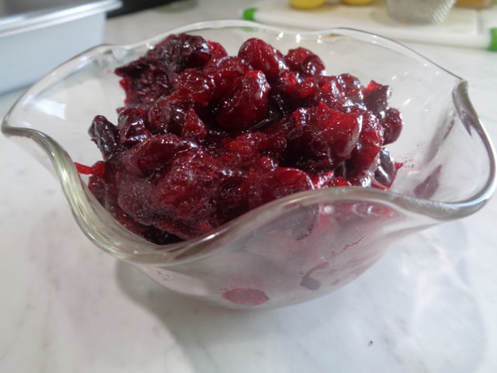
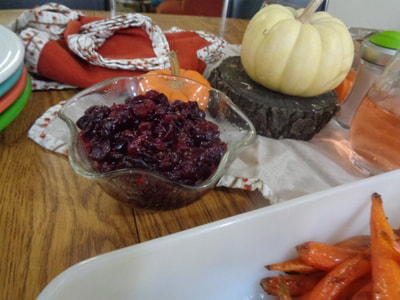
This one is so easy and delicious! Make it same day or day ahead, doesn't matter, it's delicious both days!
Bourbon-Cranberry Compote!
Picture
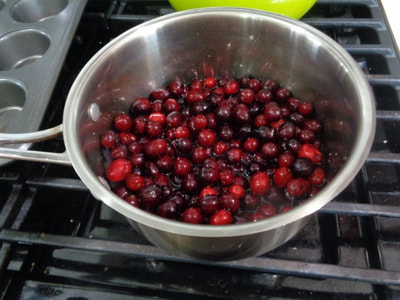
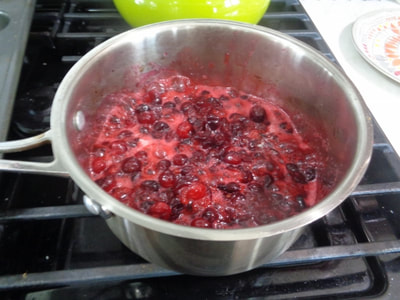
Combine and simmer.
Picture


Okay Friends, last item on the menu is a
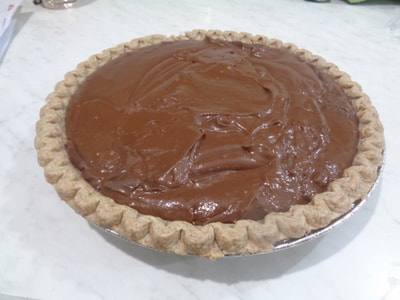
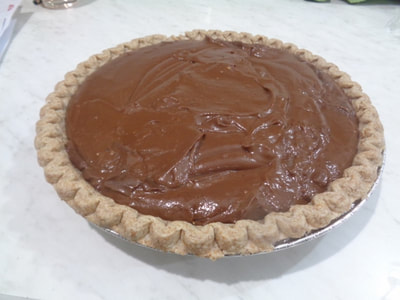
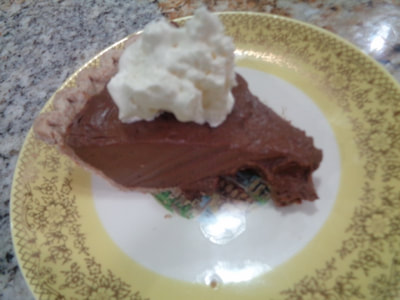
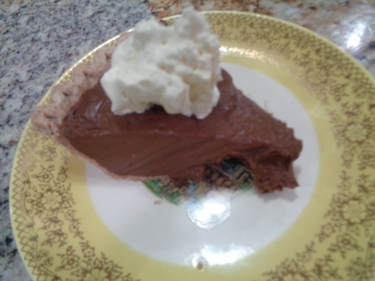
Chocolate Cream Pie! 
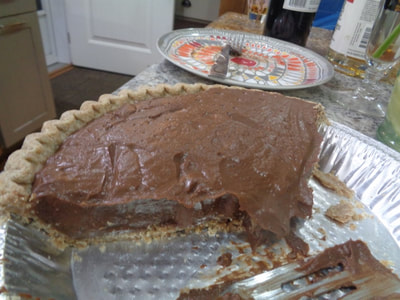
Tim doesn't eat pumpkin pie so I made a Chocolate Cream Pie with a
​store-bought whole wheat crust.
This can TOTALLY be made up a day ahead of time!!!
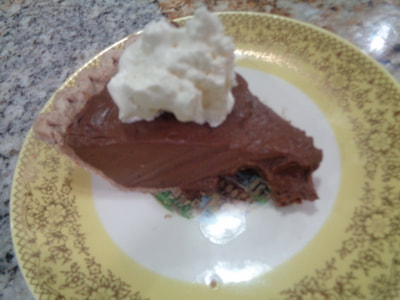
Okay, the piece on the right up there looks a little wonky but trust me, deeeelicious!!

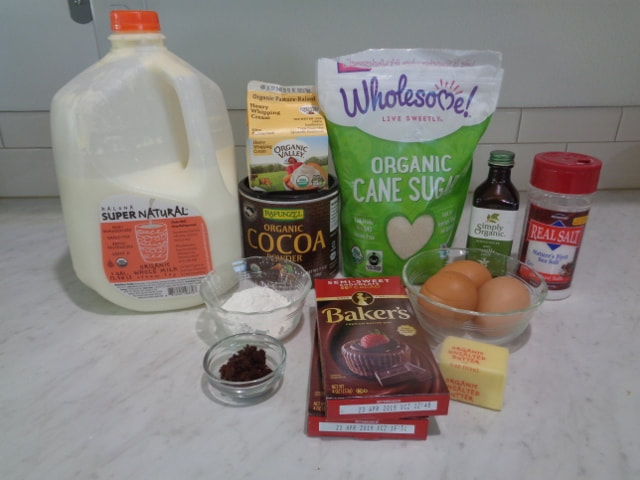
These are the fixins.
Picture
Picture

​F
irst,

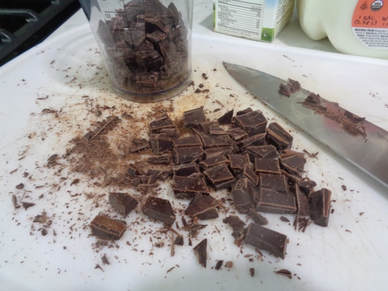
chop up the semi sweet chocolate.

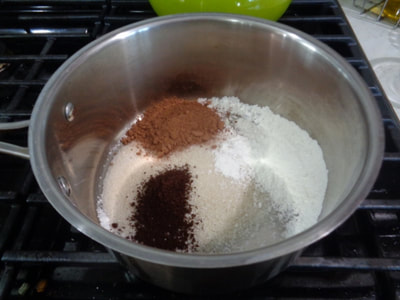
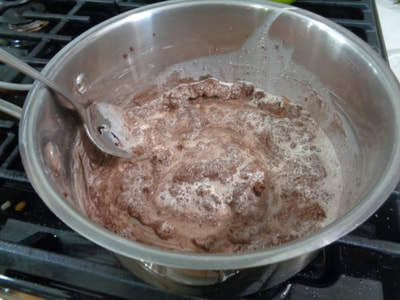
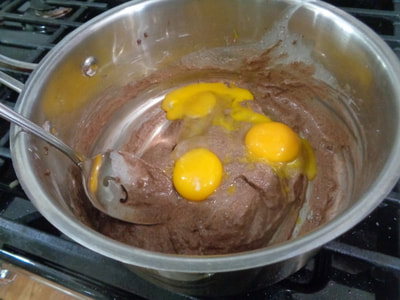
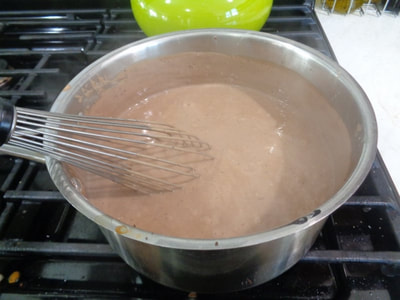
Whisk the dry ingredients together then add the heavy cream and eggs.
Don't forget the espresso powder!

​W
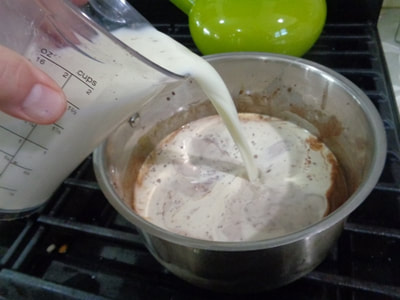
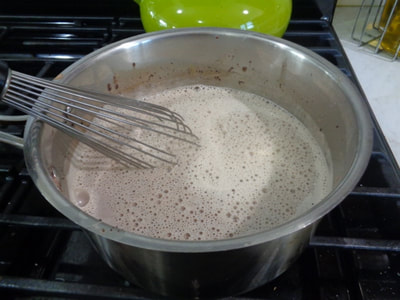
hisk in the cream and milk over medium heat.

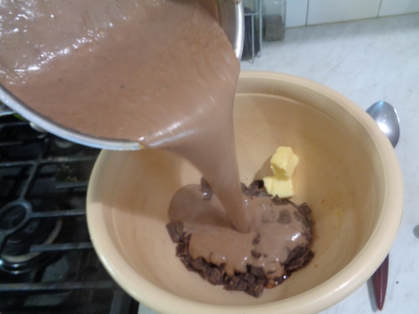
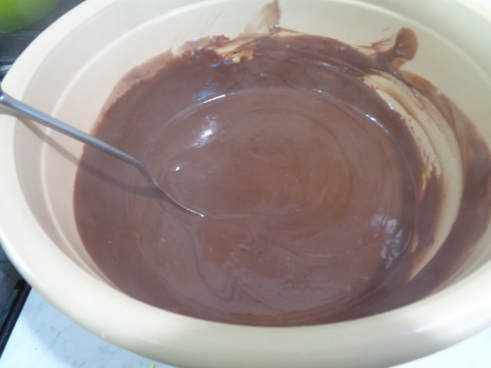
​Pour that lusciousness over the chopped chocolate & butter and stir...
Picture

Mmmmm, lookin' good!
Picture


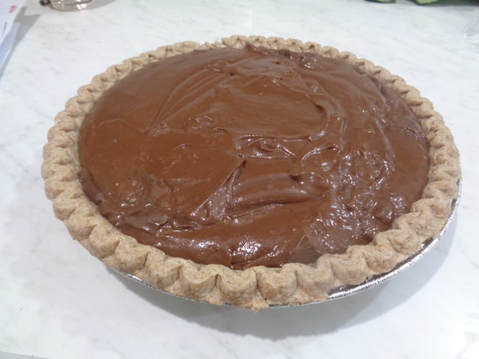
Pour into a pie shell...
Picture


Buy whipped cream OR make this super easy whipped topping...remember, chill the bowl AND the beaters!!
Homemade Whipped Cream:
In a chilled bowl (very important, a CHILLED bowl, meaning chill that sucker in the freezer), combine 1 cup whipping cream, 2 Tbsp sugar and 1/2 tsp vanilla. Beat with a mixer on medium speed until soft peaks form.
​Or continue beating until stiff peaks form.
Picture
Here's the deal on this Chocolate Pie...it is really rich!
This Chocolate Cream Pie is not for people who do not appreciate
​deep layers of chocolate.

If you want a boring, bland chocolate pie, do not make this!
Oh, make a strong pot of coffee cause it will go wonderfully with this dessert!


Okay guys, I will come clean here.
I was planning on making this menu for just
Tim and me as a trial run. 


But then friends of ours called and wanted
​to pop out Friday night. 


​heeeeeeeeeeeeeee....

I said fine...

just come hungry.
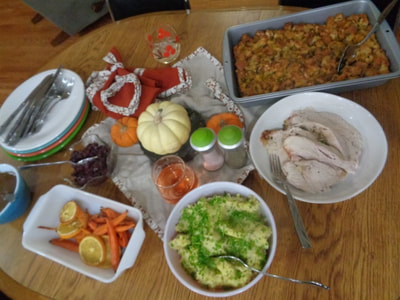
Picture


Once they got here, I bamboozled them that they were going to participate in my
1 Day Prep-Ahead Small Thanksgiving
Time Saver Meal blog post. 


They didn't seem to mind :) :) :)
and we had a fantastic time!!!


​Okay, so that's all the recipes, friends! 
Below are all the links to
​the recipes!!

Herb-Roasted Turkey Breast with Basic Gravy
Cheddar and Jalapeno Stuffing
The Best Damn Vegan Mashed Potatoes
Honeyed Carrots and Oranges
Bourbon-Cranberry Compote
Homemade Butter Flake Rolls
​Chocolate Cream Pie


If you have any questions at all,
contact me at the phone number or email address on the contact page or just ask away here in the comments! 

​

Picture

Thanks for checking in!! I appreciate it!!
Have a great early holiday season!
Stay warm, have fun, eat delicious food, 

and we'll be talking soon!!
:)


​


​

Apple and Cheddar Penne Pie - Man This Is Rich - A Dish For Christmas Entertaining - So I Made A Sweet Potato /Squash Soup Too

10/16/2012

 
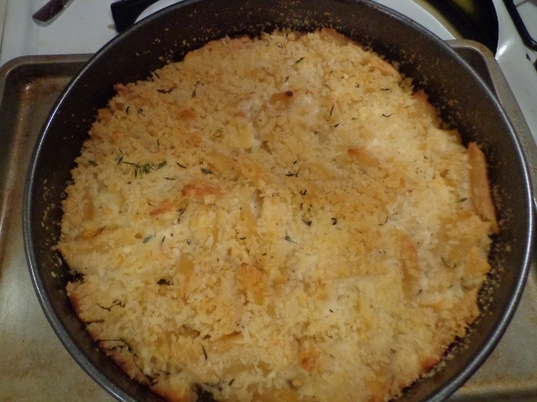
Apple and Cheddar Penne Pie....I was confused....
Picture


Is it a pie?   Is it a main dish?
I don't understand, it has pasta in it? Whaaaatttt????


Picture

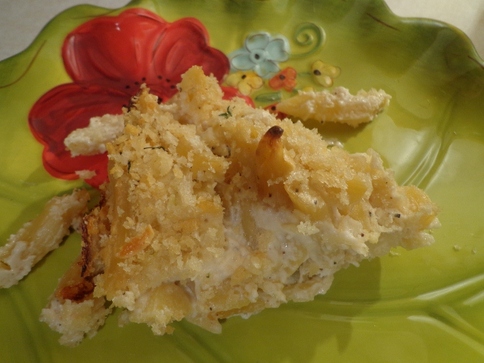
It's a main dish! Albeit a very decadent main dish.


It's very good.


Picture
Because it was so rich,
I made up this quick, thrown together
Sweet Potato Squash Soup,
you know, kind of like a healthy side dish to counter the decadence.


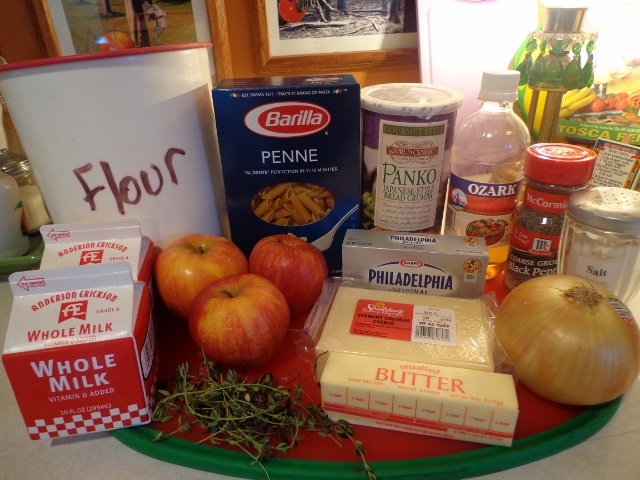
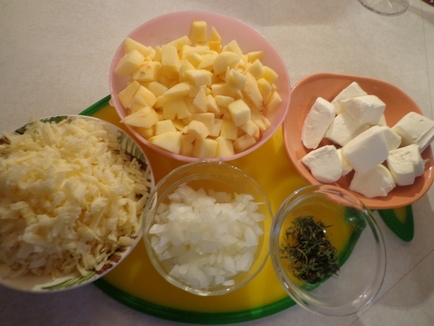
So here's the line-up for this scrumptious, decadent Apple and Cheddar Penne Pie that would be wonderful for Special Occasions.
Picture


Here's the recipe, the printable recipe is at the end of the post...
Apple Cheddar Penne Pie
from BHG Holiday Recipes magazine 2012


2 tablespoons butter, softened
2/3 cup panko bread crumbs
3 teaspoons snipped fresh thyme
12 ounces dried penne pasta (3 1/2 cups)
2 cups chopped, peeled tart cooking apples (3 medium)
1/2 cup chopped sweet onion, such as Walla Walla
3 tablespoons butter
3 tablespoons flour
1/2 teaspoon salt
1/4 teaspoon ground black pepper
2 cups whole milk
1/2 cup apple cider
6 ounces cream cheese, softened and cut up
1 1/2 cups shredded white cheddar cheese (6 ounces)
Fresh thyme sprigs (optional)

1. Preheat oven to 350° F. Grease a 10-inch springform pan with 1 tablespoon of the softened butter. Sprinkle sides of pan with 1/3 cup of the panko to coat; set aside. Melt the remaining 1 tablespoon softened butter. Stir the remaining 1/3 cup panko and 1 teaspoon of the thyme into melted butter; set aside.


2. Cook pasta 2 minutes less than directed by package directions; drain. Return pasta to pan; set aside.

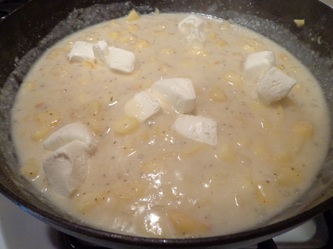
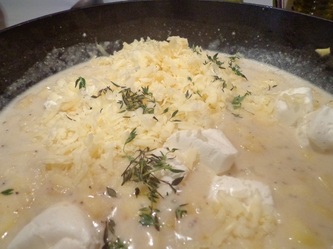
3. Meanwhile, in a large saucepan cook apples and onion in the 3 tablespoons of butter over medium heat for 5-8 minutes or until tender. Add flour, salt, and pepper to saucepan. Cook and stir for 2 minutes. Stir in milk and apple cider. Cook and stir until thickened and bubbly. Reduce heat to low. Add cheeses and the remaining 2 teaspoons of thyme; stir until cheese melts.

4. Add sauce mixture to pasta; stir to combine. Spoon pasta mixture into prepared pan. Sprinkle with reserved panko mixture.

5. Bake, uncovered about 40 minutes or until edges are bubbly. Let stand on a wire rack for 15 minutes. Remove sides of pan. Using a serated knife, cut pie into eight wedges. If desired, top with fresh thyme sprigs. Makes 8 servings.


Picture
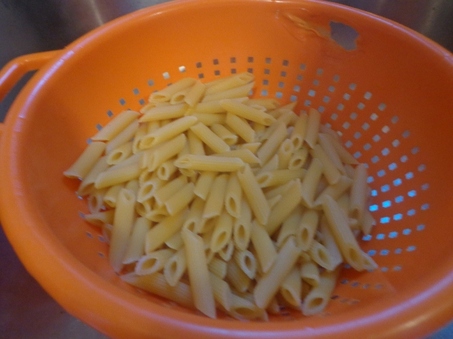
So start by cooking and draining the penne, cook it two minutes under al dente.

Then notice that you have a picture showing the melted part of your cheap colander...


Picture


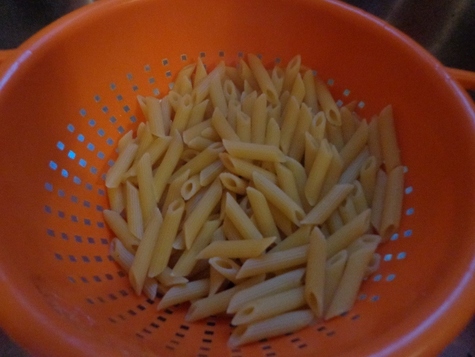
Take a better picture,

hiding the melted part of the colander,

so that people don't know you use crappy, cheap stuff from auction in your kitchen.
There. Now that's better.


Picture
Do your prepping, chop the apples and dice the onions, cut the cream cheese into small chunks and shred the white cheddar.


You will need a spring form pan for this dish by the way!

Picture
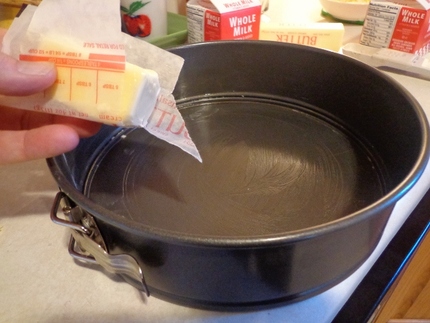
Now butter up that spring form pan,

you will need a spring form pan for this recipe if you want it to look fancy.

Picture


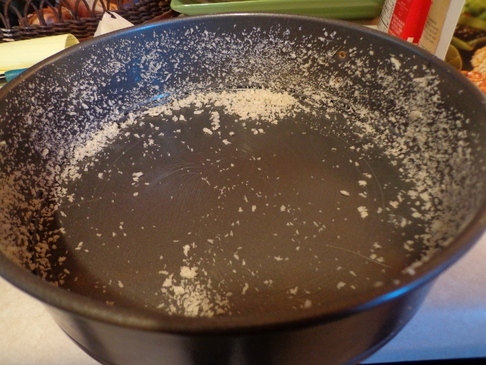
Sprinkle the sides of the pan with panko.


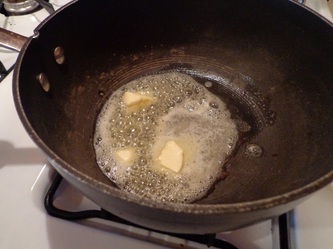
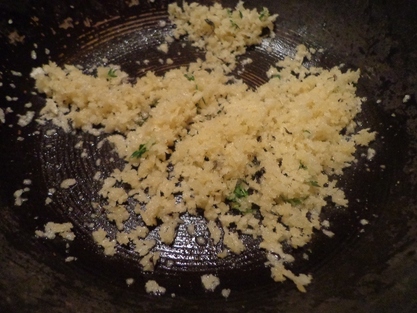
Melt butter in a pan, add the panko and thyme...
Picture


And this is how the crunchy mixture will look.


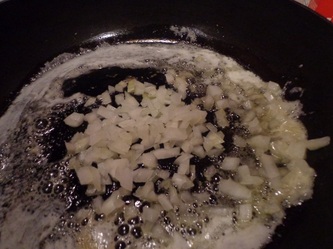
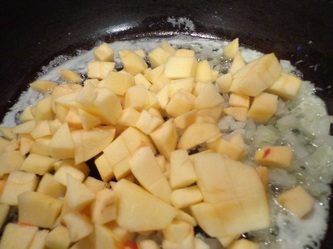
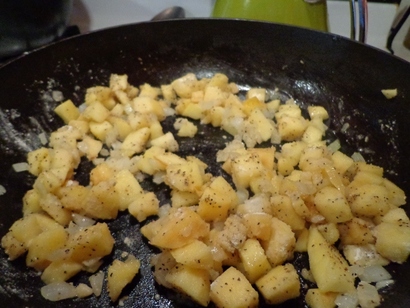
Now melt more buttah and add the onions and apples in and saute for about 5 minutes...
Picture


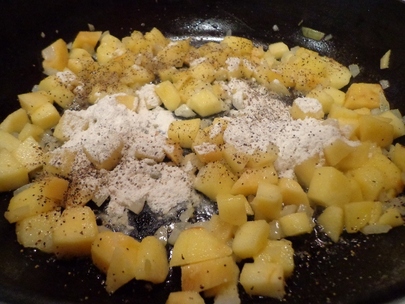
Add the flour and salt and pepper in...


Picture


It should look like this consistency.


Picture
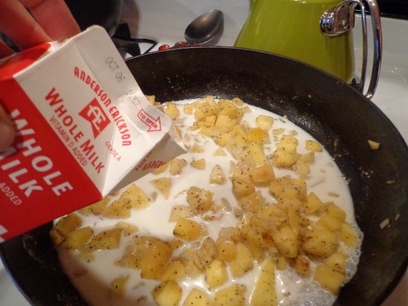
Add the whole milk in.
Now I gotta tell ya, one can lighten up this recipe easily by using
1. Whole wheat penne
2. Whole wheat panko crumbs
3. Maybe olive oil instead of butter
4. Skim milk
5. Light cream cheese
6. Lower fat white cheddar


No wonder this dish is so rich, all that butter, whole milk etc...but I must say, this is awful tasty :)
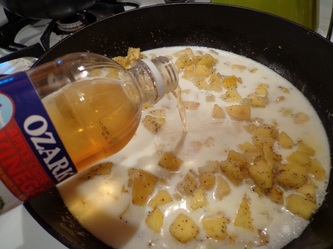
Now add the cider vinegar in and stir....


Now add the cream cheese and white cheddar and thyme...


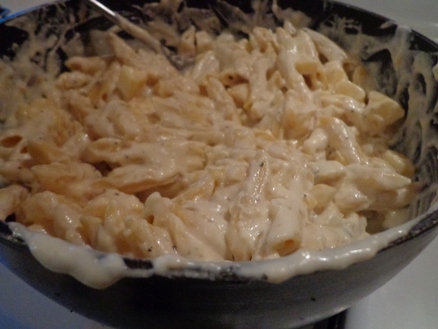
Picture


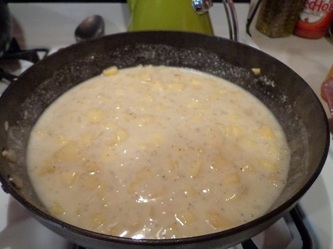
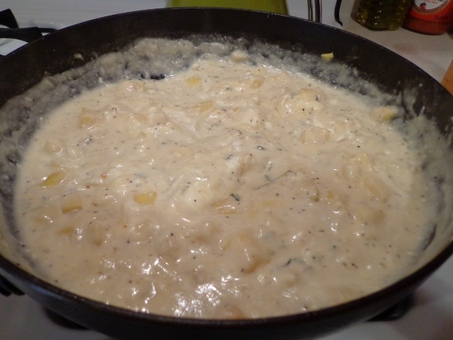
Rich creamy white sauce....

Picture


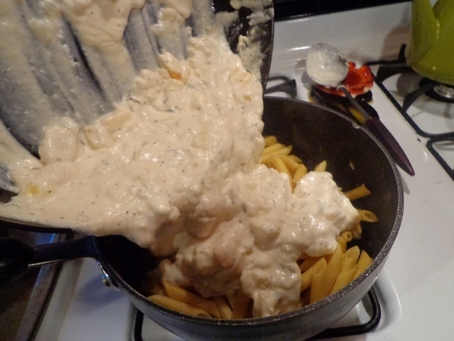
To be poured over the cooked penne.

Picture


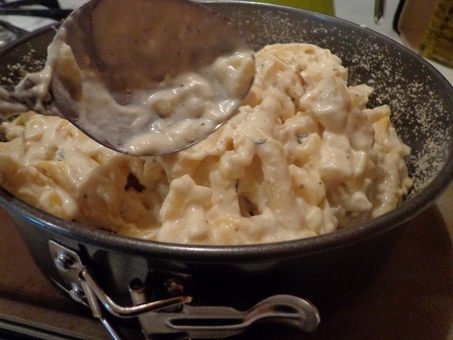
Stir gently....


Picture


Spread into the spring form pan...


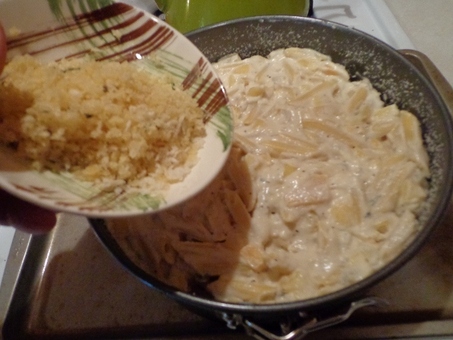
Picture


Sprinkle with the panko crumbs...


Picture


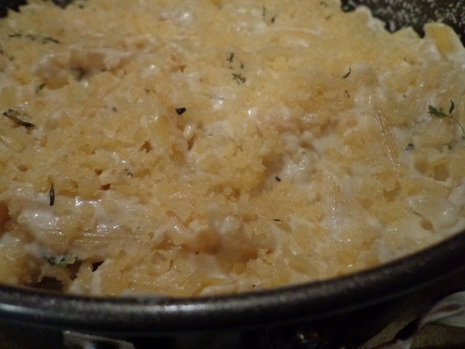
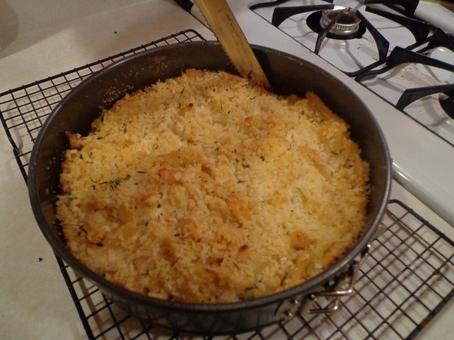
So your dish is ready to go in the oven.


Bake for 40 minutes.
Remove and let cool on a wire rack....
Picture


Picture


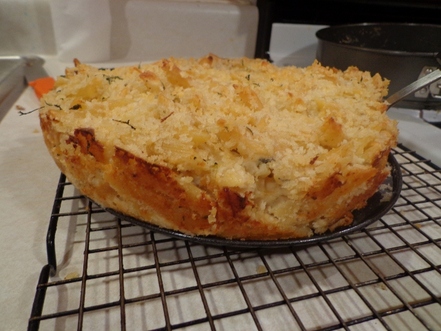
Take a knife and work your way around the pan.


Picture


Gently take off the bottom plate....


Picture

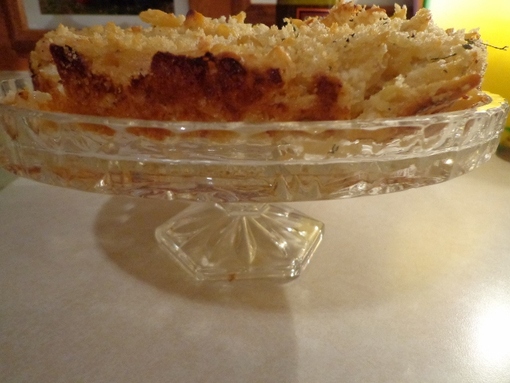
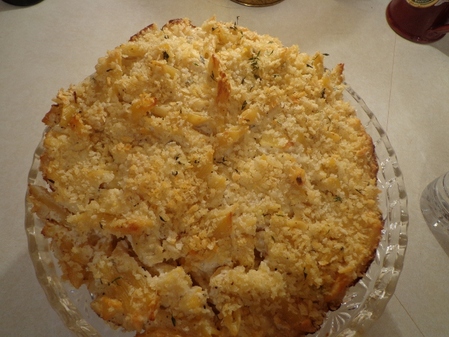
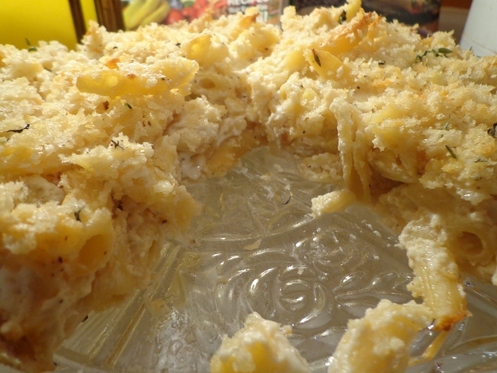
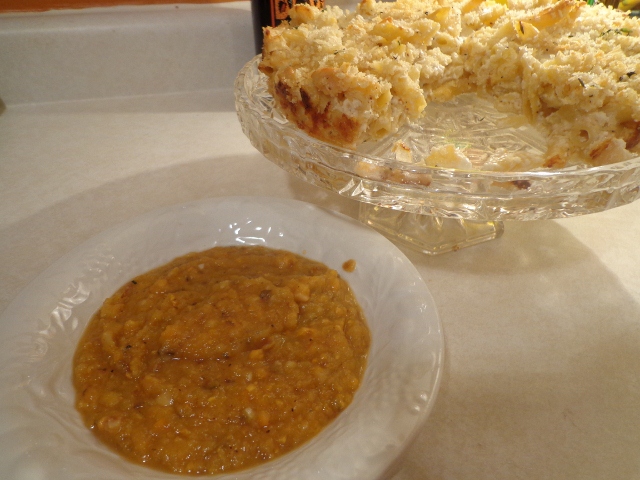
Set on a pretty cake plate.


Picture


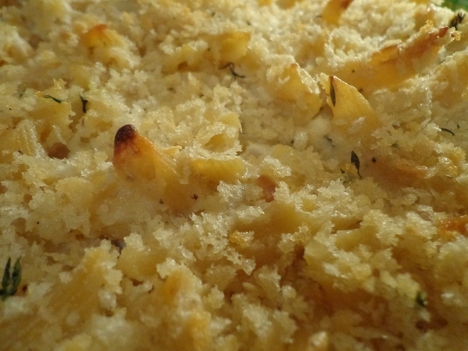
And this is a close-up of the top with that crunchy panko and some apples and penne sticking out.

Yum.


Picture


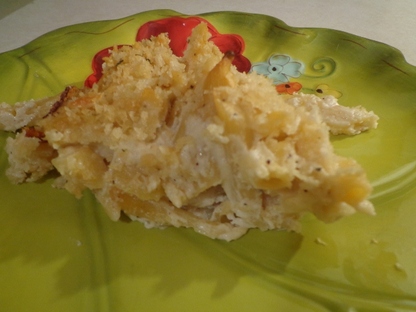
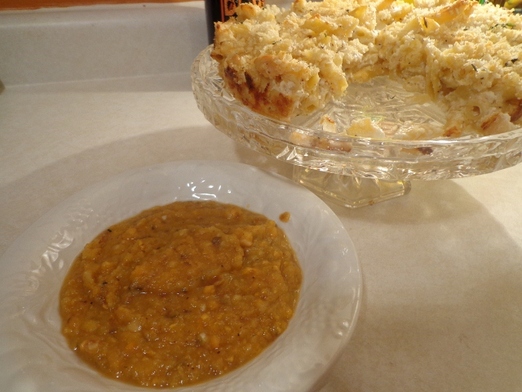
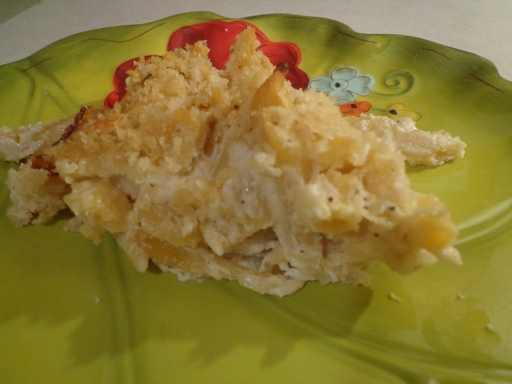
Go ahead and dig out a piece of deliciousness.


Picture


Now this is a rich dish,

so I went ahead and made up some quick, quick root vegetable soup to counter the decadence of the dish...


Picture


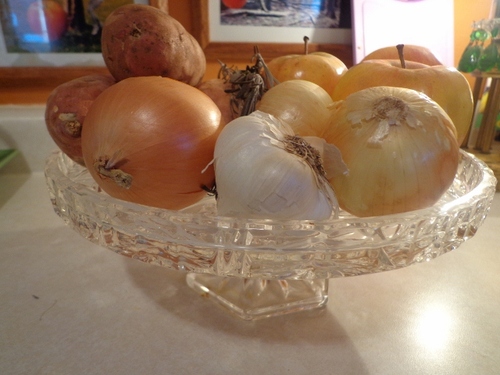
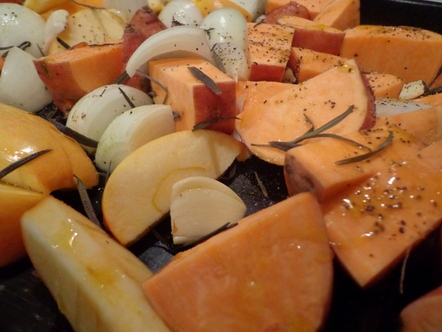
I simply took some sweet potatoes, onions, garlic, apples and squash (crap, forgot to put the butternut squash in the picture)...


Picture


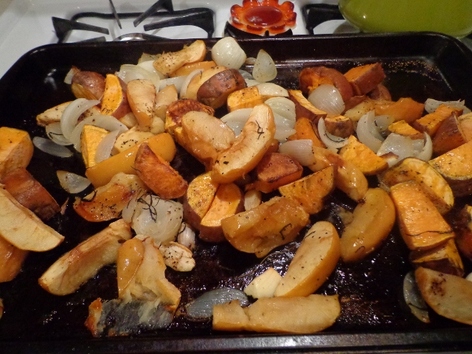
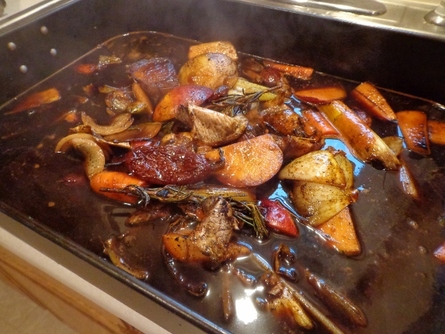
I cut the vegetables up in chunks and drizzled with olive oil and sprinkled with salt and pepper and the rosemary, then I popped the baking sheet in the oven.


Picture


I roasted these for 35-45 minutes.


Picture

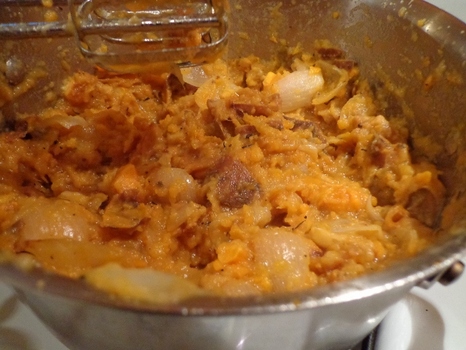
So this is supposed to be pureed but I was lazy and didn't want to get out the food processor so I used a hand mixer.


Uh no.

Just no.


Picture


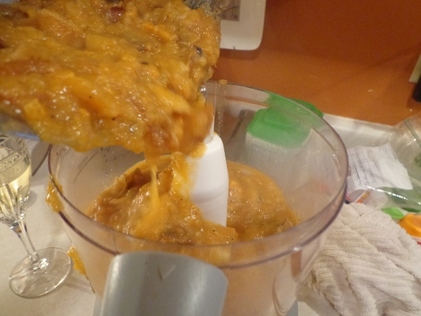
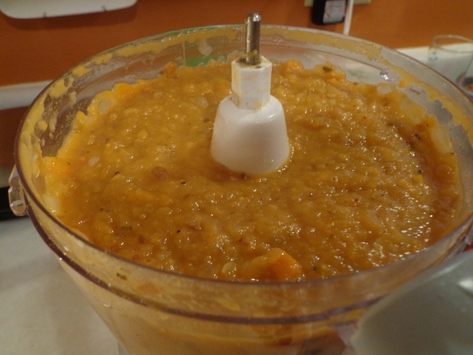
So I hauled out the food processor and deposited the chunky veggies in there.

OH, add several cups water or broth...I added water.

Picture


Yup,


much much better!


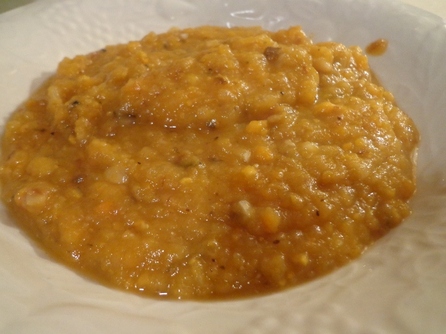
All that healthy roasted taste in a bowl...the squash and sweet potatoes meld nicely with the sweetness of the chopped apples and onion with a hint of garlic.

Picture


Now these two dishes paired up well. I don't have a recipe for the soup, just throw your root vegetable together with a couple apples, sweet onions, garlic, rosemary and salt and pepper and roast. That's it!
Picture

What would pair nicely with this Apple and Cheddar Penne is roasted asparagus too!!!!!!!
Picture


Okay guys, that's all I got for today!!

It's a beautiful day in Iowa today, hope everyone is having a good day!

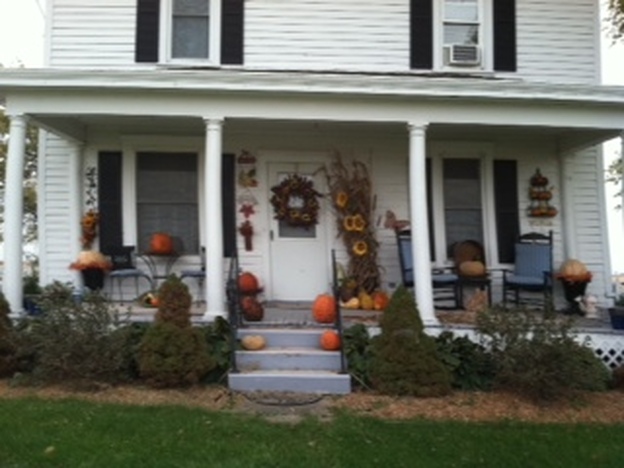
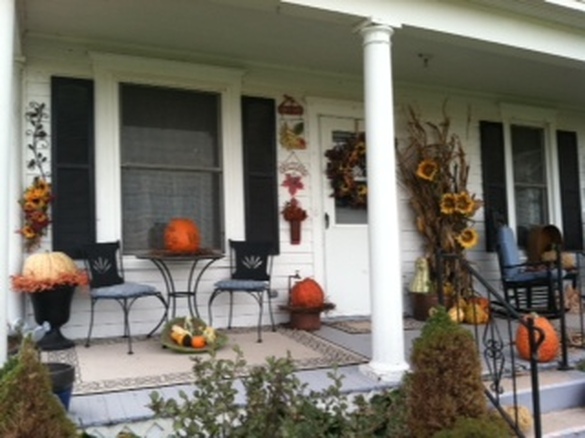
This is a picture of somebody's porch down by Morning Sun.
I was traveling through there last week and spied this casually festive porch and asked the homeowner if I could take a picture of her fall decorating and she kindly obliged.
Picture
Picture
Okay, have a good day and we'll talk at ya soon!

My Attempt At Baking Double Cheddar Biscuit Sandwiches with Cajun-Spiced Ham And Why Doesn't MY Food EVER Turn Out Like The Picture In The Magazine??? 

9/29/2012

 
Picture


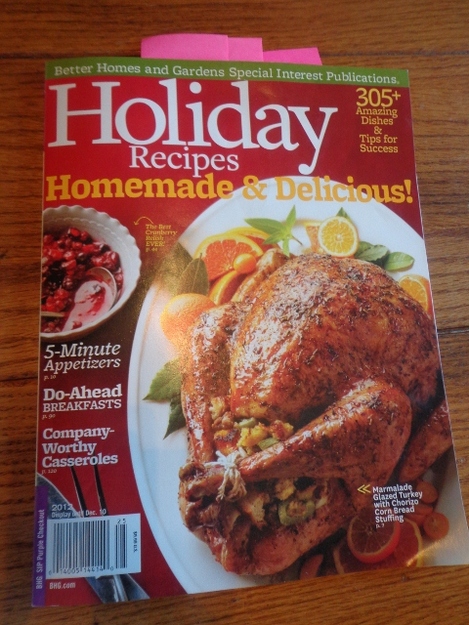
So I picked up this Better Homes and Garden

Holiday Recipes Magazine


the other day..

Picture

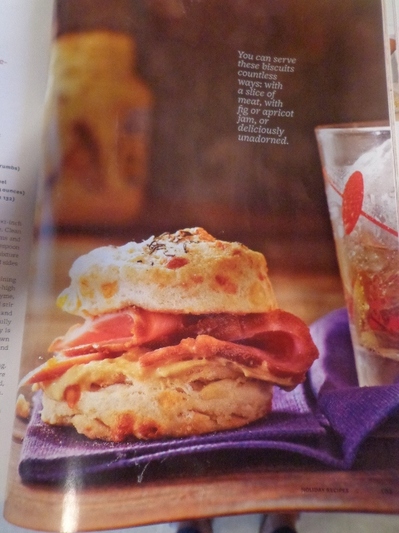
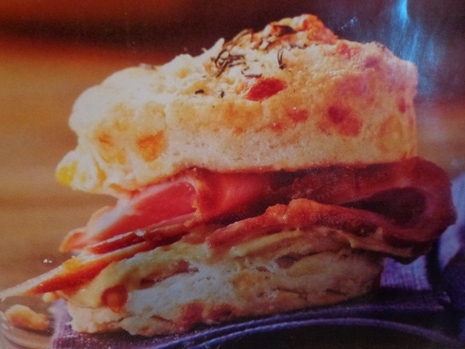
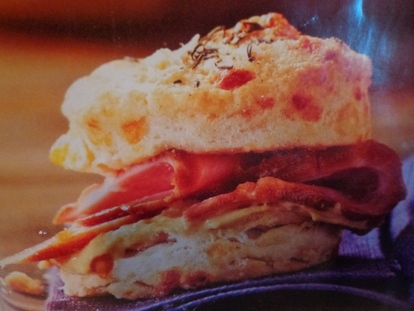
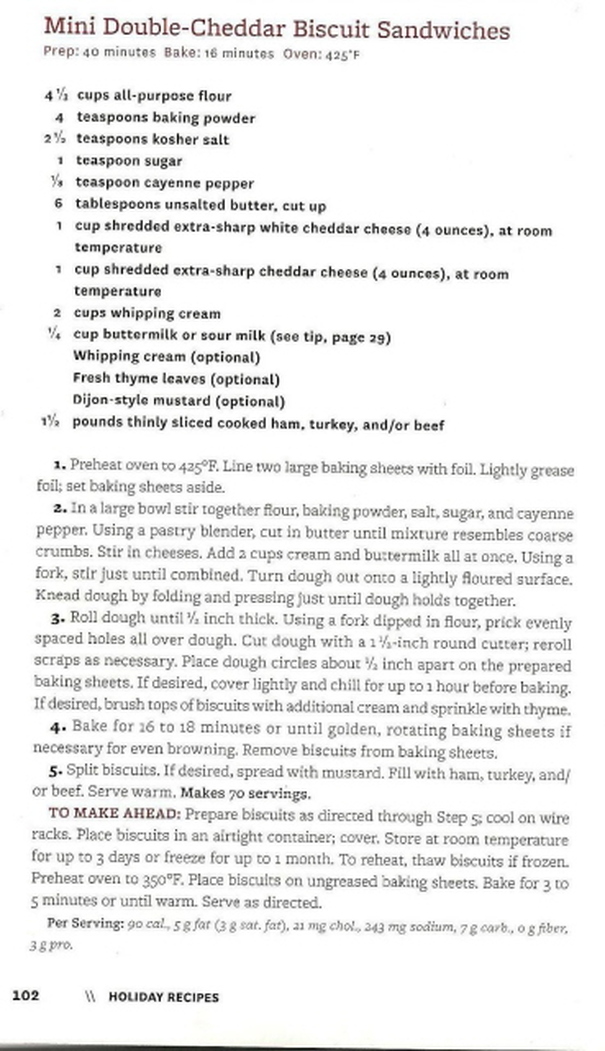
Inside the magazine was this picture and recipe for

Double Cheddar Biscuit Sandwiches.


Looks yummy, yes?

Picture


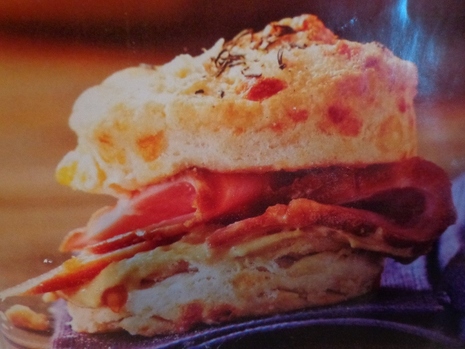
Lets take a closer look at THEIR picture of this biscuit in the magazine.


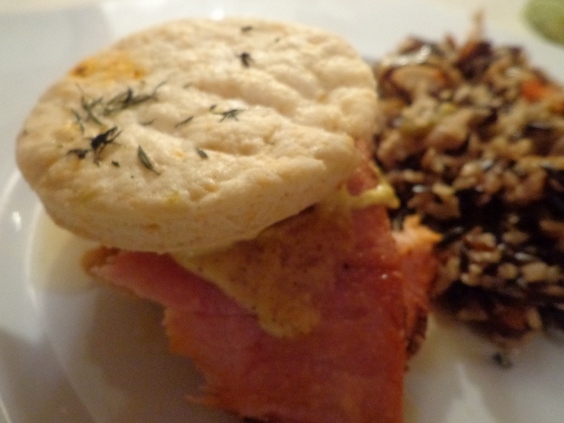
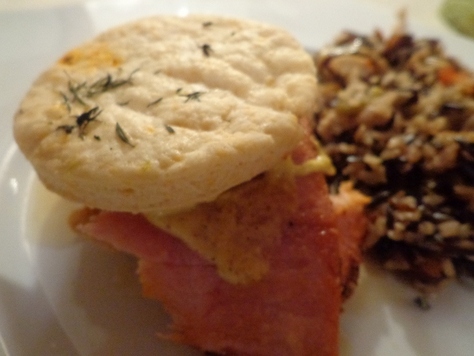
Now,
this was mine.


Picture
Now my biscuit looks NOTHING like THEIR picture and I made it exactly, exactly according to the instructions!!!


Picture


Theirs.


Picture


Mine.


Seriously, WTHeck????!!


Picture
And what are those red things in the biscuit in THEIR picture??
Cuz the recipe has nothing RED in the ingredients...
NOTHING!!!


Picture
And to top it off, MY biscuits came out thin and not thick like the picture.

I swear I followed the directions perfectly!!!


I
HATE
BAKING!!!!!!!!!!!!!!!!!!!!!!!!!


Maybe I went into it with a bad attitude though.


Picture


But the Cajun-Spiced Ham I made from the same magazine rocked!!!!
Picture


Pure deeeeeliciousness is what this ham was.
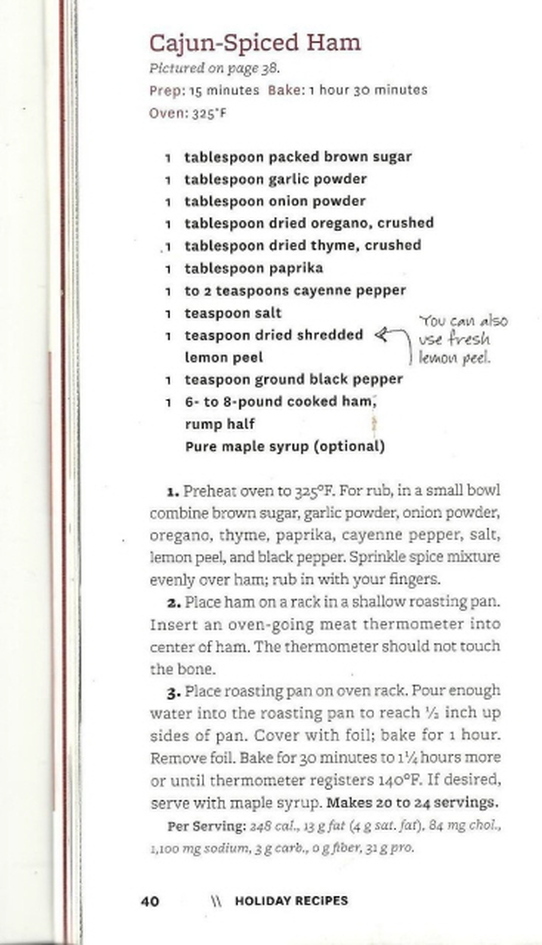
Here's the recipe for the Cajun-spiced ham.
Picture


Picture


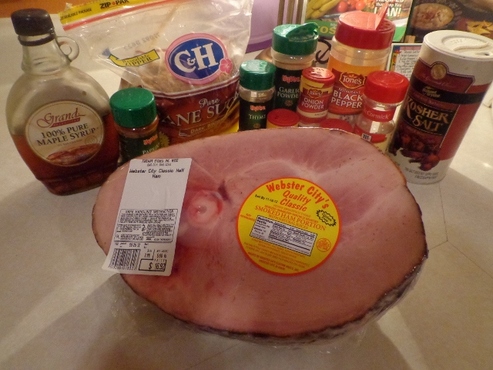
Here's the fixins for this super tasty Cajun-Spiced Ham.


Picture
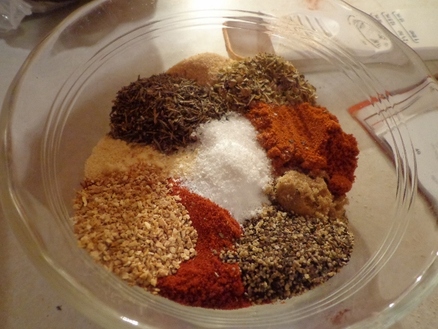
Measure up the spices in a bowl here....
brown sugar,
garlic powder,
onion powder,
oregano, thyme,
paprika,
cayenne pepper,
salt, lemon peel,
black pepper.


Picture
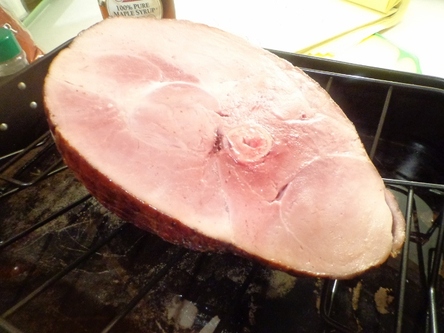
Yup,

put that big ol'

5-7 lb. fully cooked ham
on a rack in a roasting pan.


Picture
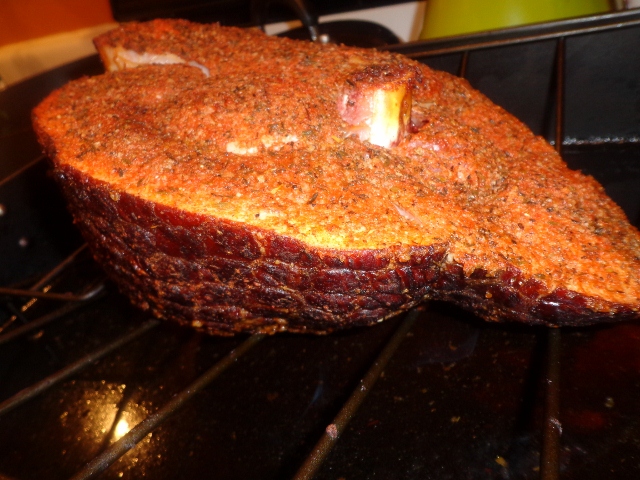
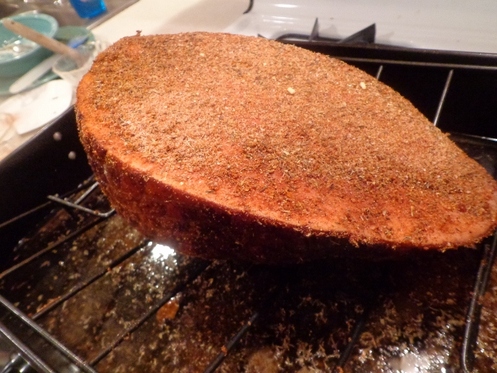
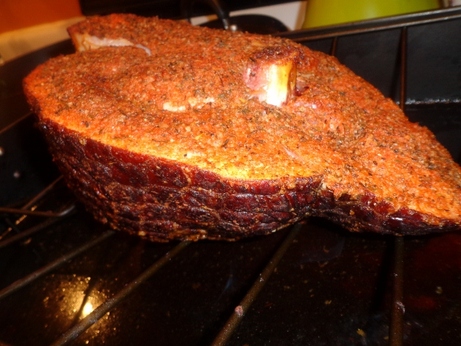
And rub, rub, rub this delicious Cajun rub on all sides!


Picture


Cook for an hour and a half and remove from oven....LOOK!

YUM!!!


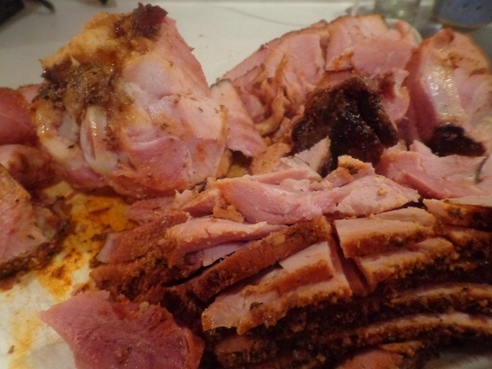
Picture


Slice this cajuny-spiced meat up.

Picture
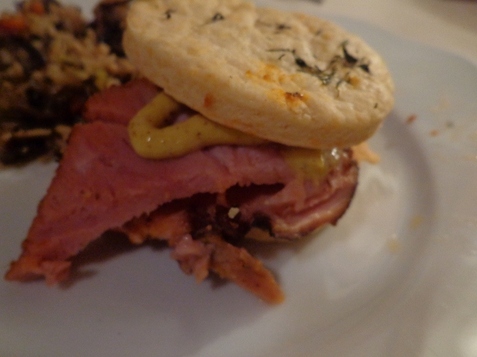
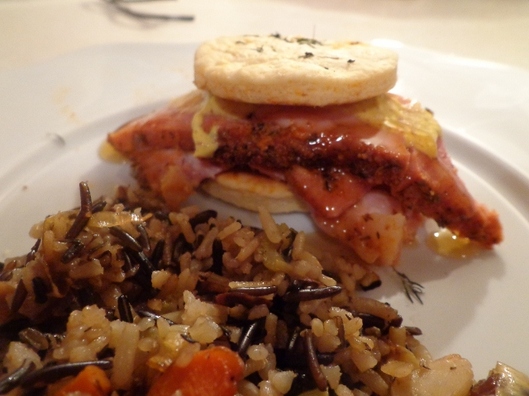
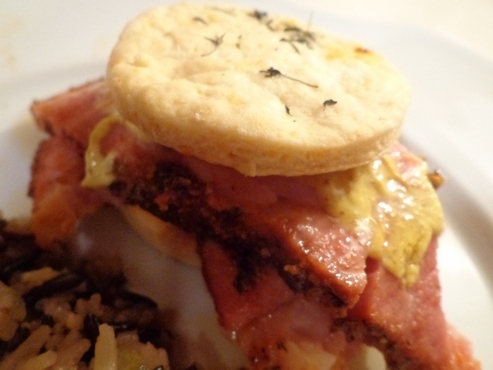
Plate up that yummy ham between the Cheddar Biscuits of which I need therapy for and eat away!

Again, this is a delicious way to season up a fully cooked ham!!! Ima definitely use this ham recipe again.


Look at the biscuit recipe though; where is ANYTHING red in it...anything?
Picture


These biscuits, even though there were thin, were complimentary with this ham. On their own, not a ton of taste, but with this ham....fantastic!


Picture


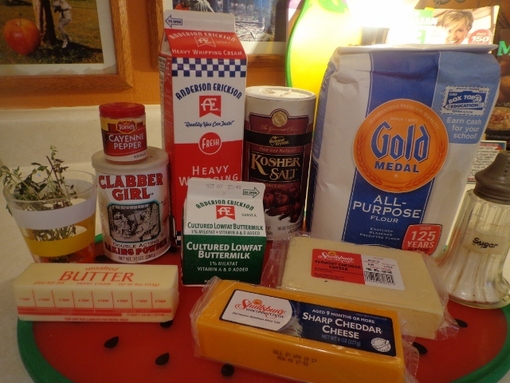
So these are the fixins for the Cheddar Biscuits....

Picture


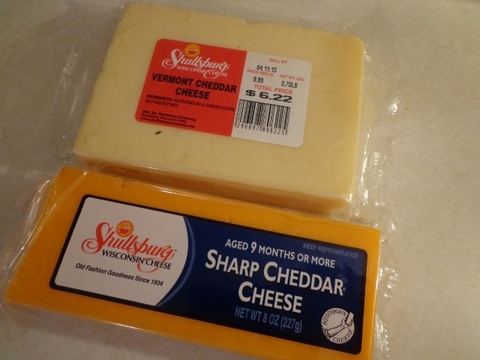
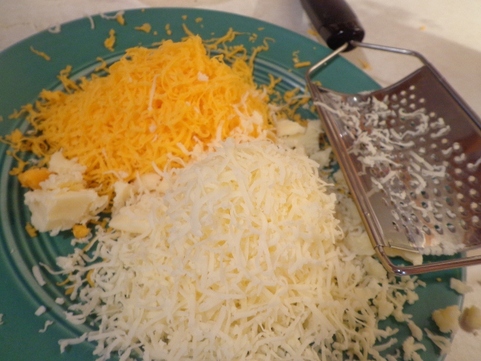
Shred up that yummy white cheddar cheese and yellow sharp cheddar cheese...

Picture


....like this!


Picture


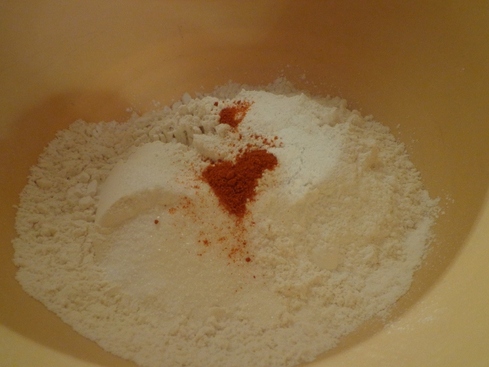
Now mix up the dry ingredients...


Picture

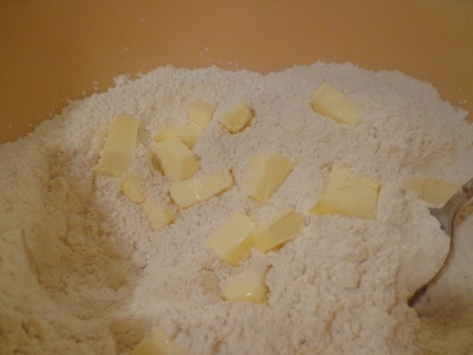
Throw the cut up butter into the dry ingredients.


Cut in with a pastry cutter.


Picture

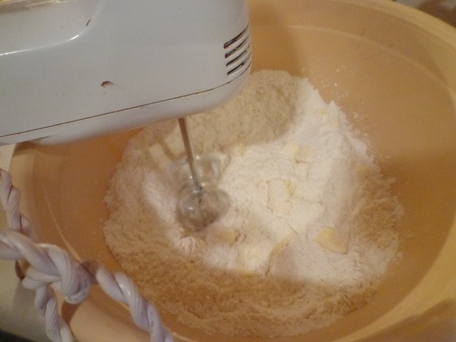
My pastry cutter is actually called
a


"blender."


I hate baking.


Picture


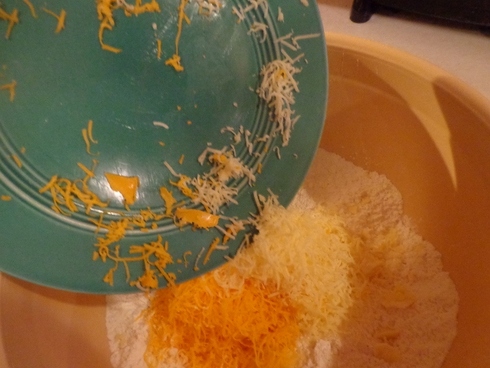
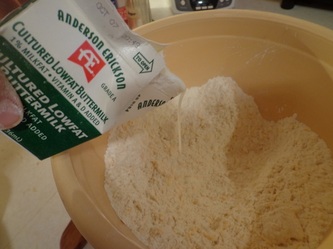
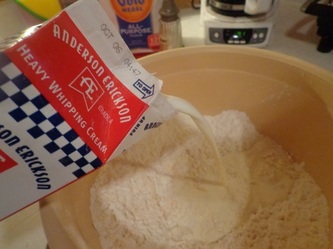
Mix the shredded cheese into the dry ingredients...


Add the buttermilk and
heavy cream....


Picture


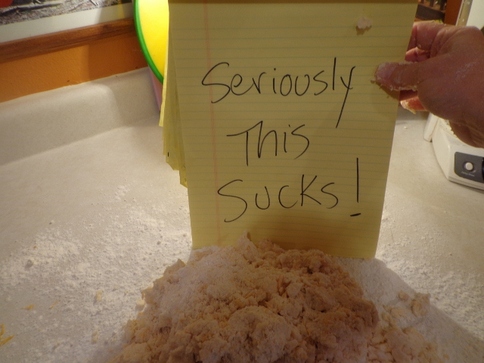
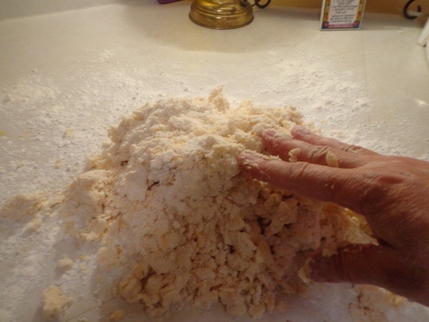
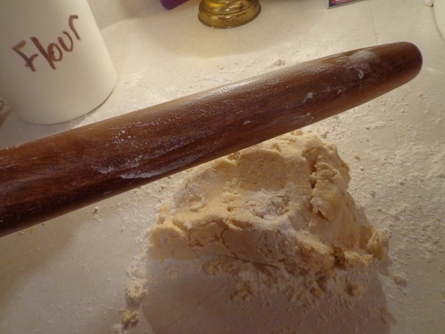
So spread the dough out on a flour covered counter or surface.


Picture


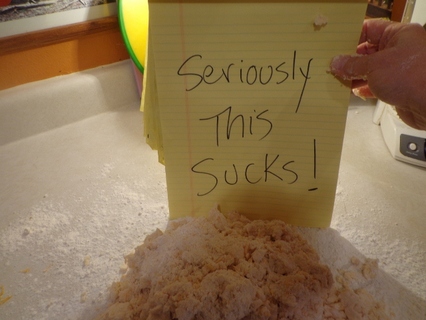
And this is about the time this note came into play.


Picture


Yeah
Yeah
Yeah
Get out the rolling pin.


Yawn.


Picture


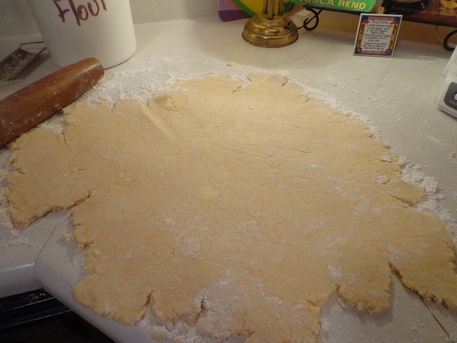
Roll the dough out on the counter.

The dough actually rolled easy,

I thought I was doing well.


Picture


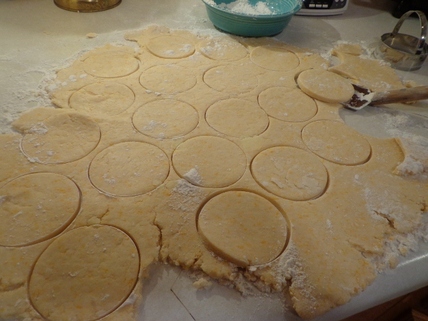
Use your biscuit cutters and cut out biscuits.

Again, this was easy.


Picture


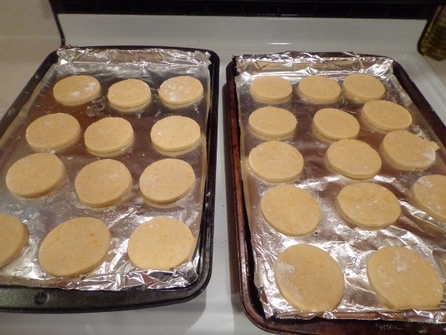
Spread them out on a prepared pan.


Picture


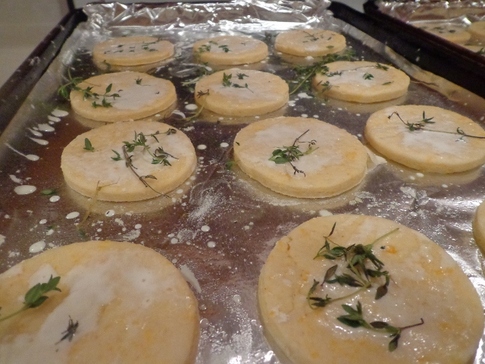
Add the thyme and spread some cream on the tops.


Bake 16-18 minutes until golden. 
By the way, my biscuits never got golden either.


Picture
And this is what you get.

A saucer.


With some thyme on it.


You know, frankly, these biscuits were good,
not stunning, but good
and we did eat that DEEEELICIOUS AS ALL GET OUT HAM between the "biscuits" as sandwiches. I may have loaded mine up with mustard and drizzled with real maple syrup.

Let me tell you, it didn't matter that the biscuits weren't big and fluffy when I did that;
it was allll good!


Picture


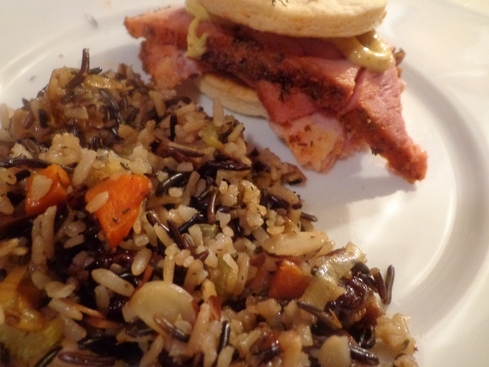
Okay, sometime this week I'll share the drama-free wild rice recipe from the same magazine.

Fantastic and so easy to make!!!


Okay gotta go...
Heading to St. Louis shortly for a concert at this venue tonight...The Fox Theater.
Built in 1929 in all it's opulence,
this is a view from the stage.
Picture
A couple VIP tickets (tickets set aside for the promoter and band) came open to this sold out show two days ago and I lucked out and was the first to call in and see if any were available! A few had just opened up just moments before I called!
*insert Angie doing a happy dance*


Picture
Billboard.com
This is who we're seeing...
The Avett Brothers...
a rock bluegrass band out of North Carolina.

Our favorite band ever.
Besides AC/DC of course.


Picture
Bluegrasstoday.com
Soooo looking forward to seeing these guys perform live again!

Love it!!


This is off their new album The Carpenter...


This last video was taken at the Iowa City concert
in March.
This is a gospel "Just A Closer Walk With Thee."
...they'll usually do one gospel a show. It's awesome!


Okay guys, catch ya later...now I really have to go, running late!!
Again!
What's new!

Have a great Saturday!!

Go Hawks!


'Barbecued' Baby Back Ribs For Special Occasions Because They're So Awesomely Finger Lickin' Rich!

9/20/2012

 
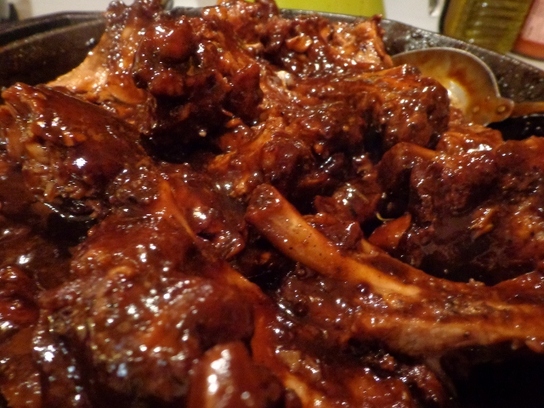
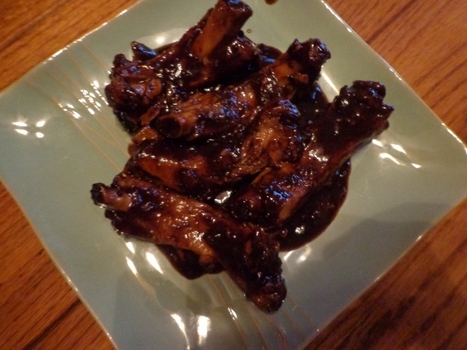
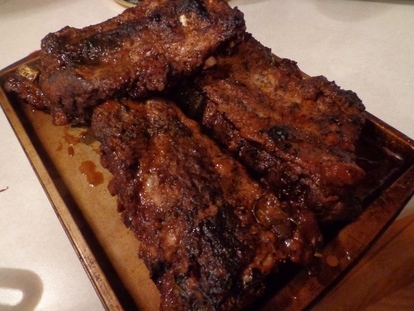
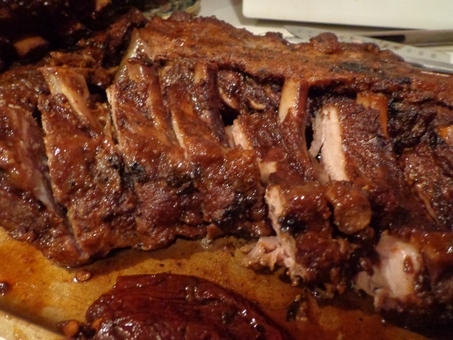
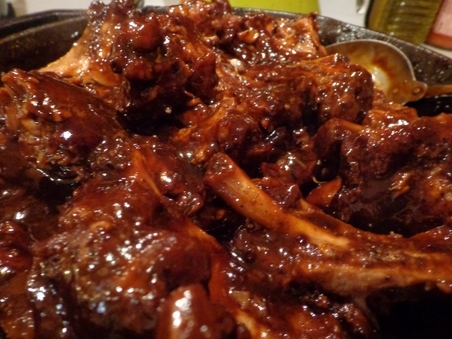
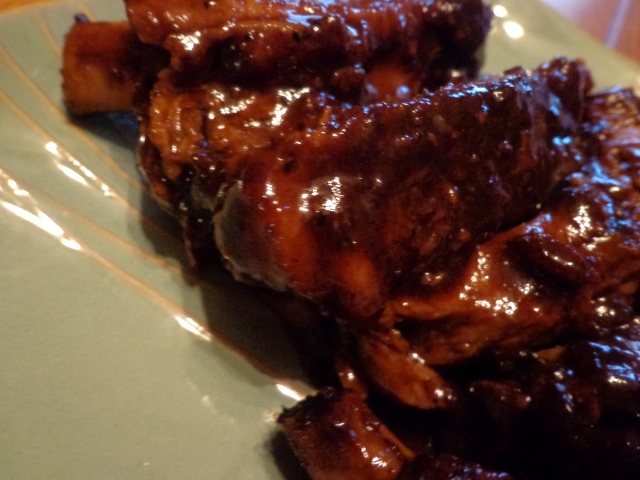
SEE THESE
BABY BACK RIBS?
They were REALLY expensive to make!
Picture
The sauce is so deeeep and riiiich and smoooooth.
Barry White kind of smoooooth....


Actually I have a love/hate relationship with these ribs.
Picture
The sauce is so rich, so velvety good, you can't stop eating them, even though you hate yourself cuz you're eating them.

And eating them.

And eating them.

And eating them.

And eating them.


And eating them! 
Aaaarrrgh!!!

It's almost like this recipe should only be used for special occasions,
it's that darn fantastic!


Okay, so let's recap the CONS.....
Picture

Cons
#1 Expensive to make - recipe feeds 4

$25 baby back ribs if not on sale
$3 celery, onions, carrots, garlic, apples
$1 cup of Worcestershire
$1 cup of soy sauce
$3  a whole cup of REAL Maple syrup
$2 can of chipotle peppers in adobo sauce
$10 bottle of red table wine, whole bottle!

$45 Total


#2  The sauce is so deep and rich and smooth, you overeat.
The sauce is so deep and rich and smooth, you overeat.


Picture
Okay, now here are the PROS:
#1 The sauce is deep and rich and smooth, Barry White smooth.
#2 The sauce is so velvety good, you can't stop eating.

#3 Sauce and meat is so special, perfect for special occasions.


Oh who am I kidding,

Ima not wait for a special occasion to make these again.
Unless a "special occasion" means it's Thursday.
Or Monday. Or Friday or Tuesday or Sunday....


Okay, here's the recipe...pictures follow :)
This recipe is from Chuck Hughes and his show
​Chuck's Day Off on the Cooking Channel!


Direct link to Chuck's Day Off recipe:
Click HERE.


Barbecued Baby Back Ribs
From cookingchanneltv.com Chuck’s Day Off Show with Chuck Hughes…love this show, his dishes tend to be more flavorful than most, a tad gourmet and high end, and typically amazing


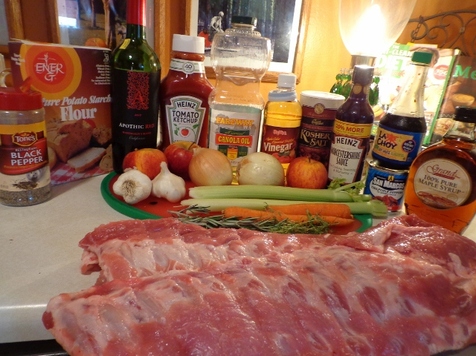
Ingredients
    2 stalks celery
    2 onions
    2 large carrots
    2 heads garlic
    3 apples
    3 tablespoons canola oil
    3 lbs. (2 racks)  baby back pork ribs
    Salt and freshly ground black pepper
    Flour, for dredging
    1 cup Worcestershire
    1 cup tomato ketchup
    1 cup soy sauce
    1 cup cider vinegar
    1 cup maple syrup
    1 (7 ounce) can chipotle peppers in adobo sauce
    A few fresh thyme sprigs
    A few fresh rosemary sprigs
    1 (750 ml) bottle red table wine
    Water
    2 tablespoons potato starch
    Baby greens, for garnish

Directions

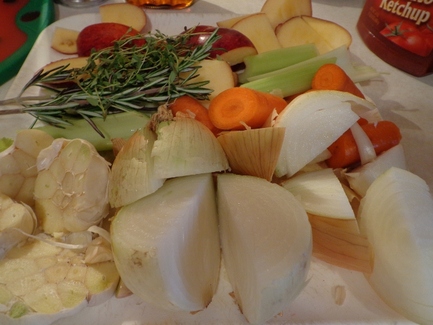
Cut the vegetables into nice thick chunks. Halve the garlic and quarter the apples. Don't worry about the skins, seeds, etc. All will be strained later.

Take the racks of ribs, and cut them in half, and season with salt, and pepper. In a large bowl, dredge the rib racks in flour on all sides. In a large wide pot, on high heat, add the oil, let it get hot, and sear the ribs, until brown on all sides. Don't tamper with them. Let their surface maintain a nice contact with the hot pan. It will take about 4 to 5 minutes, per side. Remove the meat, and drain the excess oil, leaving behind all of the solid meaty bits that are stuck to the bottom of the pan.

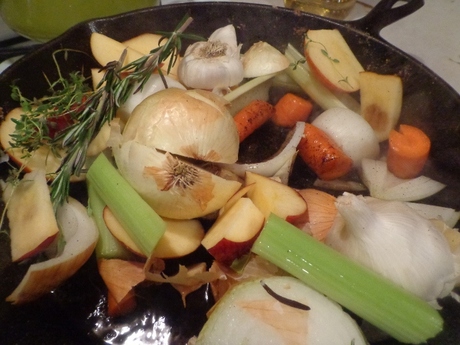
Add all the vegetables, apples, and a few sprigs each of herbs to the pot. Let them caramelize by leaving them to sit without tossing, for a few minutes, then toss to turn them, and let sit a bit longer. Return the ribs to the pot, and place them over the vegetables. In a large bowl, combine the Worcestershire sauce, ketchup, cider vinegar, soy, and maple syrup. Add the chipotle peppers with their adobo sauce, to taste. Stir. Add the liquids to the cooking pot. Add the wine, and add enough water, if needed, to ensure that the ribs are just barely covered. Bring the mixture to a boil. Cover the pan with foil, and place in the oven until the ribs are barely fork tender - but not so tender they are falling off the bone, about 1 1/2 hours.

Remove the meat from the pot, and cut into rib sections, and set aside. Strain the solids out of the liquid. Return the liquid to the pan, and reduce by half (about 15 minutes), to make the barbecue glaze. When nearly done, remove a 1/2 cup of liquid and place it into a medium bowl, add the potato starch, and whisk till smooth. Whisk the mixture back into the pot. This will help thicken the glaze and give the shiny look and syrupy texture.

Toss the ribs back into the glaze to warm and coat them. Mound the ribs up on a platter, and garnish with a handful of baby greens or sprouts, and serve with Warm Potato Salad.


Picture

That's a lot of fixins for these 'Barbecued' Baby Back Ribs!


Schnikeys!


It's worth it though!!


Okay, there's a lot of steps here,
so let's get going....
Picture


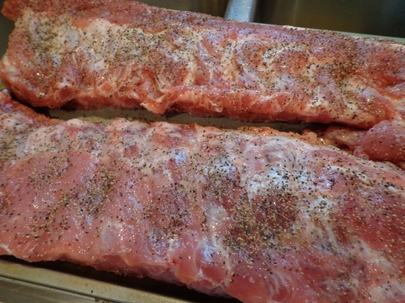
Salt and pepper up these lovely goodies...


Picture


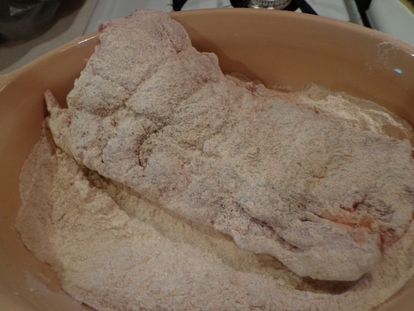
Dredge the ribs in flour...


Picture


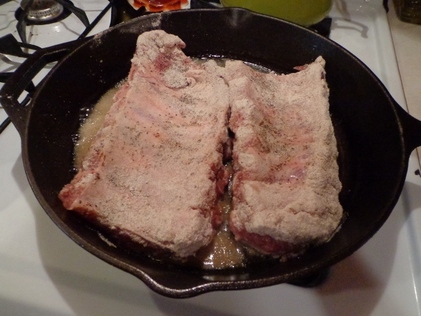
And brown on one side...


Picture


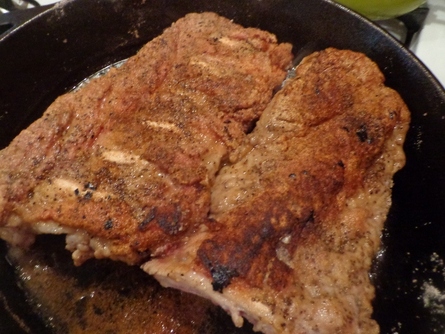
And then the other side.


Picture
Chop up the apples, carrots, onions, celery and such...
these are just going to caramelize and be strained so it's okay to leave seeds in and skins on and such.


Picture


Throw the veggies in the pan....


Picture


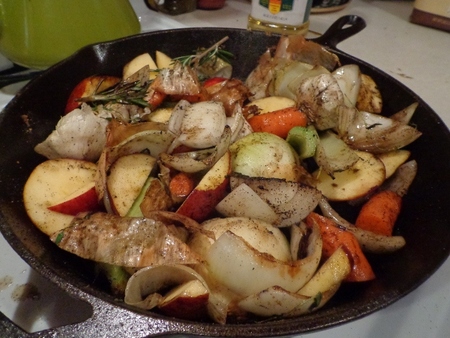
And begin caramelizing..


Picture


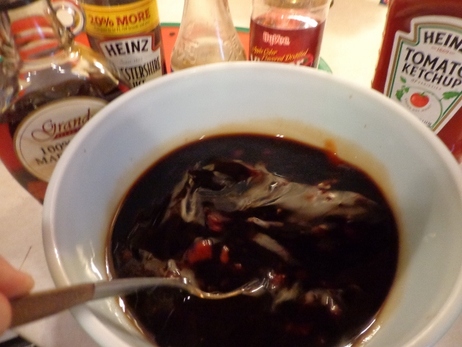
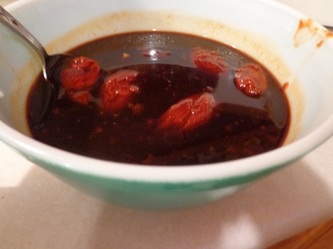
So now in a separate bowl combine the Worcestershire sauce,
ketchup,

cider vinegar,
soy sauce
and maple syrup together.

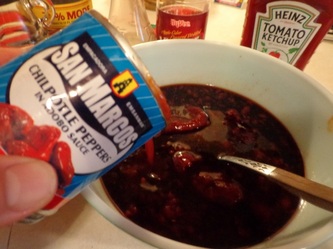
Now add in those chipotle peppers in
adobo sauce.


Picture


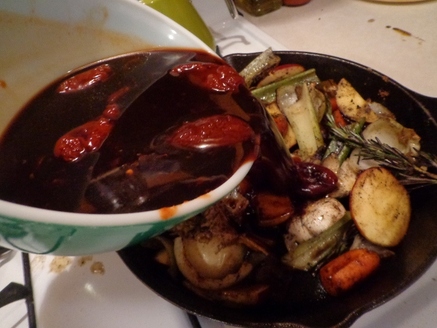
So add the sauce into the caramelized veggies in the pan.


Picture


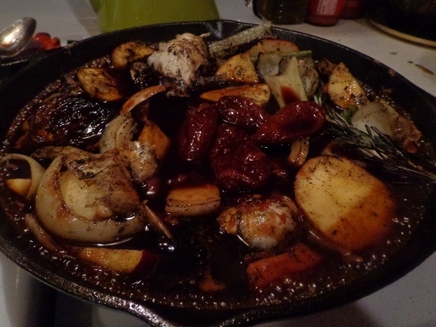
Bring to a boil.


Picture
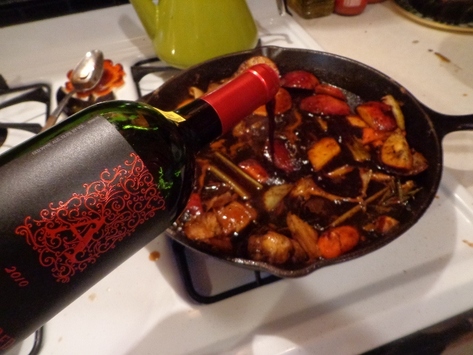
Add a WHOLE GOSH DARN BOTTLE of red wine into the sauce and vegetables.

A WHOLE GOSH DARN BOTTLE!!!


.......I interrupt this super mesmerizing post to share...puleeeeeeze don't use a $5 bottle of wine!
Don't do it. You meal will taste like crap. I typically use Apothic Red which you can find anywhere from $8-11. Not bad! Any red will do as long as it's a
quality red. 
Okay, now back to enchanting you with my extremely winsome words and pictures.... *cough cough*


Picture


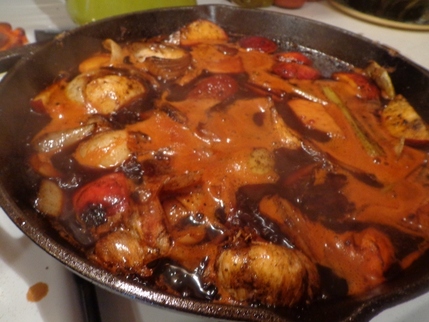
And this is everything melding together in the pan except....

Picture


...the pan kind of overflowed and I had to use a second pan too.


Picture


So when it came time to put the ribs on top of the veggies in the pan,

I had to recruit an even larger pan.


Picture


And I placed the ribs on top.


Picture


And poured just enough water in to cover the ribs.


Picture


So cover and throw everything into the oven for about 1.5 hours.


Picture


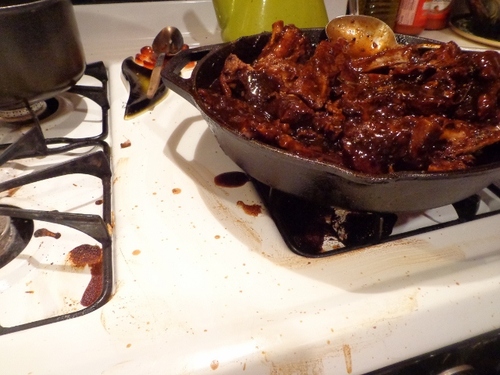
And this is the yummy goodness after removing from oven.


Picture


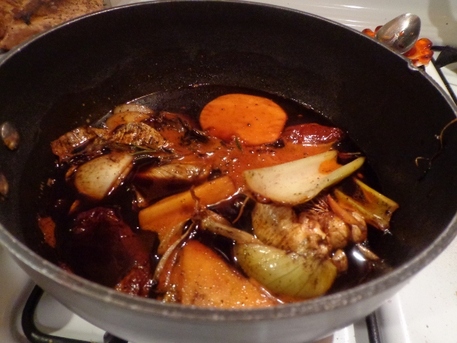
So take the meat out of the pan.


Picture


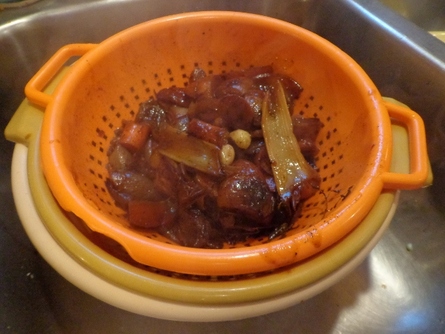
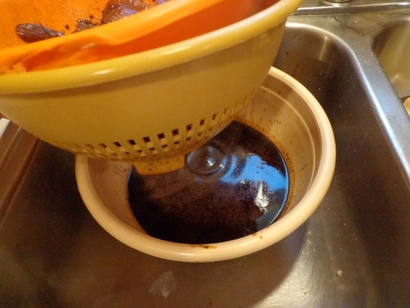
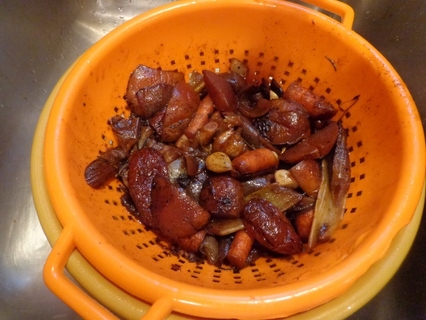
Now strain the vegetables out...

Picture


See the yummy liquid there that you're going to reduce.


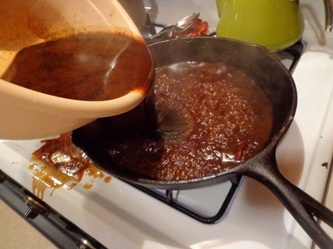
Now add the drippings to the pan....and BE SURE TO SPILL ALL OVER THE FREAKING STOVE!!!


Picture


Unfortunately all these veggies will get thrown out. Weird.


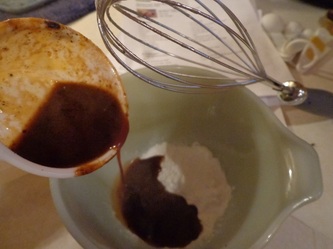
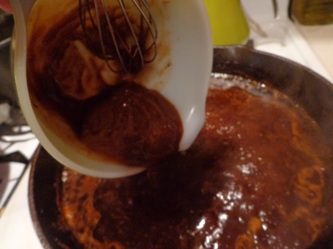
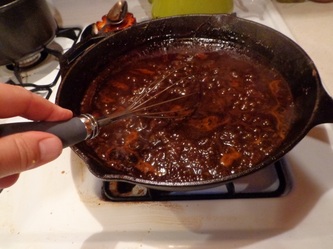
Add a little bit of thickening agent into some liquid...in this case, potato starch is being used and whisk into the pan...


Picture

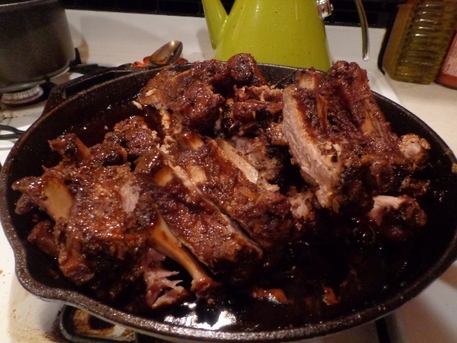
Okay, cut up the ribs...


Picture


Throw the cut up ribs back in the pan....


Picture


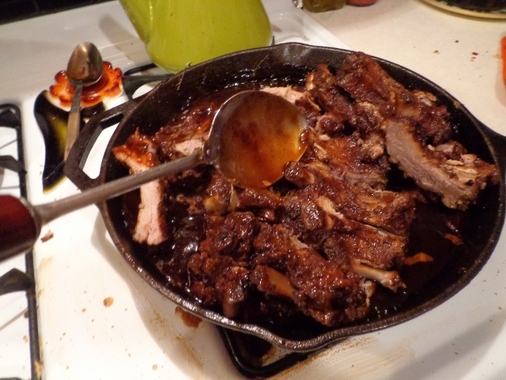
Ladle that yummy, rich, layered sauce over the ribs....


Picture


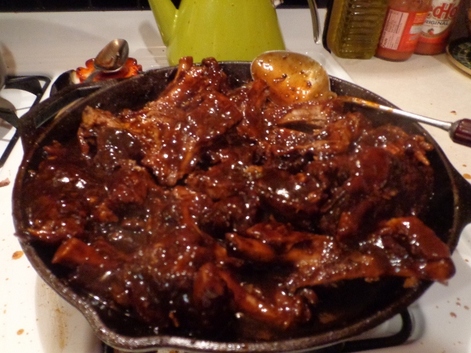
Looks a little ultra fantastic, yes??!!

Picture


Hey!!

Could someone clean my stove
please?


Picture
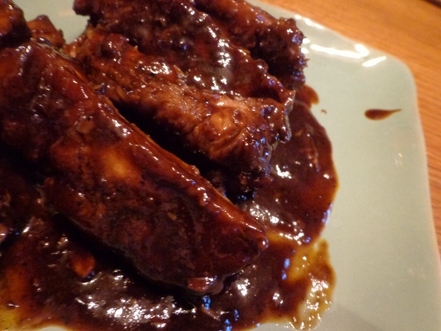
If you could only taste the
rich,
layered,
velvety sauce
on these ribs....Mmmmmm.


Picture


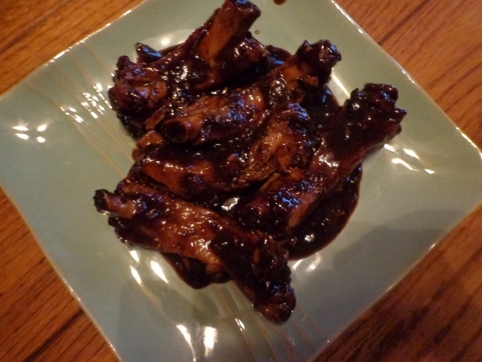
Here.

I'll plate ya some up.


Picture

Make sure you have napkins though,

because these are
super rich,
super textured,
super flavorful, and
super want to jump on that nice white blouse you're wearing.


Now this sauce is not sweet at all, that's why the name has 'barbeque' in parenthesis.  I would say this is more like a wine reduction sauce. Truly fantastic.
Picture
All I can say at this point is


CAN SOMEONE GO GET ME MORE NAPKINS PLEASE??!!


Now, I took one for the team and made baby back ribs THREE TIMES in two weeks using
THREE DIFFERENT RECIPES


This recipe came in at.....
Picture
I will be sharing the other two recipes as well down the road. One was a sweet, oniony, finger-lickin'  barbeque sauce and the other was just your standard, run of the mill homemade bbq sauce.

Okay that's all I got for today guys...gotta get on the paperwork now, selling lots of cars in quick spurts here.
Have a good Thursday!
Talk at ya soon!!!


    Author

    Angie Madsen
    One half of a team that blends their work and personal life together
    in fun ways.


    Recipes
    Picture
    Click here to access recipes featured on this blog. 


    Categories

    All
    Appetizers
    Beef
    Bread
    Breakfast
    Caring
    Car Stories
    Casserole
    Chicken
    Christmas
    Cooking Misadventures
    Decor
    Desserts
    Fish
    Foosball Okay Football
    Fun Times
    Hot Cars
    I Am A Dork
    Kitchen Stuff
    Pasta
    Pets Pets Pets
    Pork
    Potatoes
    Seasonal
    Side Dish
    Soup
    Special Occasion
    Turkey
    Vegan Or Could Be Vegan
    Vegetables
    Vegetarian


    Archives

    February 2019
    January 2018
    December 2017
    November 2017
    October 2017
    January 2017
    October 2016
    September 2016
    August 2016
    February 2016
    January 2016
    October 2015
    September 2015
    August 2015
    July 2015
    May 2015
    April 2015
    January 2015
    December 2014
    October 2014
    September 2014
    August 2014
    July 2014
    June 2014
    May 2014
    September 2013
    August 2013
    June 2013
    April 2013
    February 2013
    January 2013
    December 2012
    November 2012
    October 2012
    September 2012
    August 2012
    July 2012
    June 2012
    May 2012
    April 2012
    March 2012
    February 2012
    January 2012
    December 2011
    November 2011
    October 2011
    September 2011
    August 2011
    July 2011


Turnkey Auto - Eighteen years of a friendly setting of quality vehicles, affordable prices and exceptional service.
Text: 319-331-8796
​Call: 319-683-2850


 1/2 mile west of Frytown on 500th St
1811 500th St SW, Kalona, Ia 52247